Adding Clinical Assessments in a Client File
Set up clinical assessments for a client quickly with these steps. You’ll learn how to assign clinical and medical assessments, coordinate tasks, and complete or review findings in the system.
Step 1: Open the Clinical Platform Dashboard
Log in and access your main dashboard to get started. Go to Clients tab.

Step 2: Select the Client
Choose the client whose assessments you need to manage—here, John Doe.
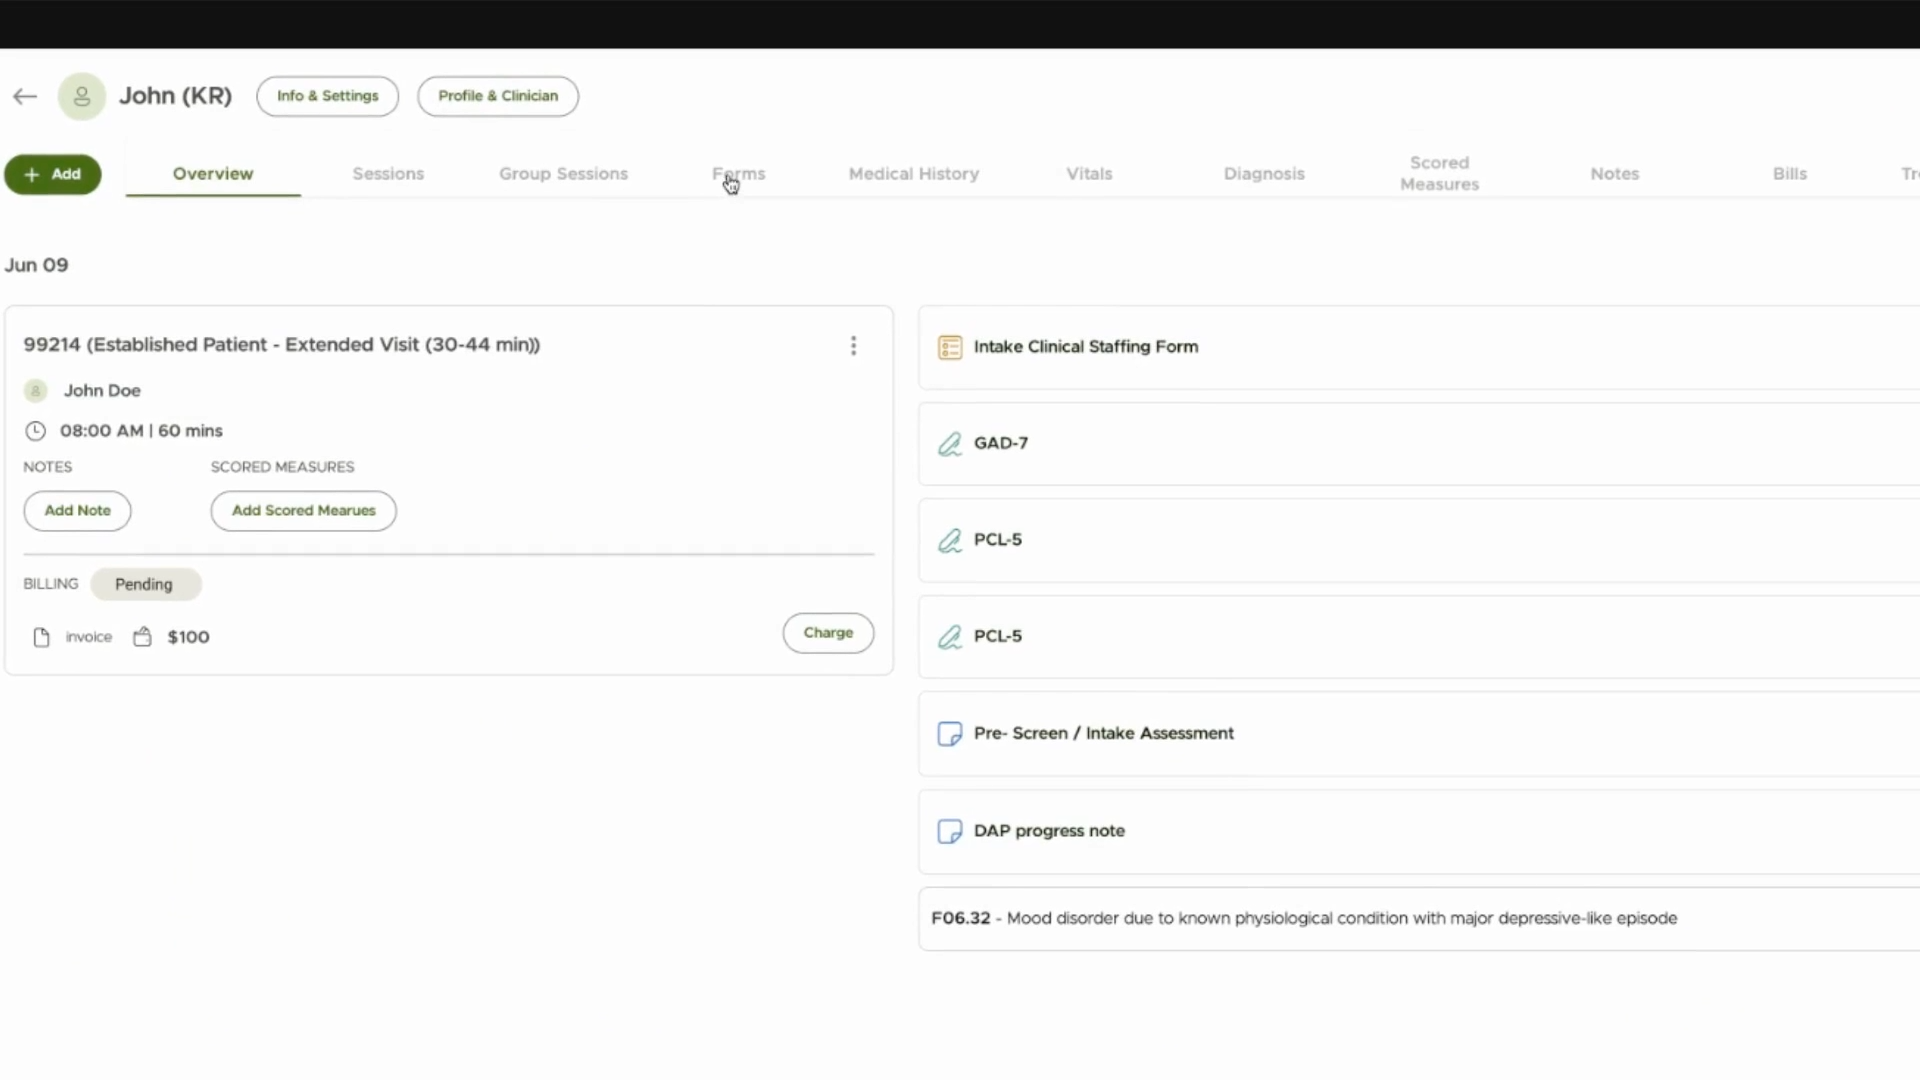
Step 3: Confirm Intake Completion
Make sure the client’s initial intake and pre-screen assessments are finished.

Step 4: Initiate Assessment Scheduling
Start the process to schedule a clinical or medical assessment for the client.
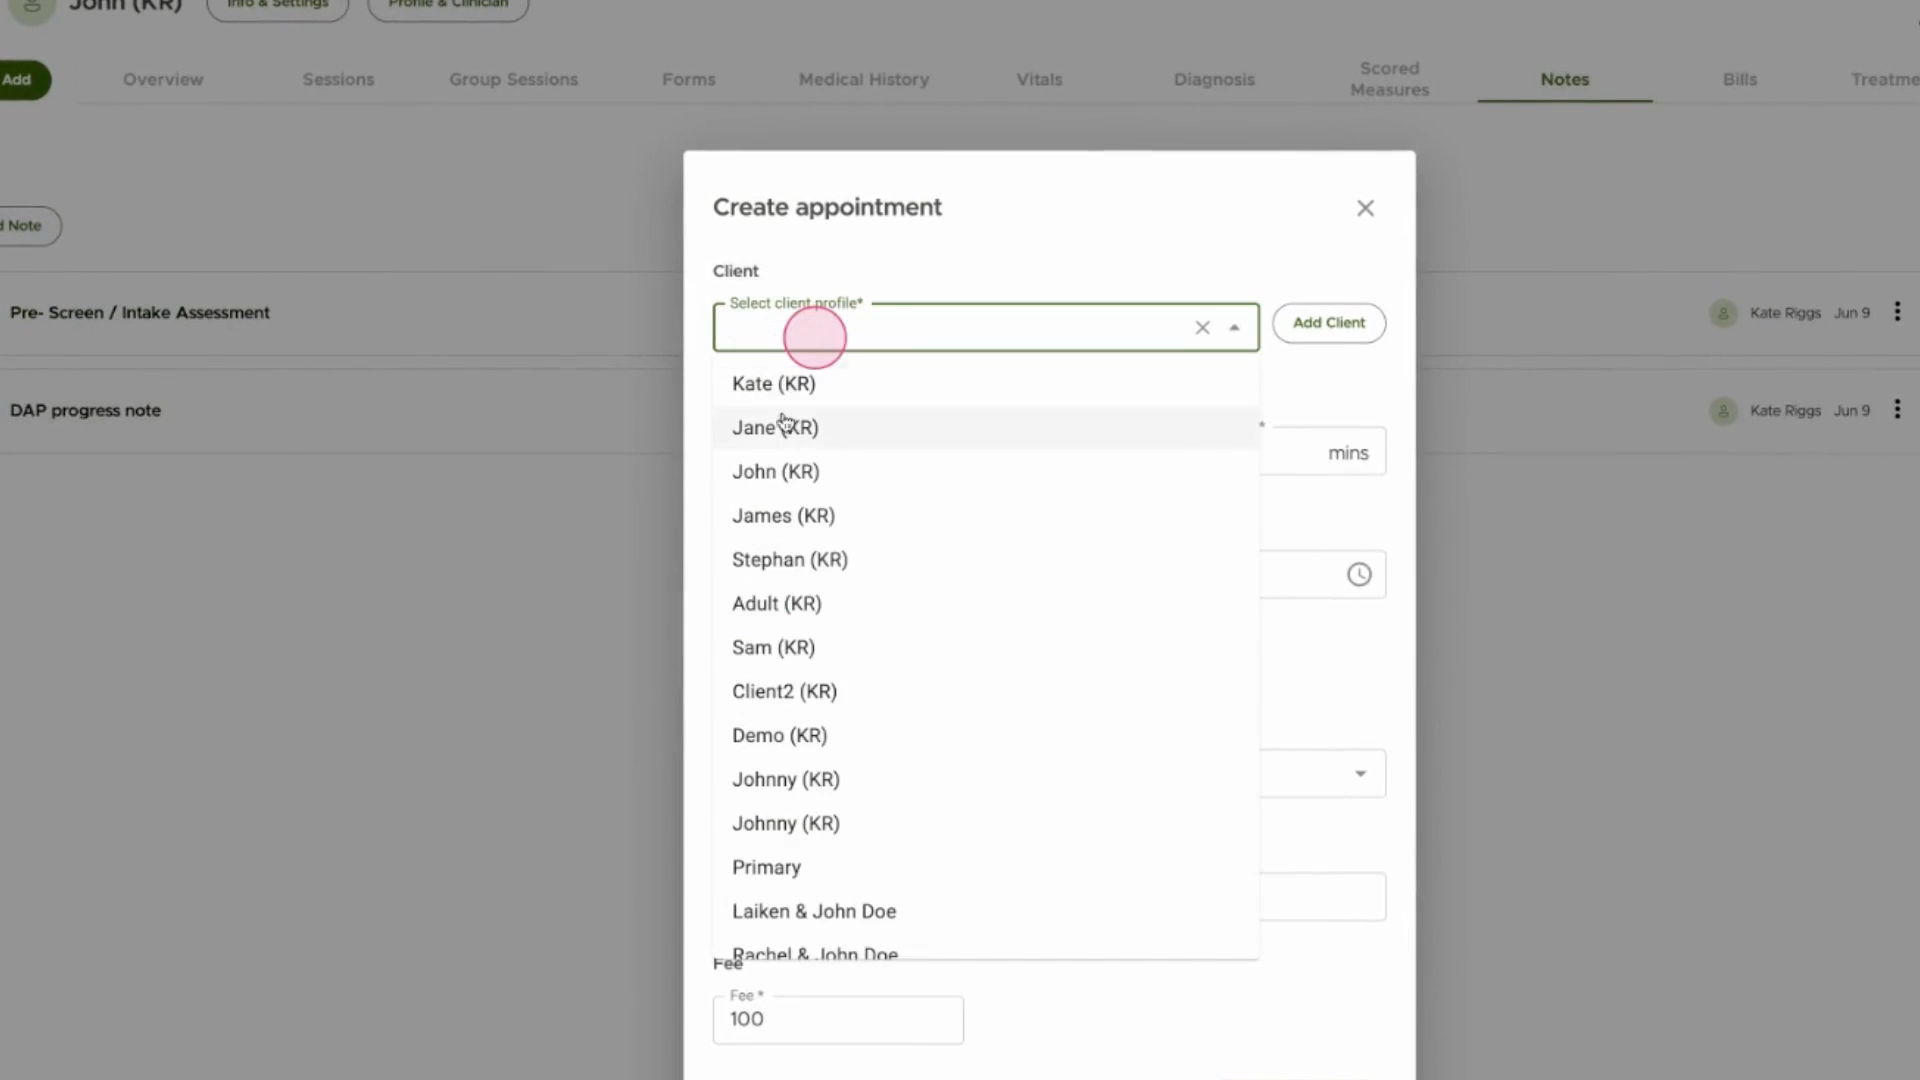
Step 5: Create a New Appointment
Assign the appointment to the right clinician and create the appointment.
Step 6: Confirm Appointment in Calendar
Verify the new assessment appointment shows up in the assigned clinician’s calendar.
Step 7: Assign Tasks for Coordination
Alternatively, assign a task to a team member responsible for the assessment.

Step 8: Team Member Accesses Task
The designated clinician logs in, sees the task, and prepares to perform the assessment.

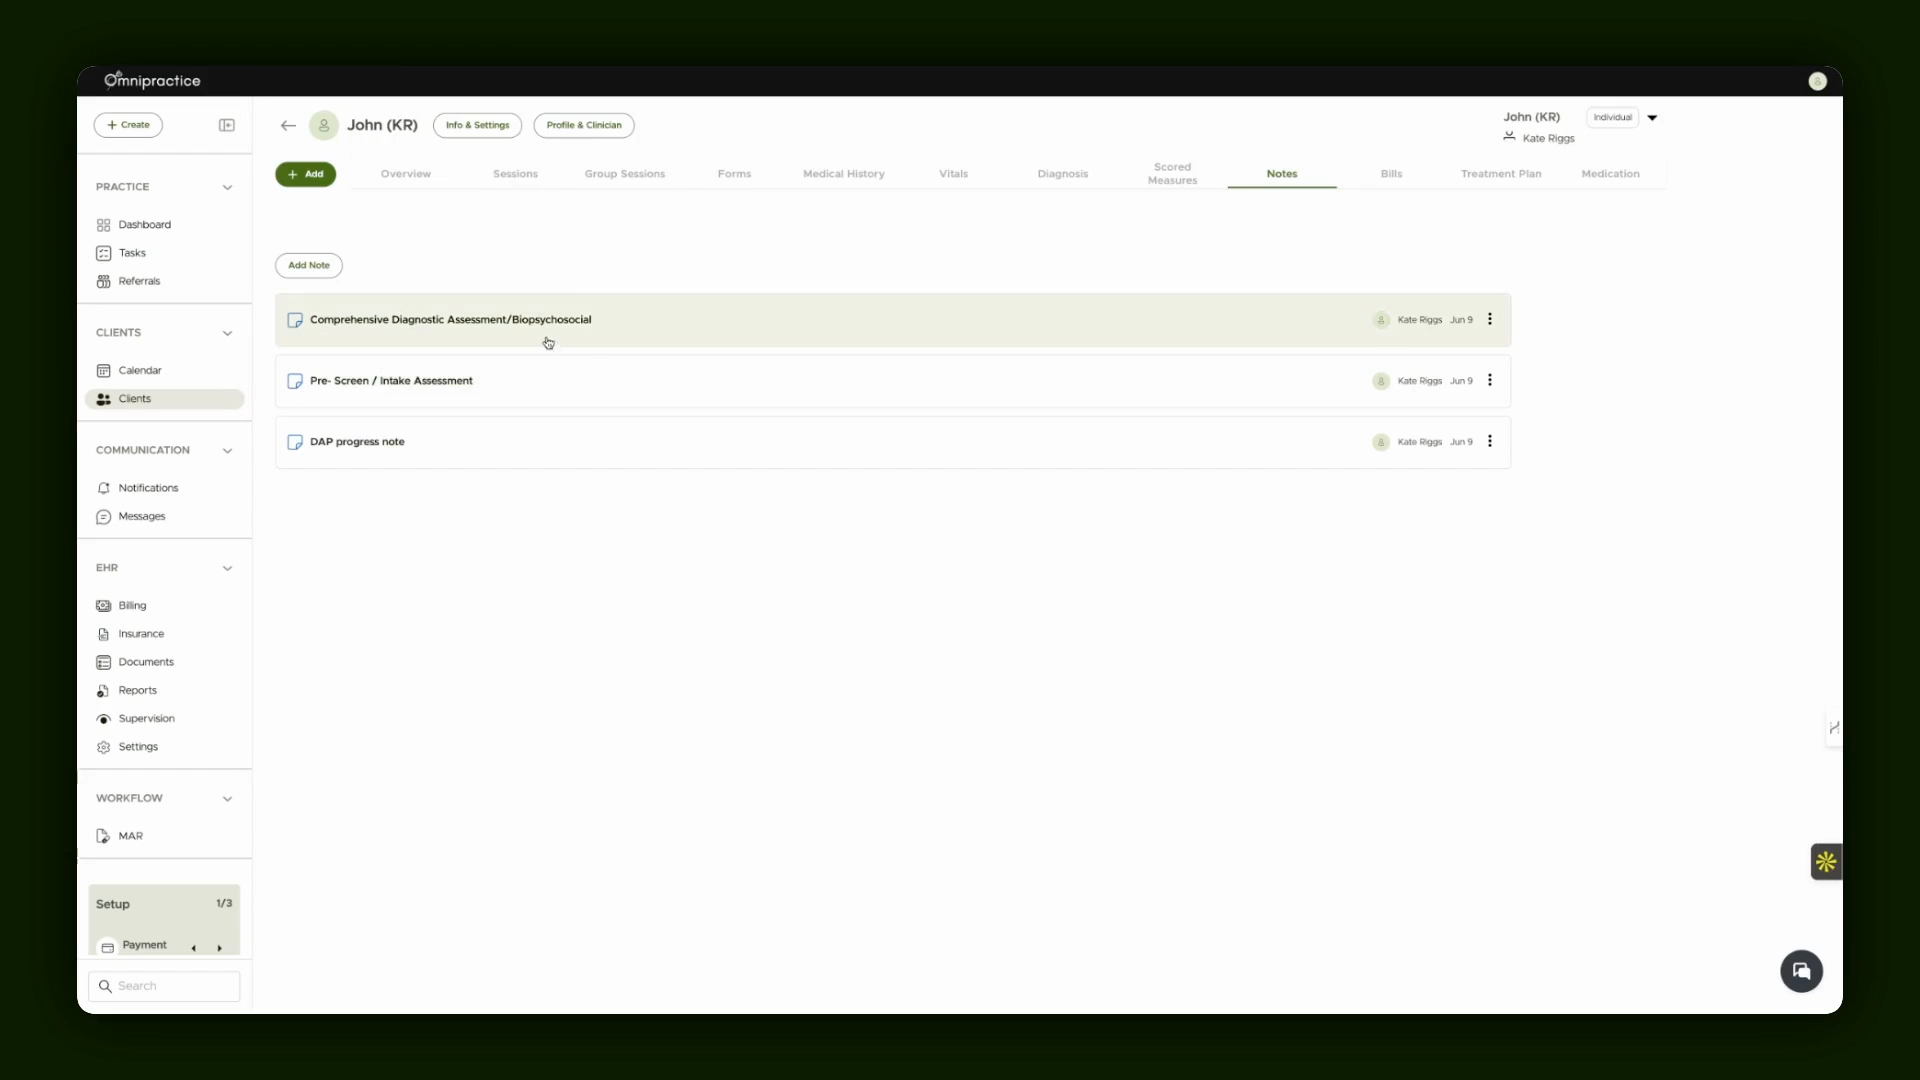
Step 9: Open Client Chart and Start Assessment
Navigate to the client’s chart, select 'Notes,' and choose the relevant assessment template (e.g., comprehensive diagnostic assessment).

Step 10: Complete and Submit Assessment
Fill in all required sections, use AI autofill if available, review suggested data imports, and save the completed assessment.
Step 11: Add Medical Assessment as Needed
If needed, repeat for a medical assessment by visiting the client chart and using the available templates and autofill.

Step 12: Monitor and Review Assessments
Review completed assessments in the client’s chart and see them listed in the client overview as needed.
