Manage Appointments - Create, Edit & Cancel Appointments
Learn how to create, manage, and make the most of appointments in Omni Practice. By following along, you'll master scheduling sessions, adding notes, managing recurring appointments, and editing or cancelling as needed.
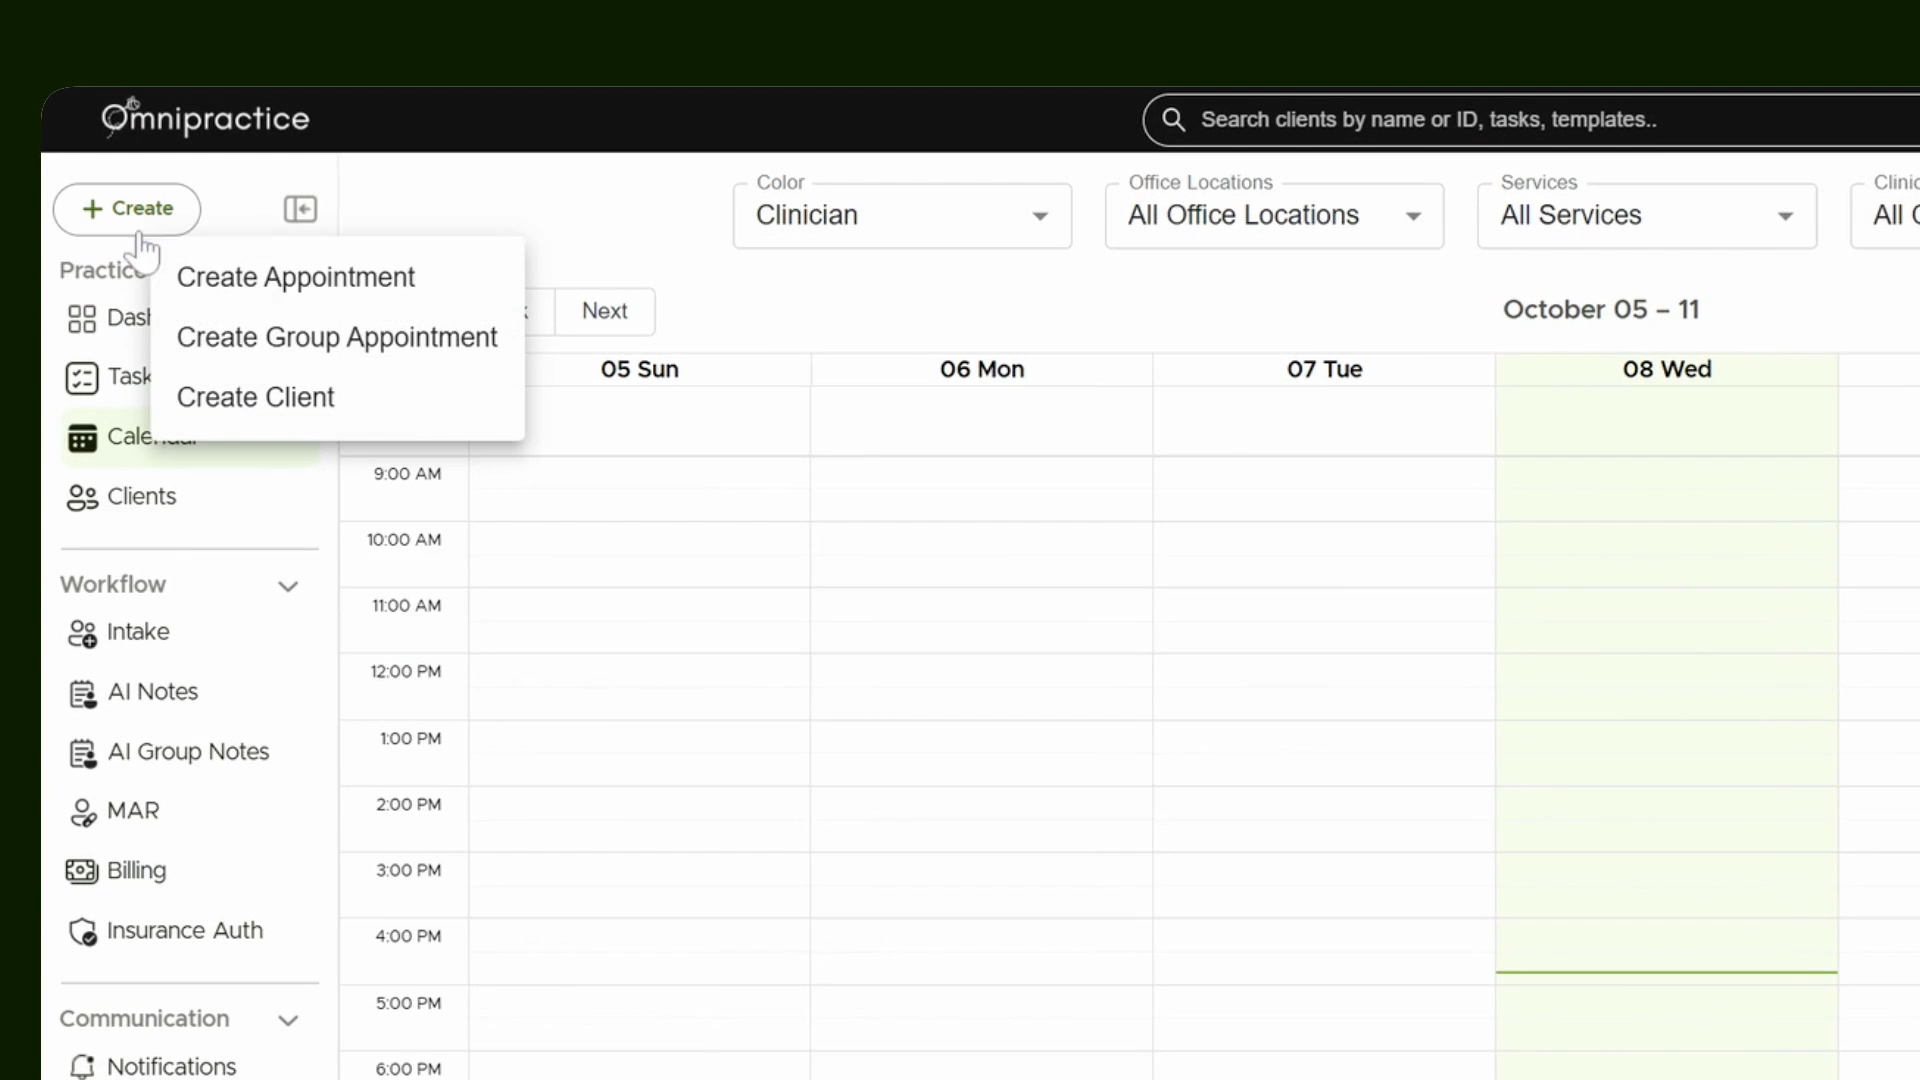
Step 1: Start Scheduling an Appointment
Click the Create button to start creating an appointment. Alternatively, select any spot on the calendar to begin.
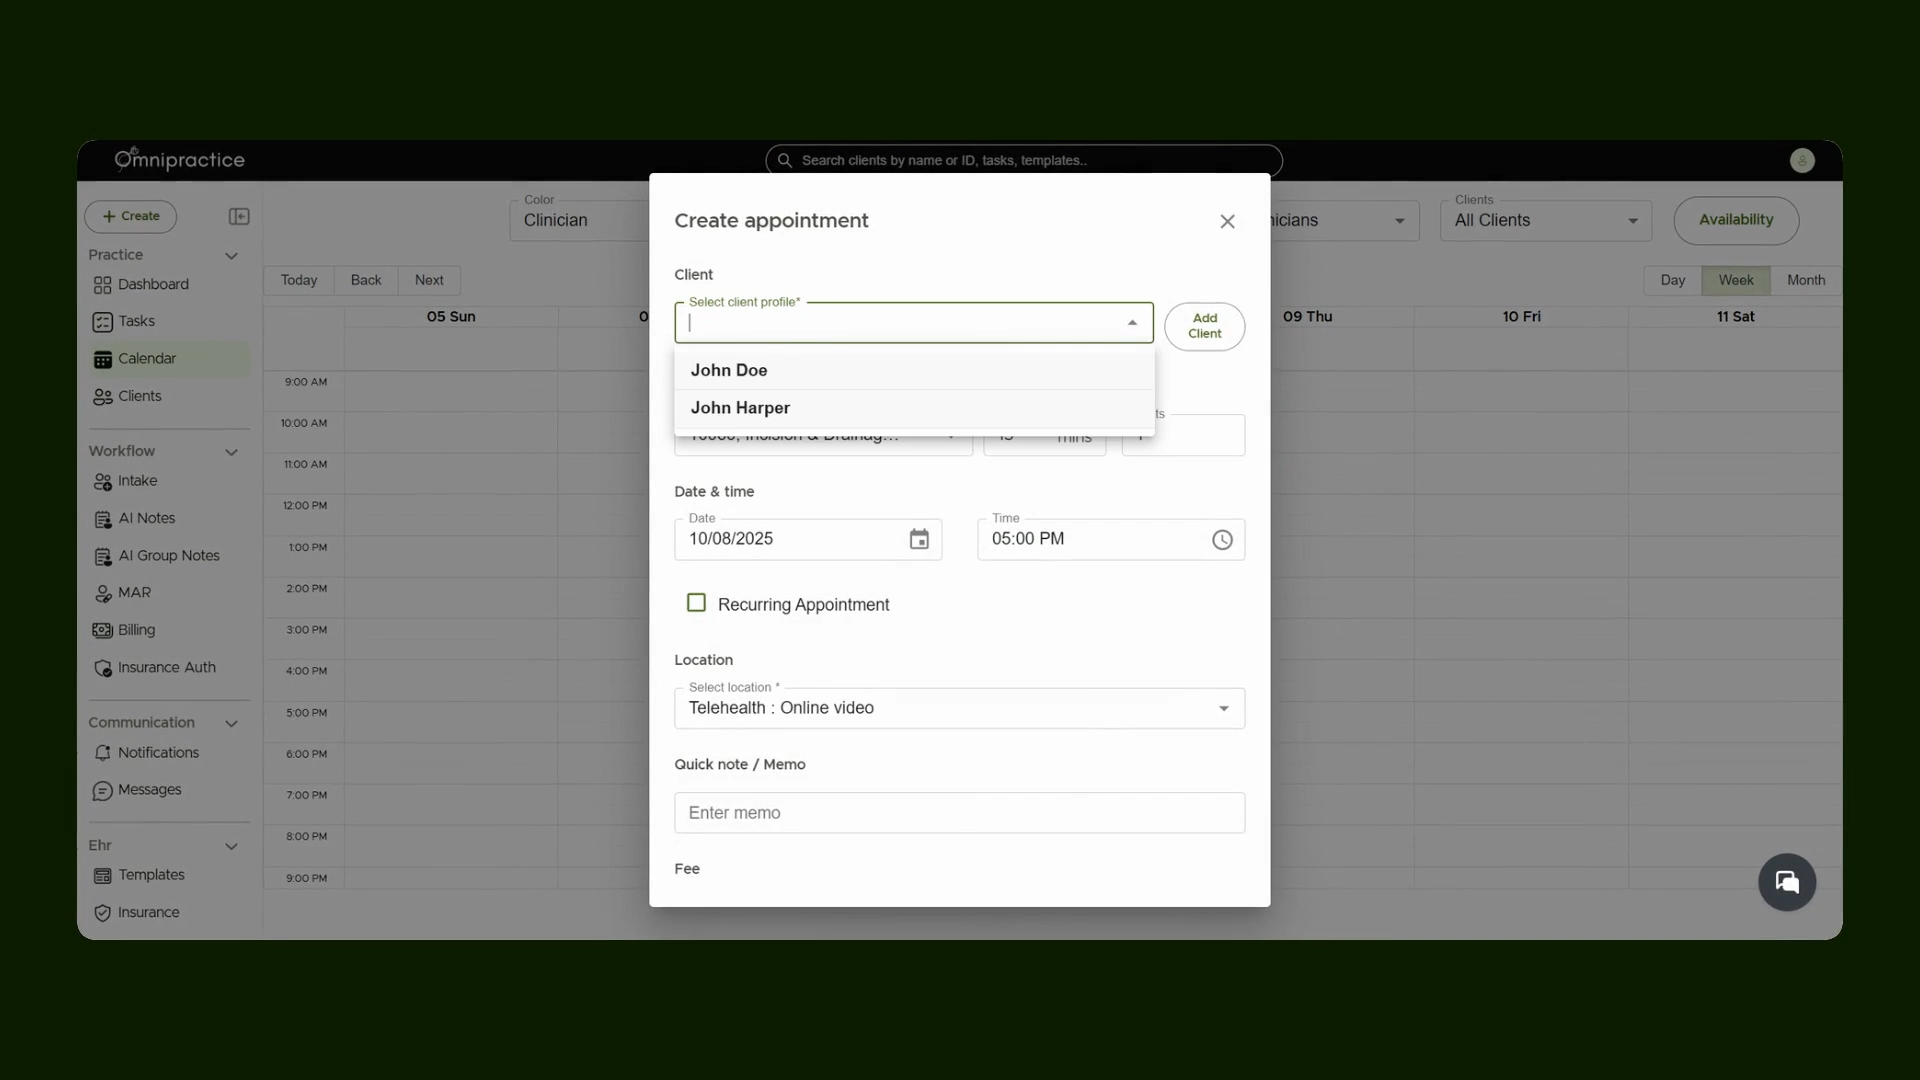
Step 2: Select a Client
Pick the client for the appointment.
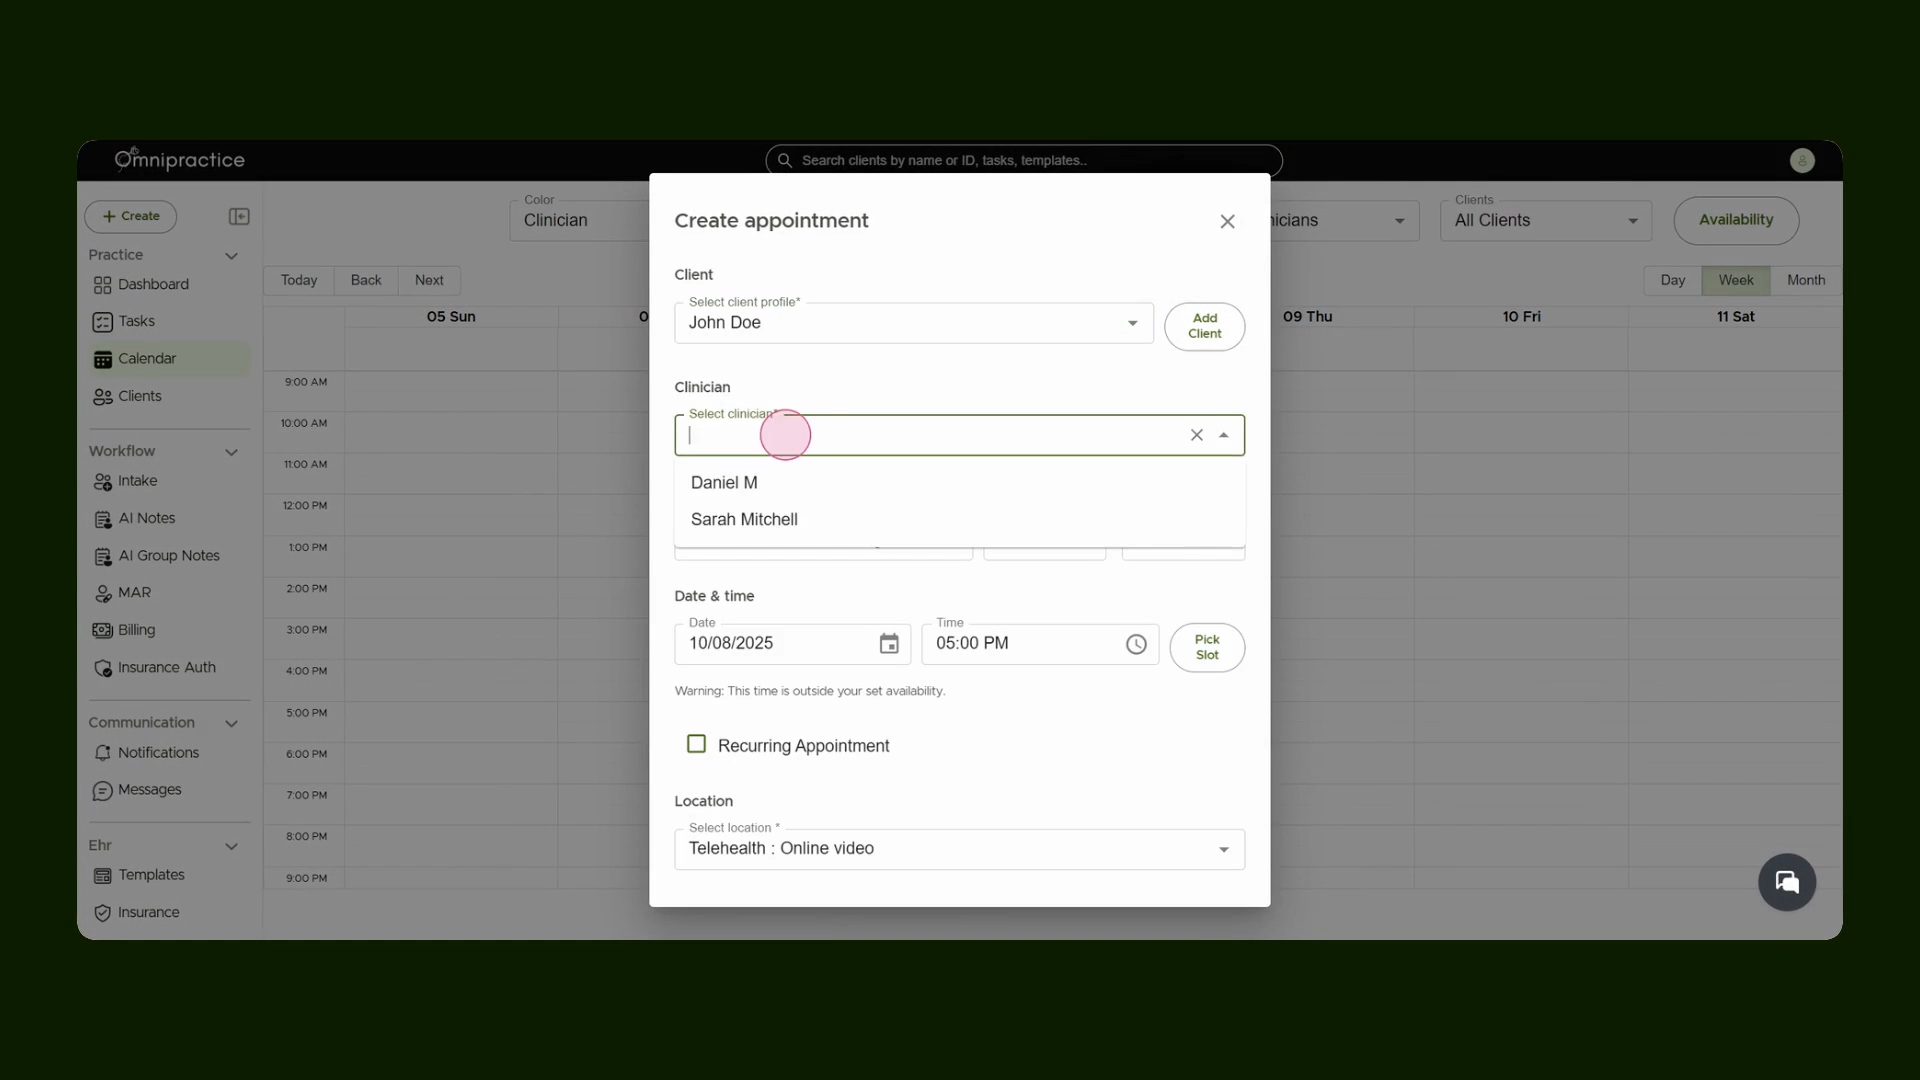
Step 3: Assign Clinician and Service
Assign the appropriate clinician. Then, specify the correct service for the session.
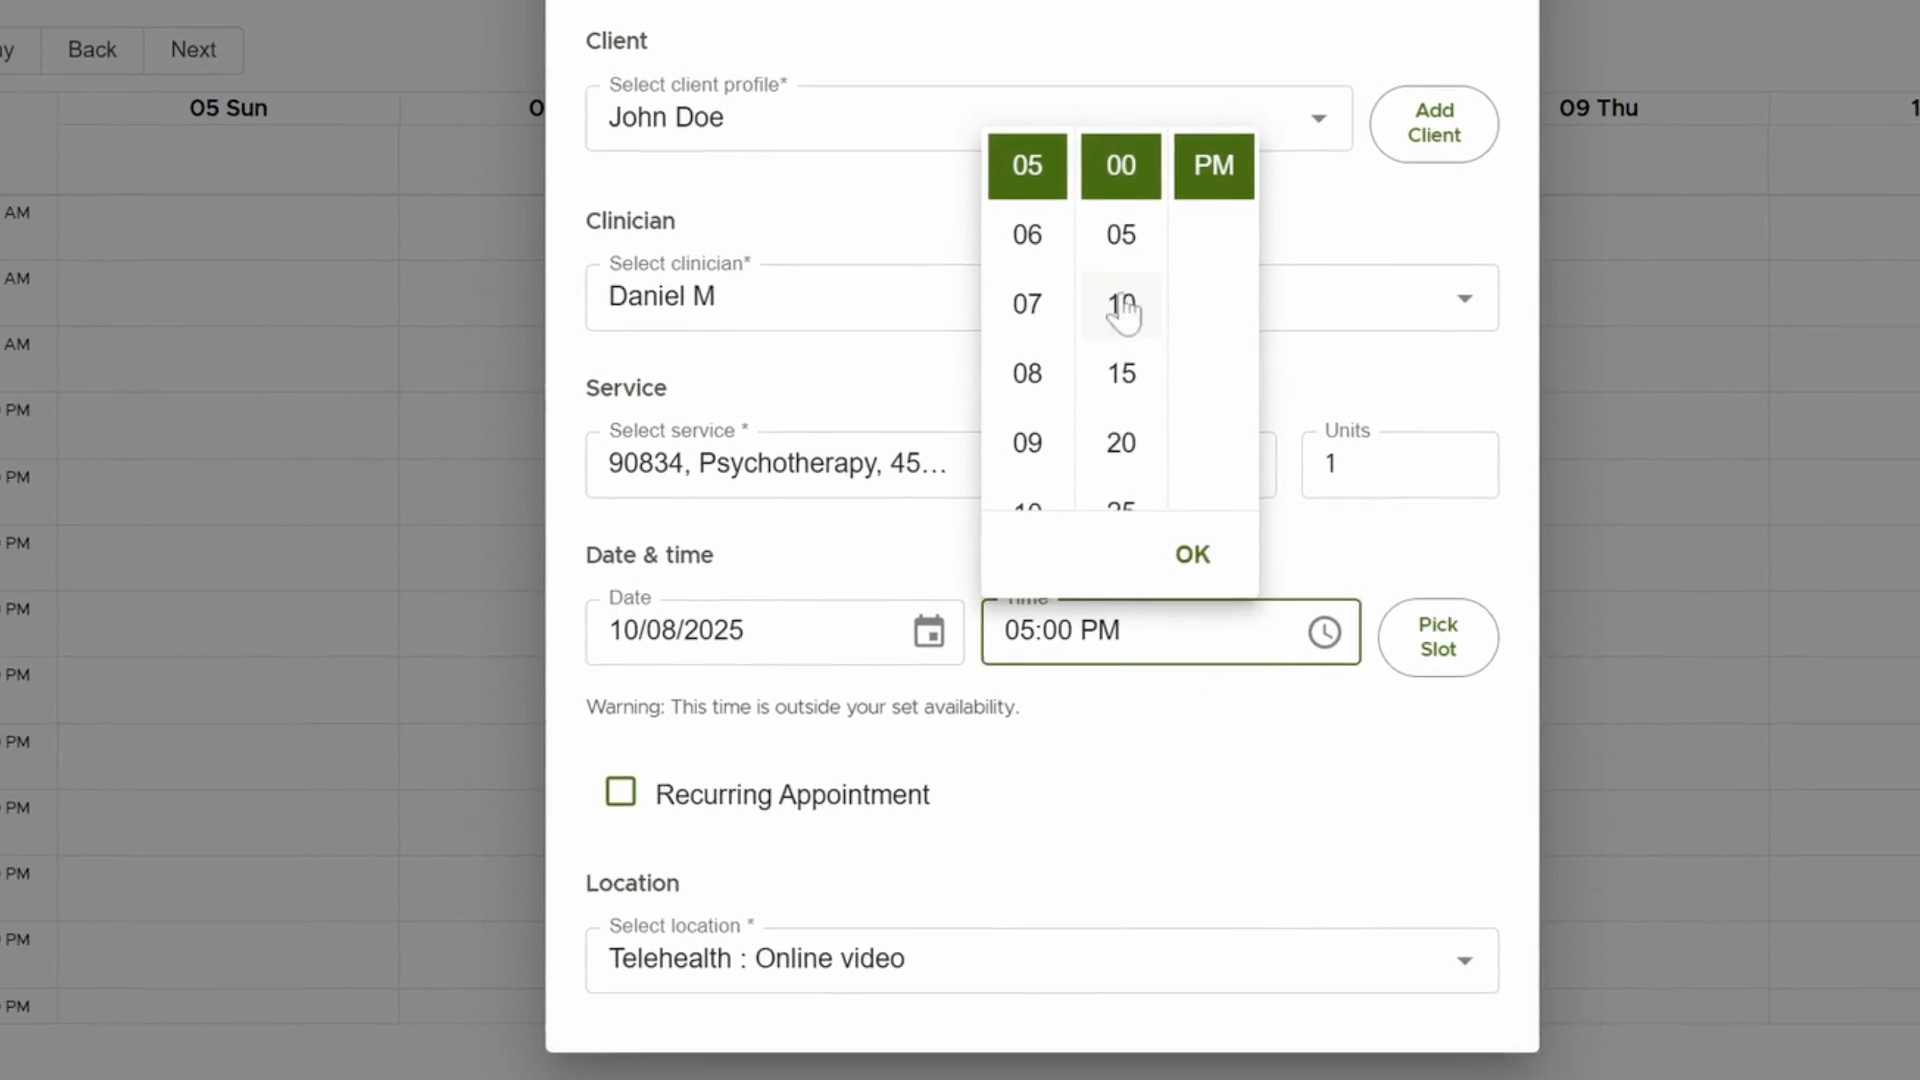
Step 4: Choose the Time Slot and Create Appointment
Select the desired time slot for the appointment. Once details are set, proceed to create the appointment.
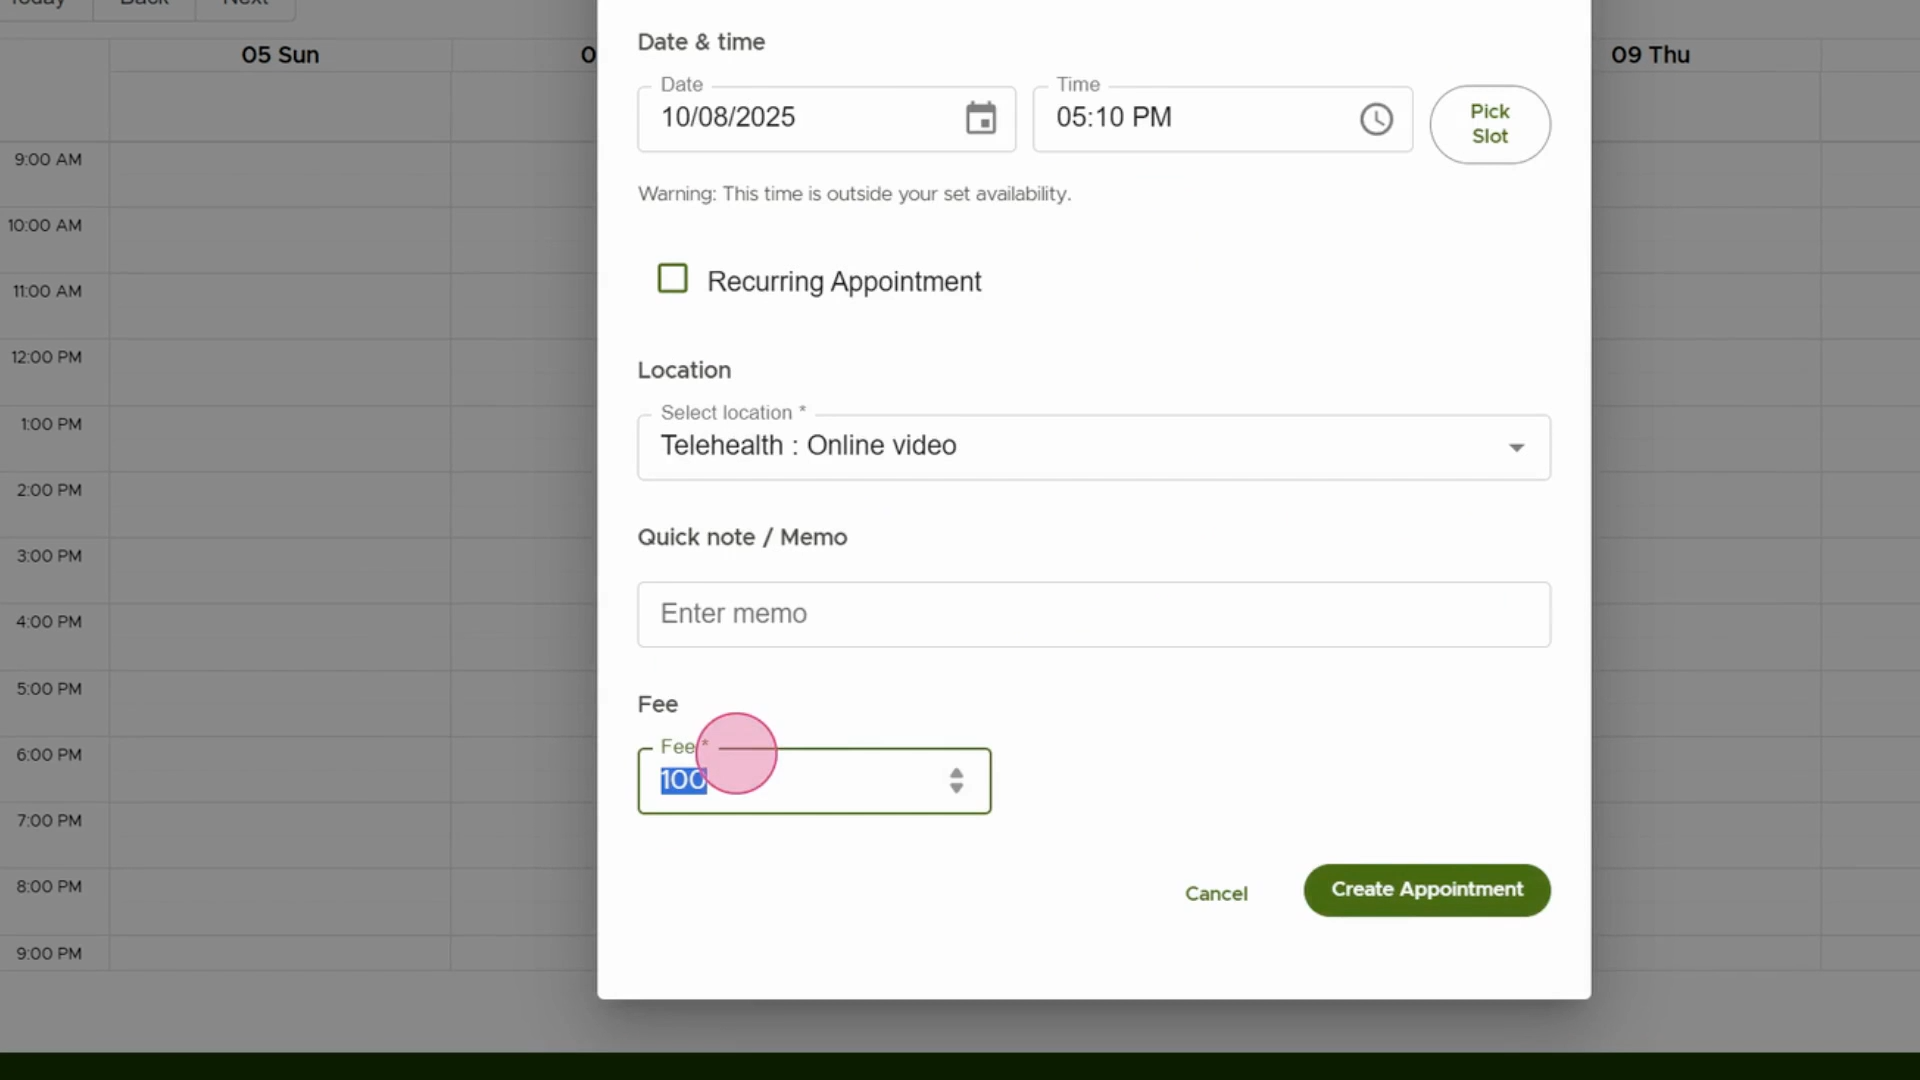
Step 5: Add a Fee and Finalize
Set the fee associated with the session. Click Create Appointment to finish scheduling.
Step 6: Edit an Existing Appointment
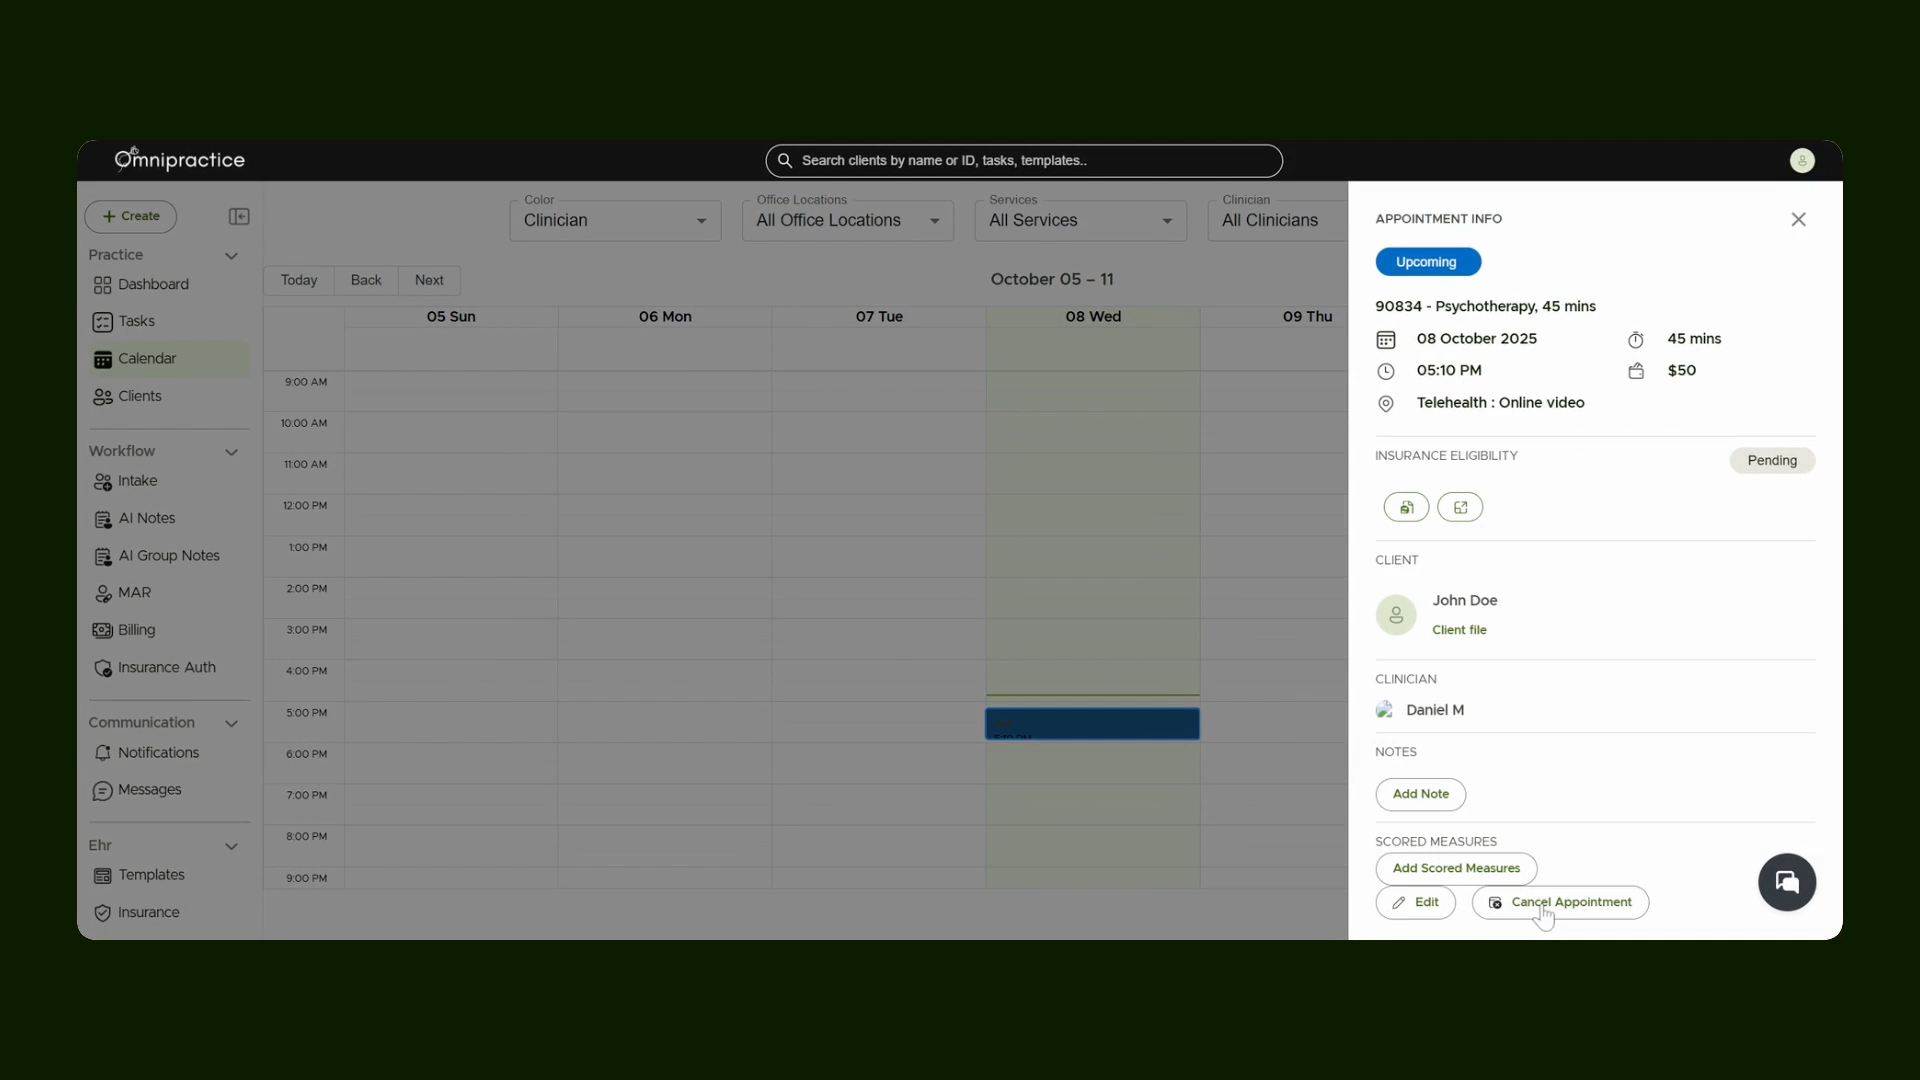
Click on any existing appointment to open its details in a side panel. Use the side options to adjust service, time, date, or fee. Save your changes by clicking Update Appointment.
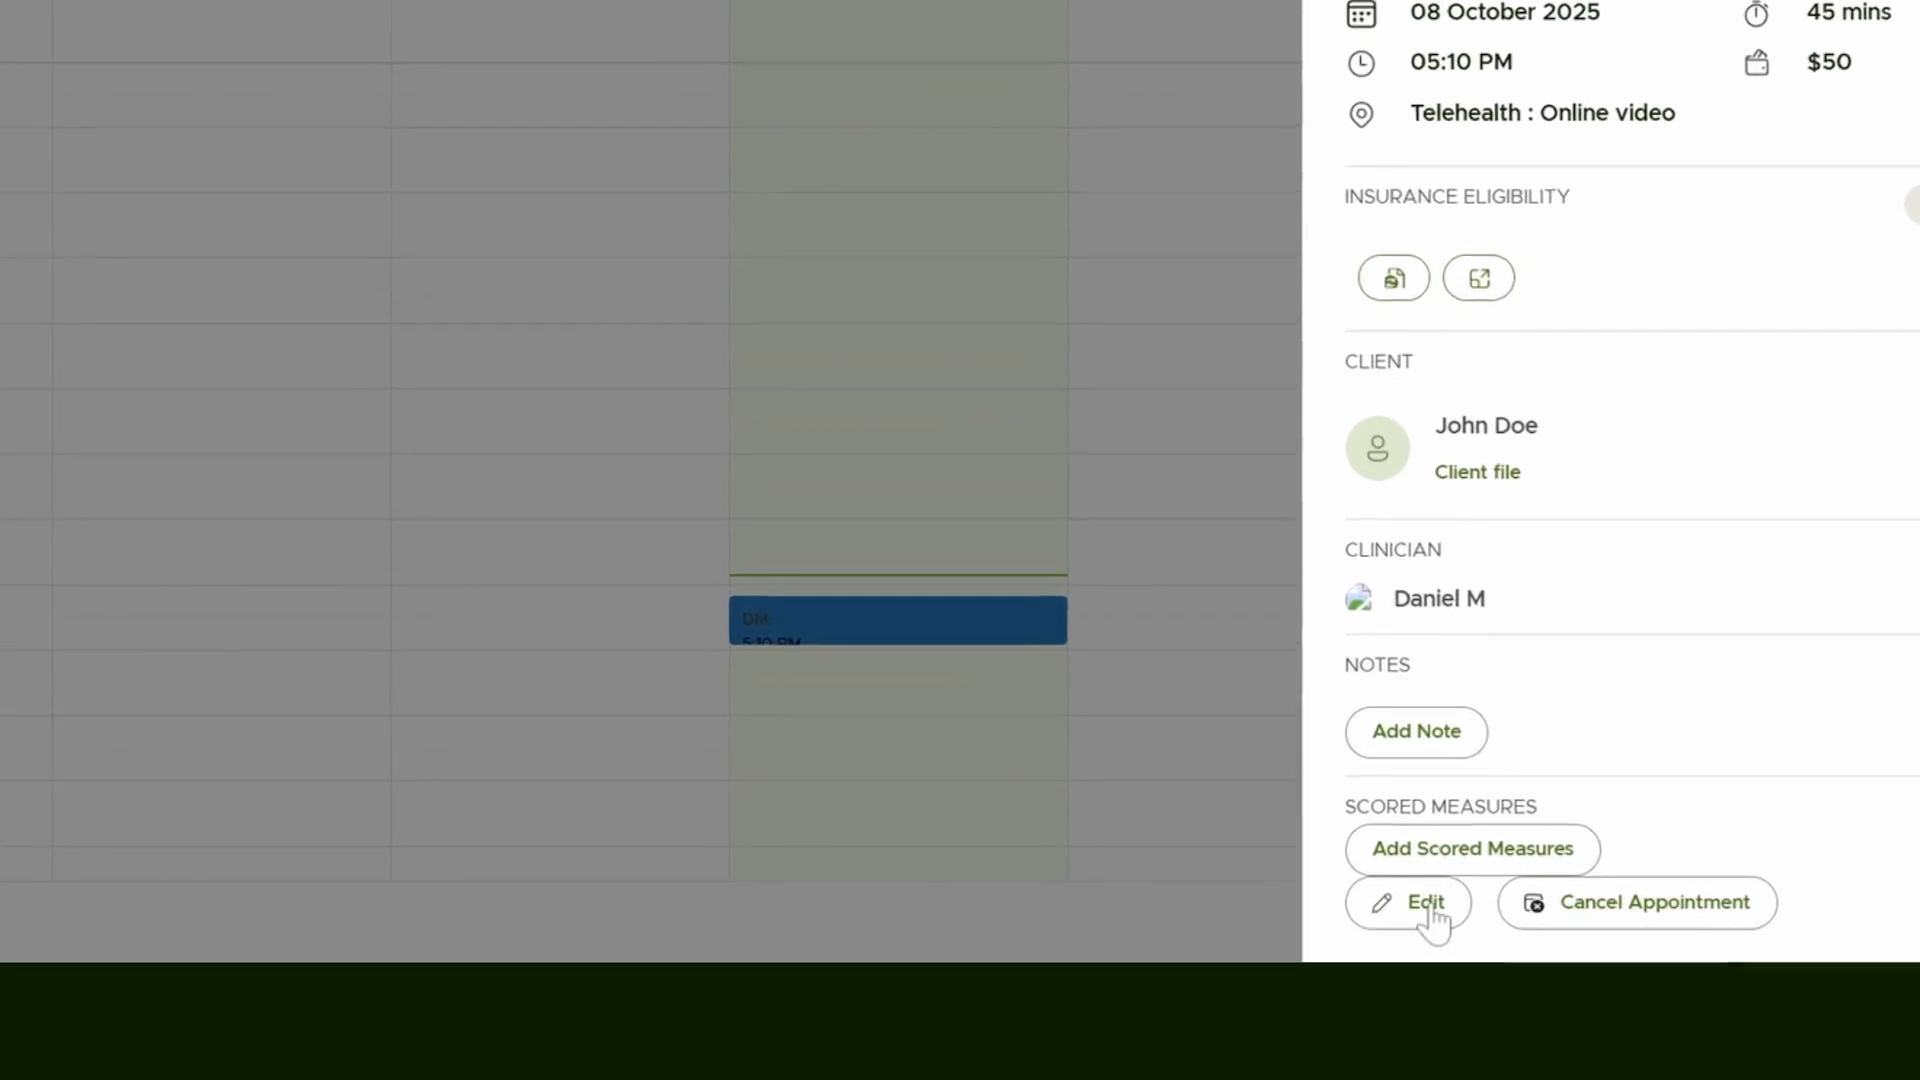
Step 7: Cancel an Appointment
Click the Cancel Appointment button in the side panel to cancel the appointment. The status updates automatically.
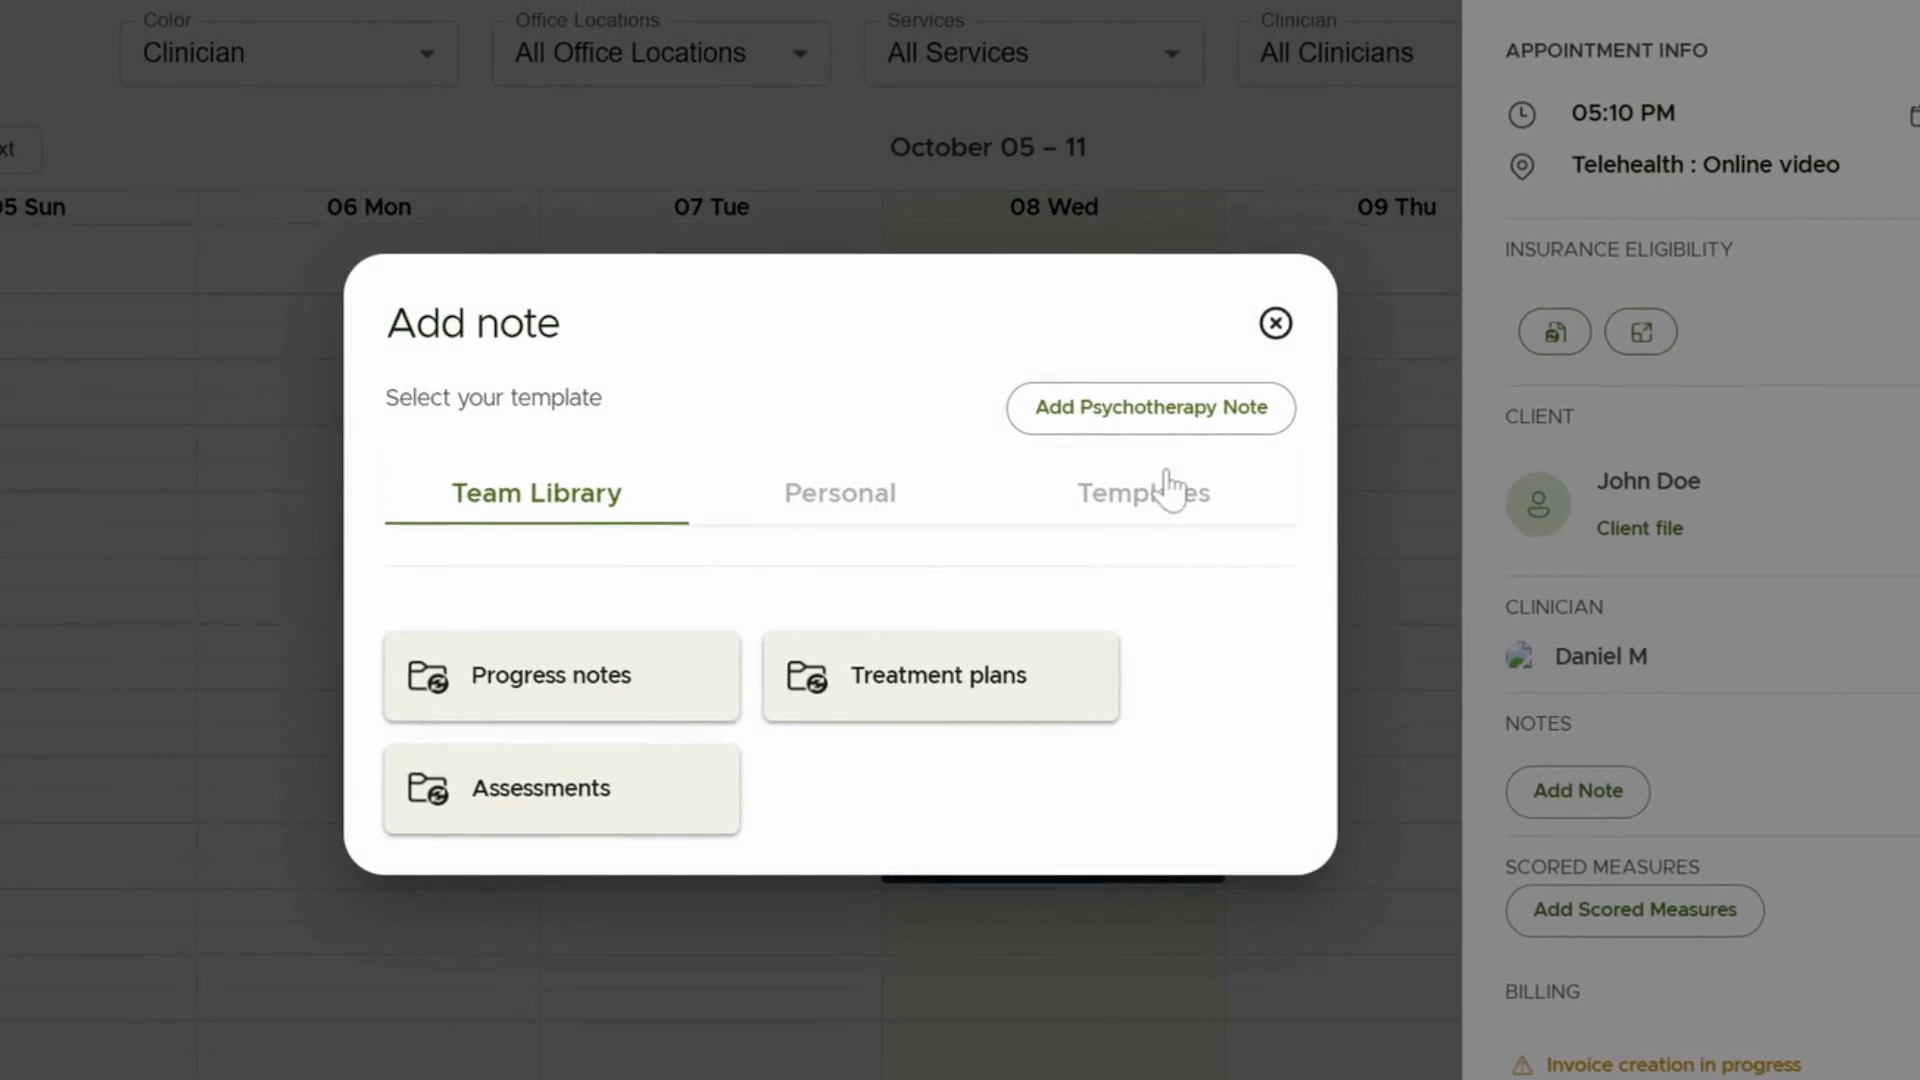
Step 8: Add Notes to the Appointment
Select Add Note to open the note editor for this appointment. Choose from available note templates. You can add notes from your team library and include scored measures for extra detail.
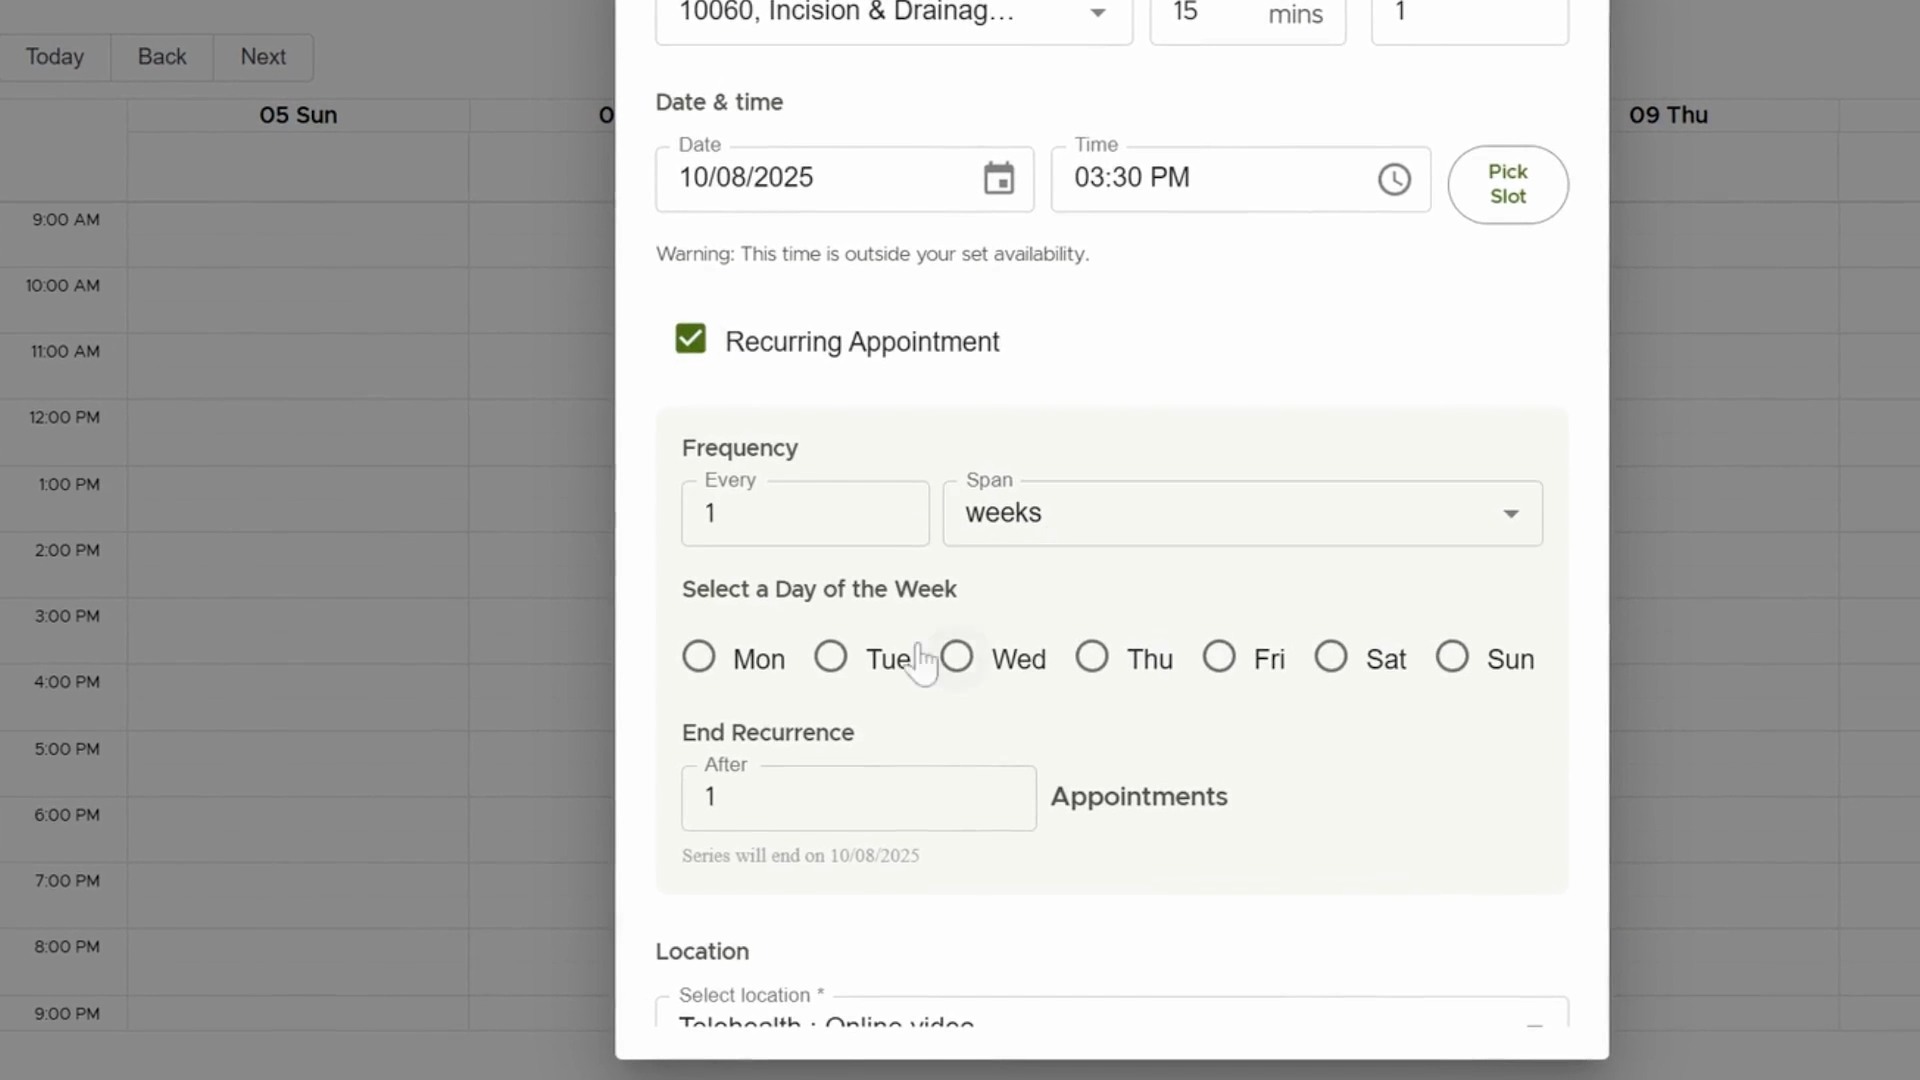
Step 9: Create a Recurring Appointment
Click on your chosen calendar slot to schedule a recurring session. Select a client, assign a clinician, and check the Recurring Appointment box. Pick the recurrence pattern (e.g., every Monday). Set how many occurrences you want (e.g., five sessions). Click Create Appointment to confirm.
Step 10: Review Recurring Appointments
Switch to the Monthly Calendar view to see all scheduled recurring appointments.

You're now ready to manage all aspects of appointments in Omni Practice with confidence!