Set Up Team & Manage Custom Roles
Get your team ready to collaborate. In this guide, you'll set up custom roles and invite team members, so everyone has the right permissions and responsibilities.
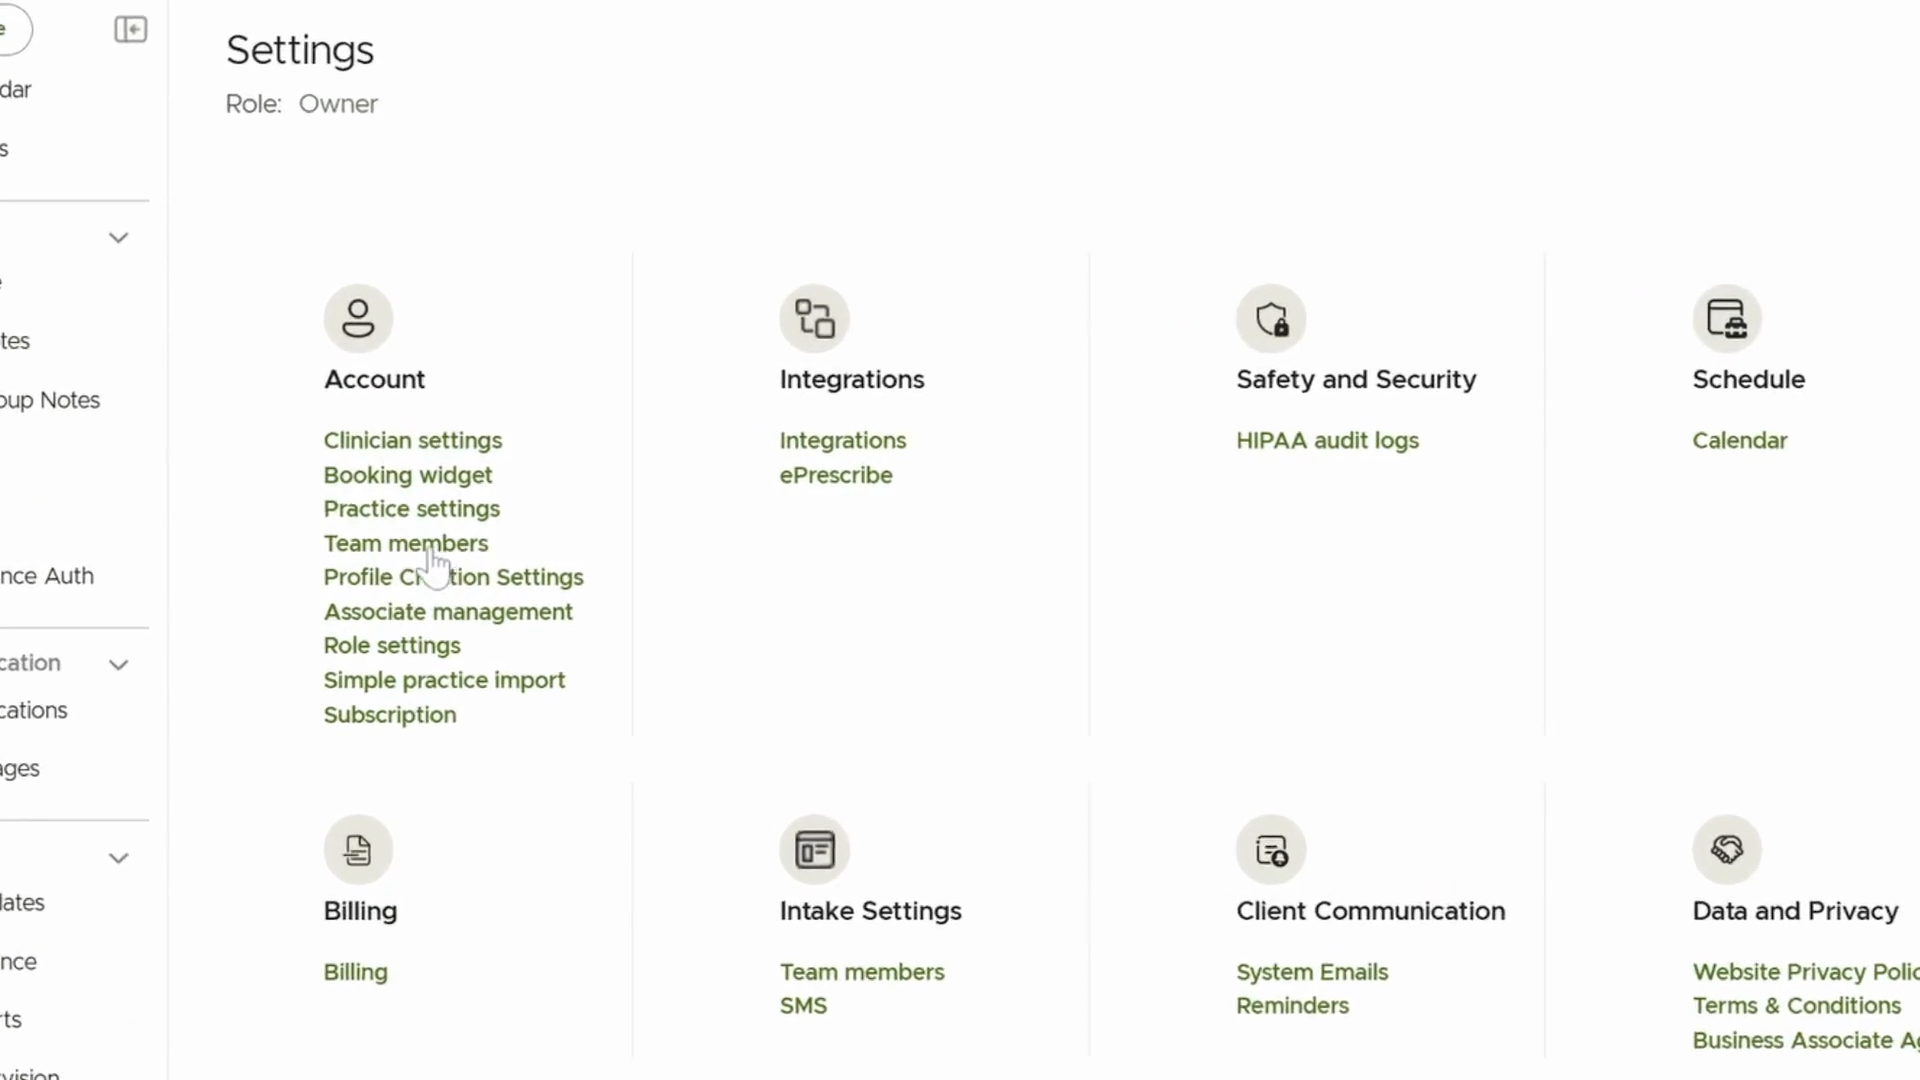
Step 1: Navigate to Settings
Select the Settings tab to access team and role management options.

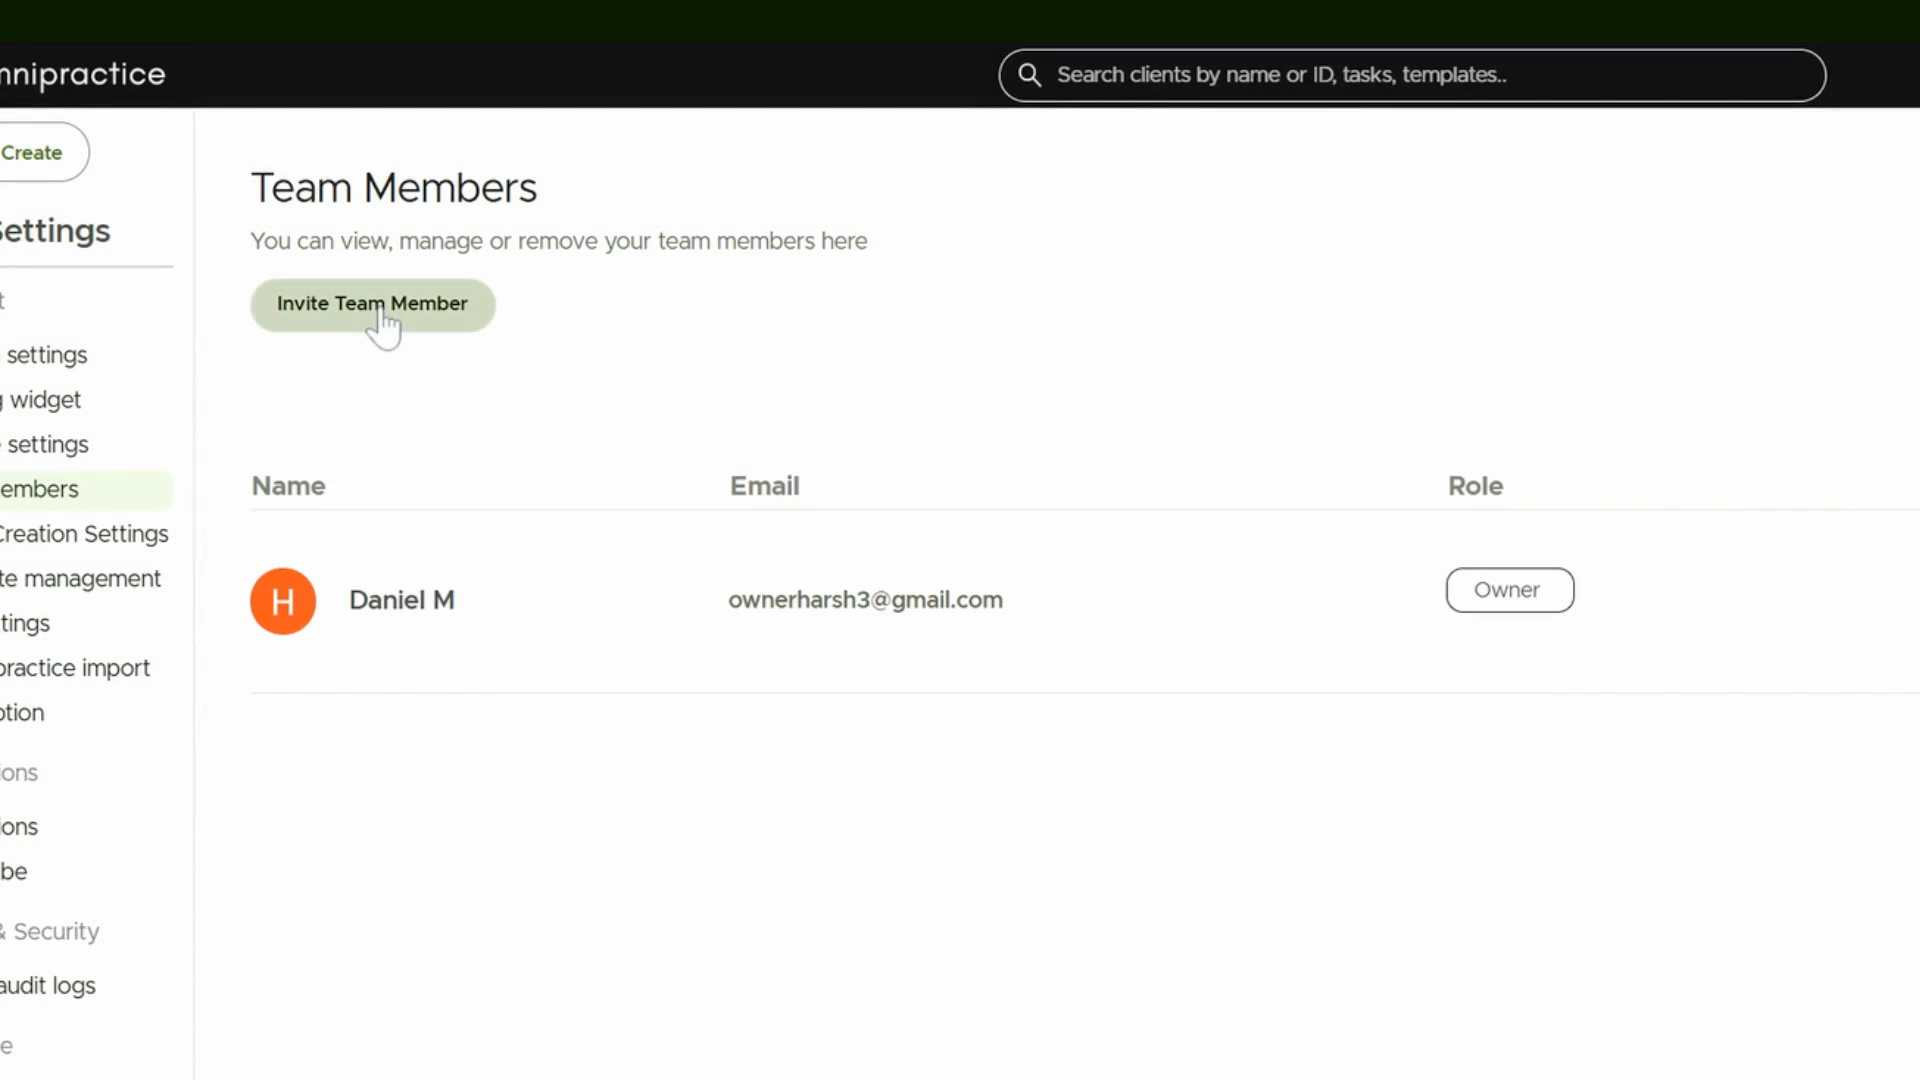
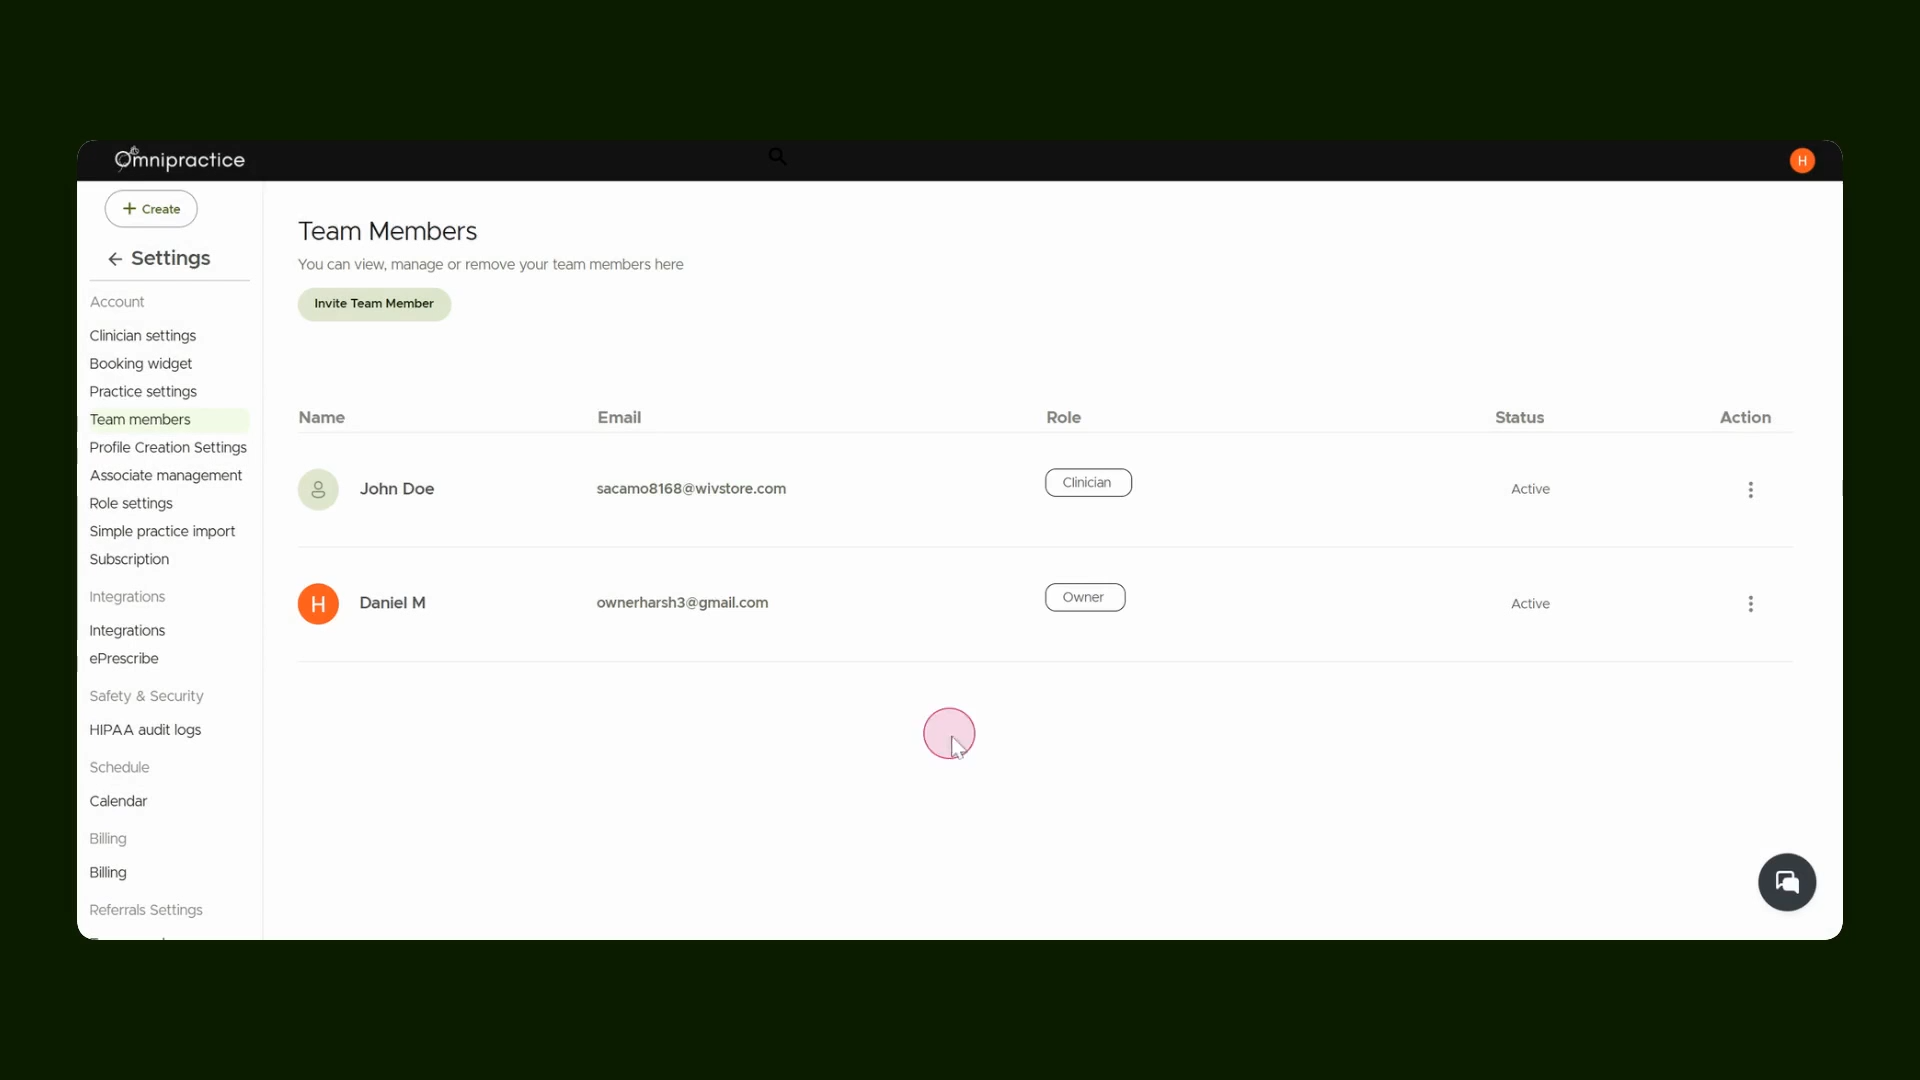
Step 2: Open Team Members
Click Team Members to manage your team or add new members.
Step 3: Invite a Team Member
Click Invite Team Member to start the process of adding someone new.
Step 4: Enter Member Details
Type in the new member's name and email address as requested.
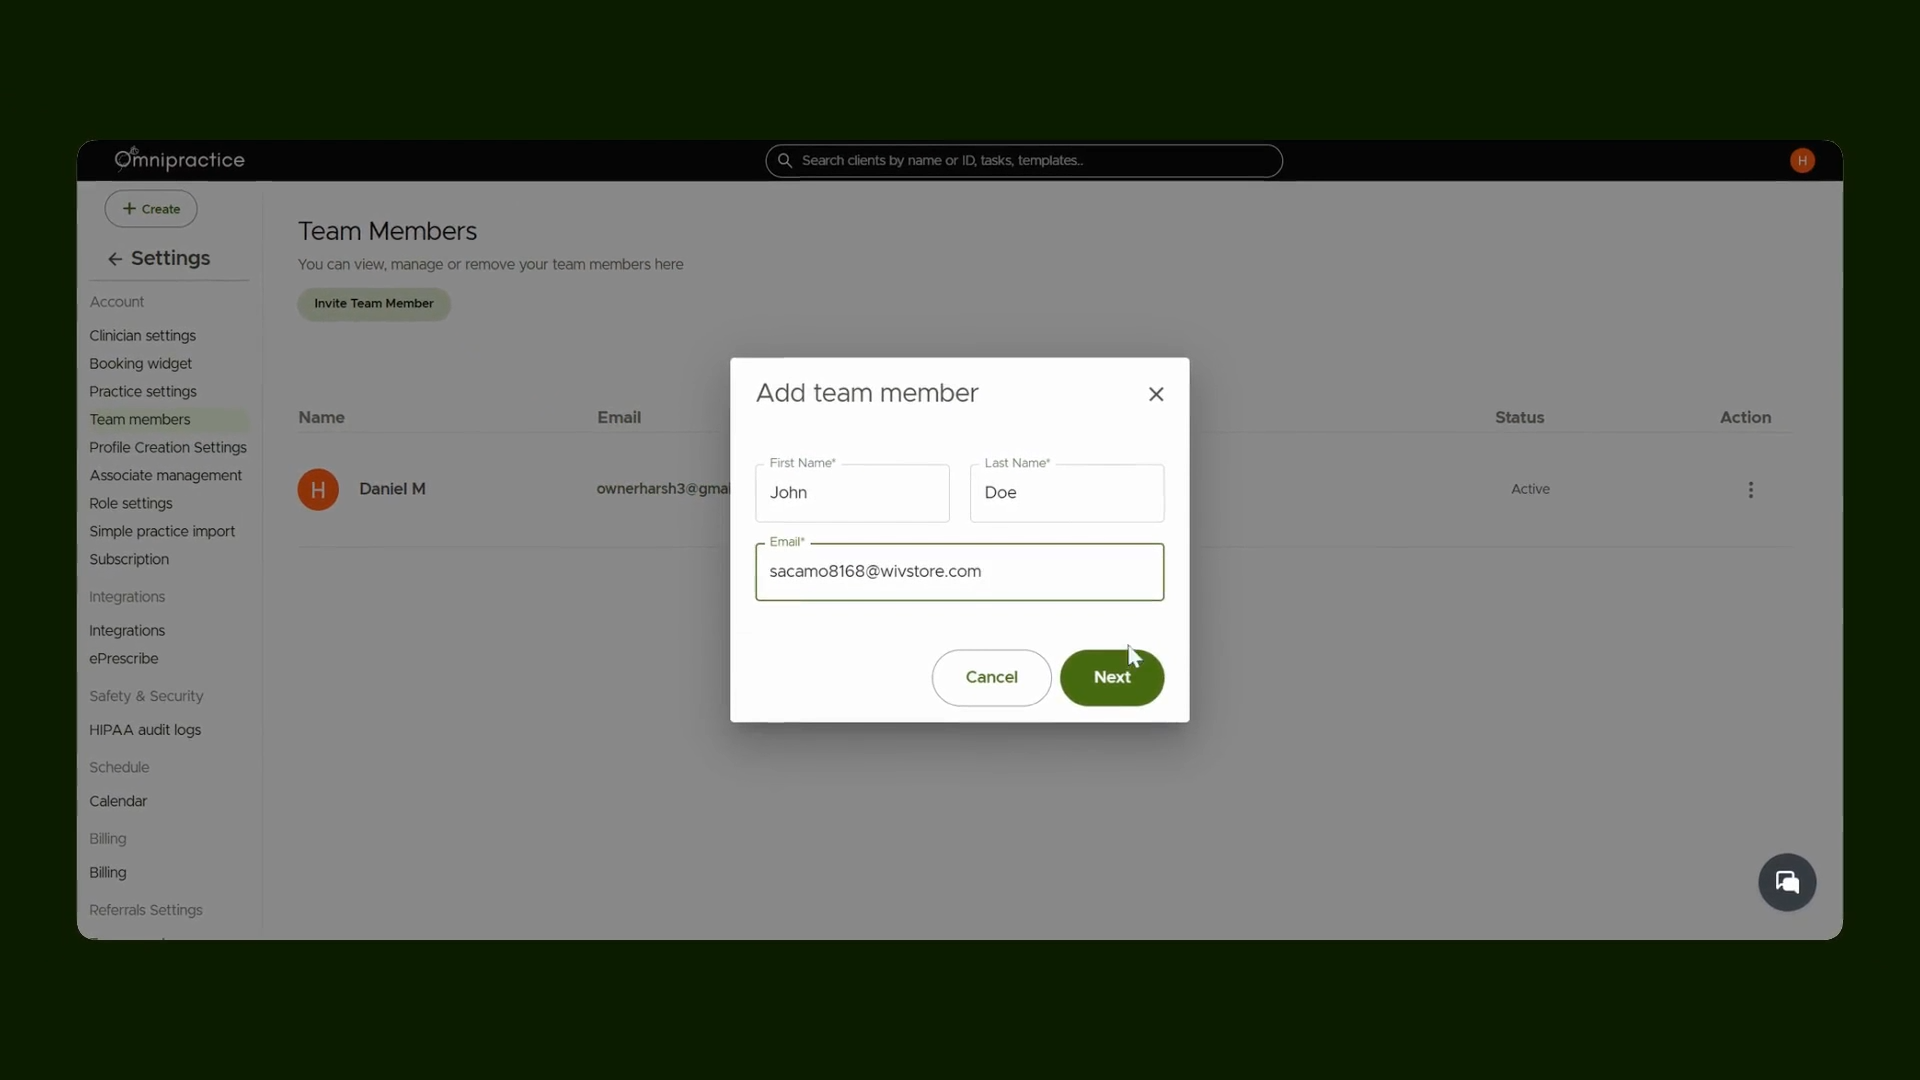
Step 5: Proceed to Role Selection
Click Next and view the available system roles in the left side panel.
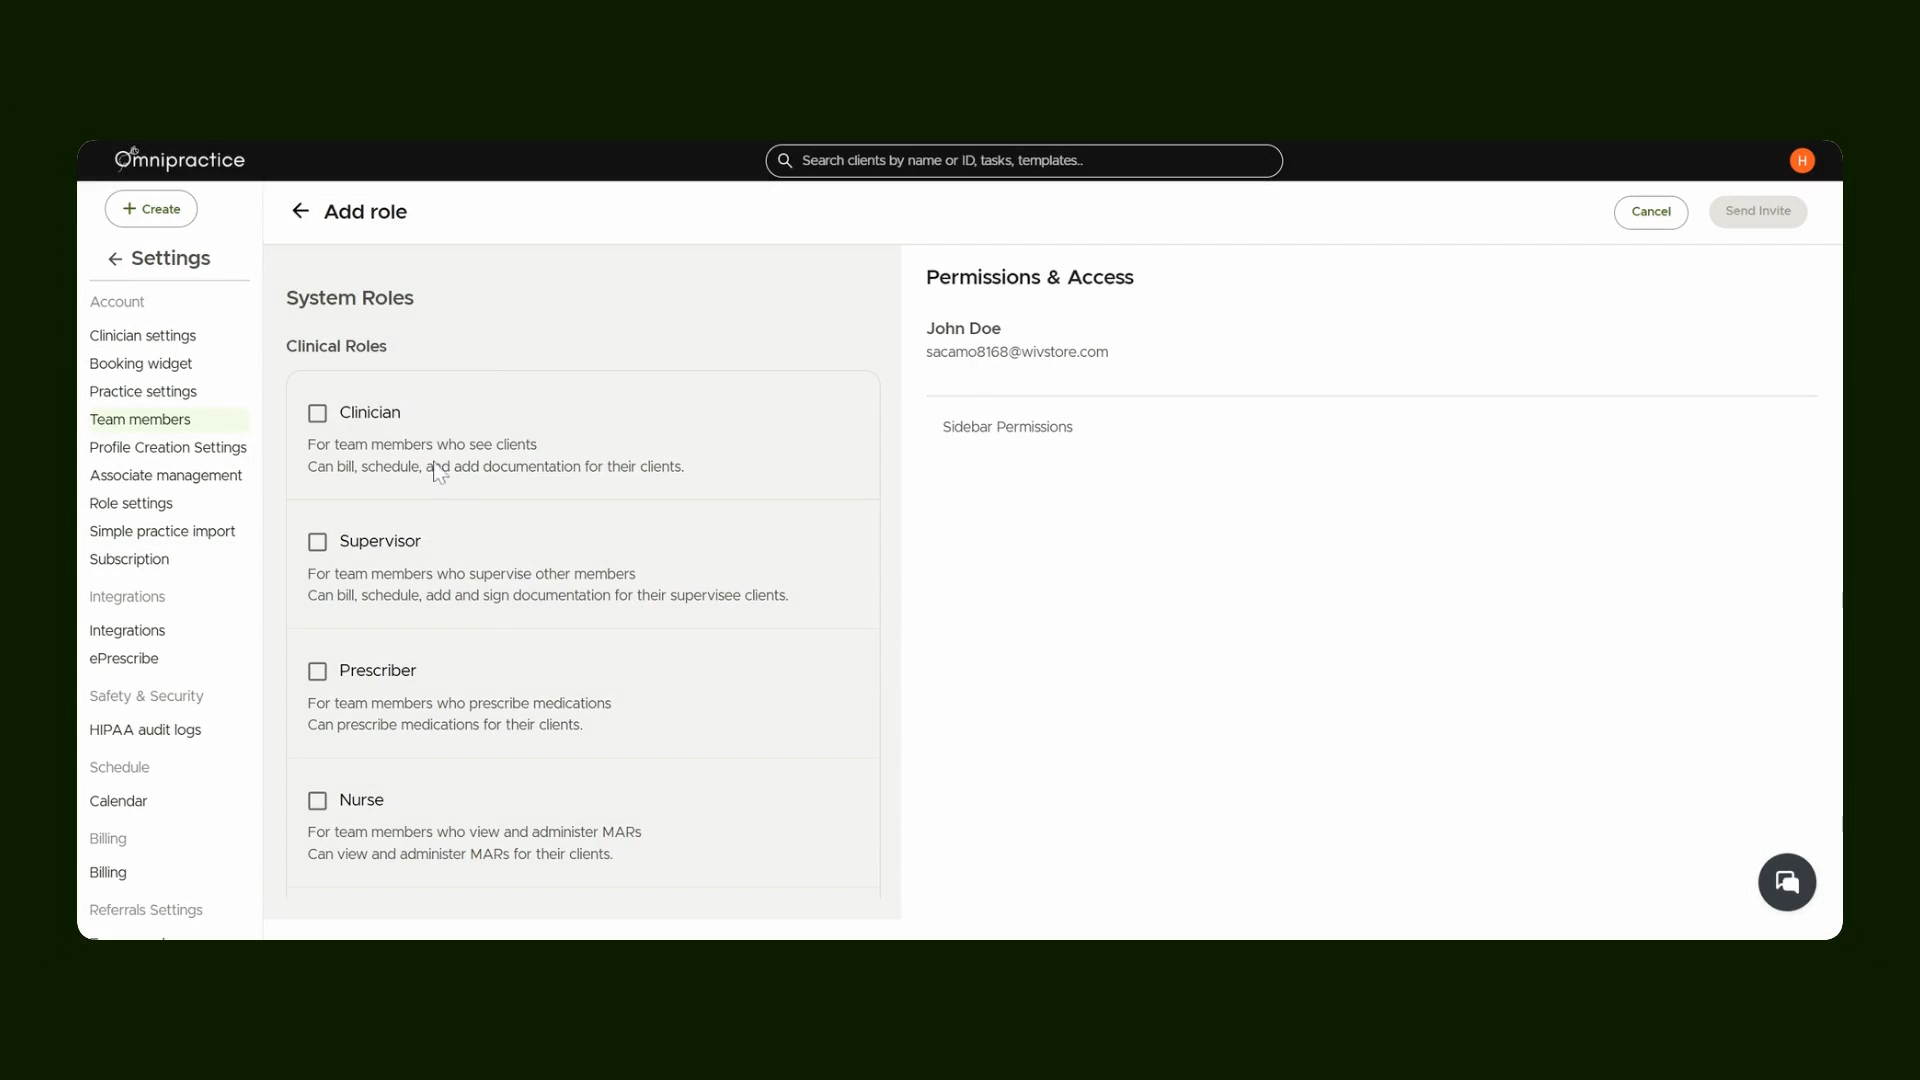
Step 6: Assign a Role
Select the appropriate role for the new member. For example, use Clinician if relevant. Default permissions for the role appear automatically.
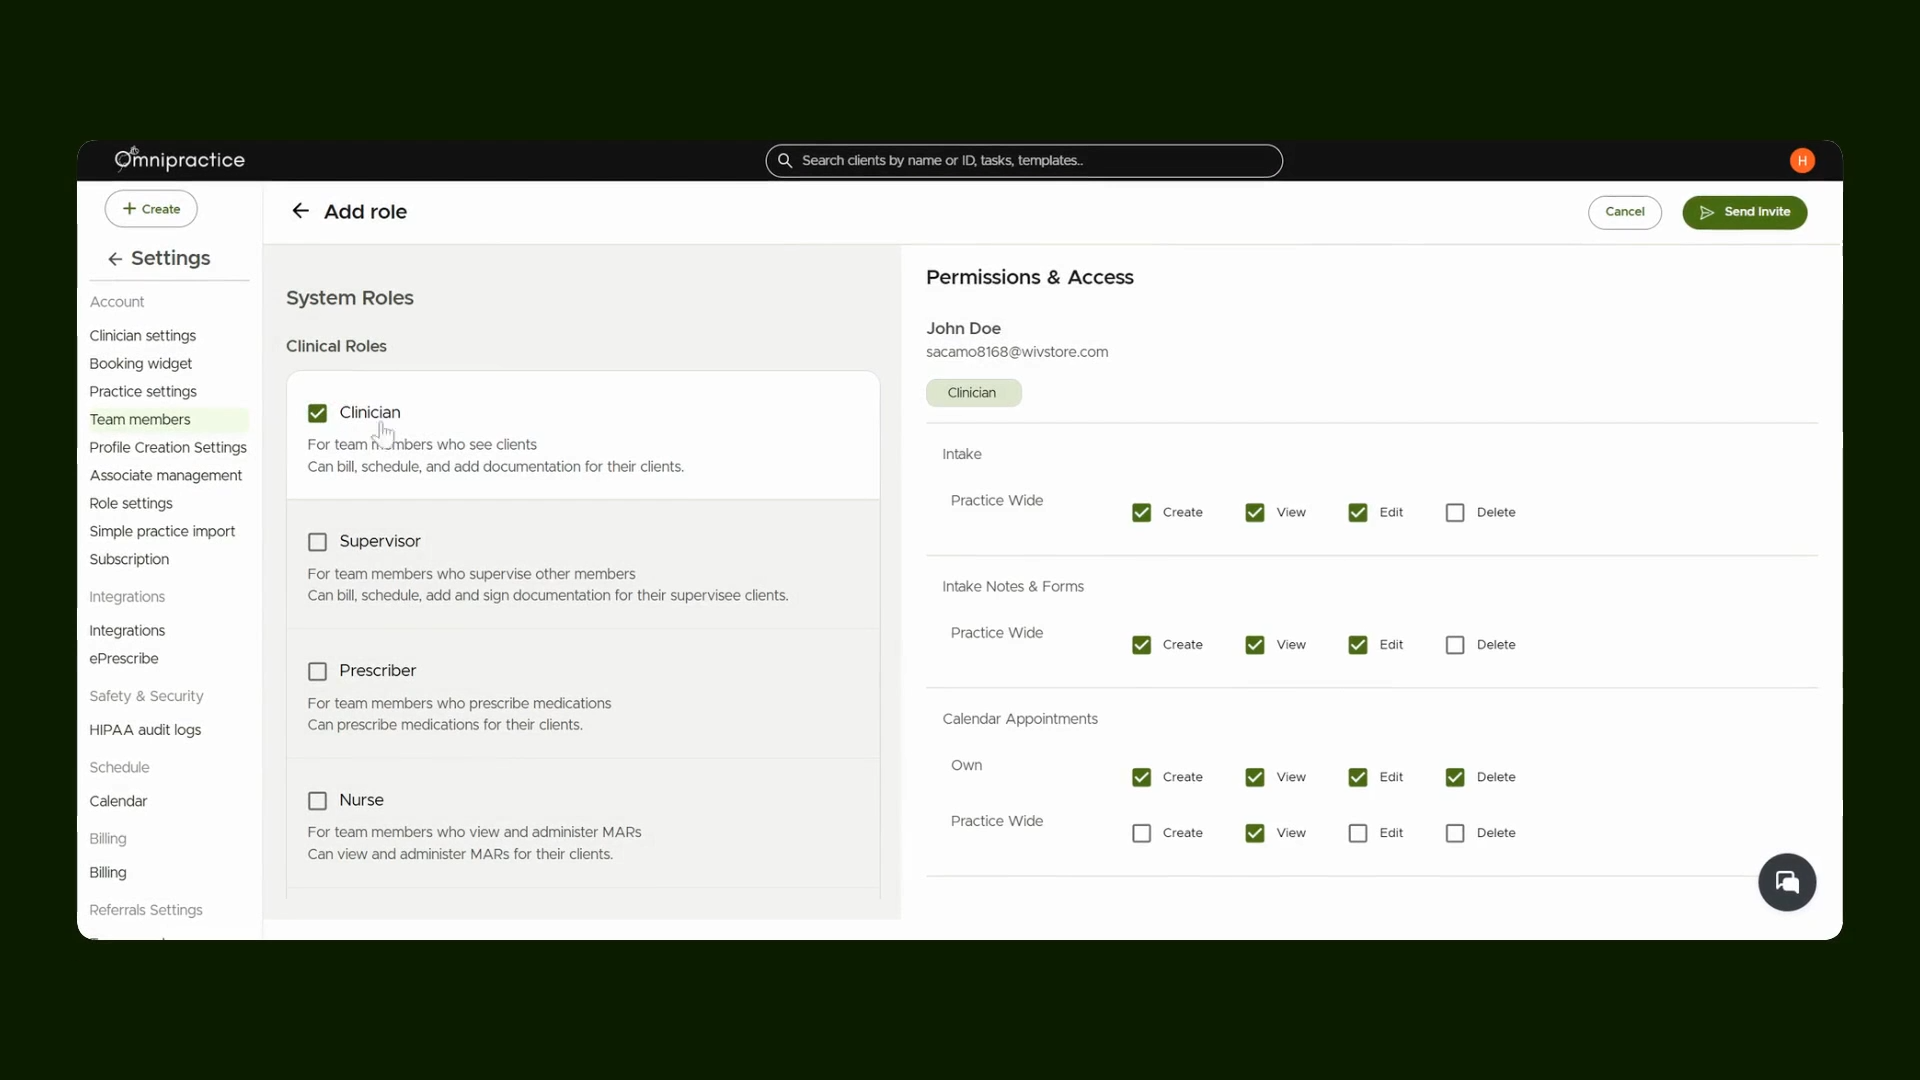
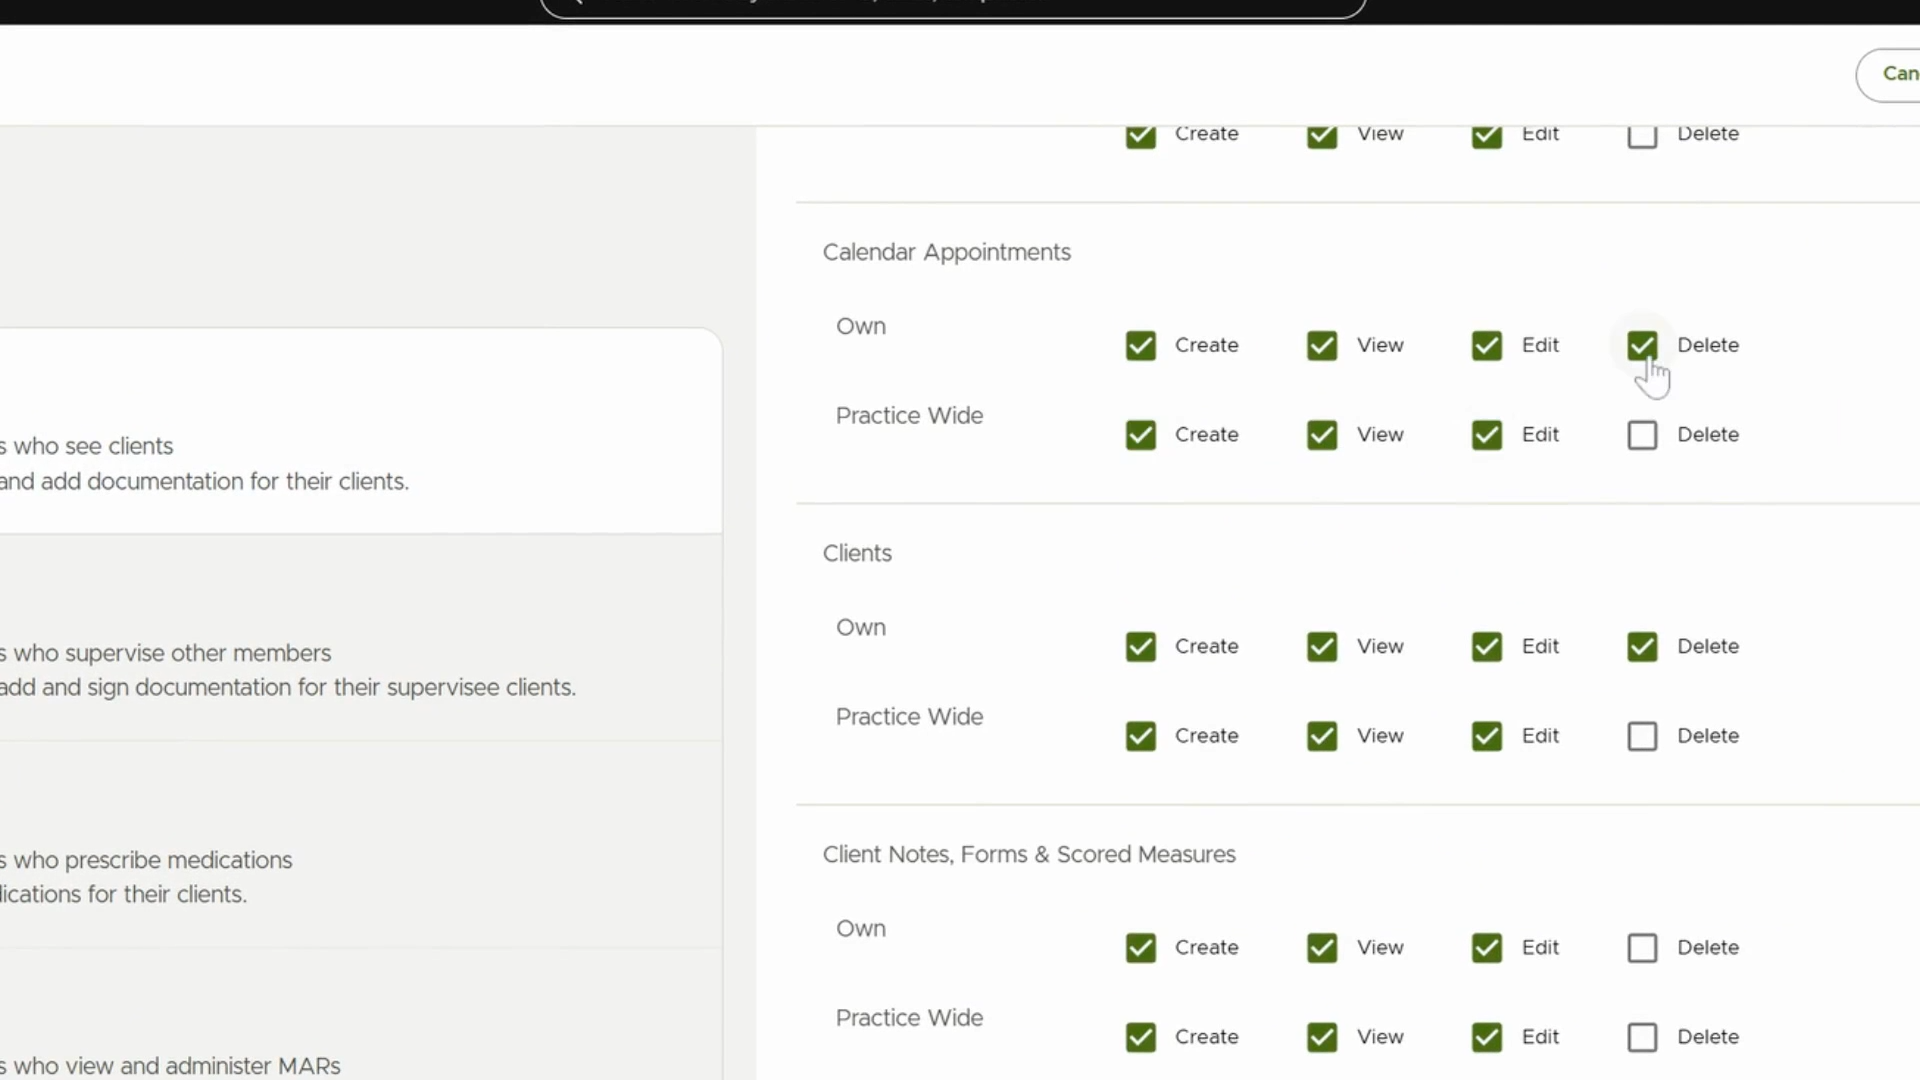
Step 7: Adjust Permissions
Modify the list of permissions as needed for the selected role by adding or removing access.
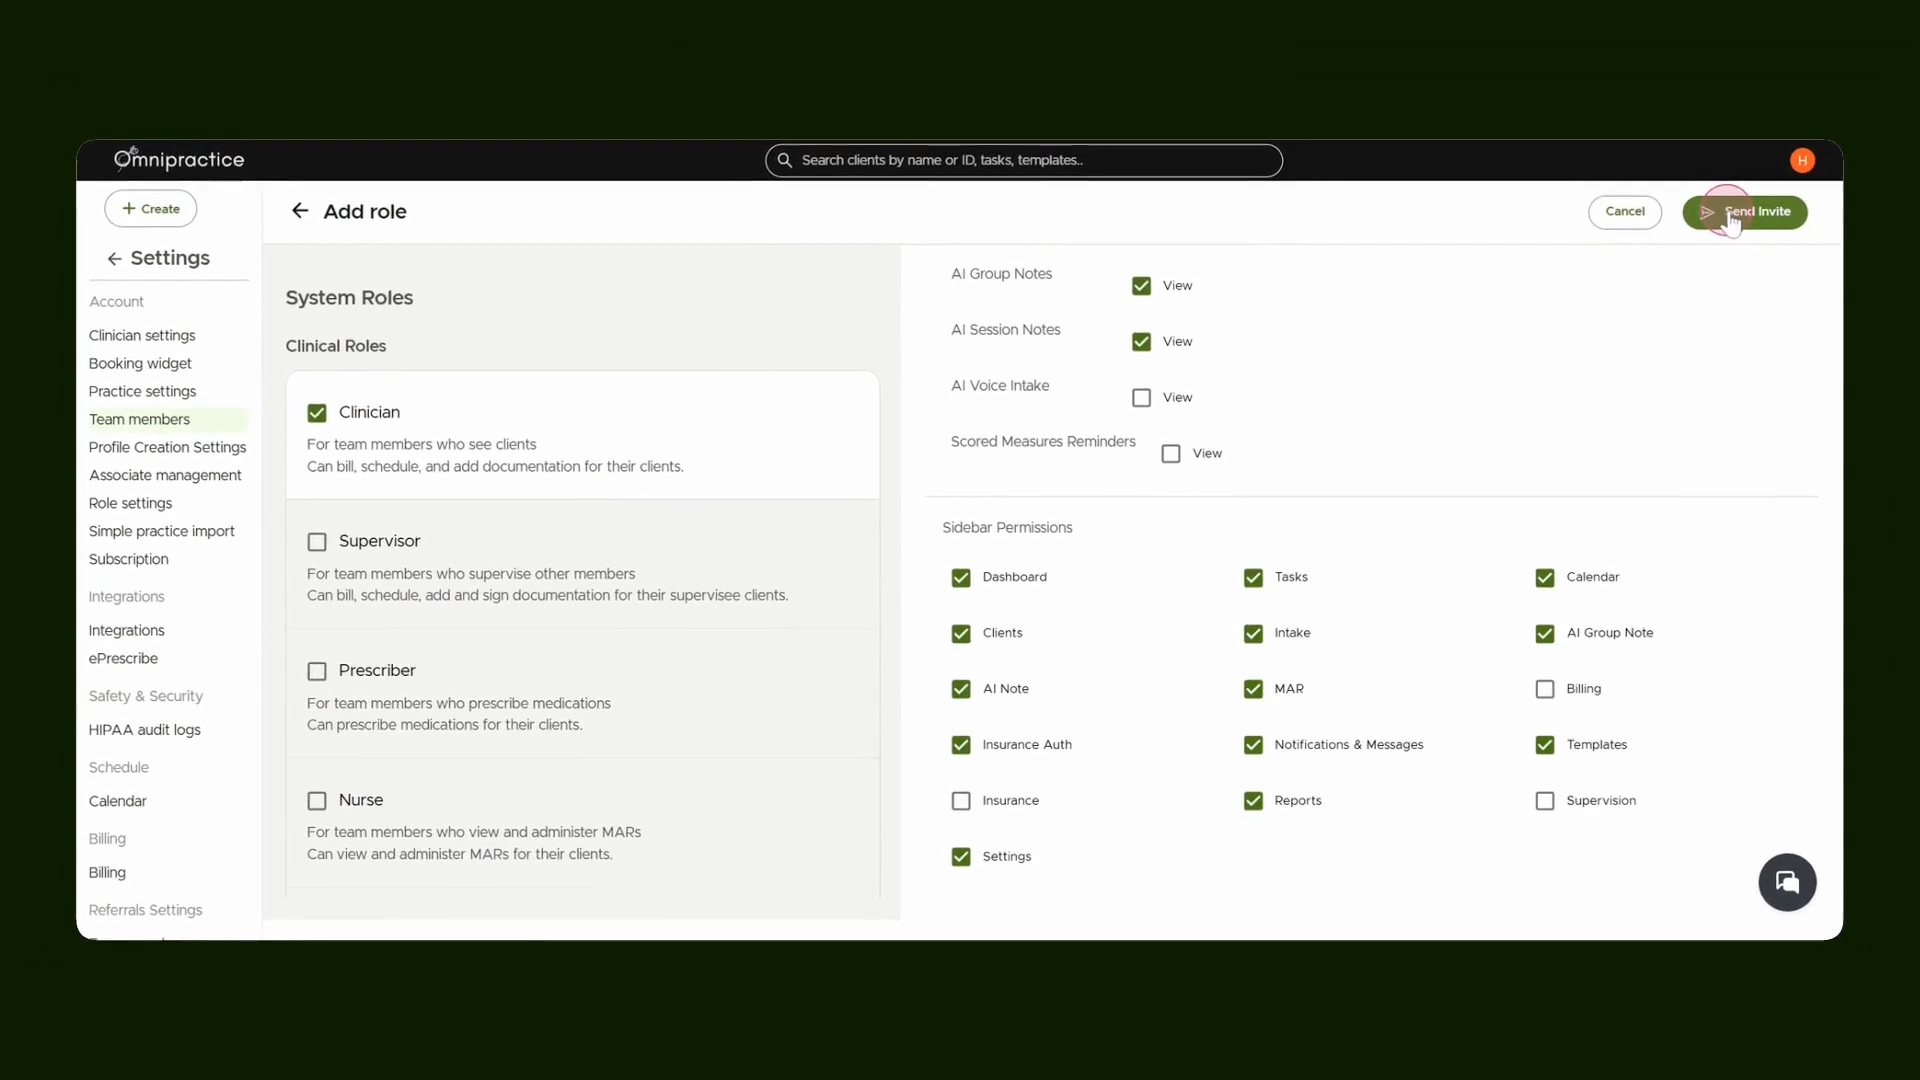
Step 8: Send the Invitation
After setting up roles and permissions, click Send Invite. The new member will receive their invitation.
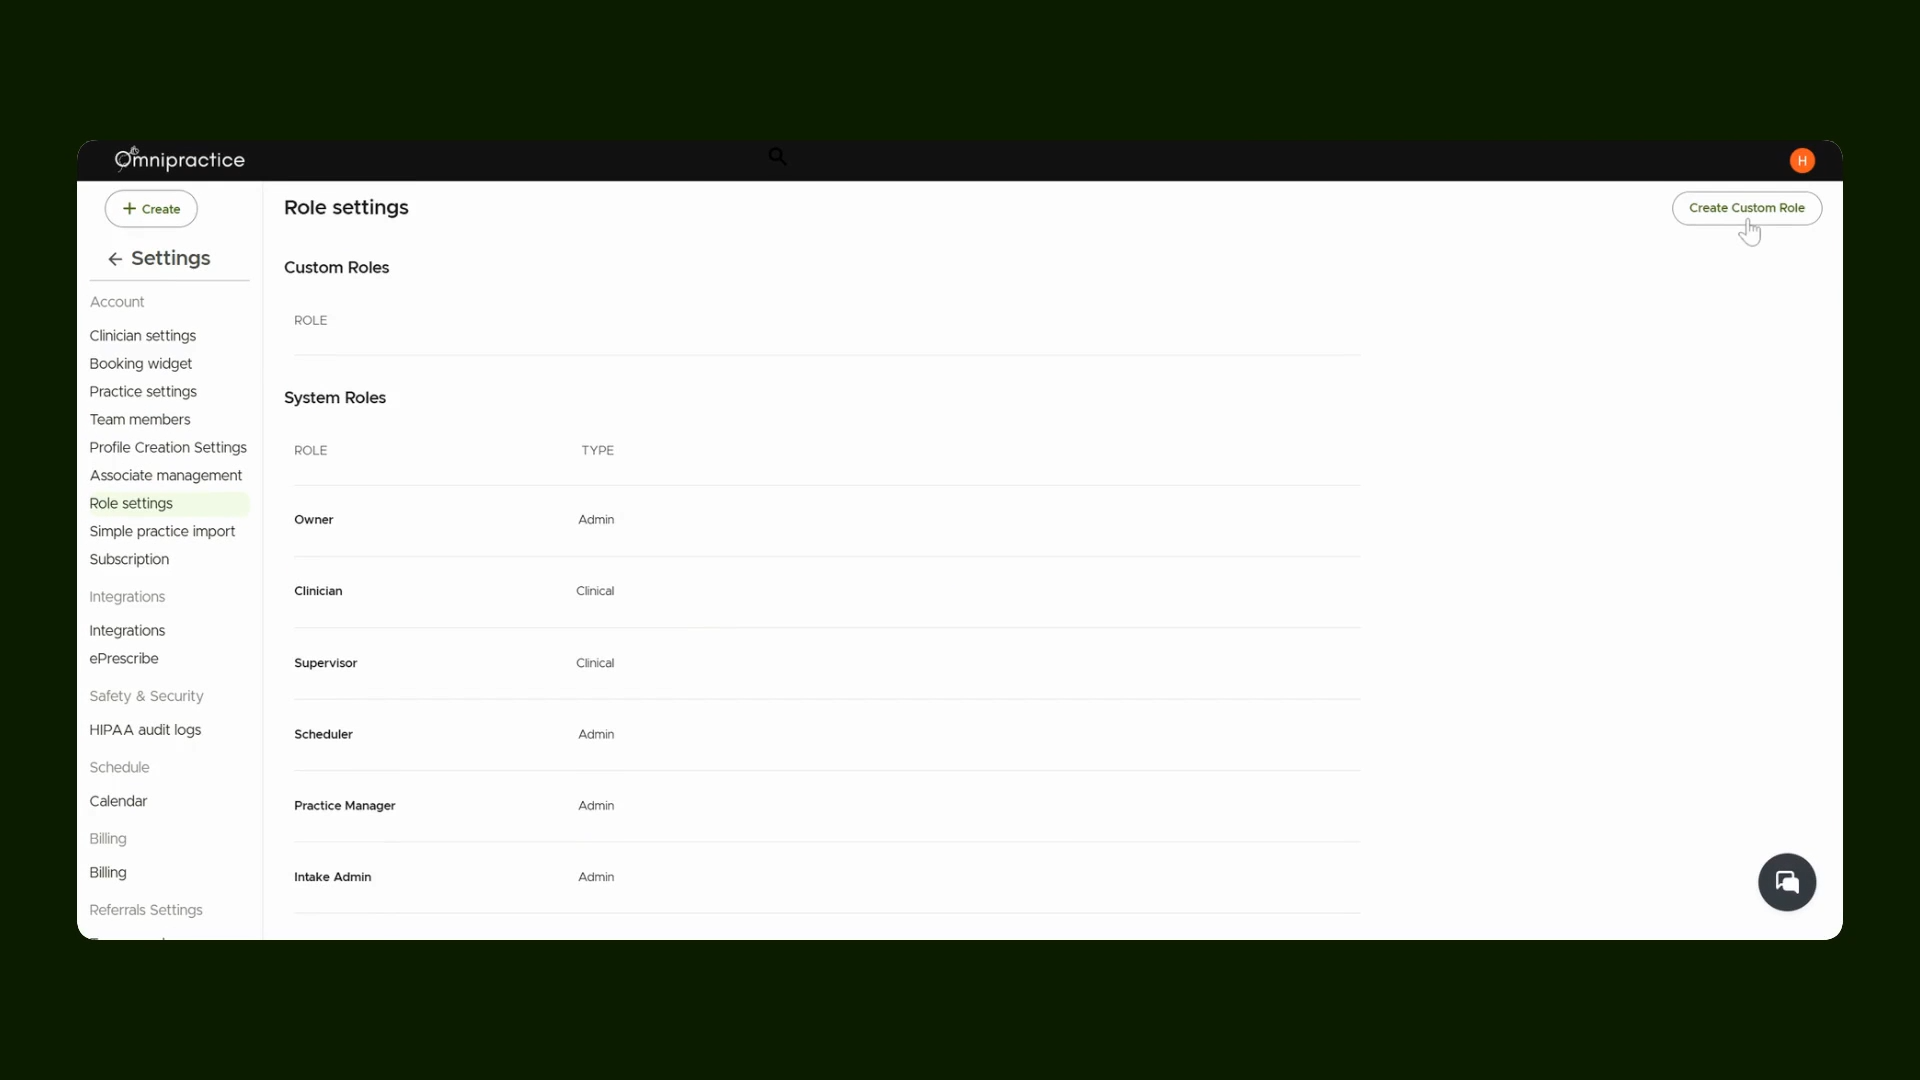
Step 9: Create a Custom Role
Return to Role Setting. Here you can start making a new custom role for specialized permission sets.

Step 10: Start Custom Role Creation
Press Create Custom Role to define a new role type for your team.
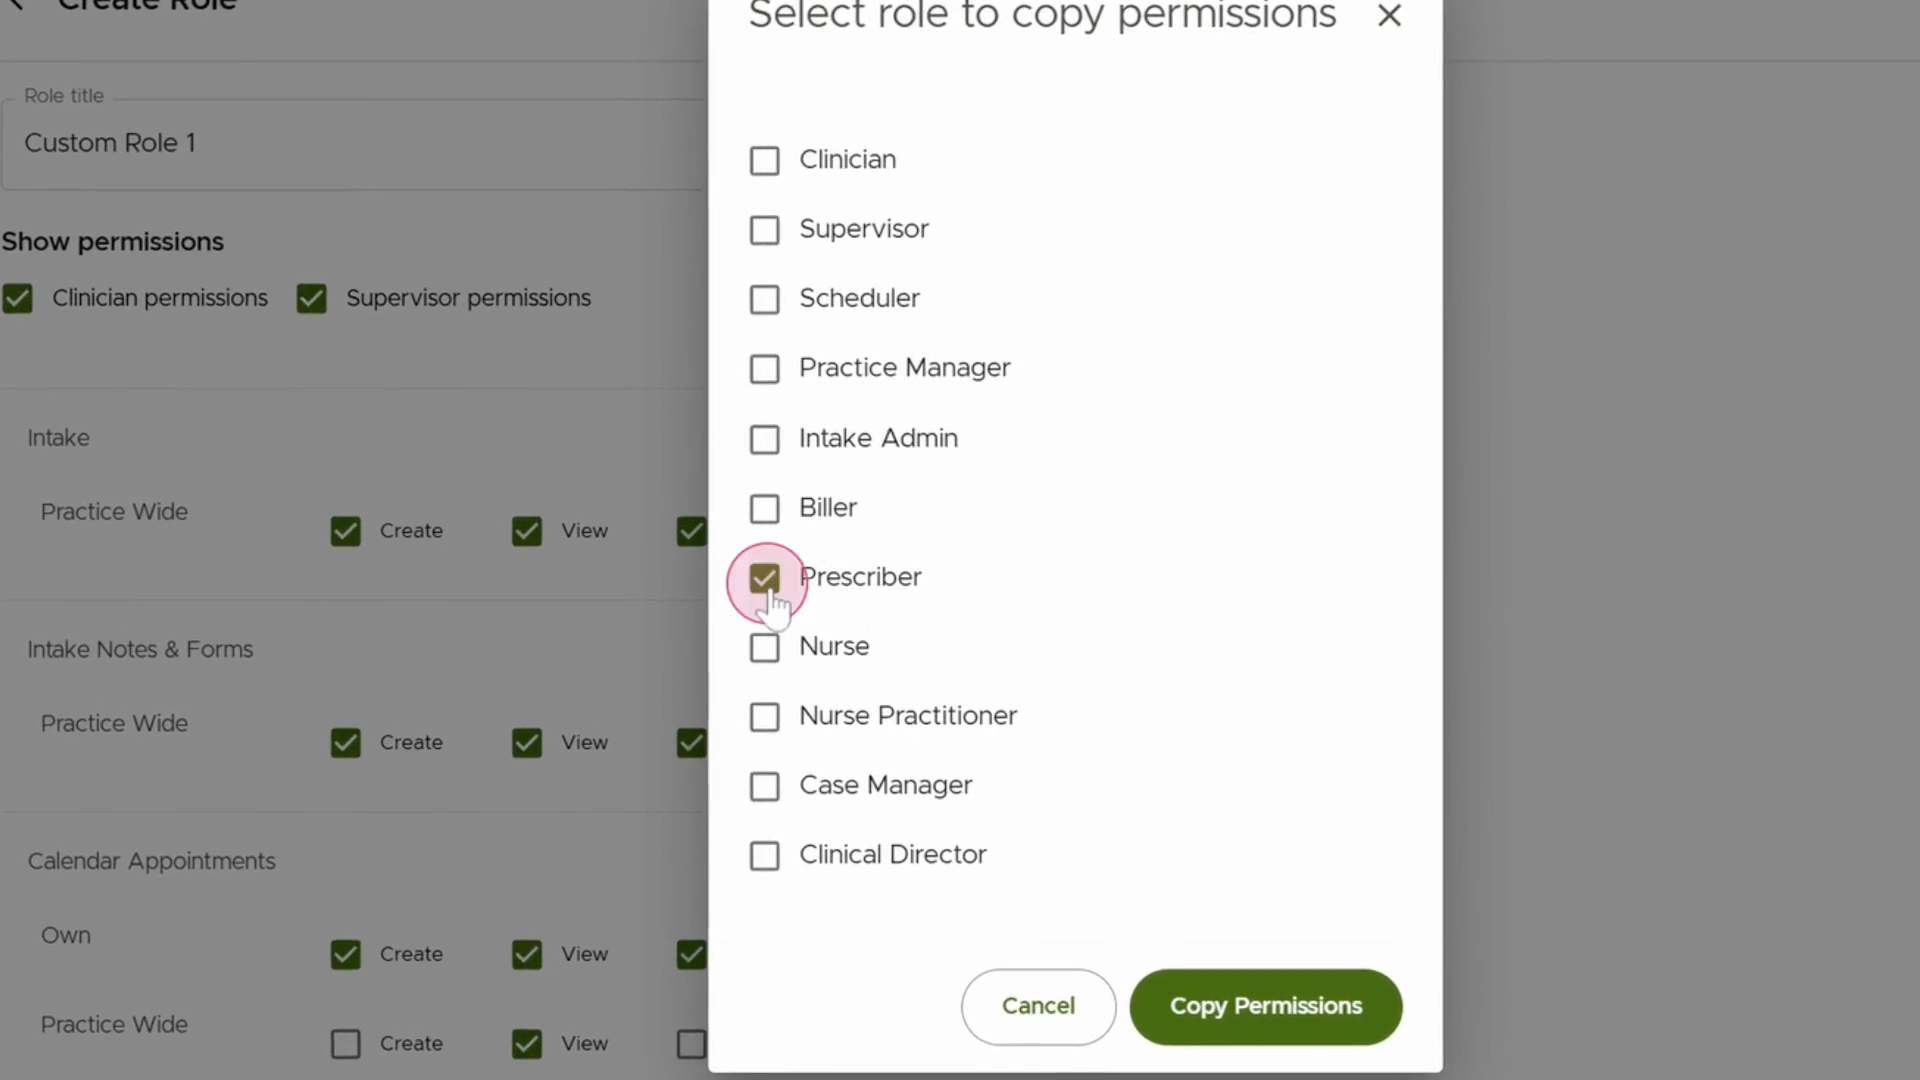
Step 11: Copy or Customize Permissions
Choose to copy permissions from an existing role (e.g., Prescriber) or build a set from scratch. Make any changes needed to match your requirements.
Step 12: Name and Save the Custom Role
Give the custom role a clear name and review permissions before saving. Your new role will appear alongside system roles.

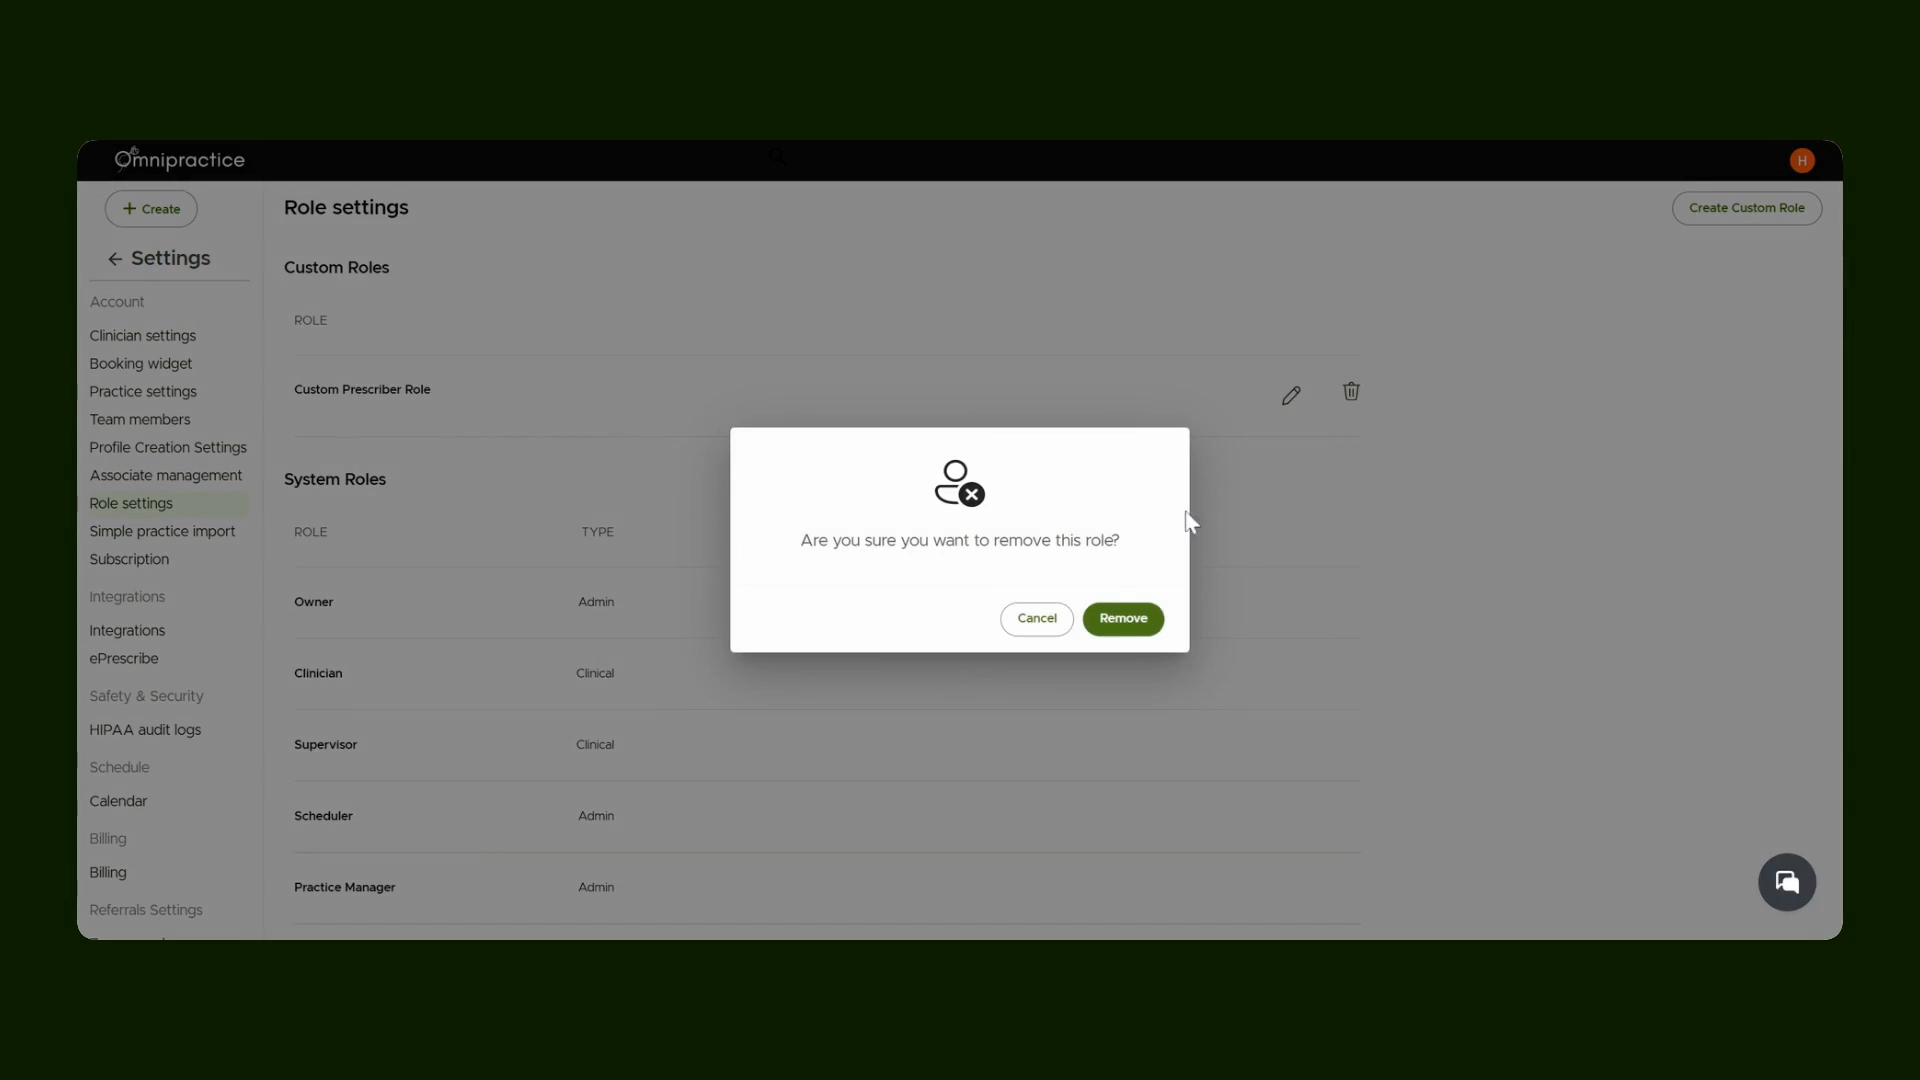
Step 13: Edit or Delete Custom Roles
Update or remove custom roles at any time by using the respective Edit or Delete options.
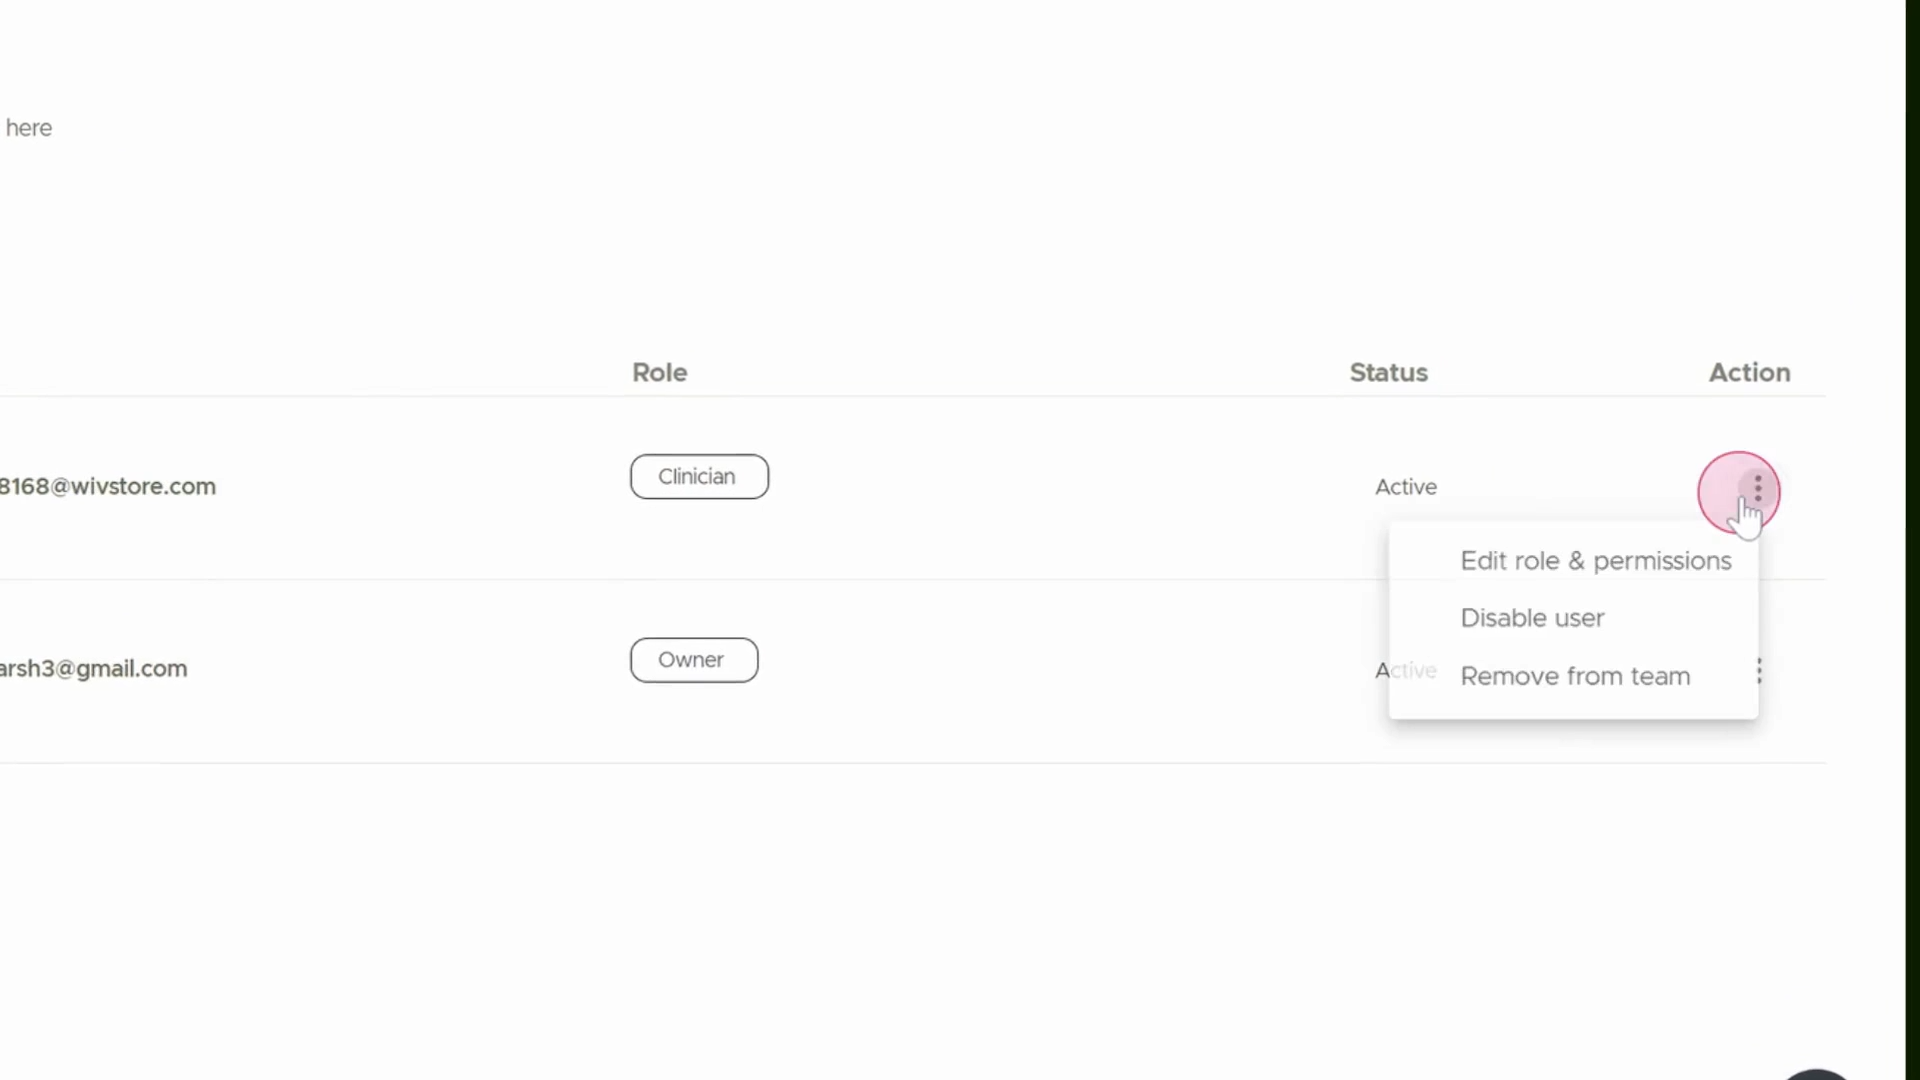
Step 14: Edit Permissions or Disable Team Members
Click Edit Role and Permission to update what a team member can do, or use Disable to temporarily revoke their access.
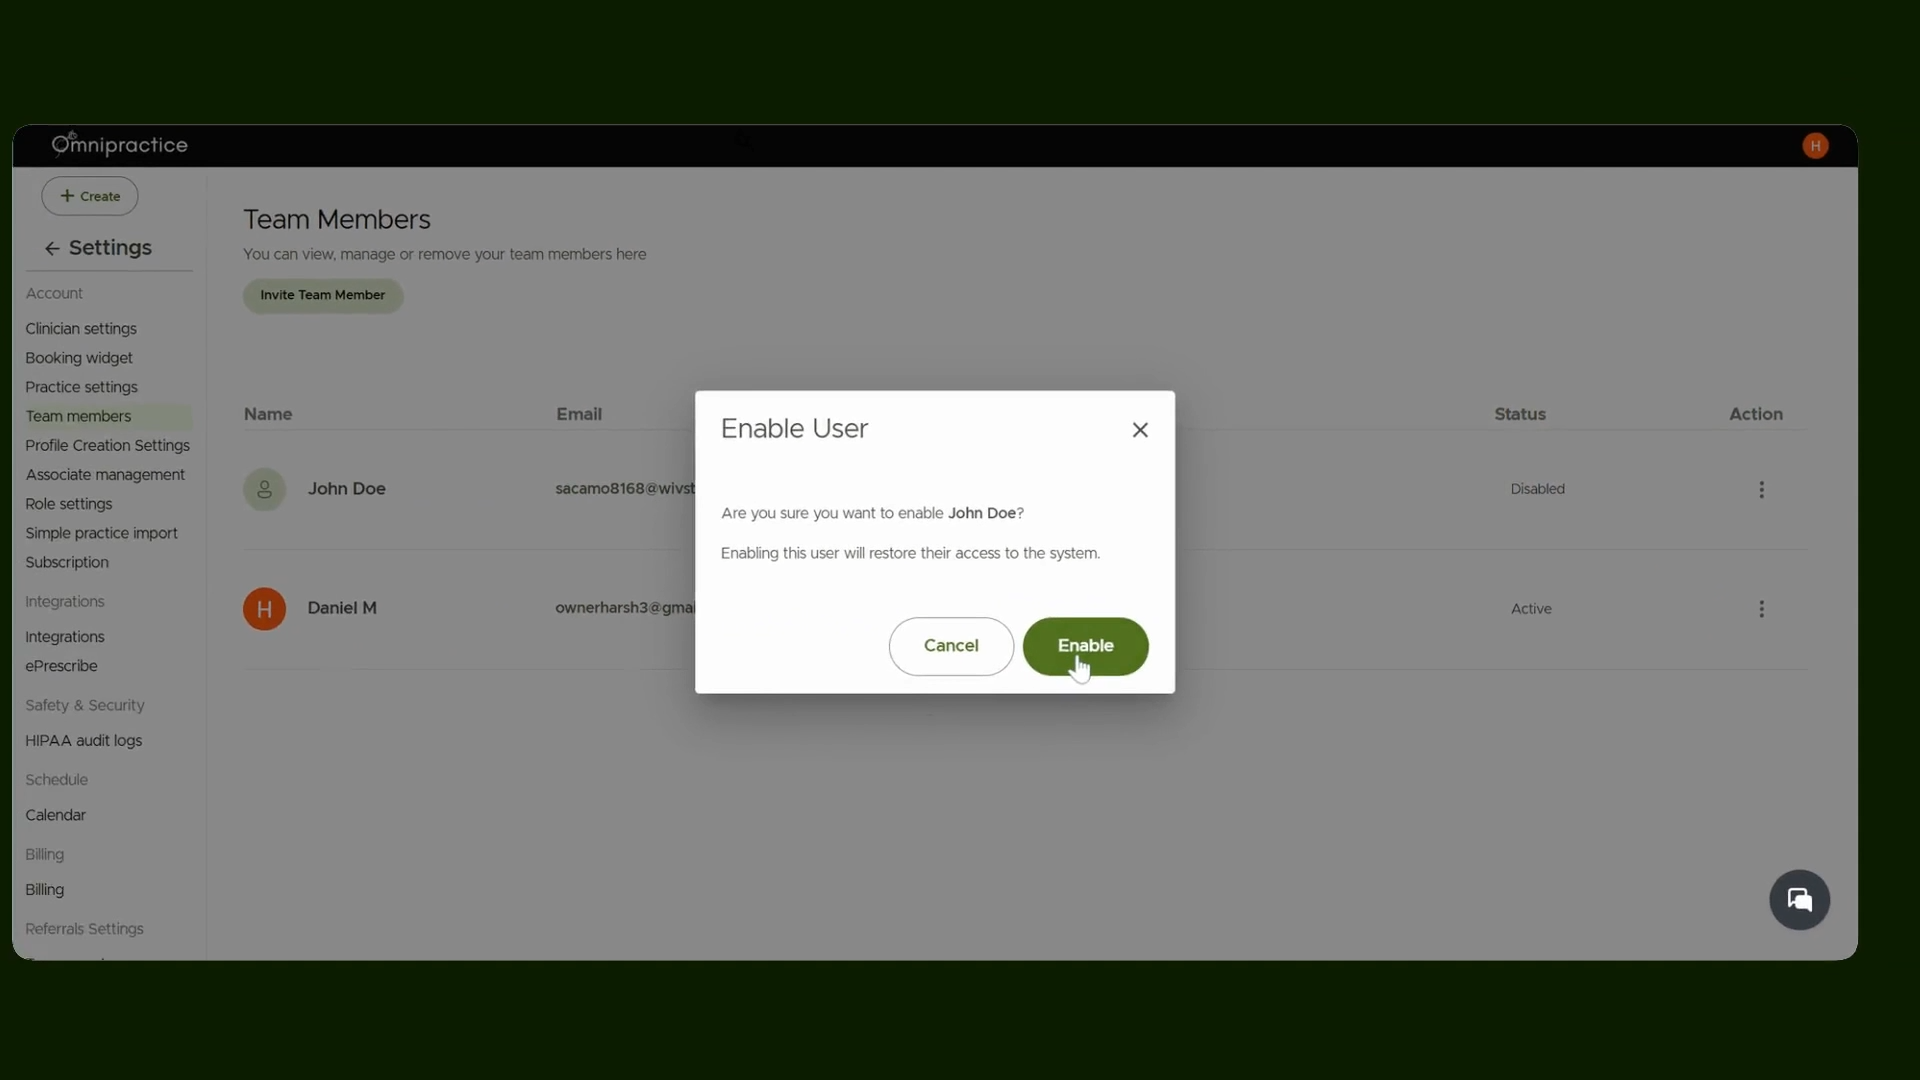
Step 15: Re-enable or Remove Users
Restore access to any disabled user as needed, or permanently remove them from the team.
Step 16: Save Permission Updates
After making changes to permissions or roles, always click Save to apply your updates.
You’re all set! You now know how to invite new team members, adjust their permissions, and manage custom roles in your team workspace.