Schedule, Join a Session & Prepare for Notes
Follow this tutorial to schedule a therapy session with a client, join the virtual meeting, and document your notes—either manually or using AI transcription support.
Step 1: Create an Appointment
Start by selecting the Create icon to open the appointment scheduling window. Begin the process with a client already assigned to the therapist.
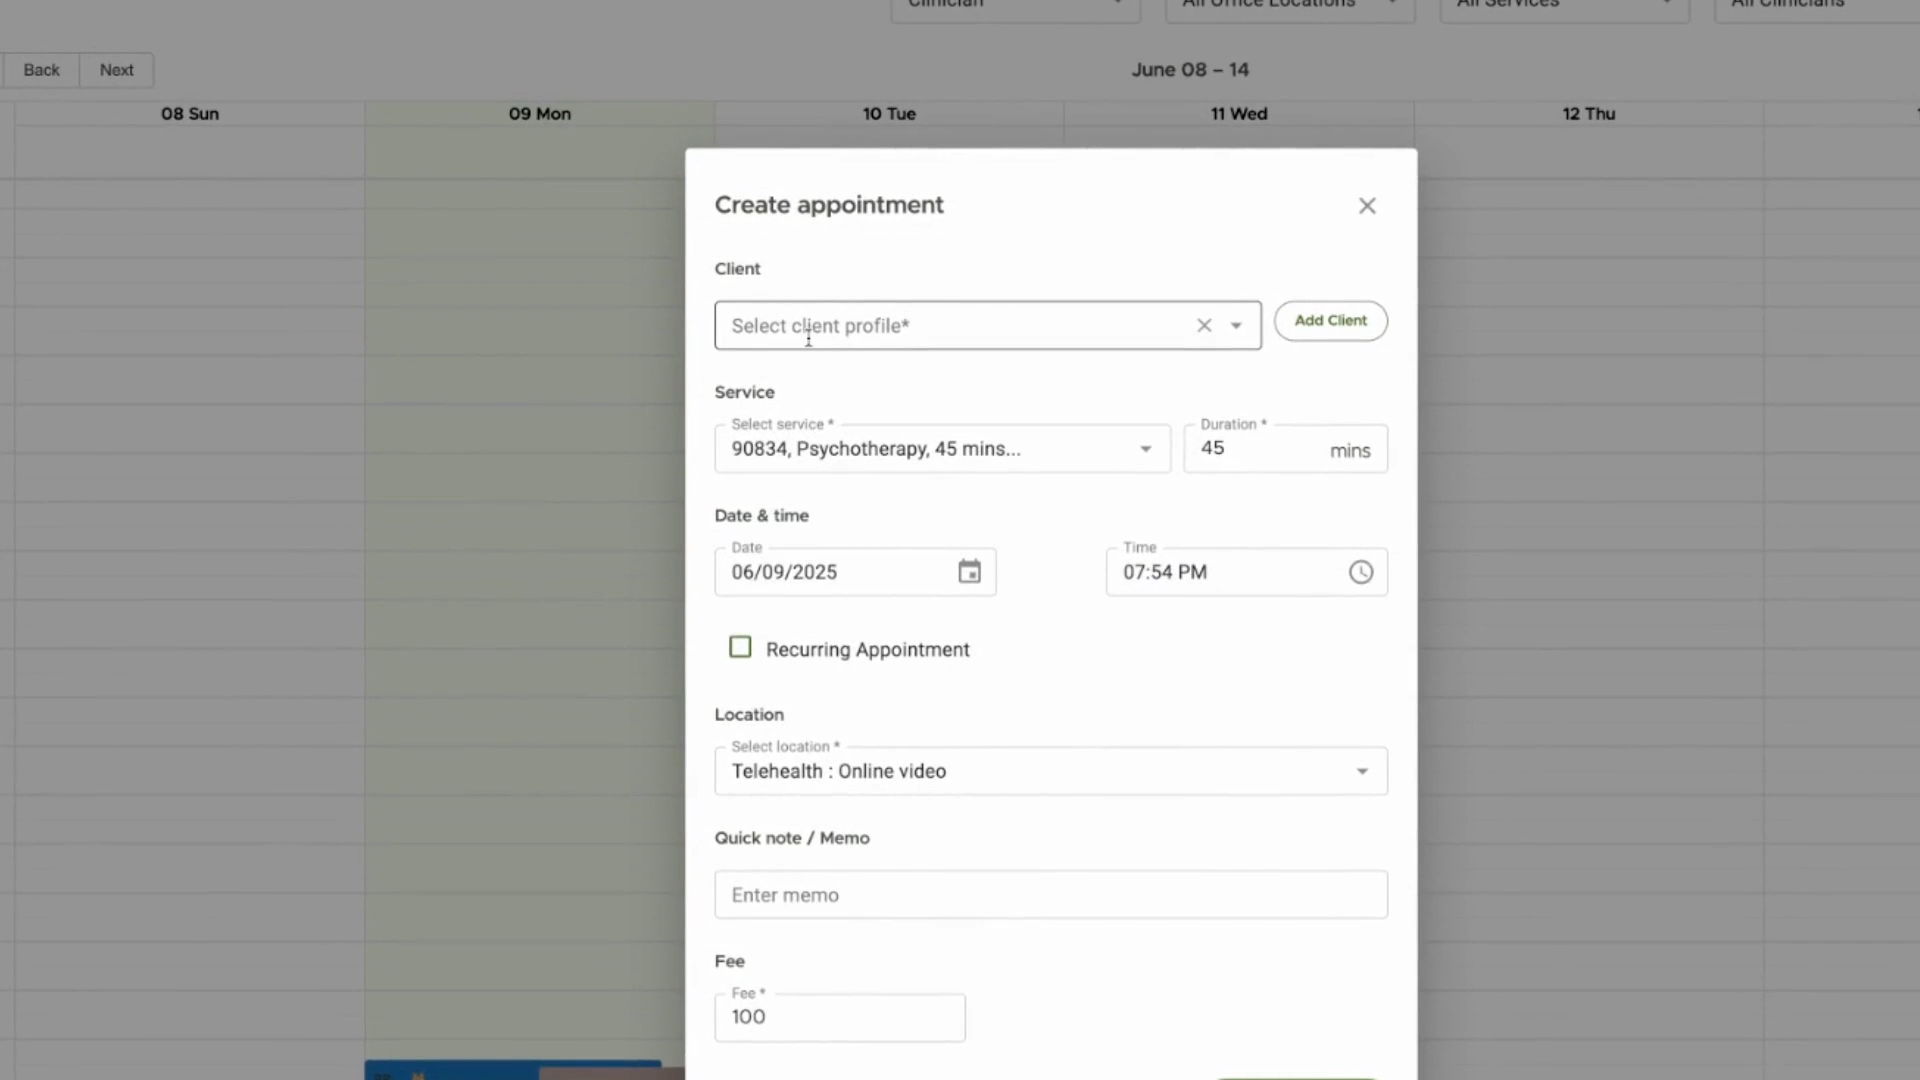
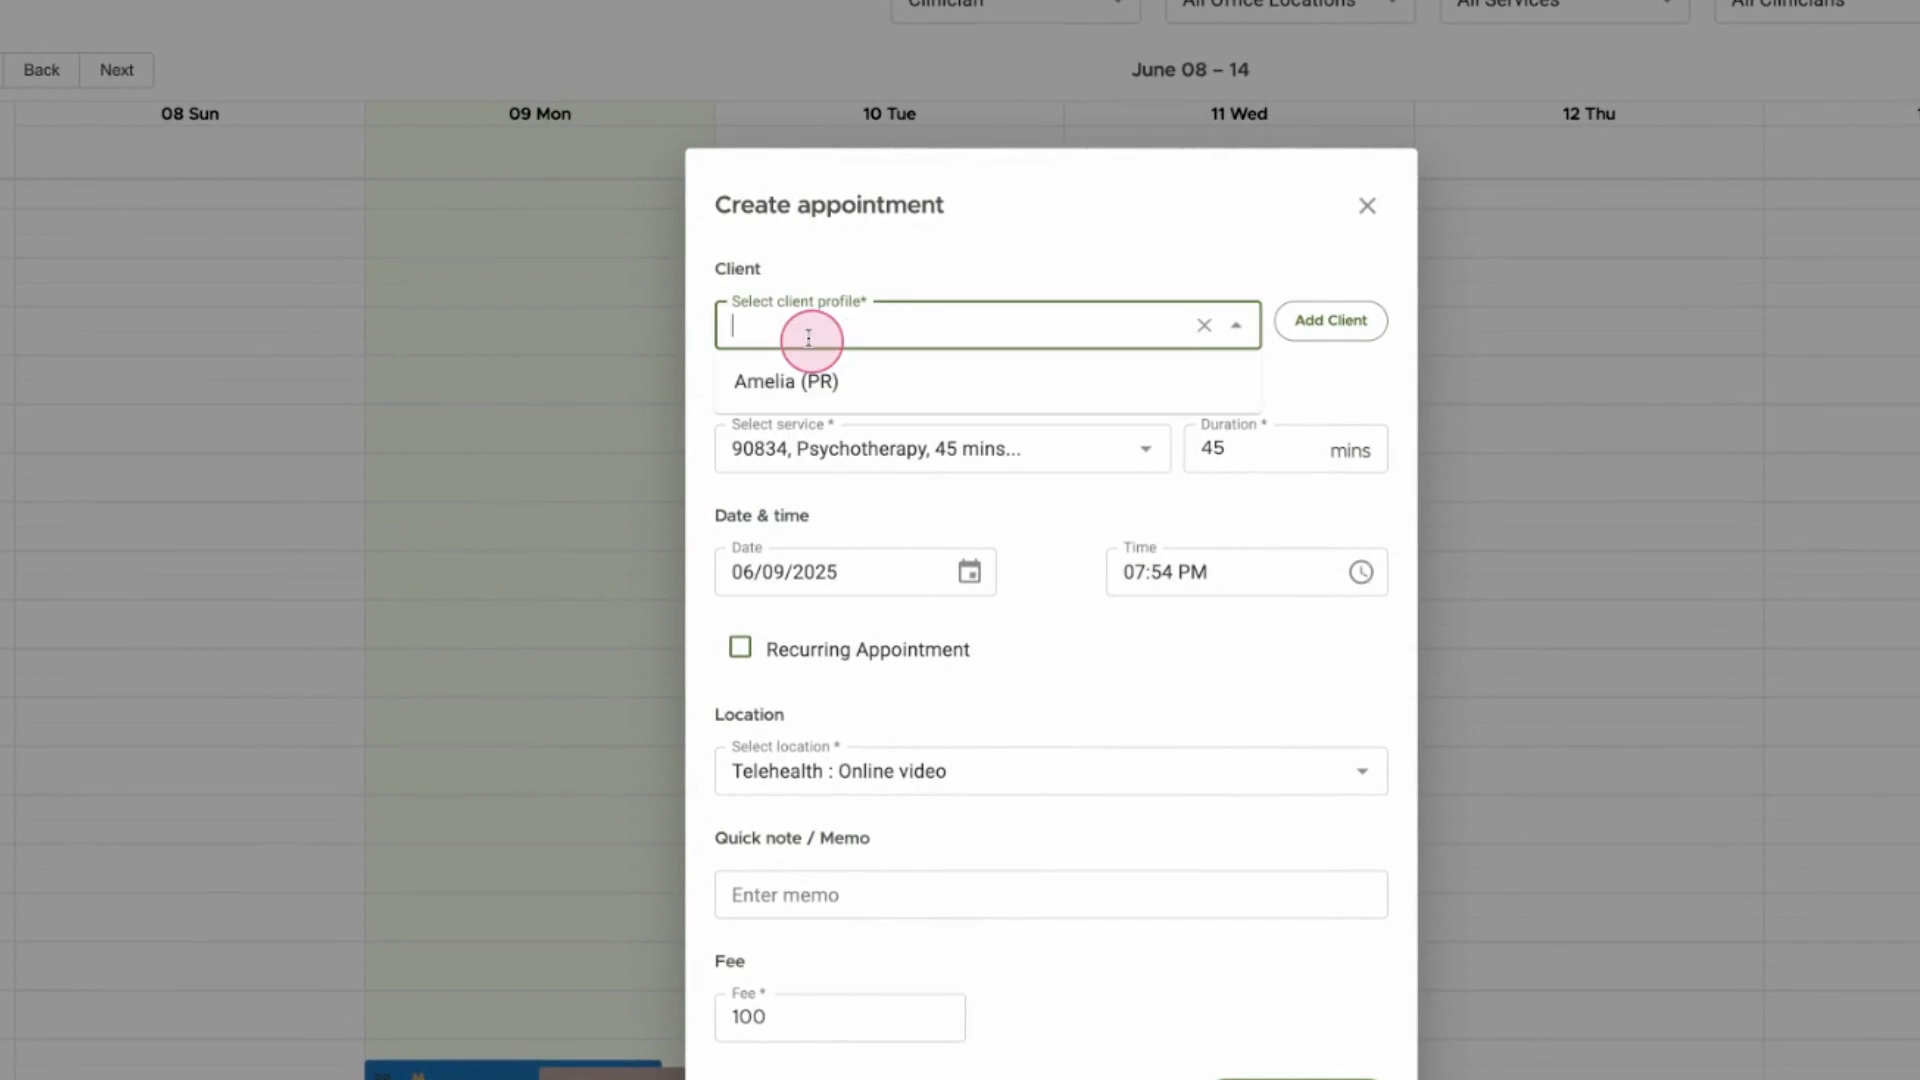
Step 2: Select Client and Set Appointment Details
Choose the client's profile. Specify the session duration, appointment time, and fee if necessary.
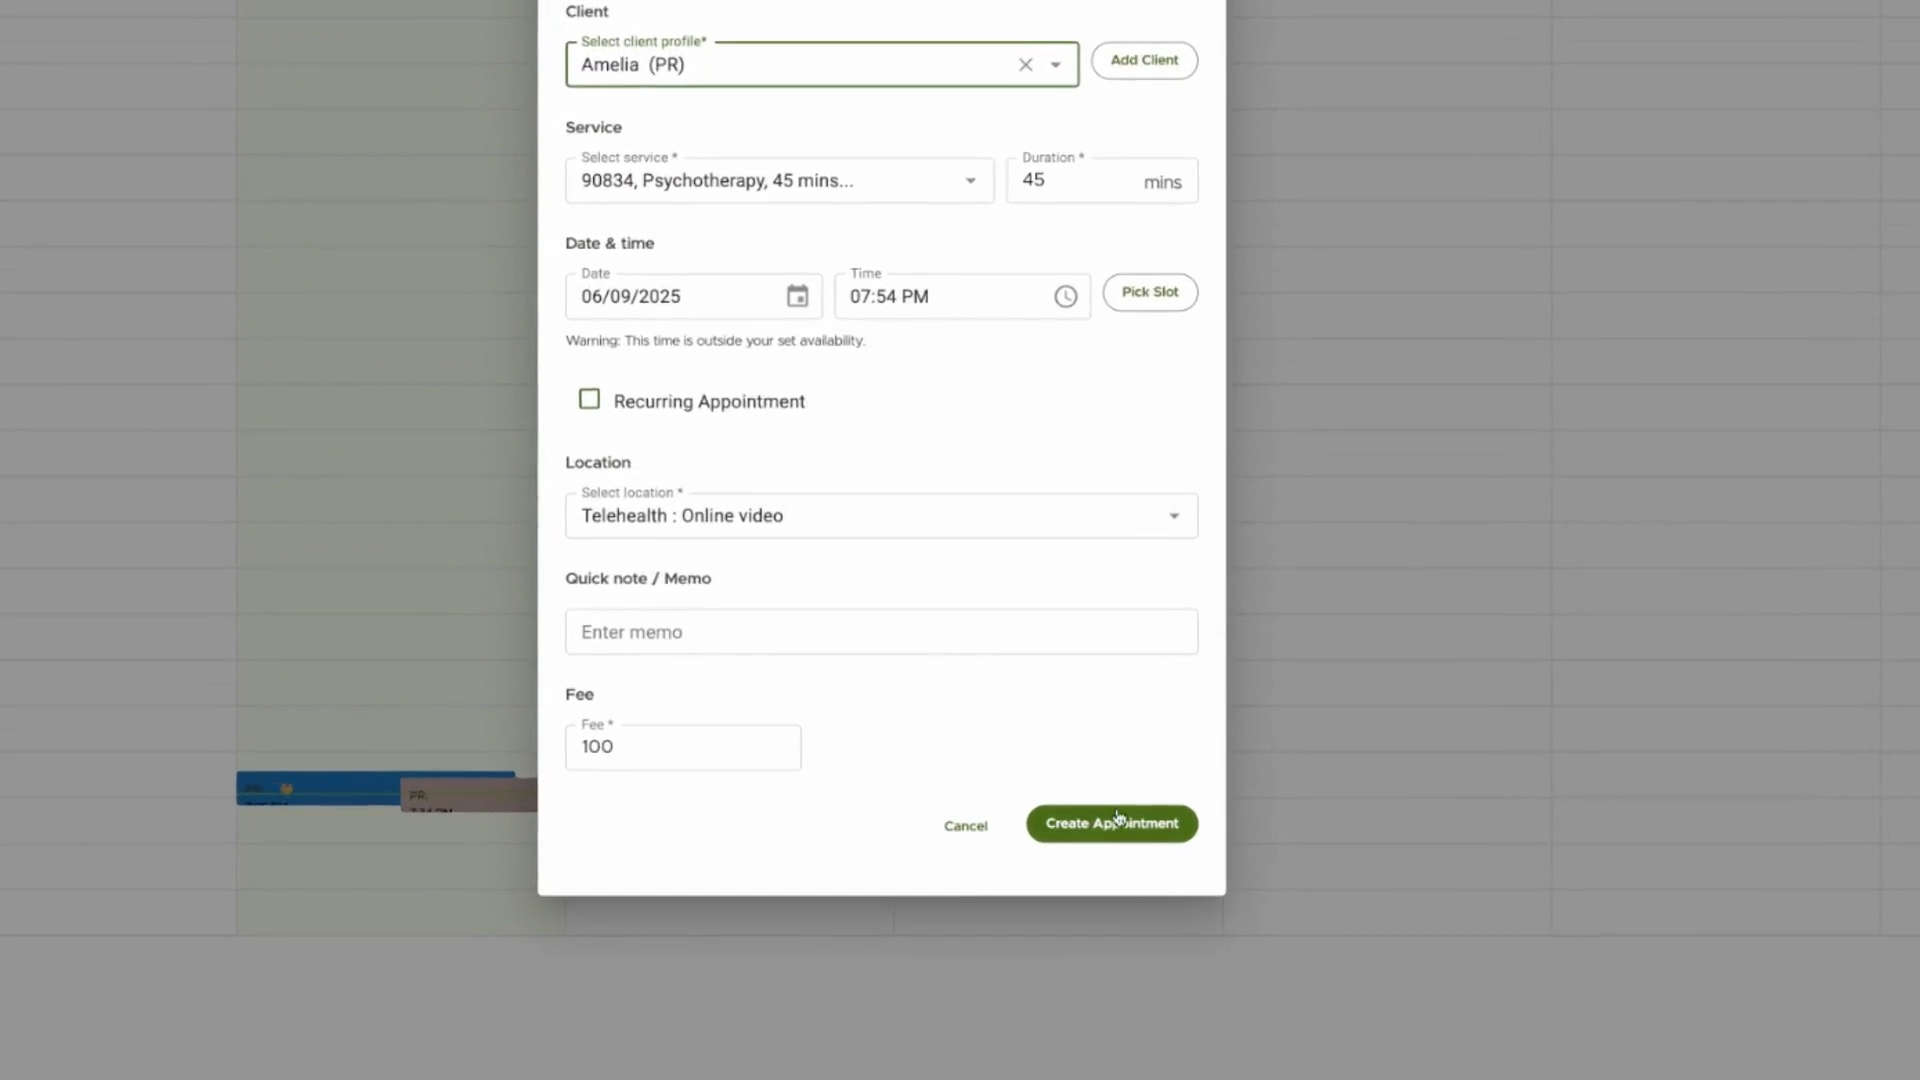
Step 3: Finalize and Create Appointment
Review the details and confirm by creating the individual therapy appointment.
Step 4: Appointment Added to Calendar
After scheduling, the appointment appears on your calendar. Notice the Join Video link, which appears when the session is about to start.
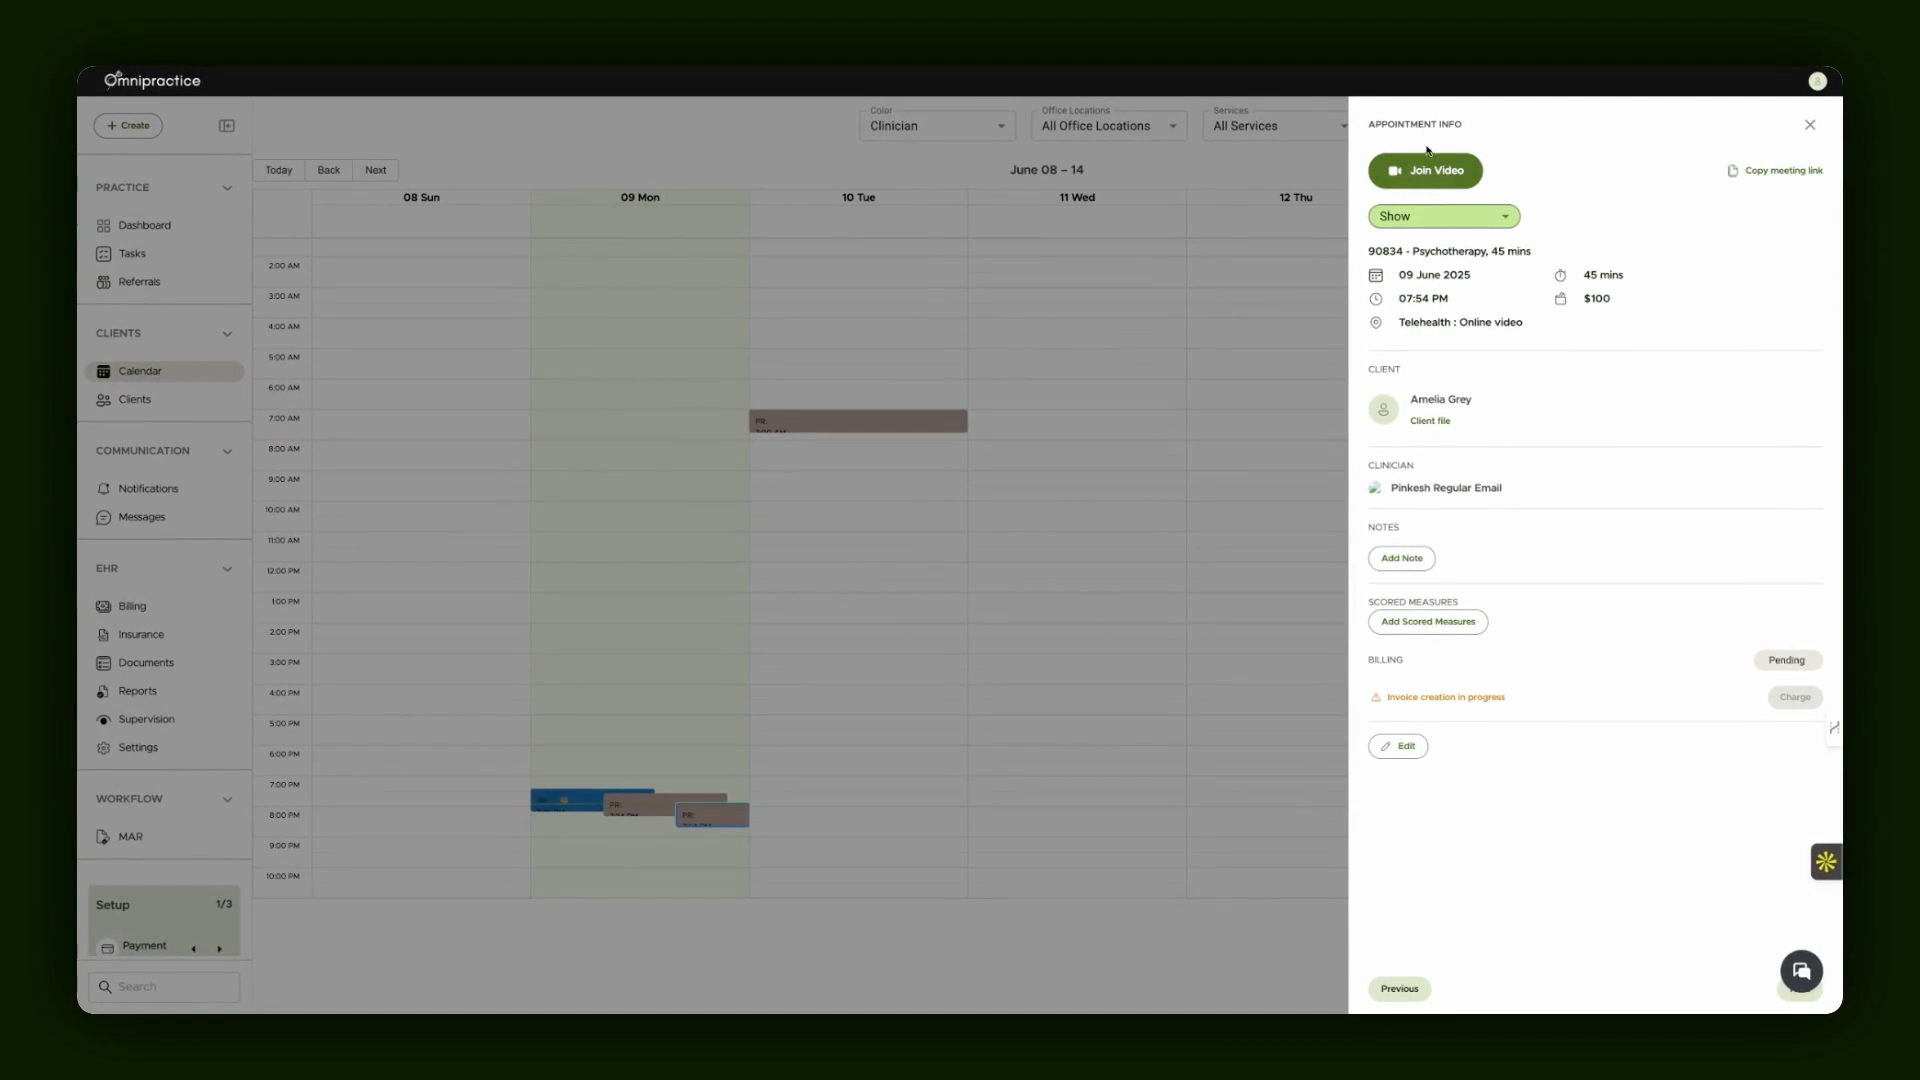
Step 5: Join the Appointment and Access Client Chart
When it’s time, join the video meeting directly from the calendar. You can also quickly view the client’s chart, find session history, and add session notes under the Sessions tab.
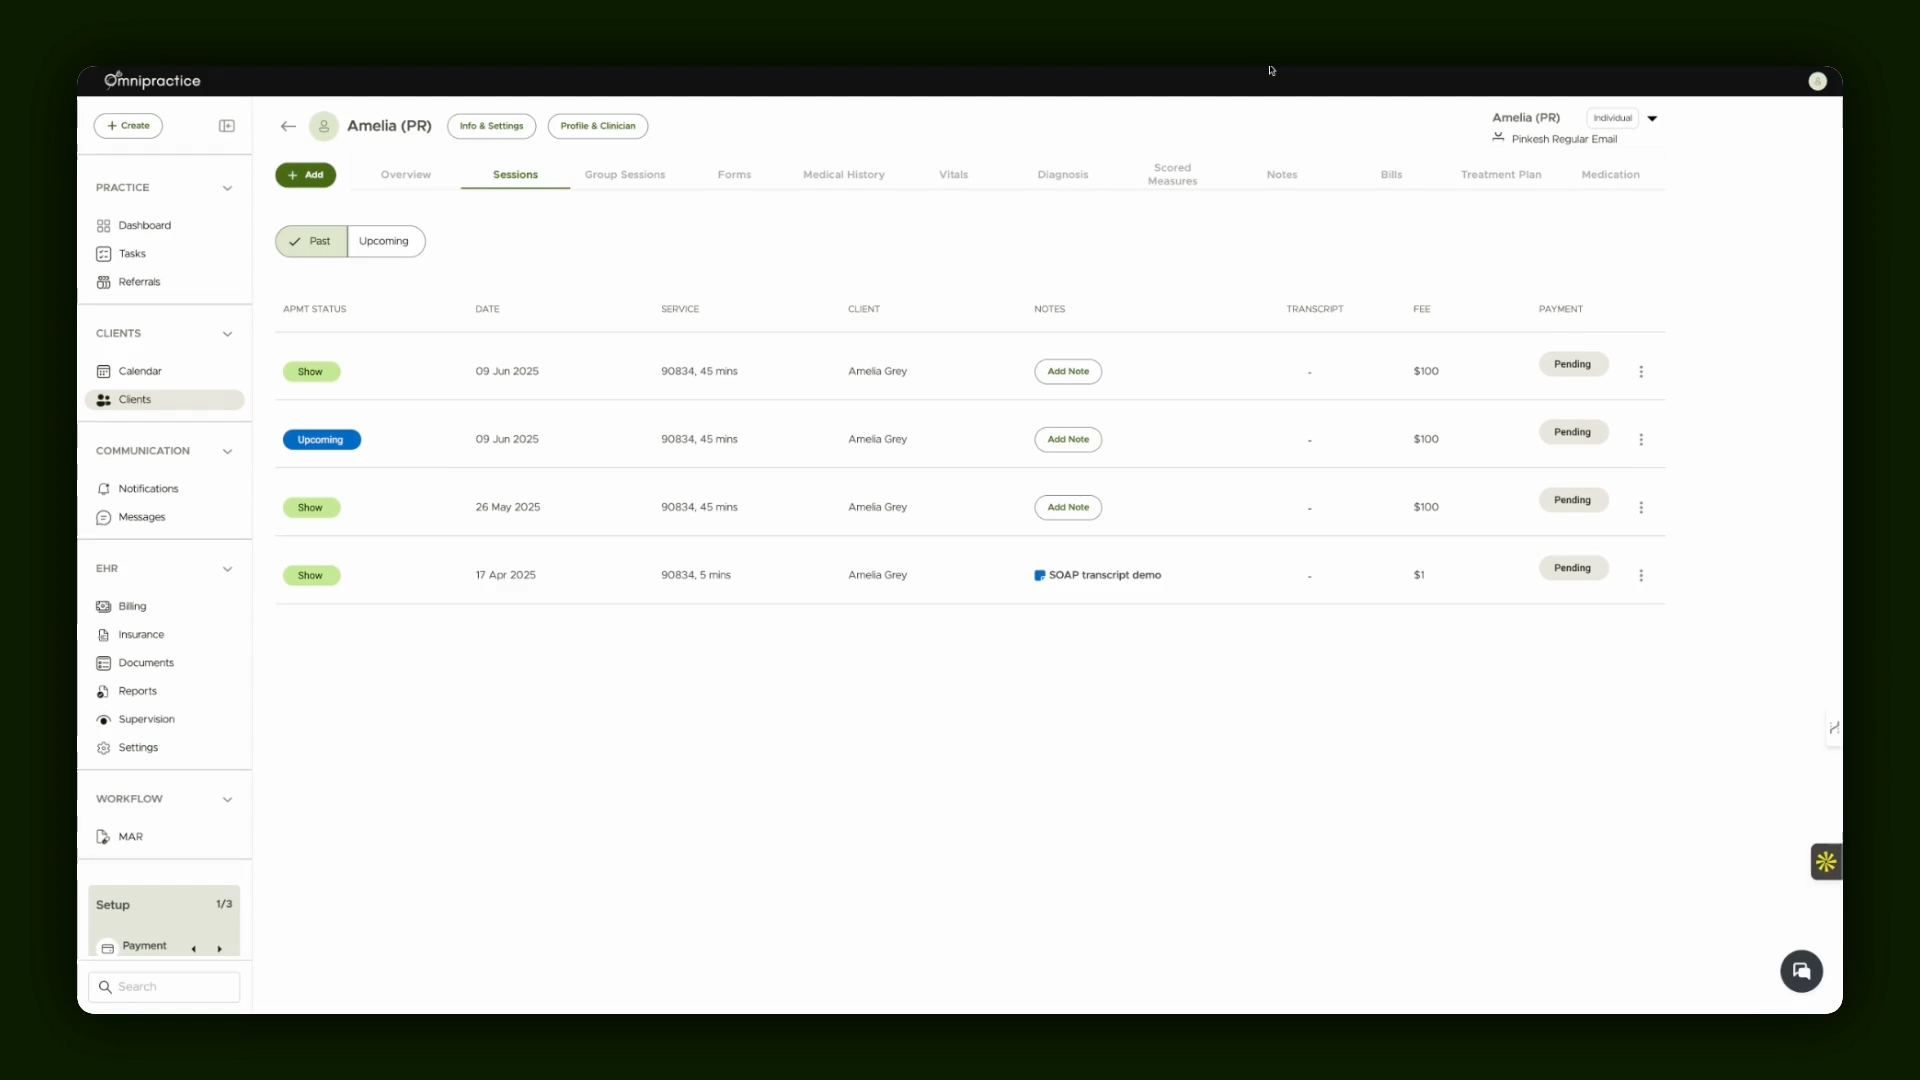
Step 6: Add Therapy Notes
Enter your session notes here. You’ll see all past and upcoming sessions to keep records up to date. If you’re using AI note generation, first add our Chrome extension. Before or during the appointment, start the extension to record and transcribe the session. When the session ends, the transcript becomes available, allowing you to generate AI-based notes. If not using AI, add your notes manually.
By following these steps, you’re able to schedule sessions, conduct virtual therapy appointments, and document notes efficiently for each client, with or without AI transcription support.