Manage Clinician Details, Link Calendar & Enable Omni Recorder
Set up your Clinician Profile and Services from start to finish with this easy-to-follow, step-by-step tutorial. By the end, you'll have a complete clinician profile, defined services, and flexible booking options for your clients.
1. Accessing the Clinician Settings Page
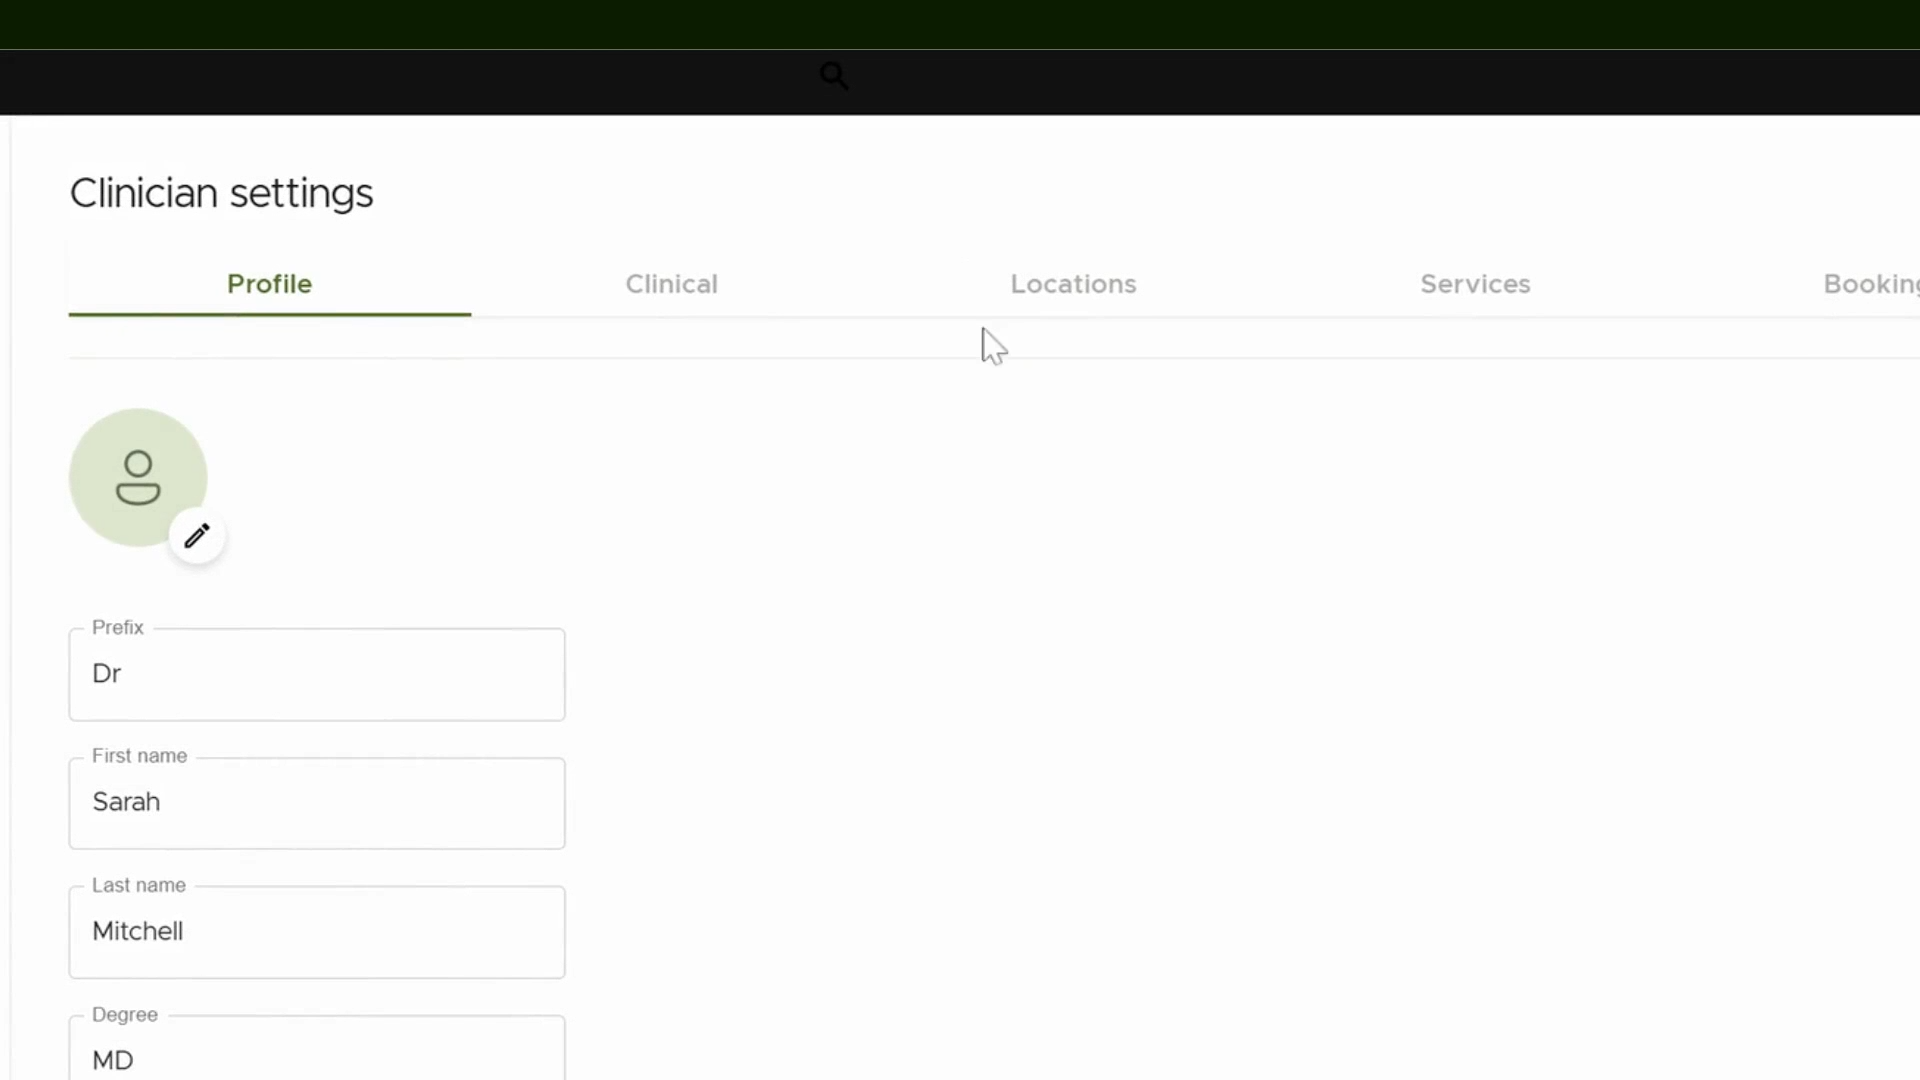
Navigate to the Settings page from your main dashboard. In the Account section, click Clinician settings to access your profile controls.

2. Editing Your Clinician Profile Information
Edit your profile fields, including name, credentials, and contact details. Confirm all information is accurate. Move to next tab to review more clinician details and set up payment methods. Make sure your payment preferences and any extra required information are complete.
Click Save, once you’ve filled and reviewed all the details.
3. Accessing the Services Section
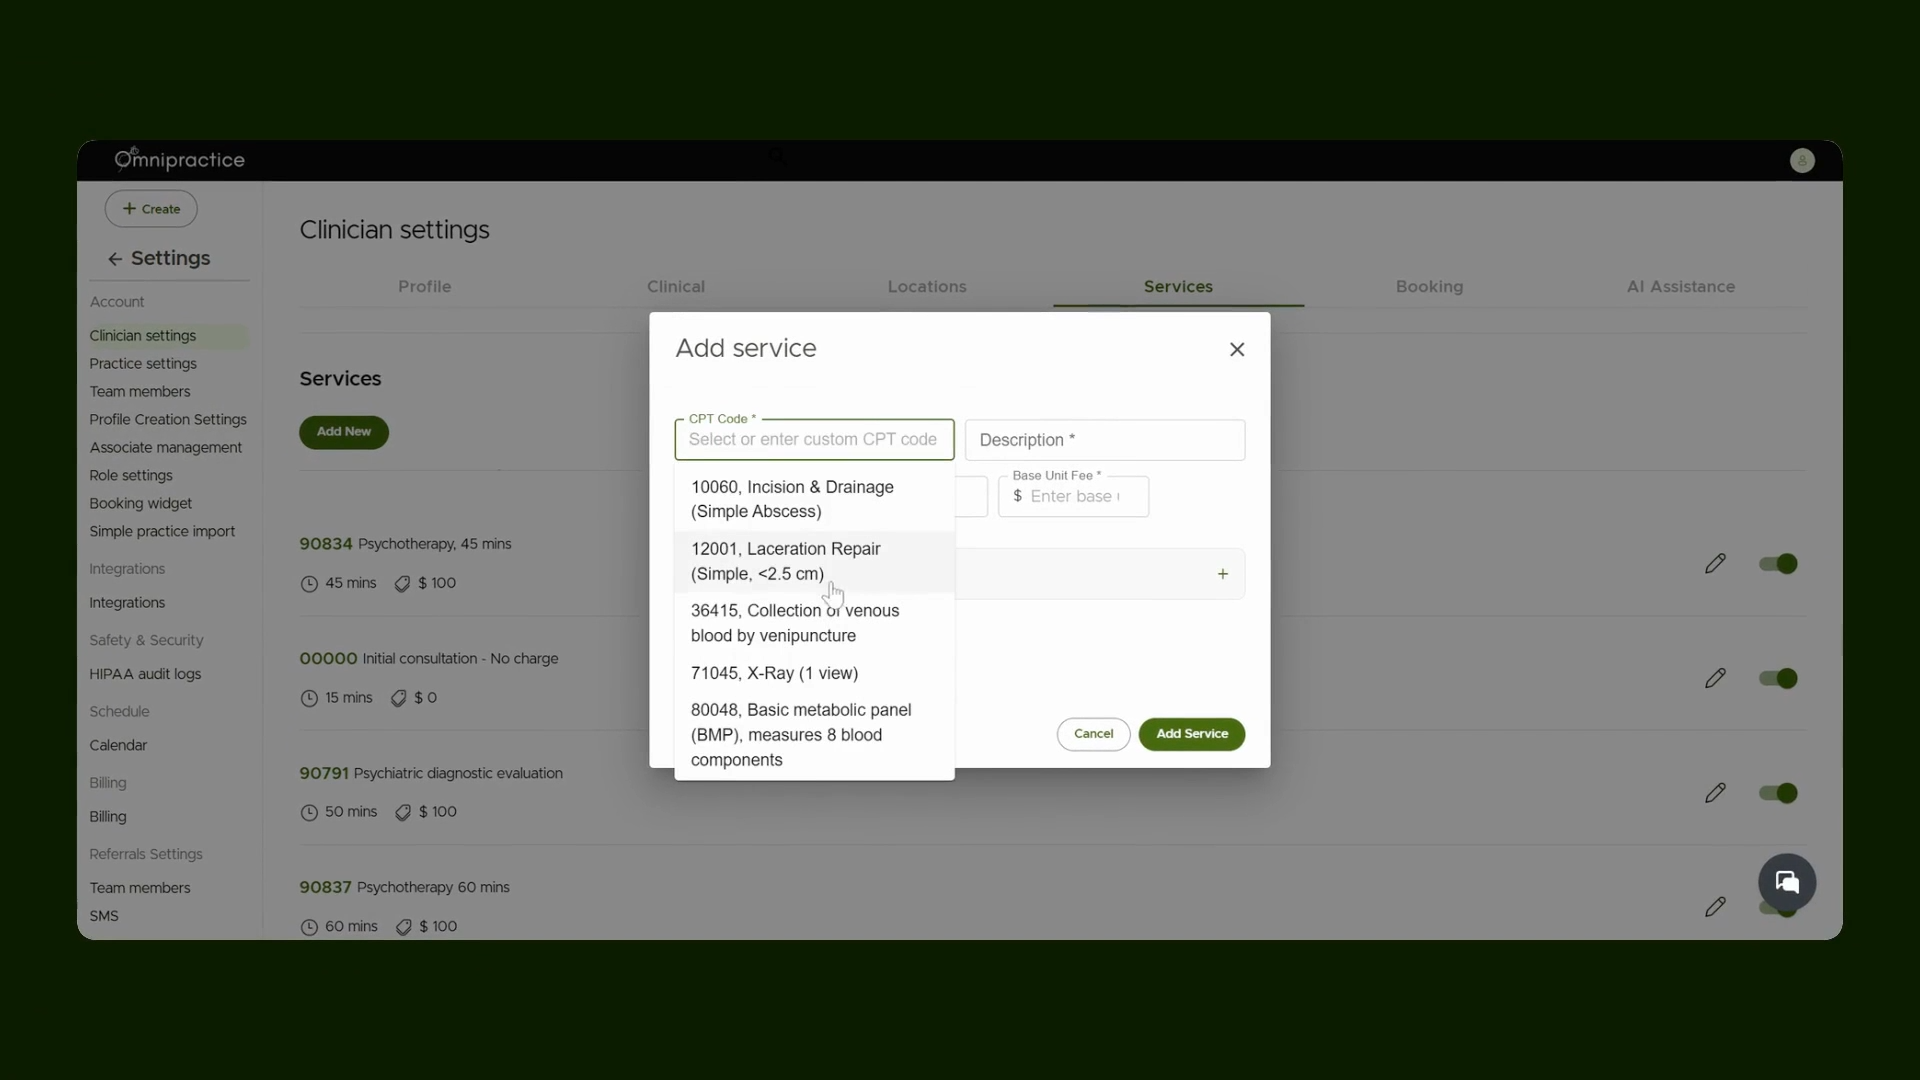
From the Clinician settings, go to the Services section.

4. Adding a New Service
Click Add Service to open the form. Enter the required information for your service, such as the name, description, and price. Select Save to add the new service.
View the updated list of your services. Edit or update them as needed.
5. Accessing Your Calendar and Availability
Go to the Calendar section to review and manage your availability. Access your scheduling options to view and manage availability.
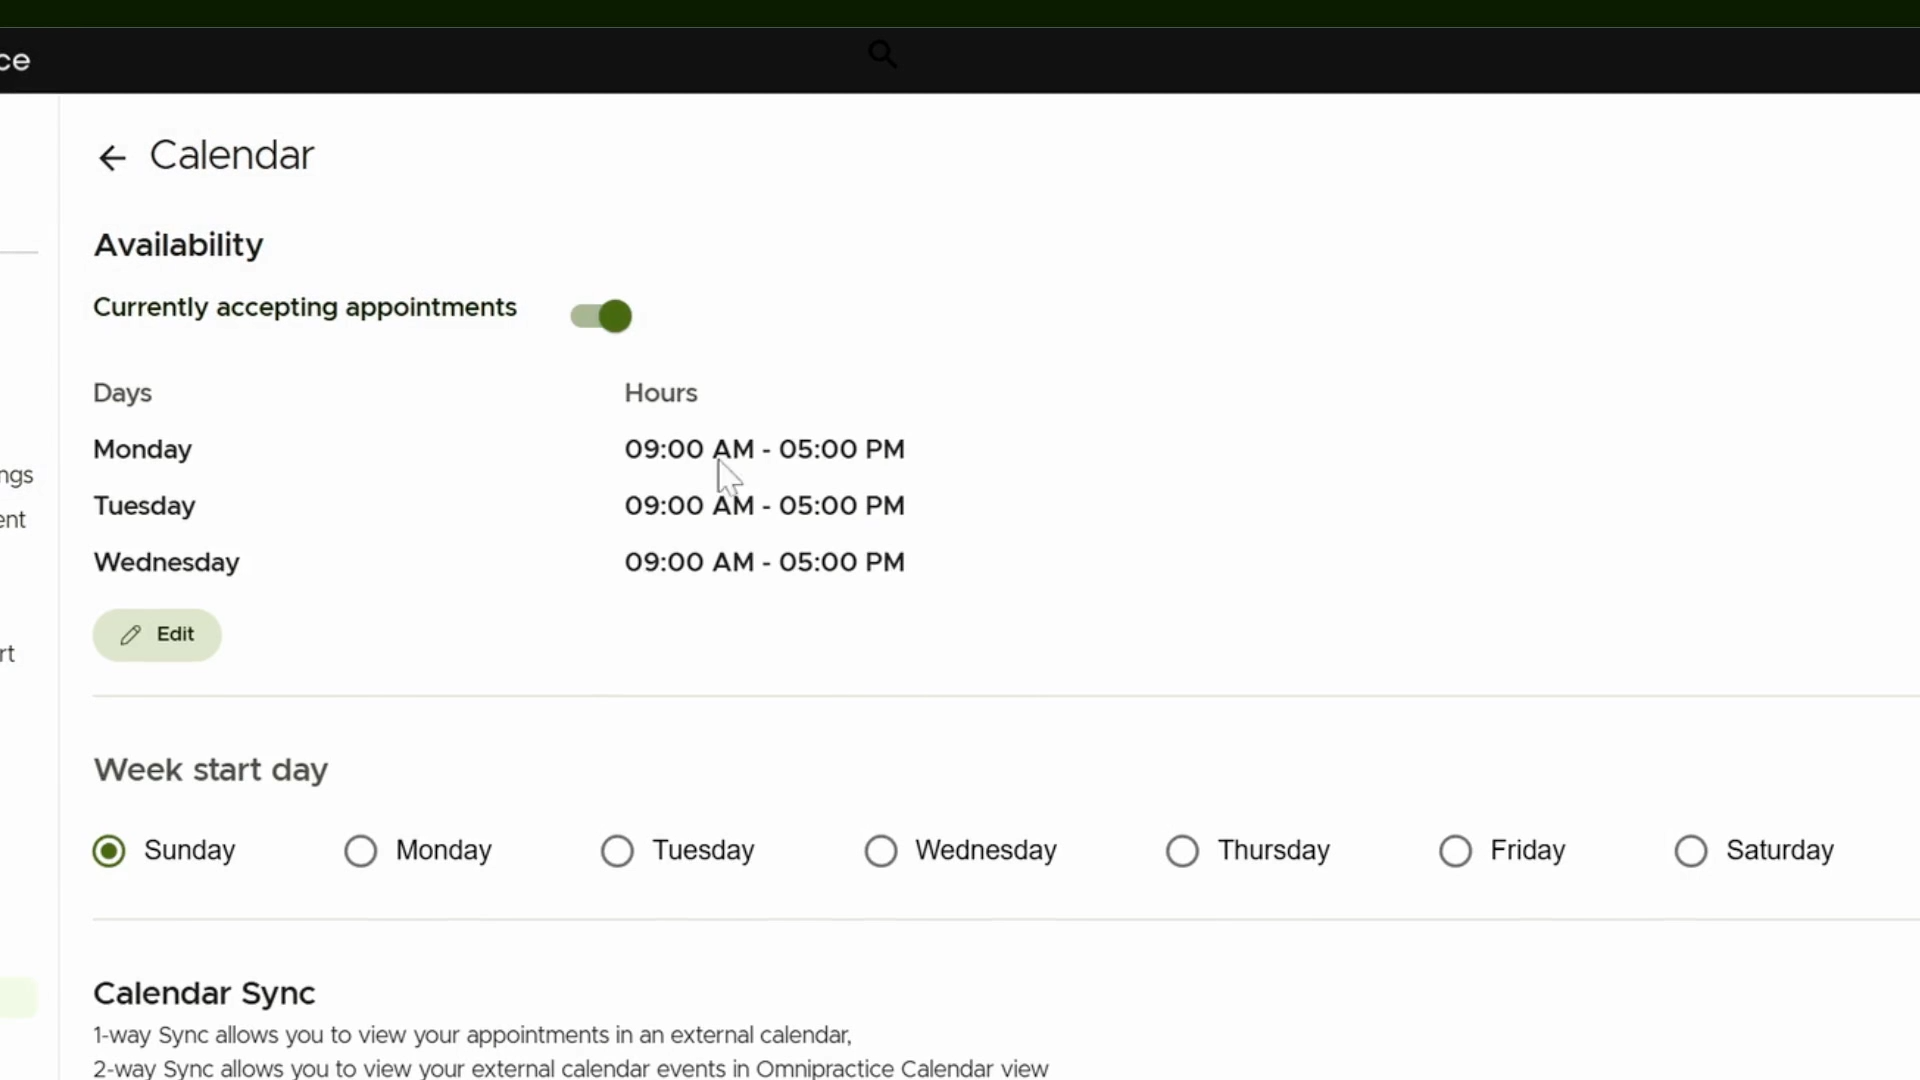
On the calendar availability interface, set open appointment slots and manage your schedule.
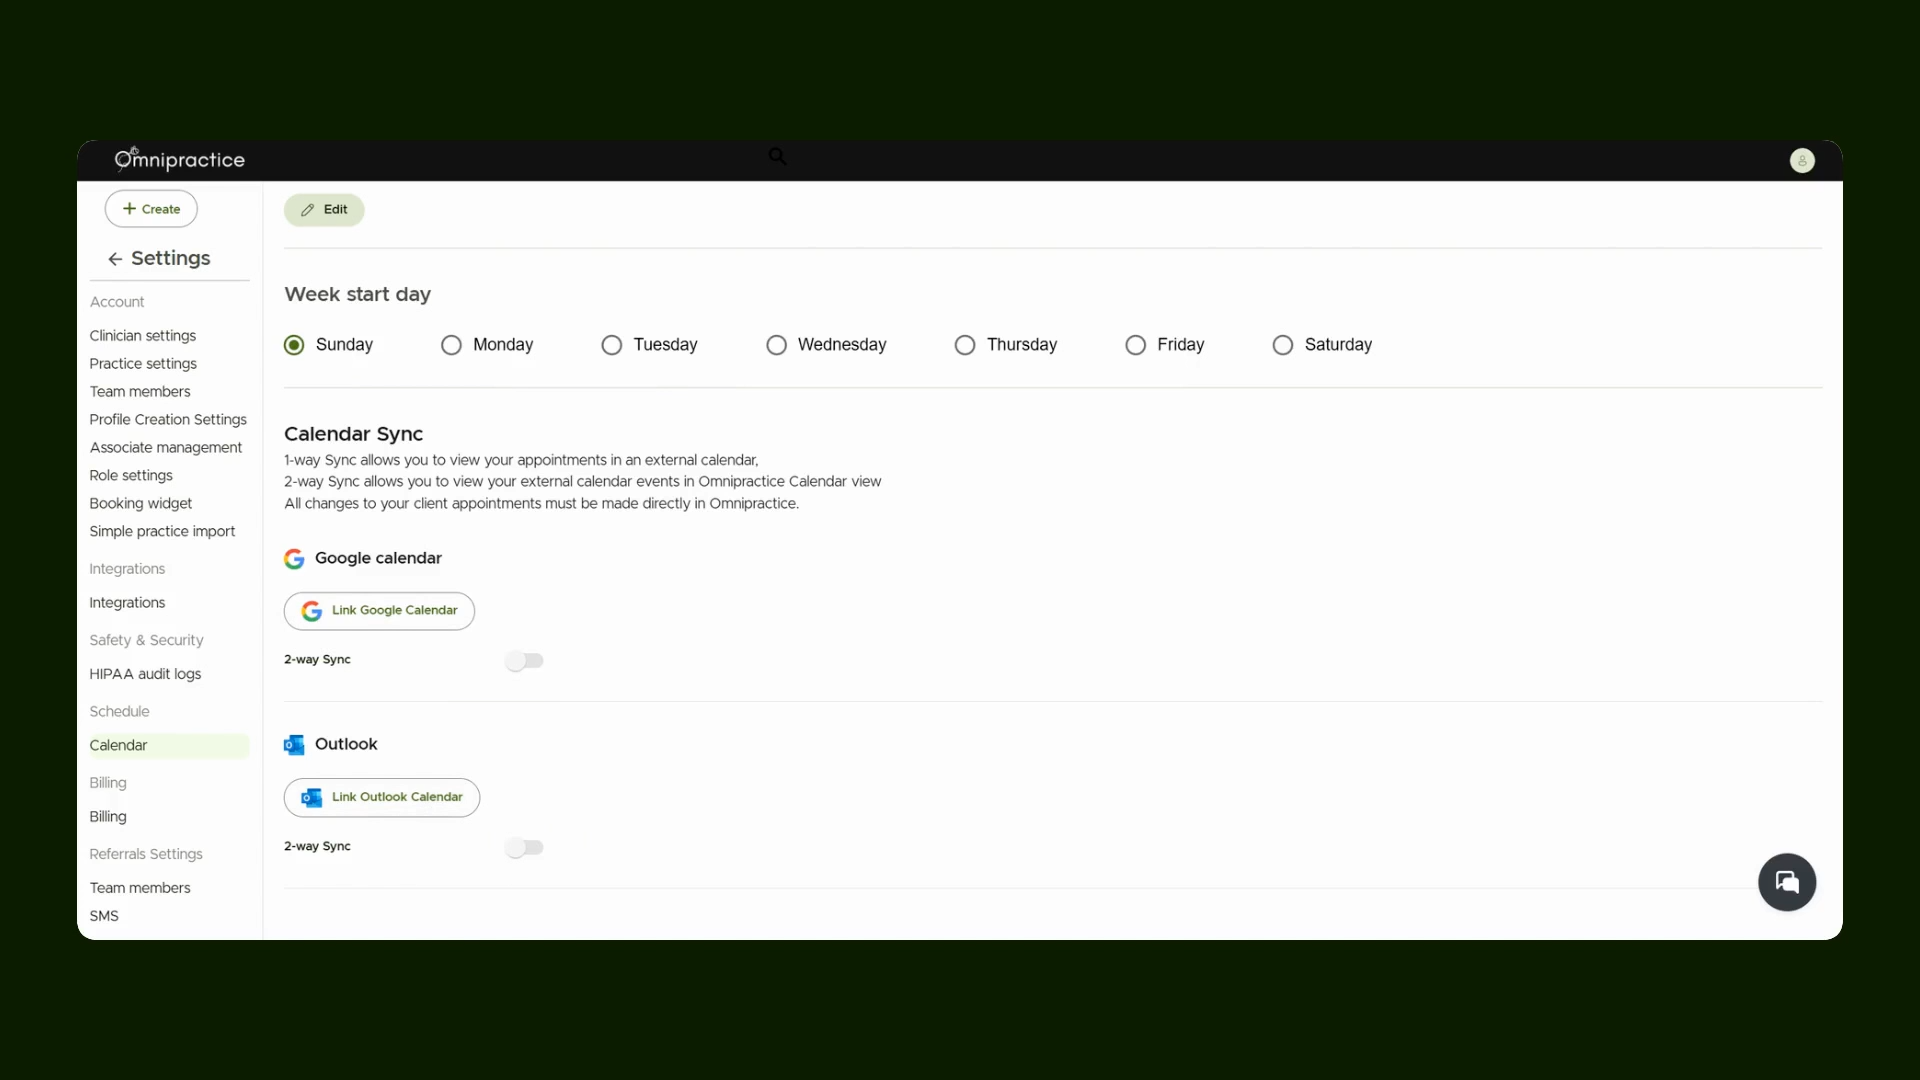
6. Link Google and Microsoft Calendar
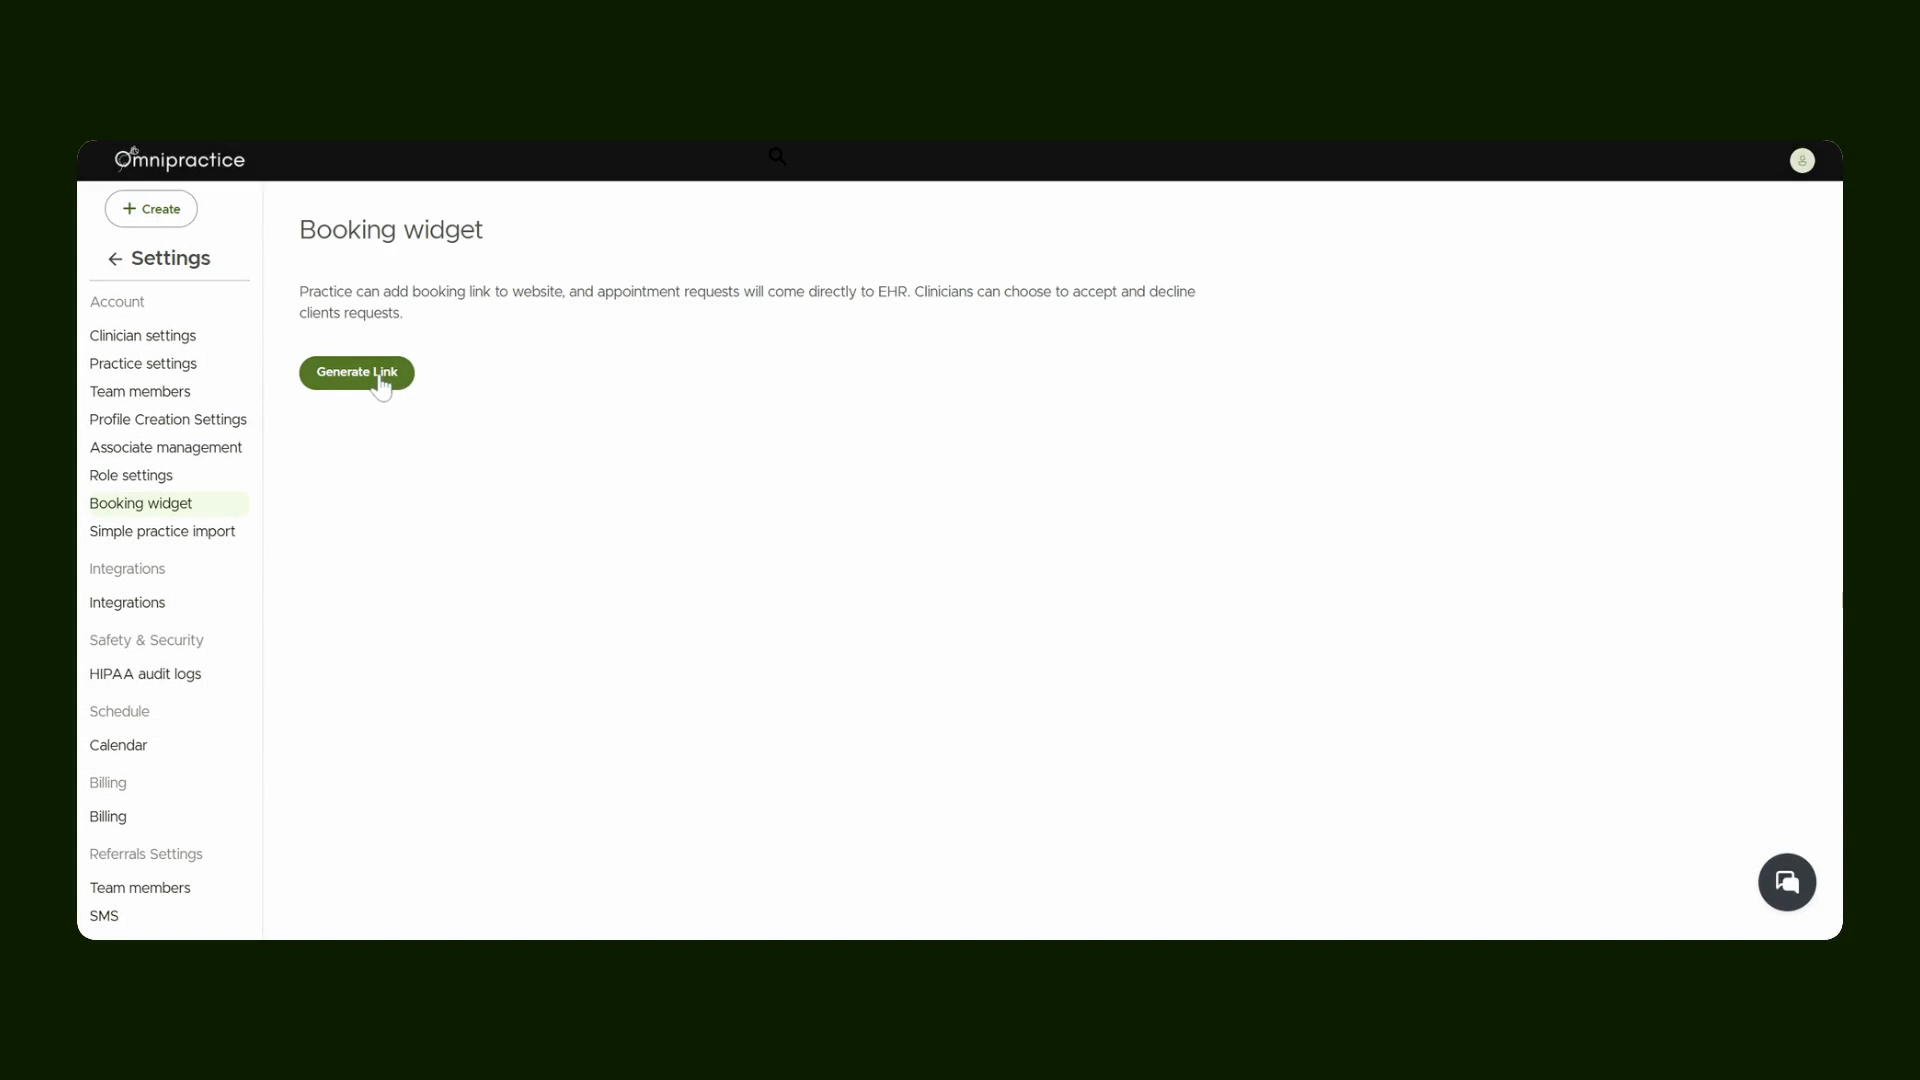
7. Customizing Your Booking Widget
Click the Booking widget option in the sidebar to customize client booking workflows. Generate the booking link.
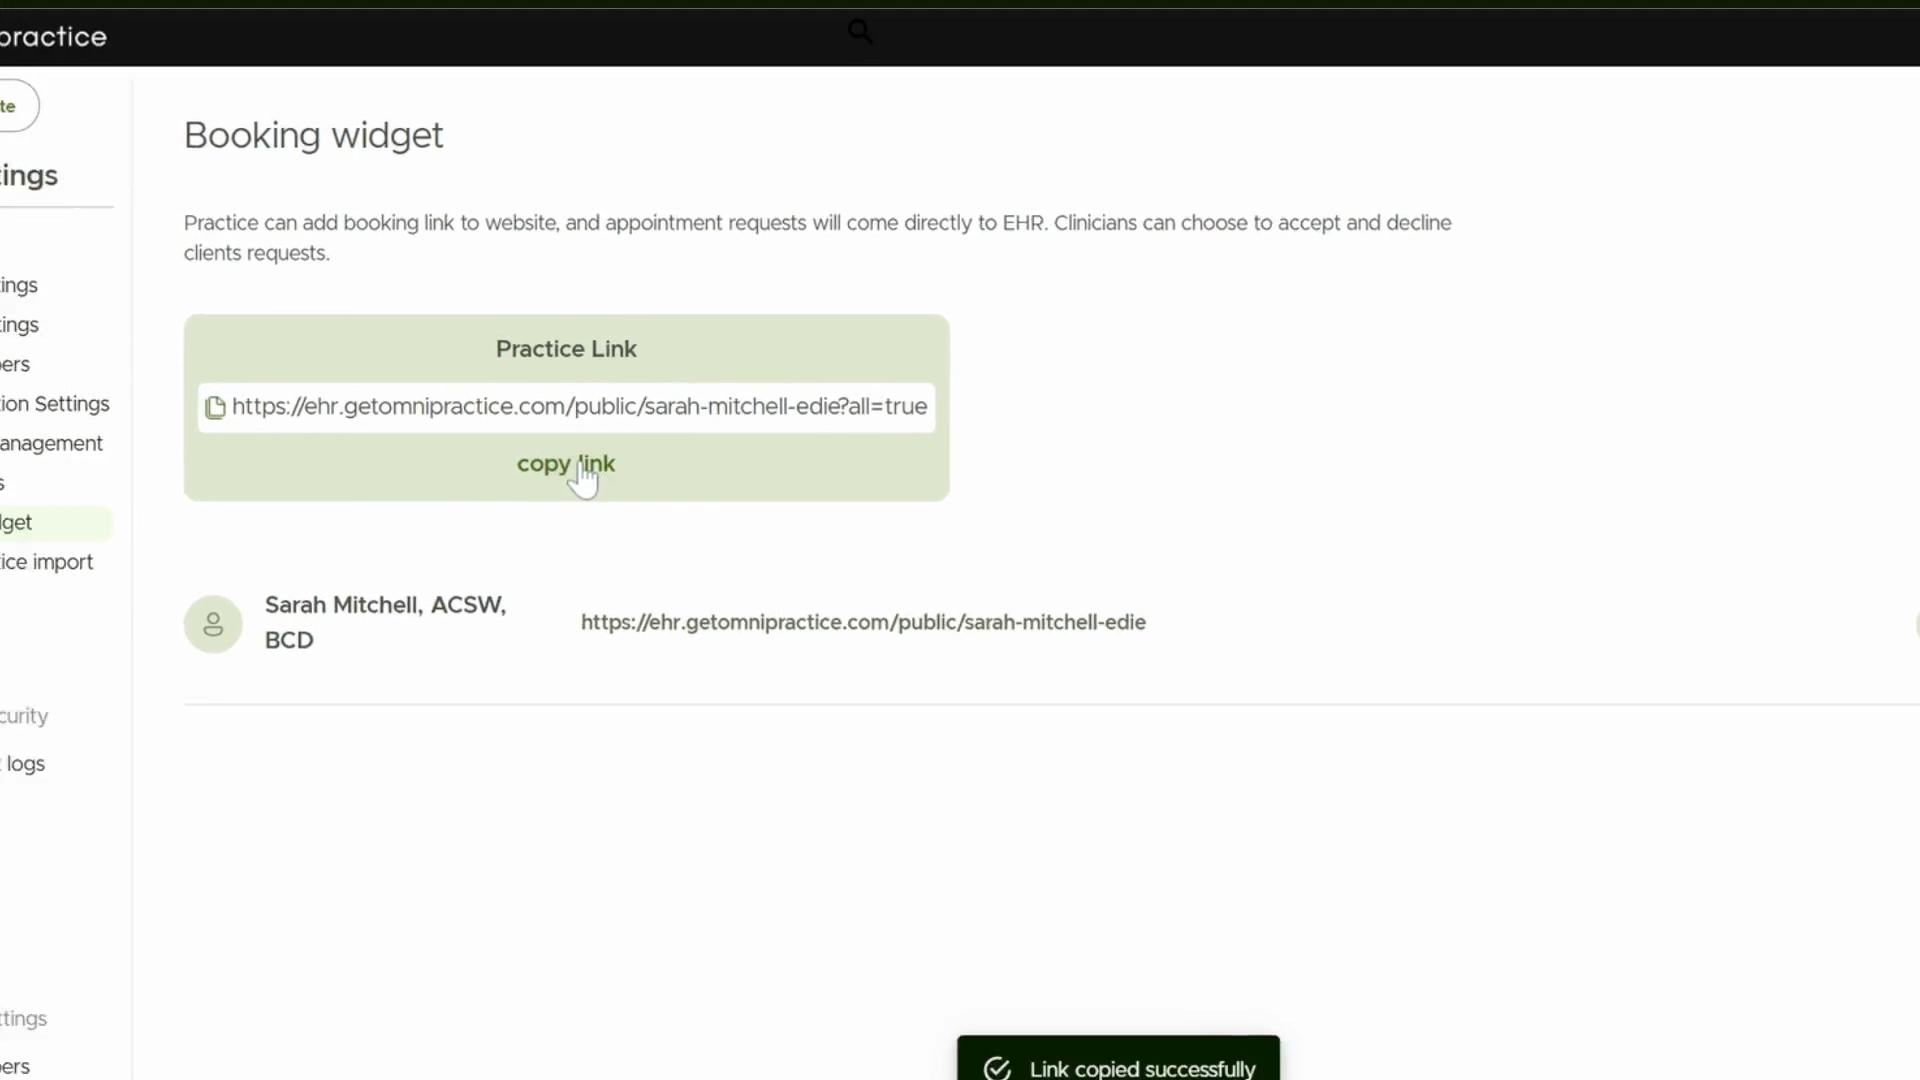
8. Sharing Your Booking Links
View your booking links and options. Share them with clients or embed them on your website for seamless scheduling.
You’ve now set up your Clinician Profile and Services. Revisit any section to make updates as your practice grows. Best of luck managing your professional services!