Creating Treatment Plan/Timeline in Client File
Learn how to generate a customized treatment timeline, also known as a treatment plan, within a client file. Follow these steps to efficiently create, edit, and manage treatment plans.
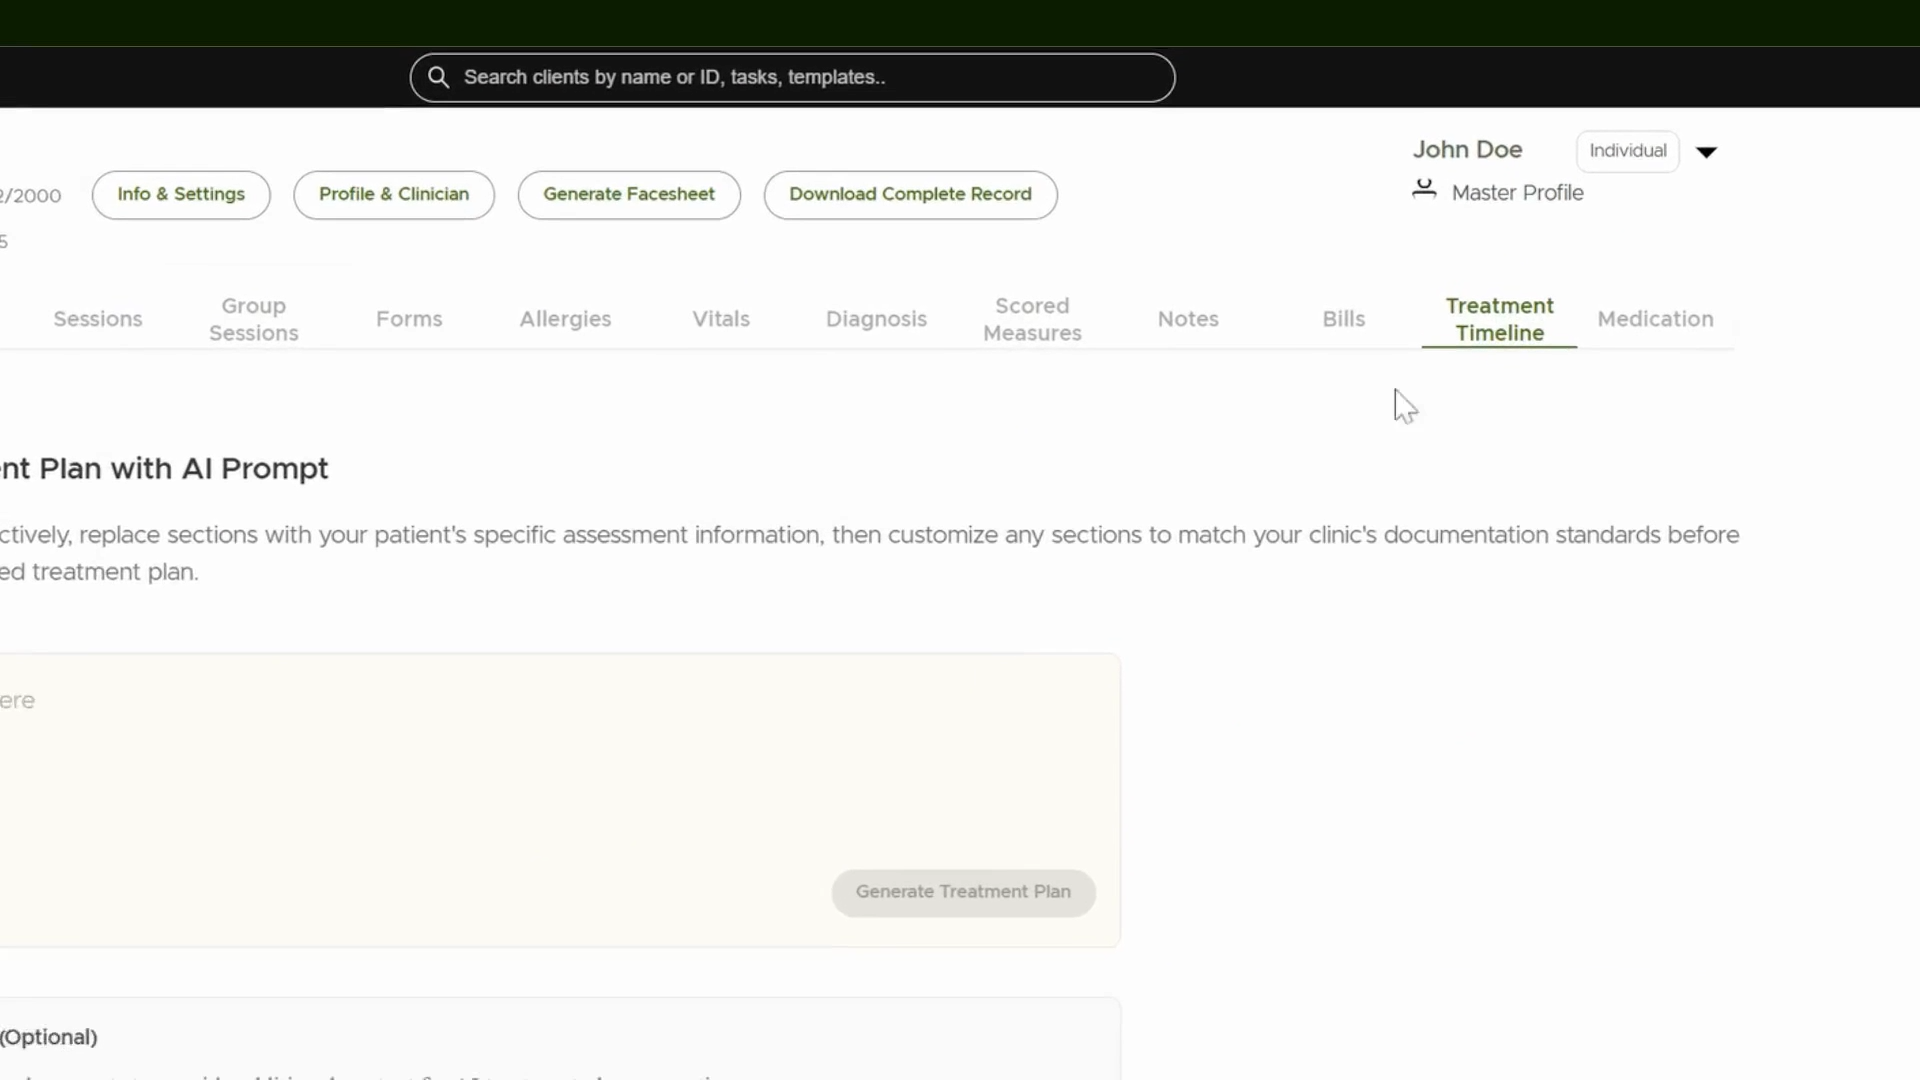
Step 1: Open the Treatment Timeline Tab
Access the treatment timeline by clicking the Treatment Timeline tab. This is the starting point for building and managing treatment plans.
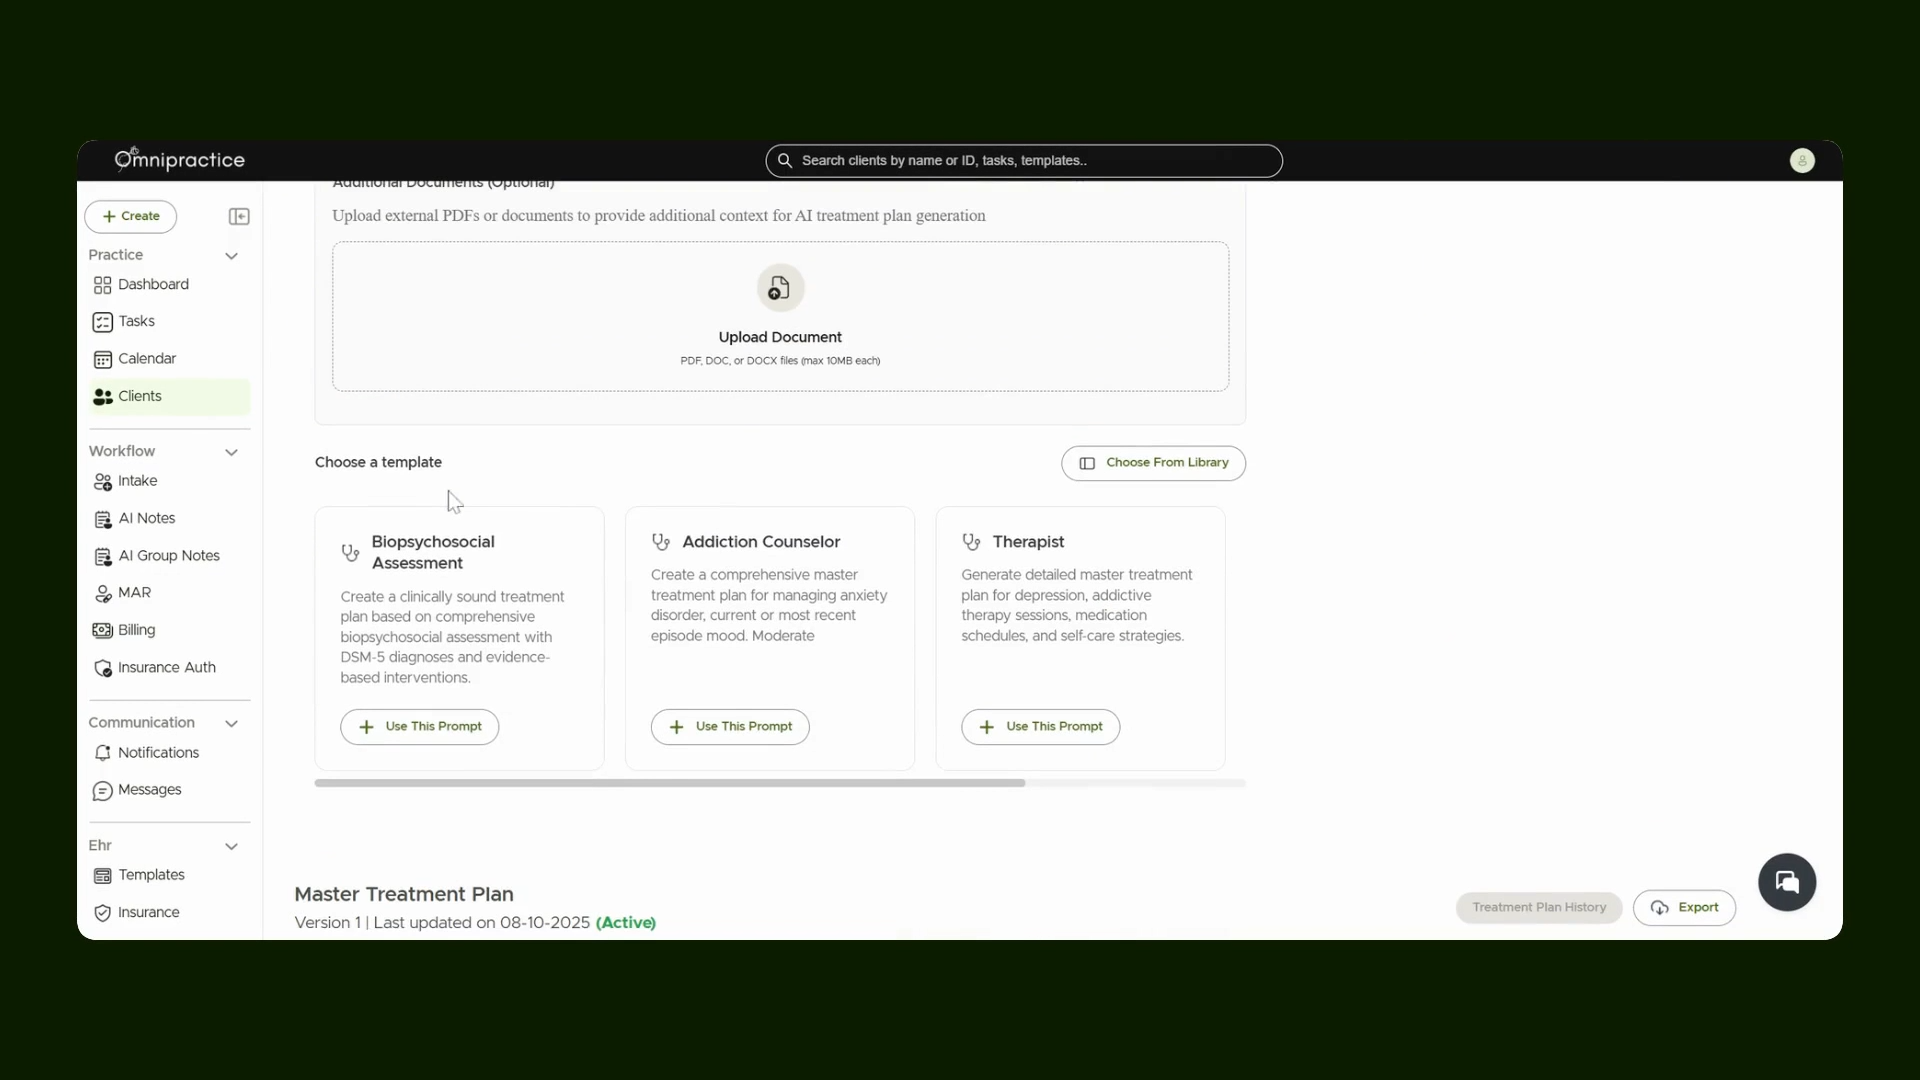
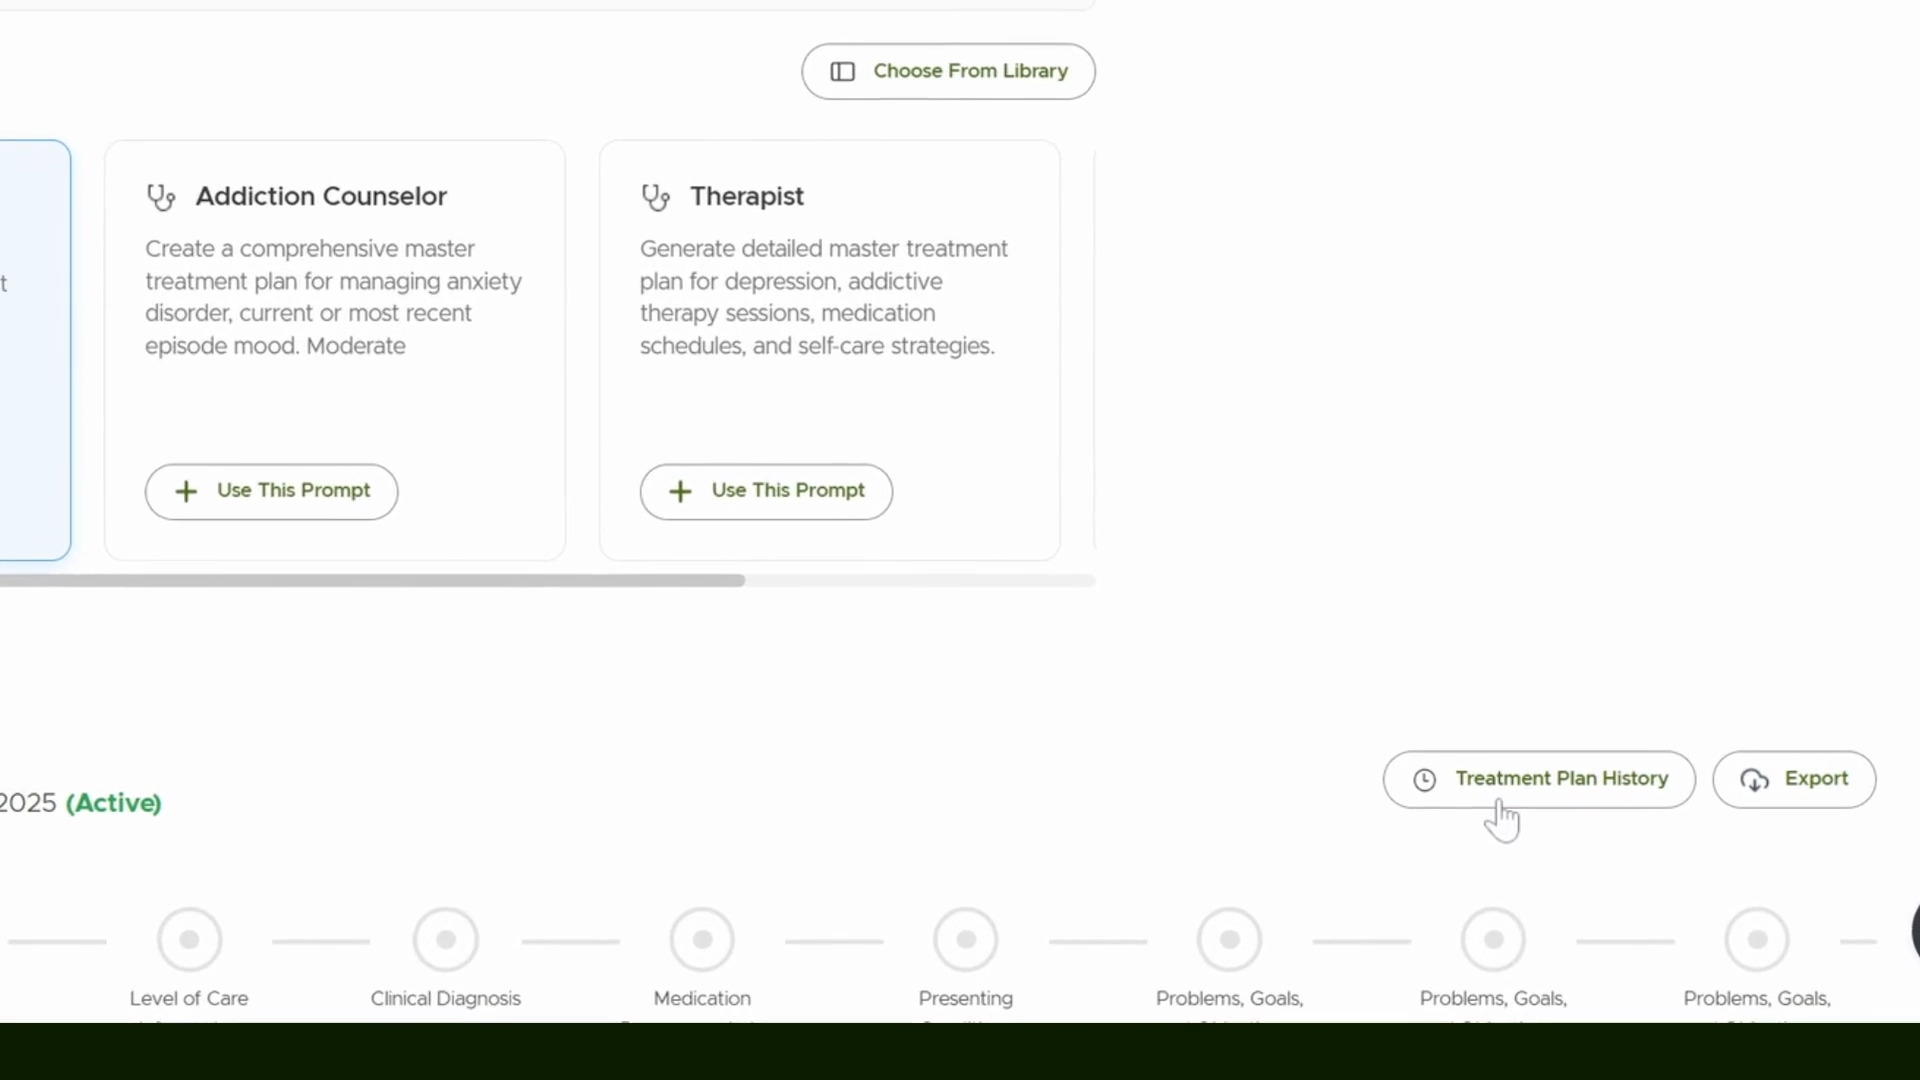
Step 2: Choose Prompt Template or Write Your Own
A prompt box appears with a list of pre-added templates. Select a template to generate the treatment plan, or write your own prompt if none fit your specific needs.
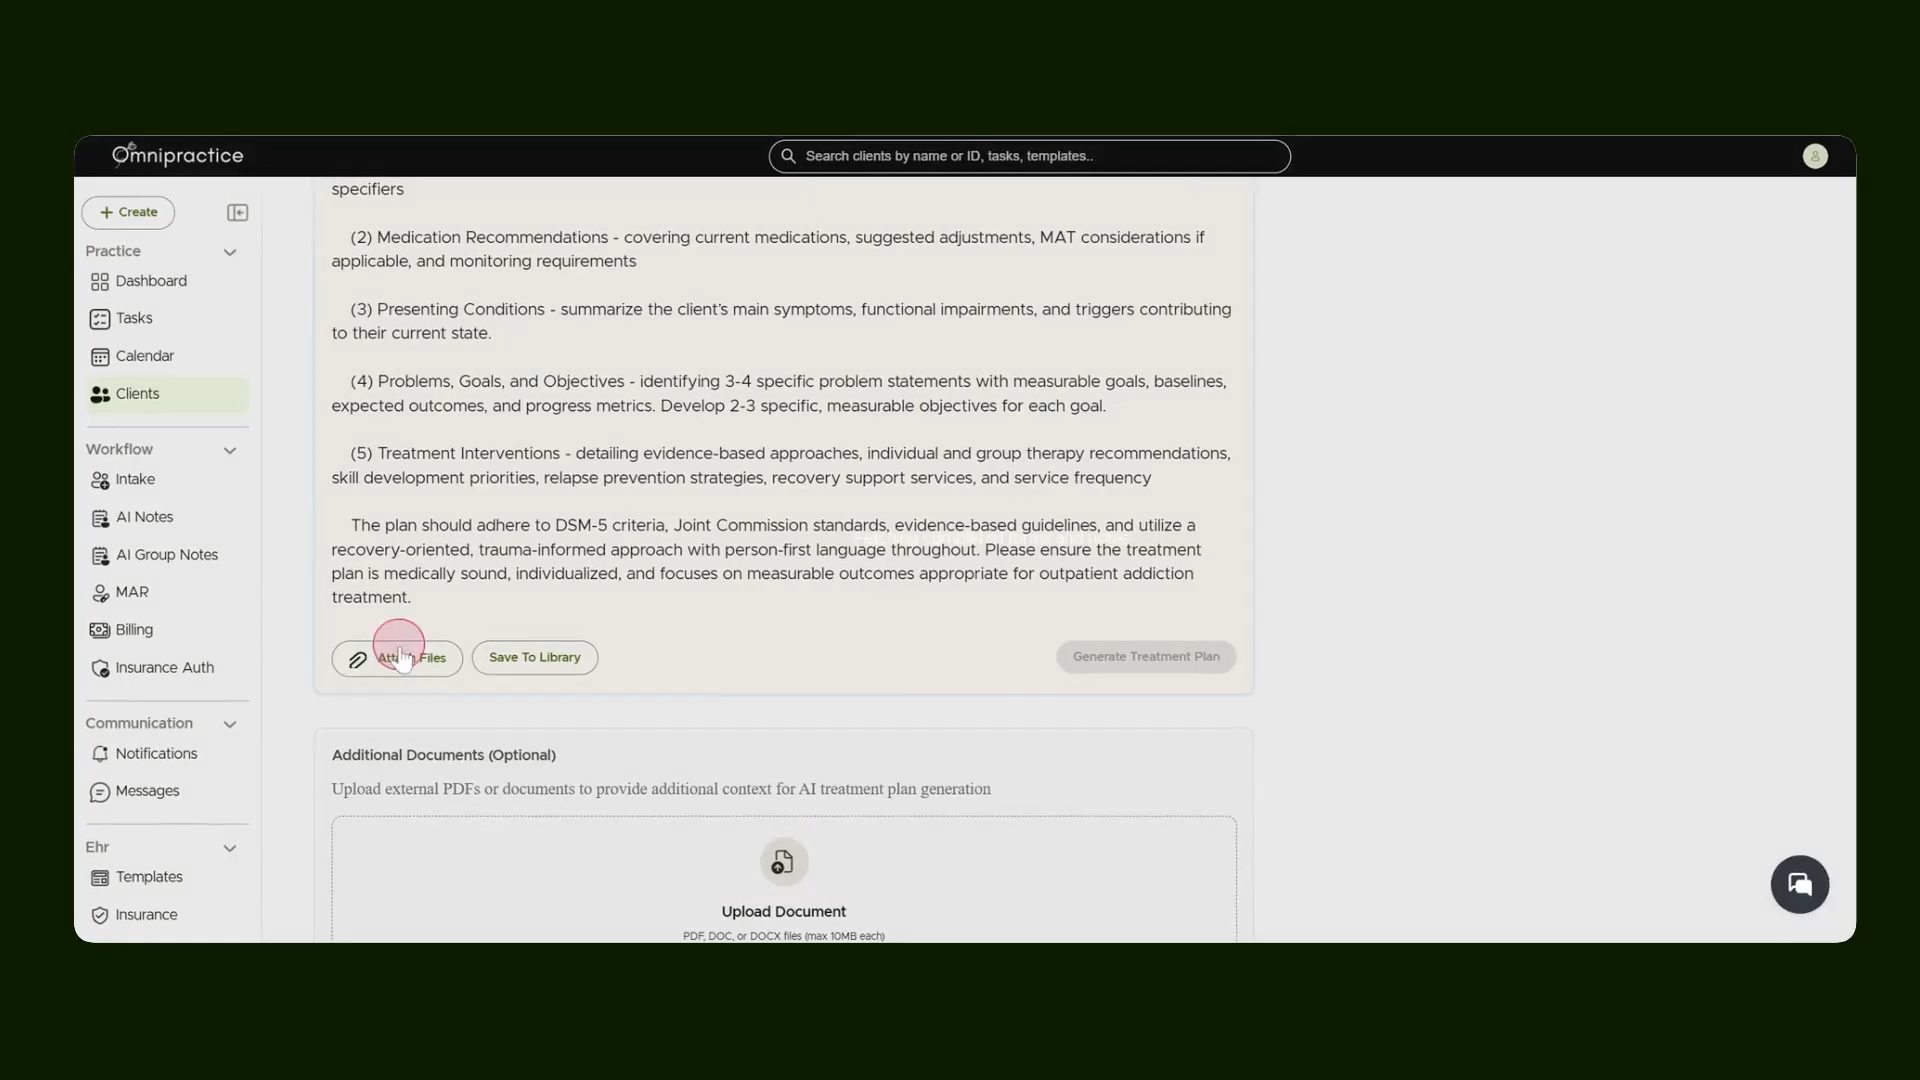
Step 3: Attach Relevant Client Files
For accurate, context-rich suggestions, attach relevant client files. This helps the AI understand the client's background and needs. Click Attach Files. Attach any forms, notes, or scored measures related to the client.
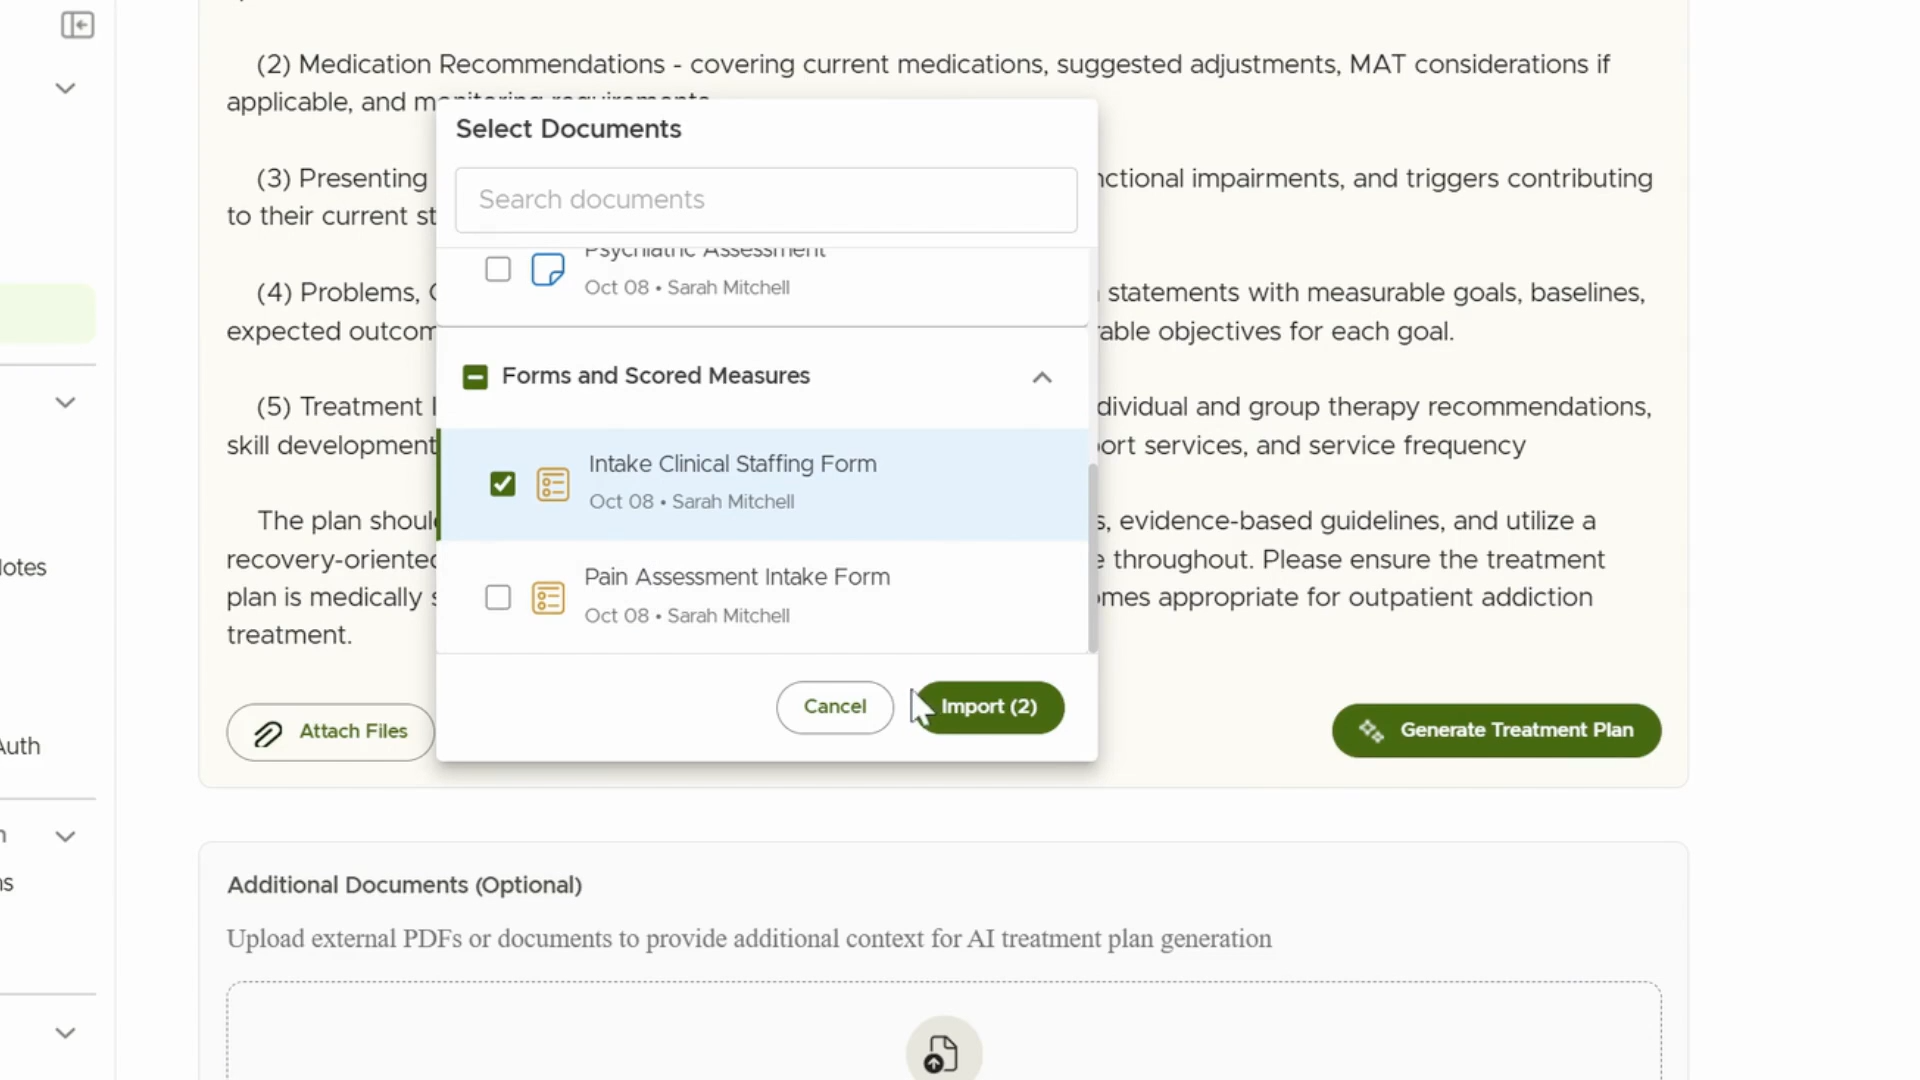
Step 4: Import and Generate the Treatment Plan
After attaching files, import all selected documents and click Generate Treatment Plan to let the AI build a tailored timeline.
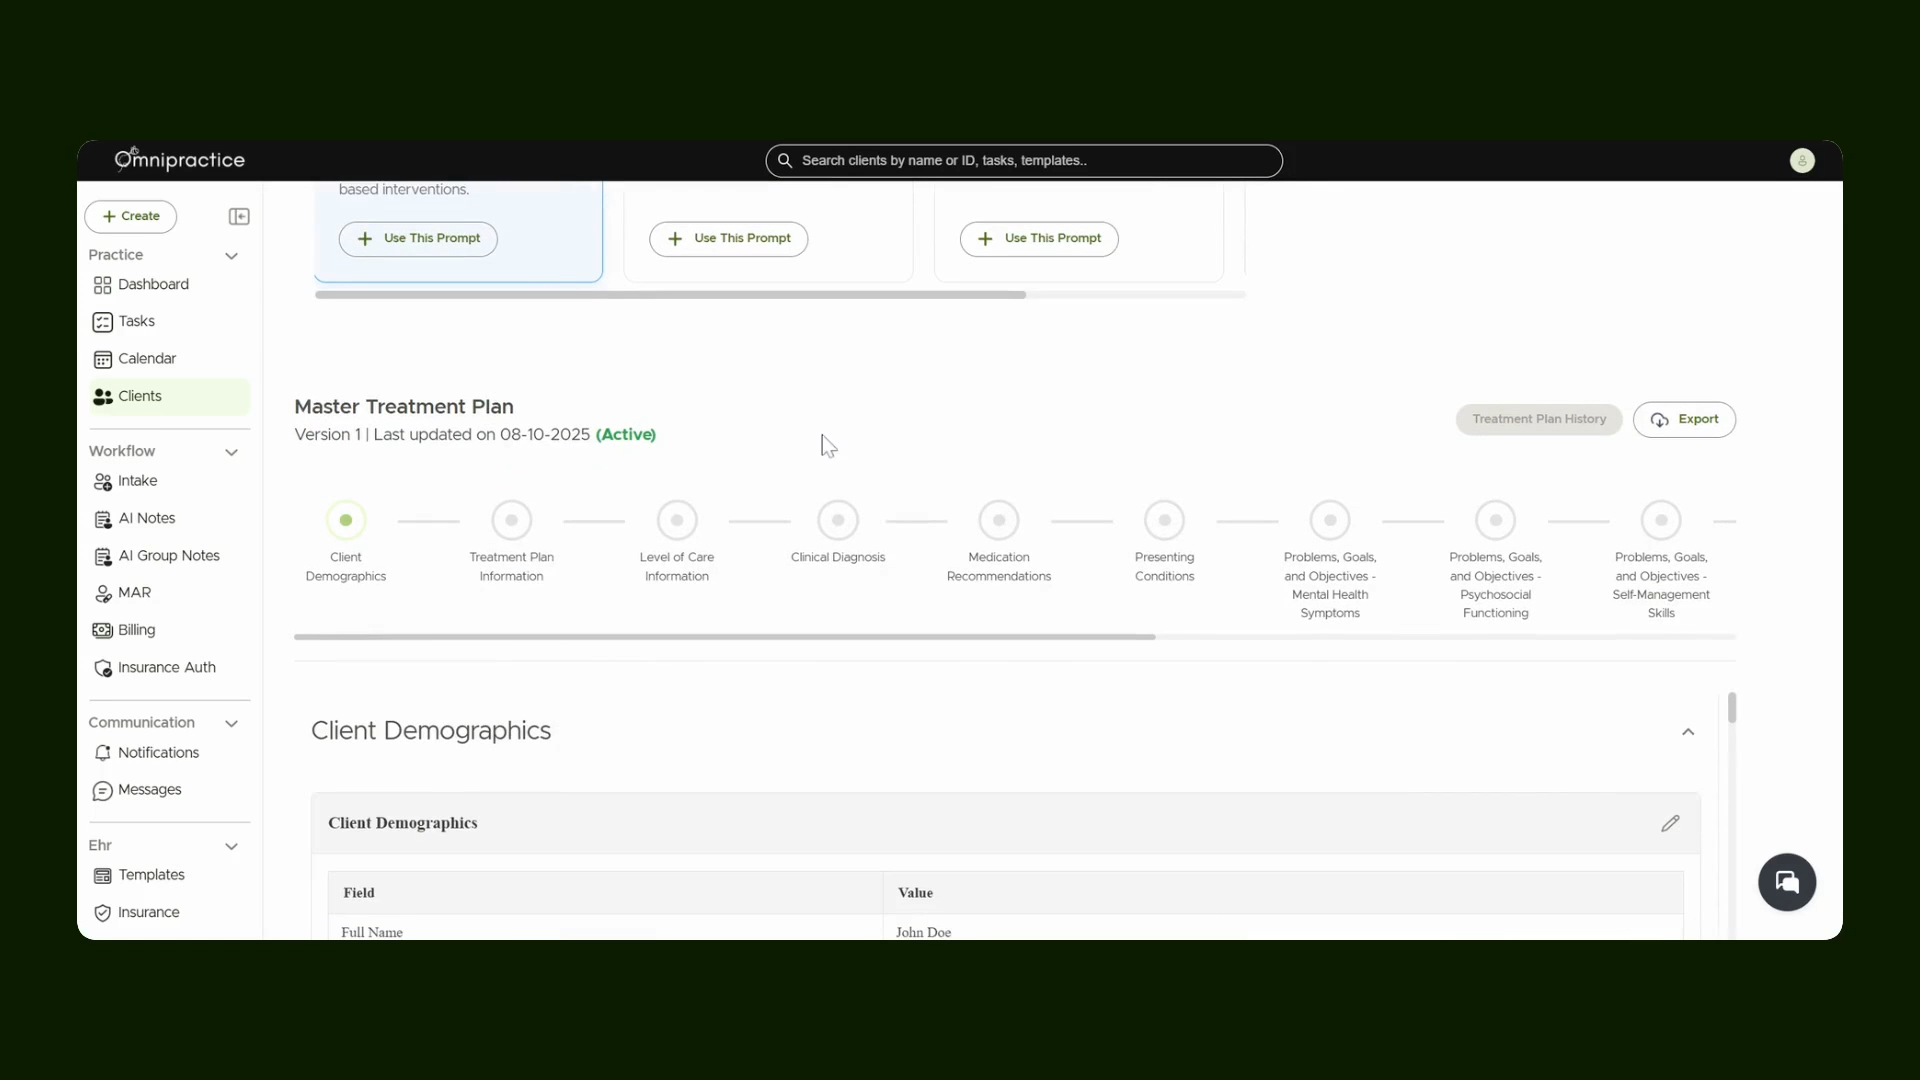
Step 5: Review the Generated Treatment Plan
A new treatment plan will appear. Examine the generated sections to make sure all information aligns with the client's goals and your treatment approach.
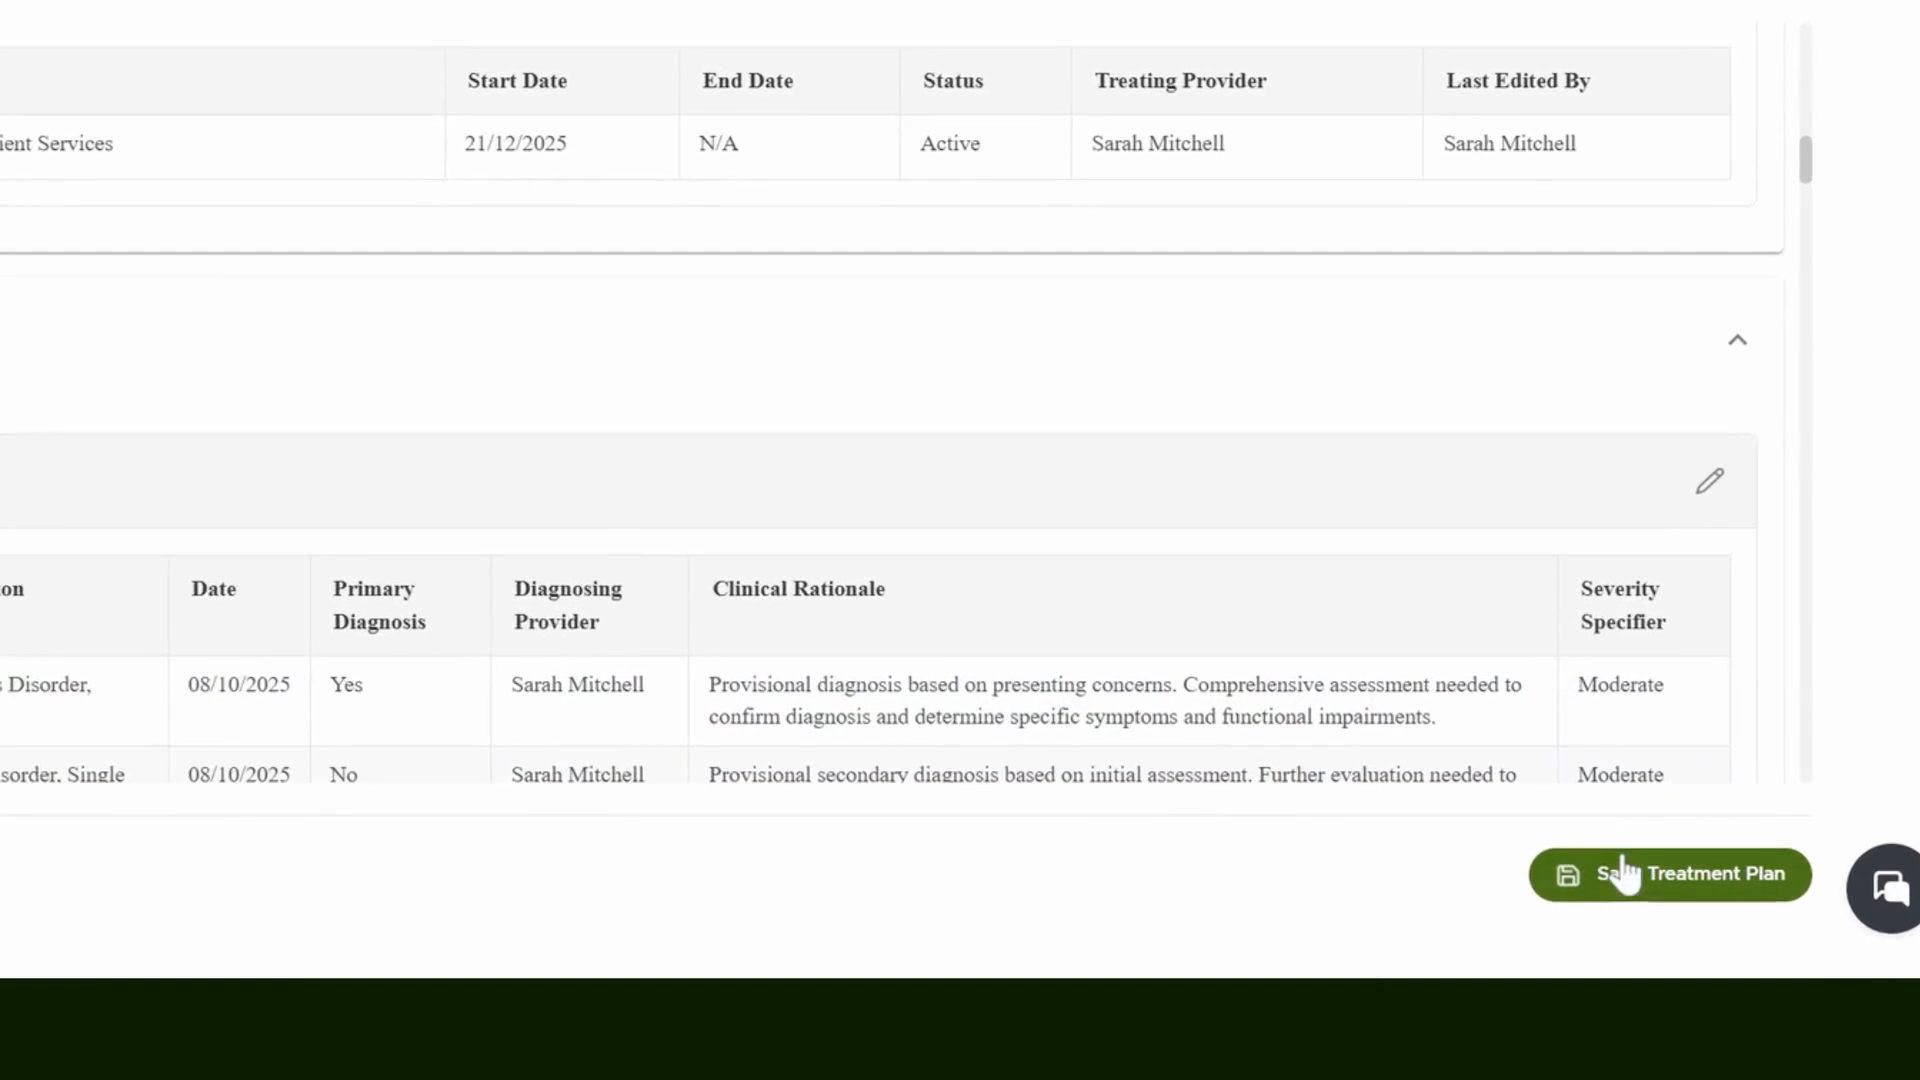
Step 6: Edit the Treatment Plan
Make any necessary adjustments by editing sections directly. Once all changes are complete and the plan fits your needs, save your work by clicking Save Treatment Plan.
Step 7: View or Export Previous Treatment Plan Versions
Access historical versions of any treatment plan by clicking Treatment Plan History. This section shows older plans for reference or recovery. Browse past versions, view an individual plan or export the plan using the Export button.
You’ve now mastered generating, editing, and retrieving treatment plans within a client file. This workflow streamlines collaborative client care and documentation.