How to create an Invoice for an appointment and charge client
Managing patient billing in your client files ensures accurate, timely payments and keeps your records up to date. This step-by-step guide shows you how to create and manage invoices efficiently within your client files.
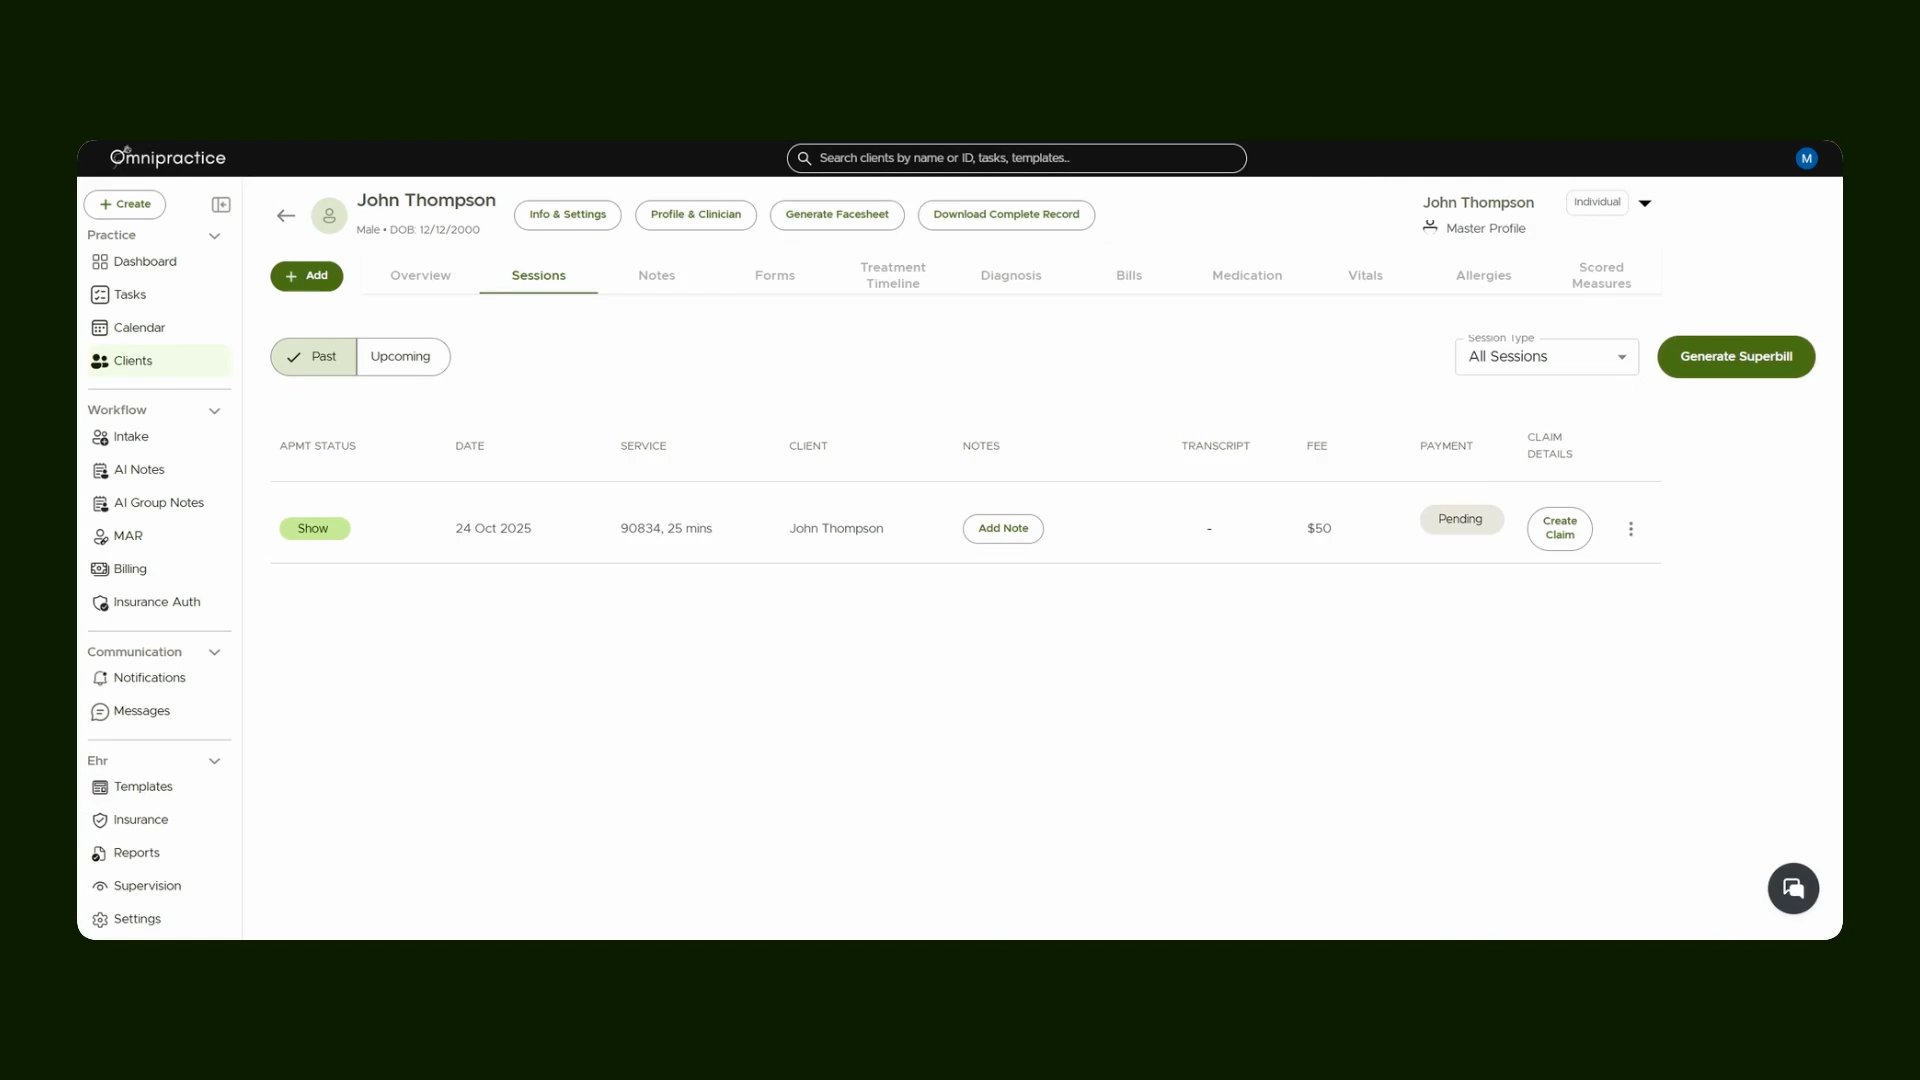
Step 1: Access the client file
Begin by opening your client file. Head to the Sessions tab for a record of all completed sessions.
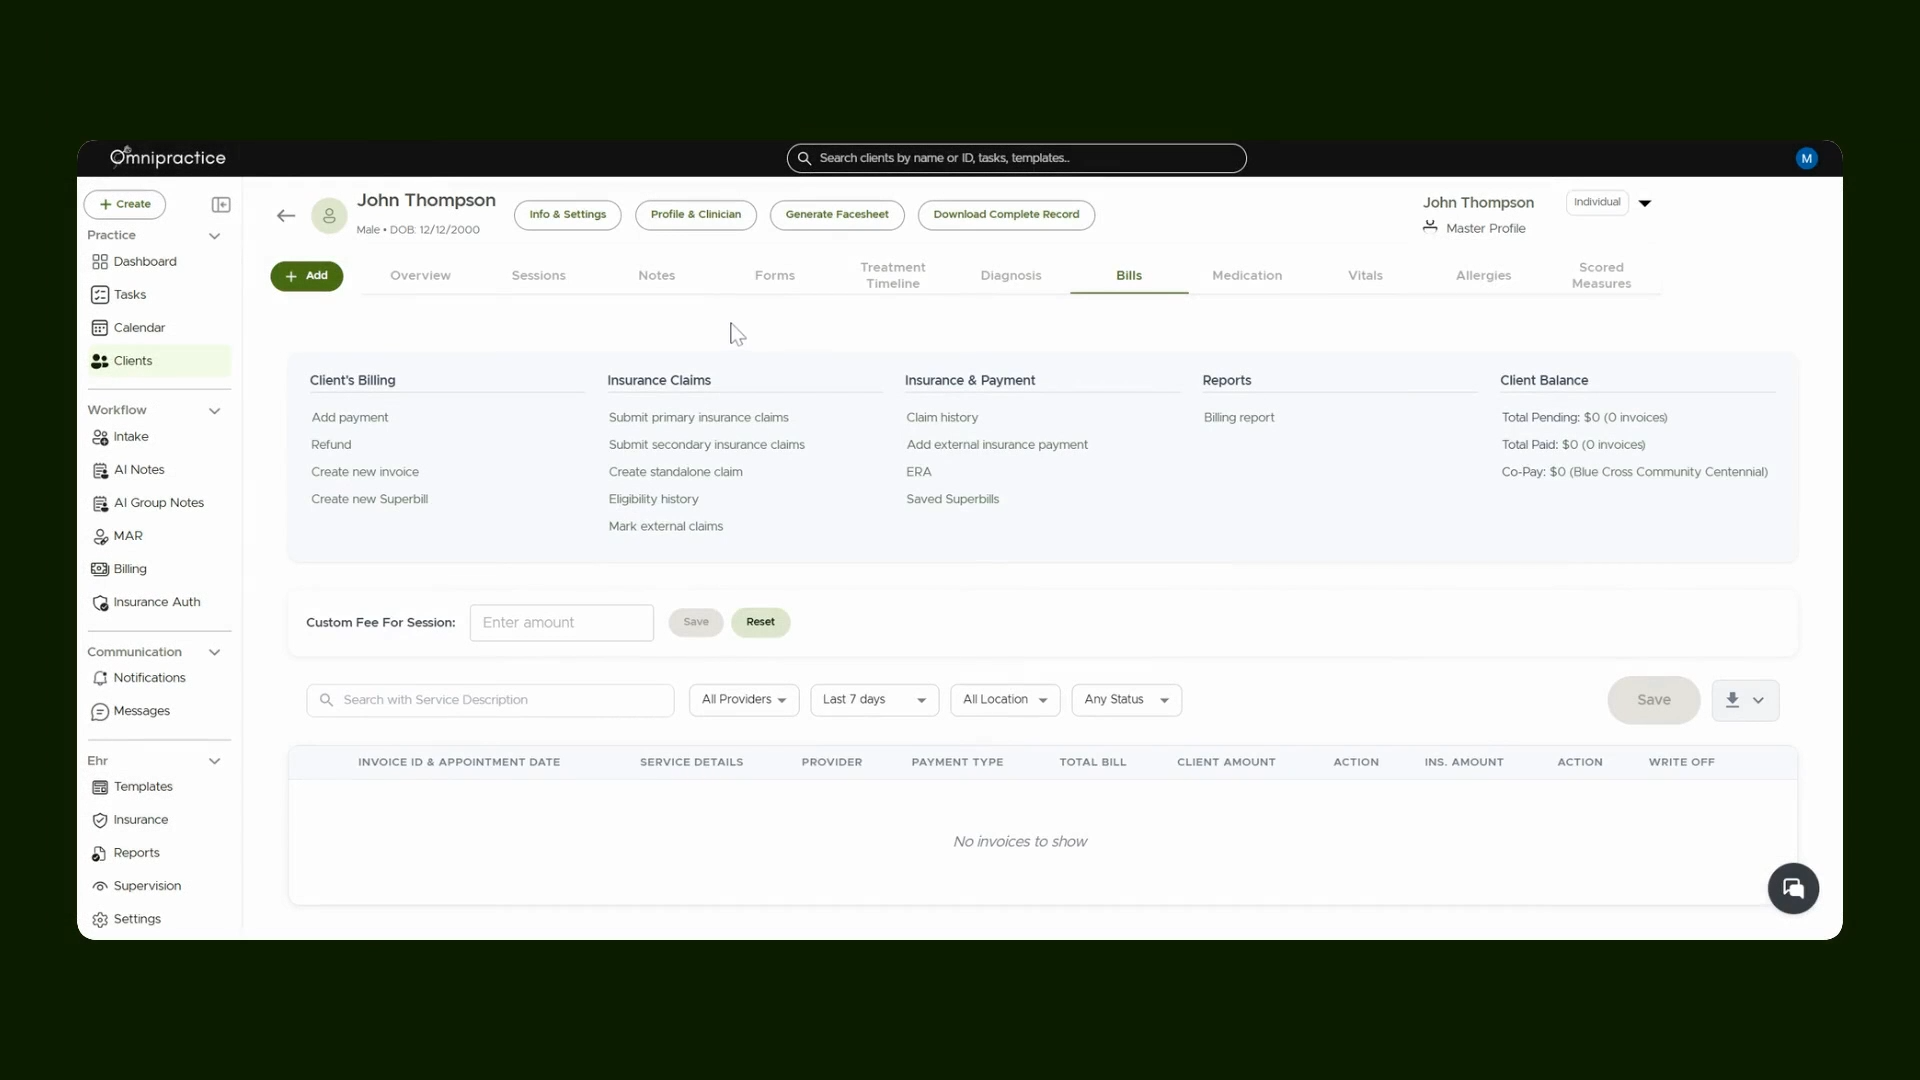
Step 2: Navigate to Billing or Bills tab in client file
You’ve got two ways to handle billing: - From the Bills tab within the client file - Using the main Billing tab for an overview of all client bills.
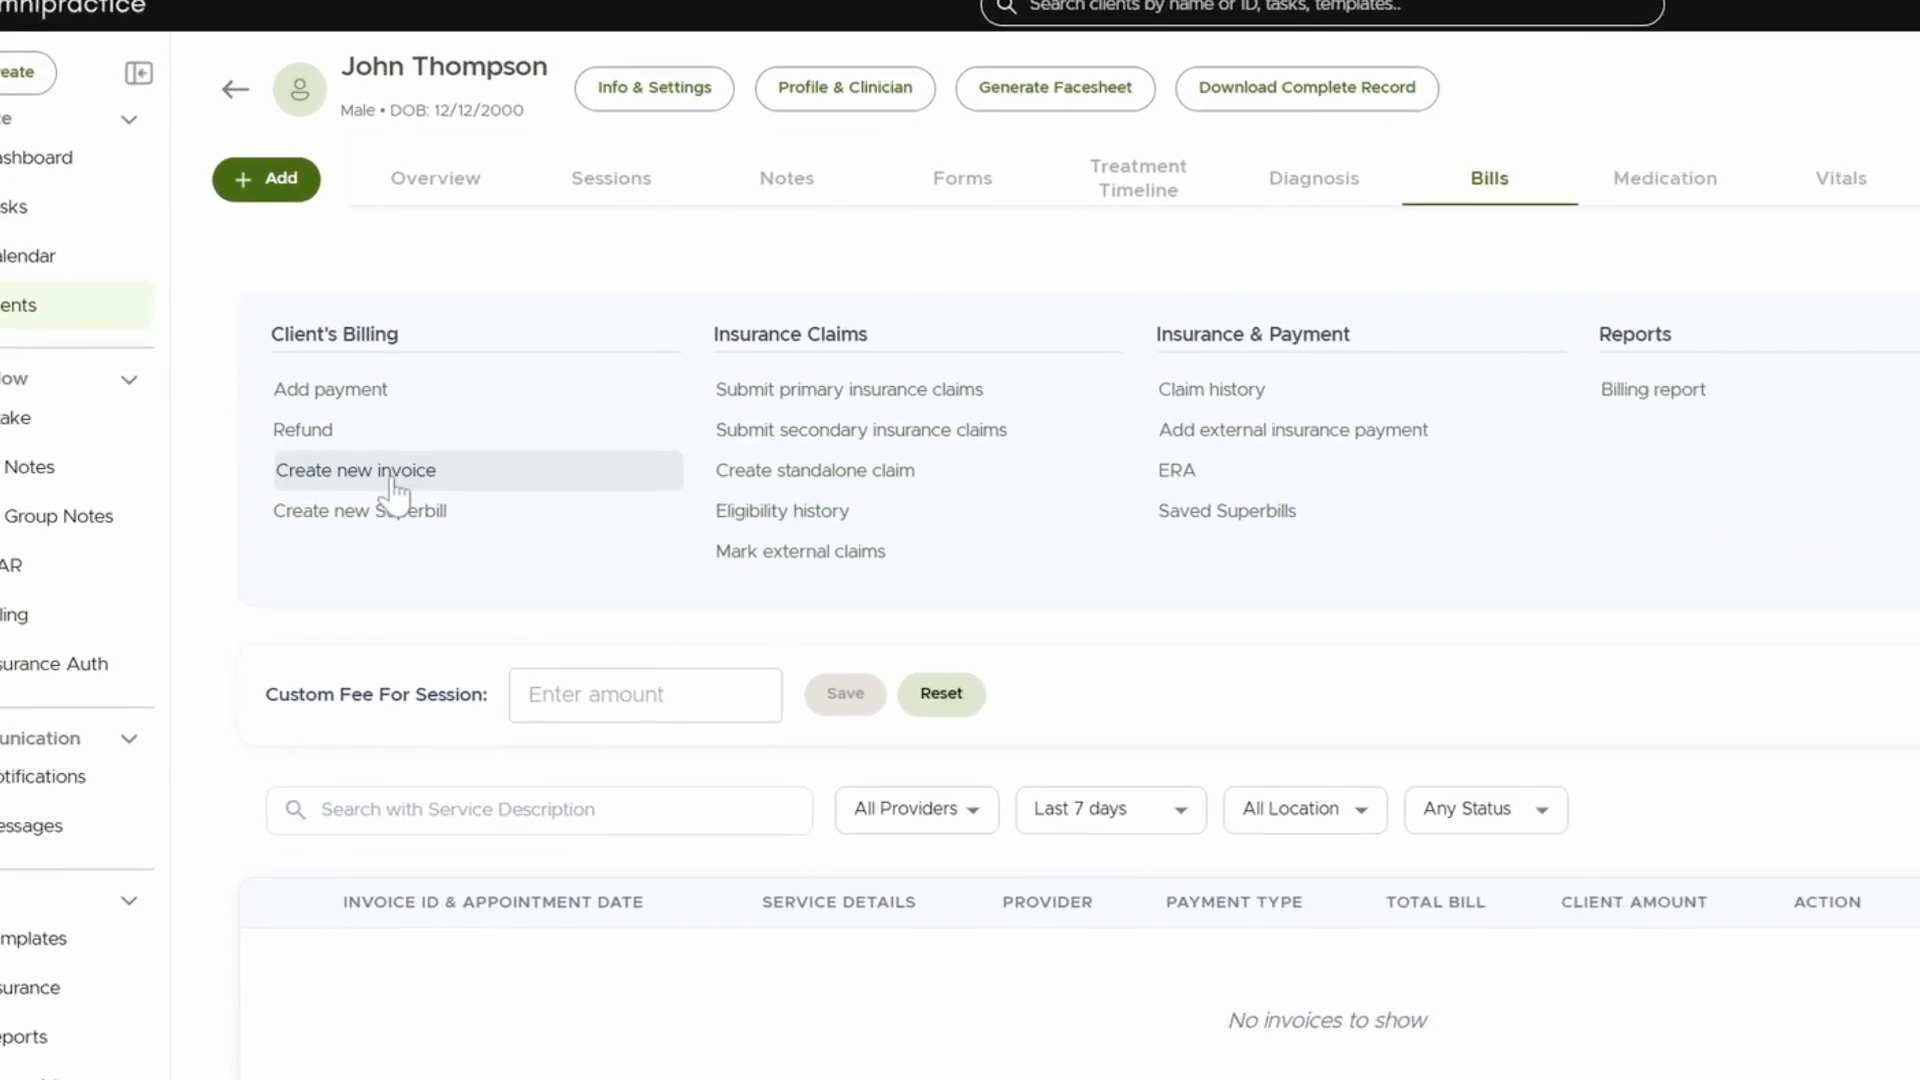
Step 3: Create a New Invoice Manually
Click Create new invoice to start creating an invoice for the client session.
Step 4: Select the Relevant Session
Pick the session for which you want to generate an invoice. This ensures the invoice matches the correct date and service.
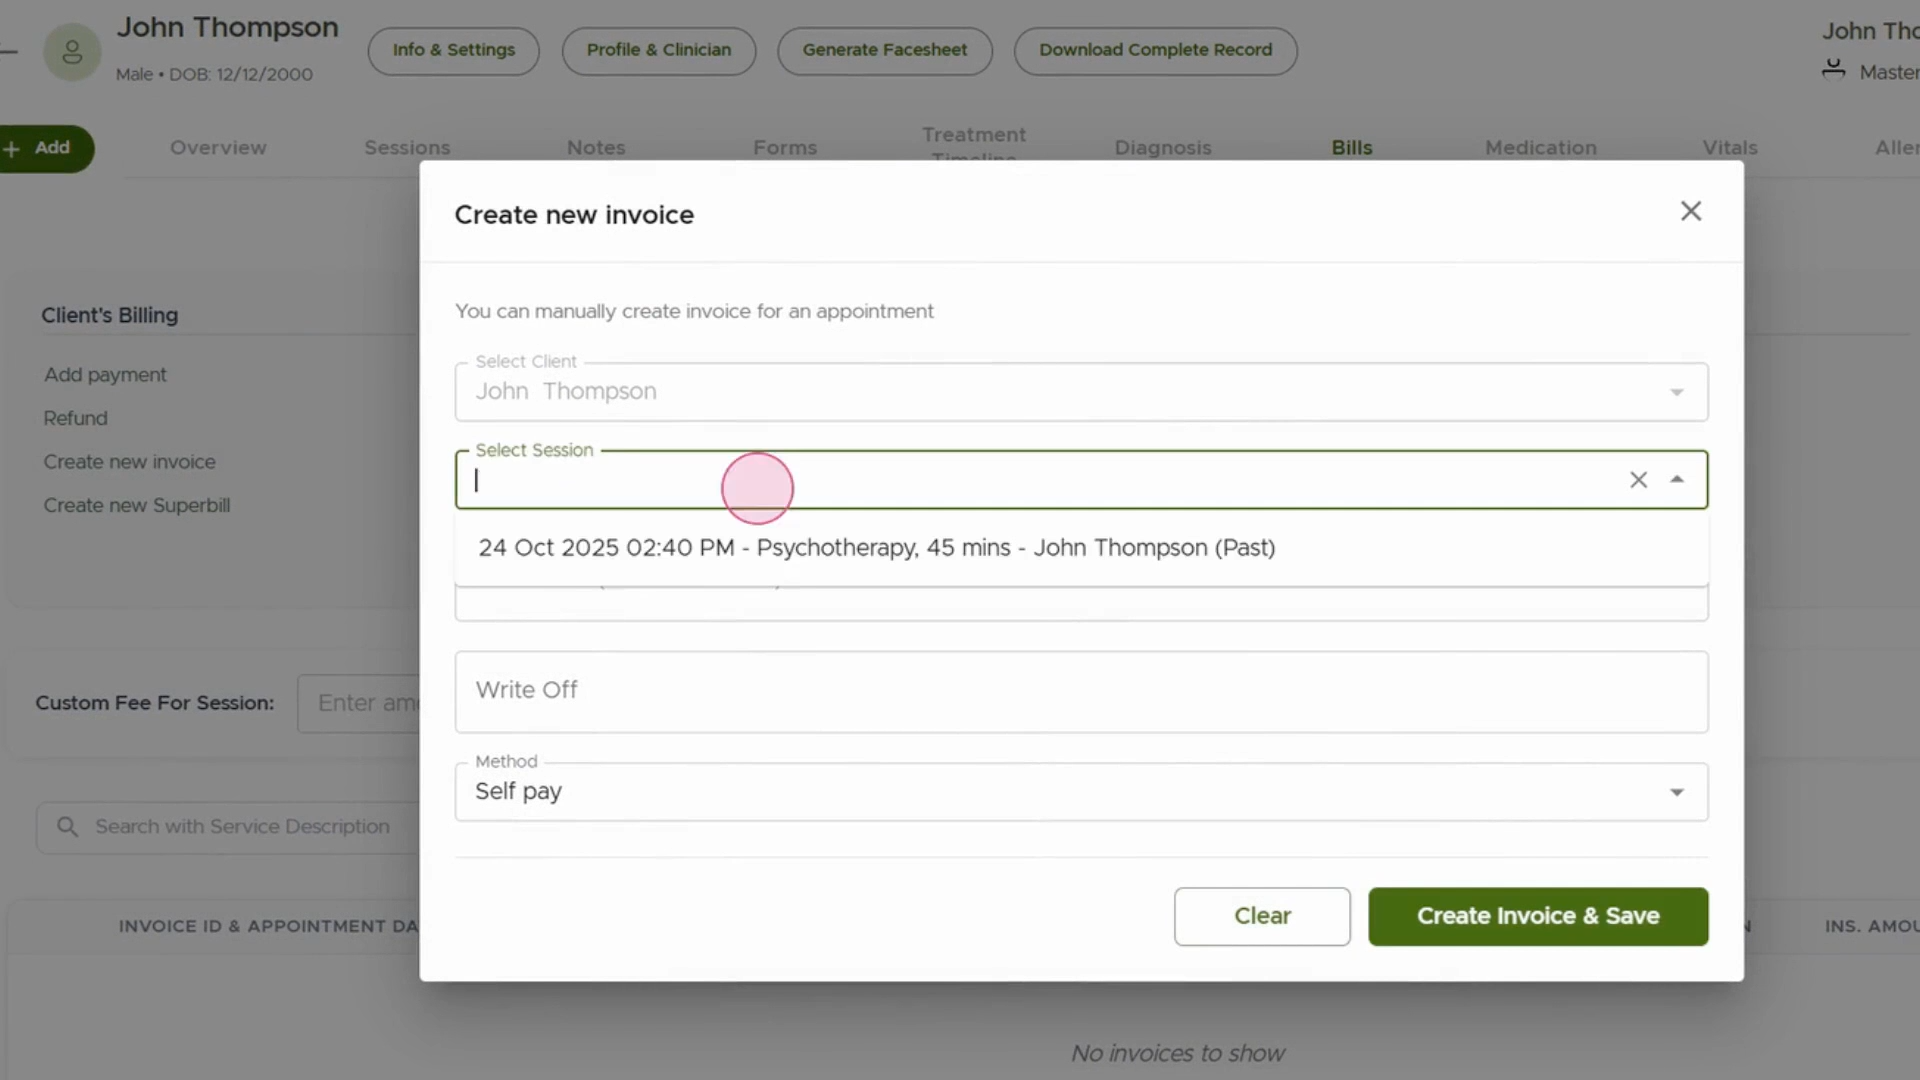
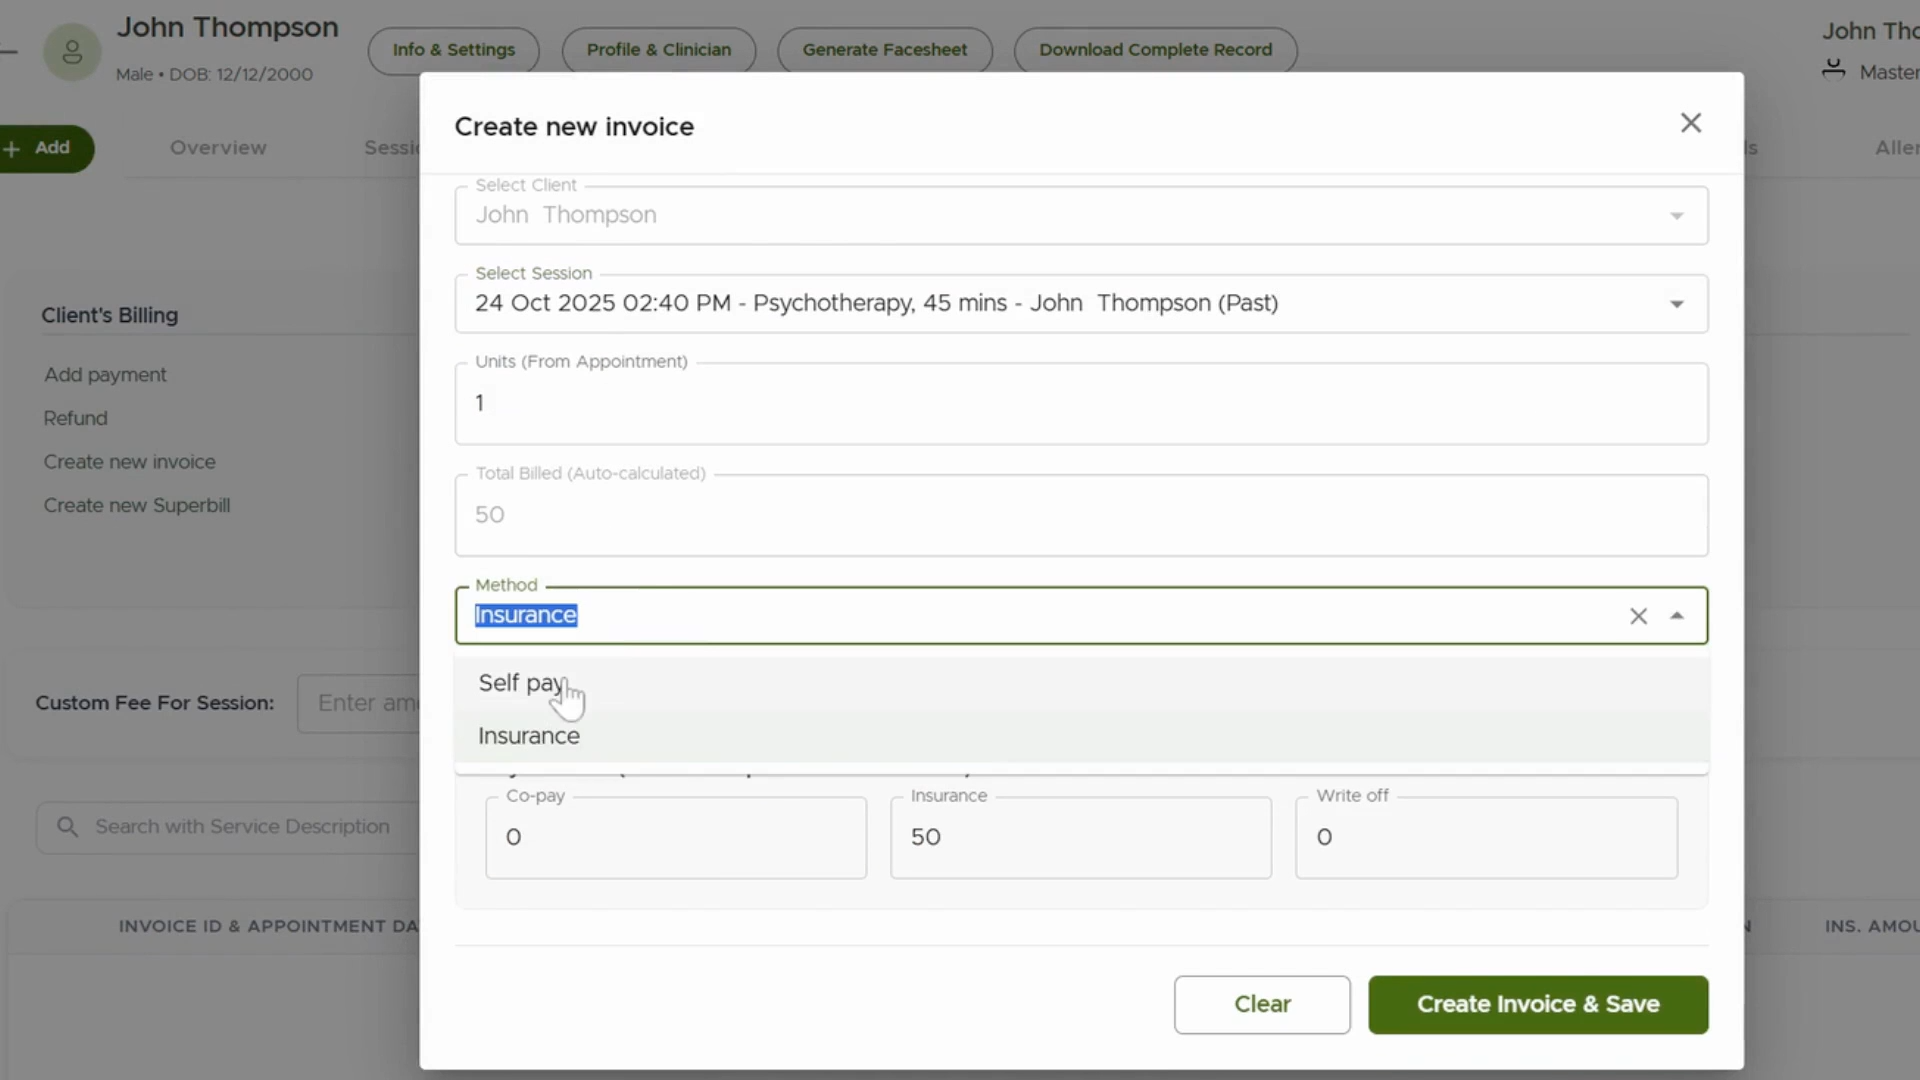
Step 5: Set the Invoice Type
Select the Self-pay option if you’re billing the client directly, rather than billing through insurance.
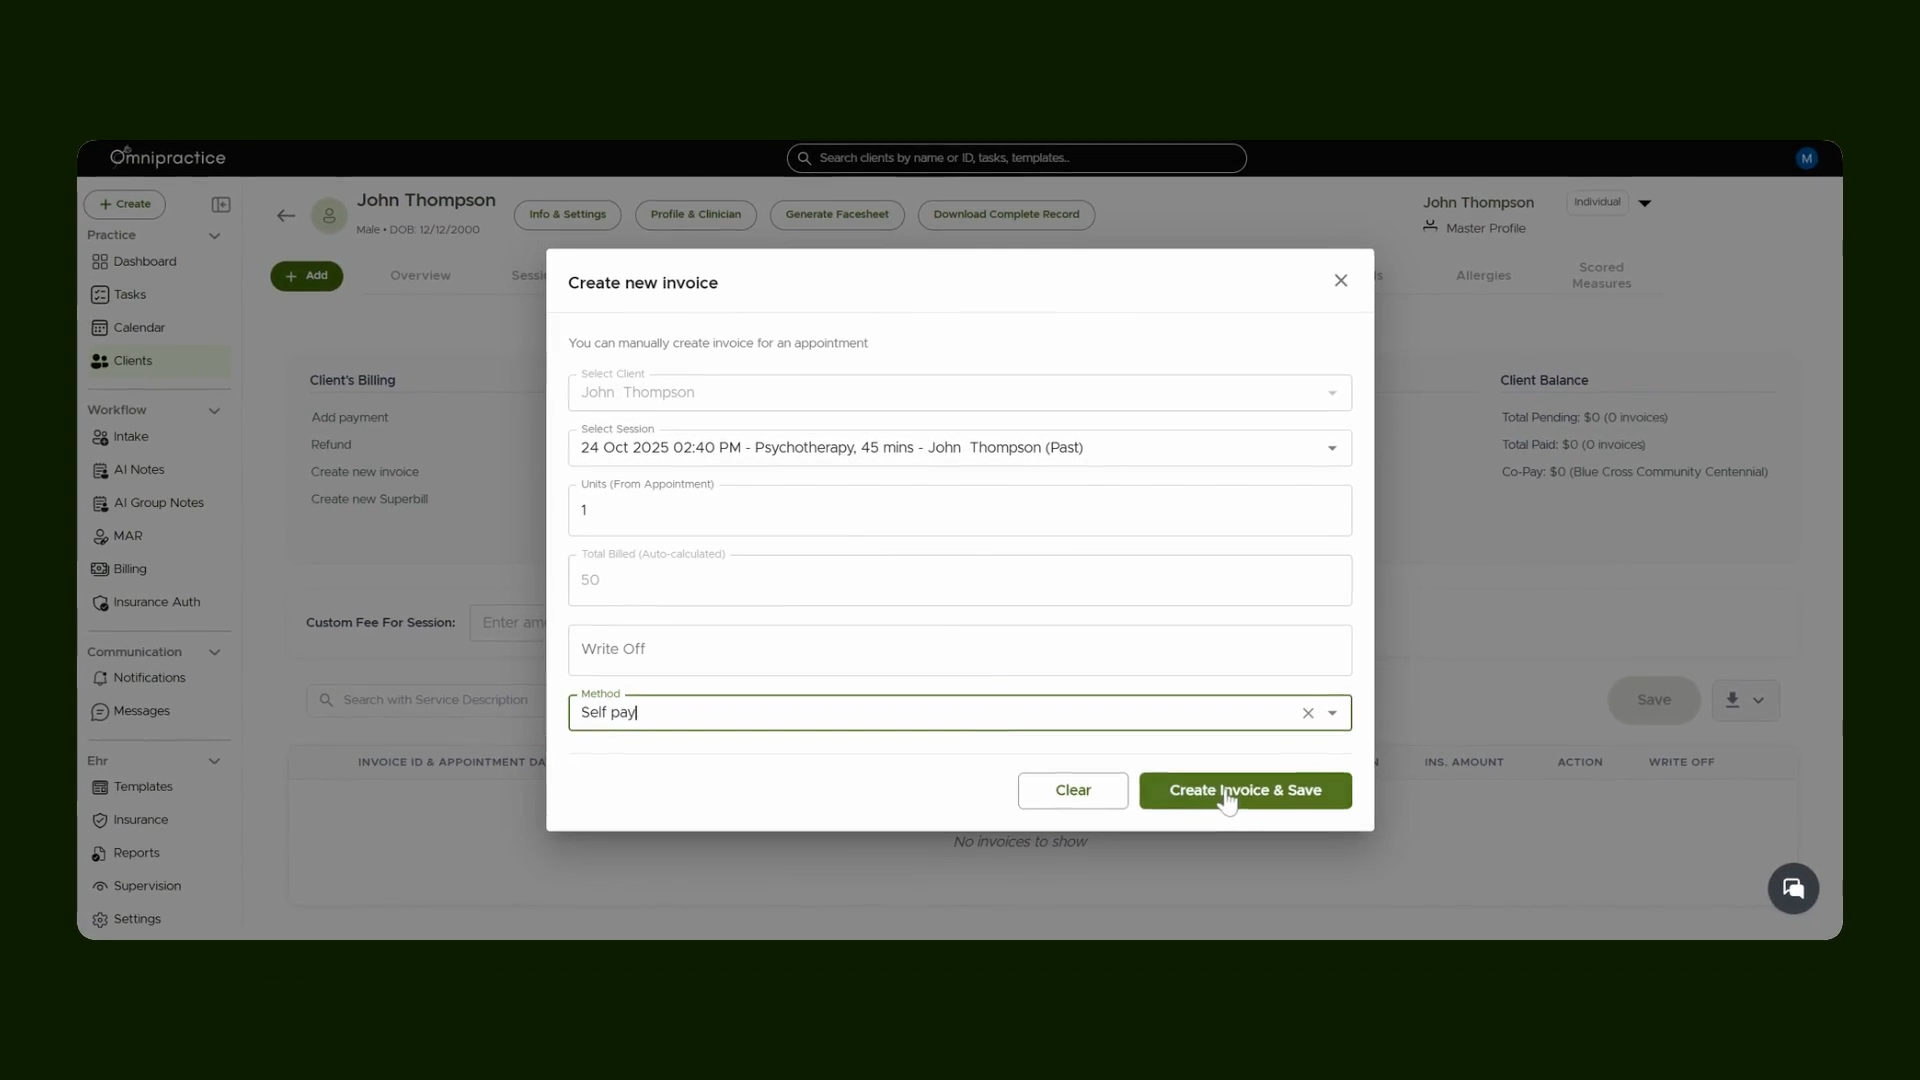
Step 6: Save the Invoice
Review the invoice details and hit Save Your invoice is now created and saved to the client’s account.
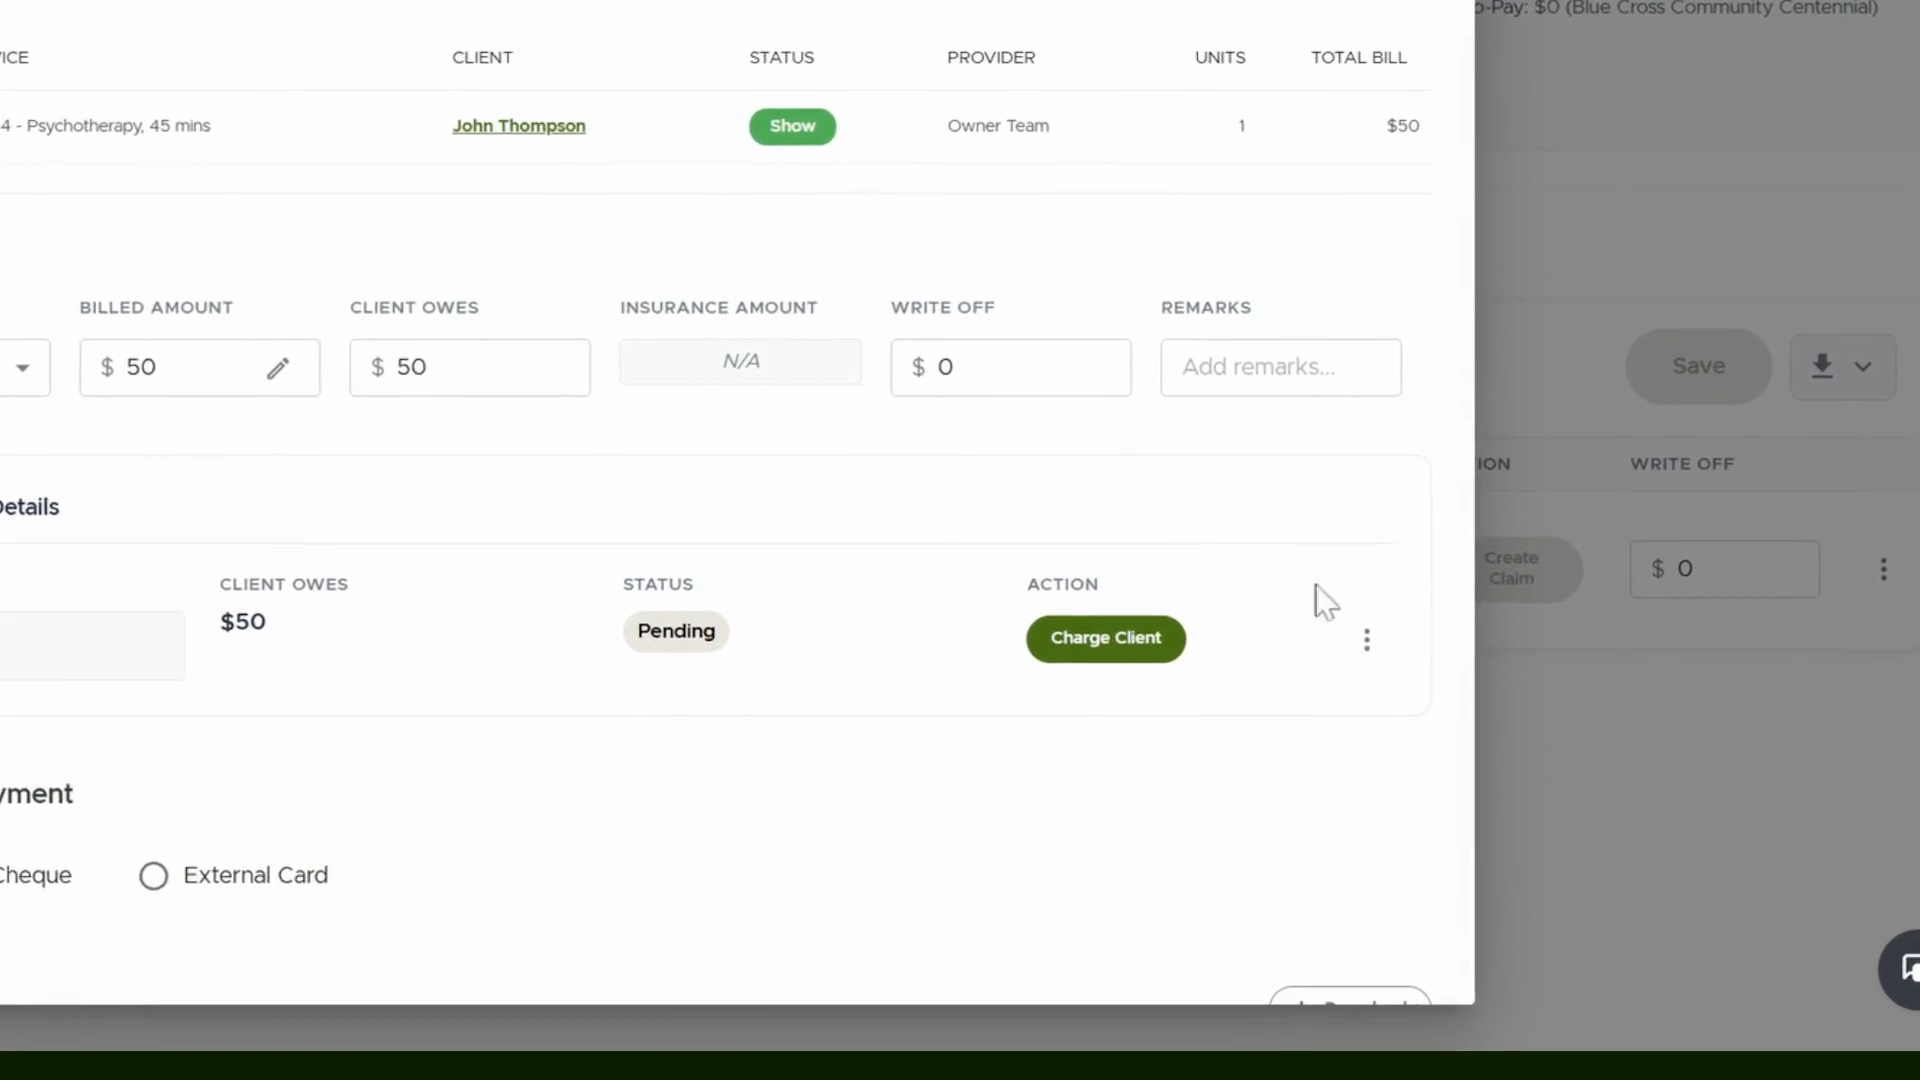
Step 7: Charge the Client (If They Have a Card on File)
If your client has card added for payment , select Charge client to process payment directly from the saved card. You can also set up auto-pay from Client File → Info & Settings → Payment tab
Step 8: Automatic Status Update of Invoice
After you’ve charged the client, the invoice automatically updates. Check to ensure the payment reflects on the invoice.
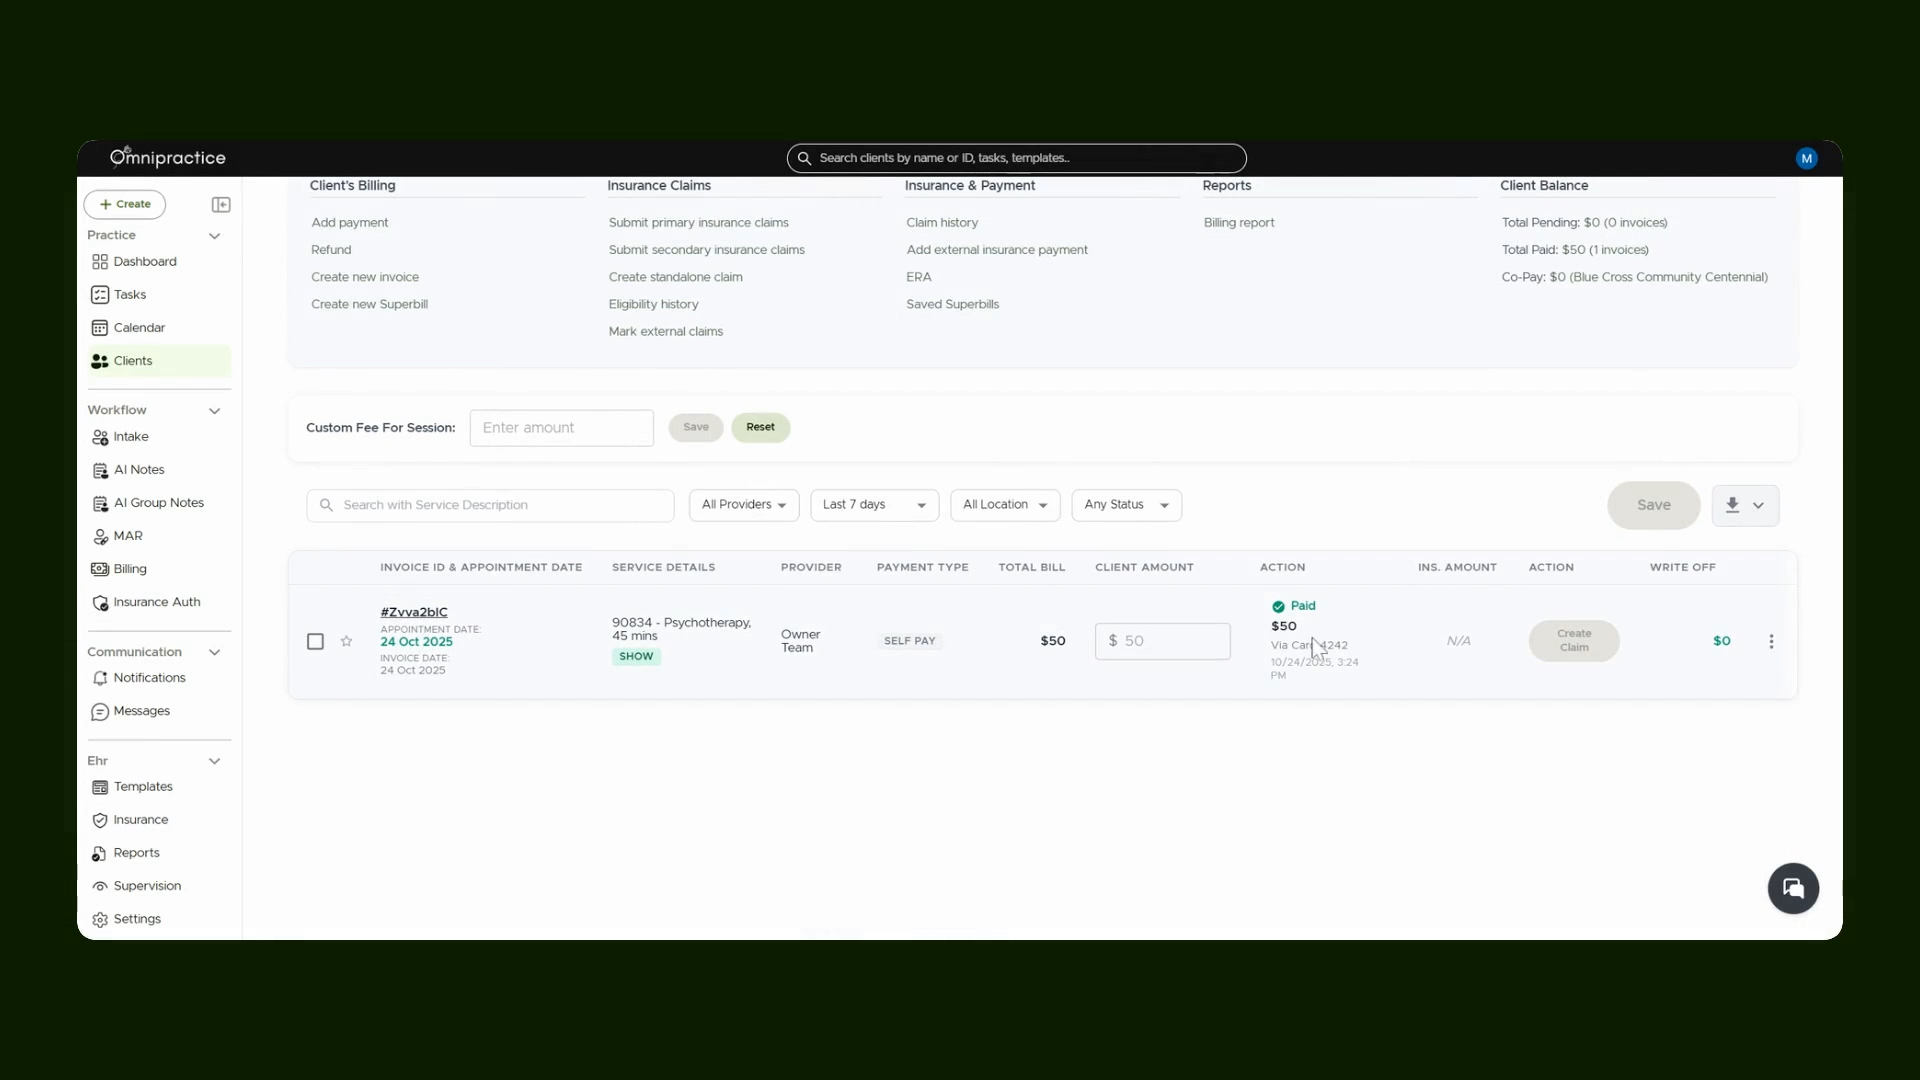
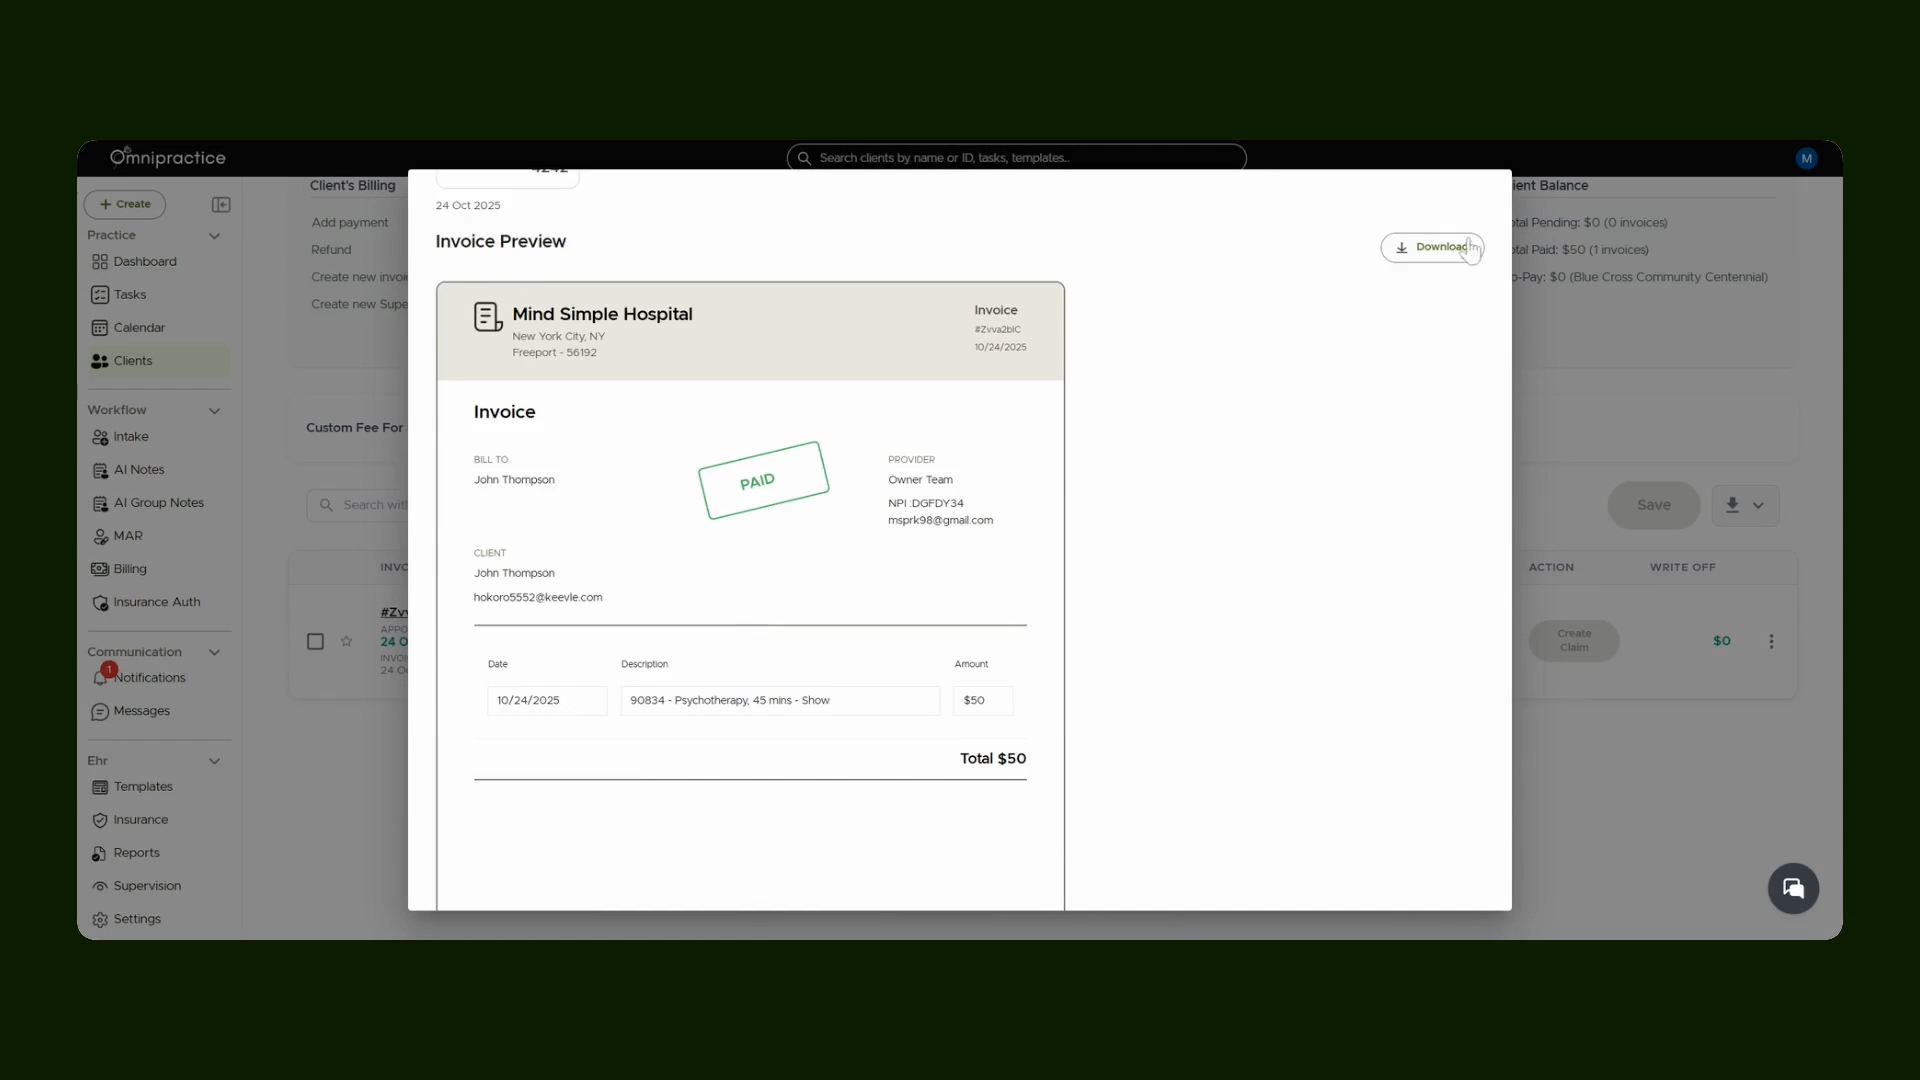
Step 9: Download and Share the Invoice
Download the invoice and send it to your client as a payment receipt or for their records. However it also appears in Client Portal.
By following these steps, you’ll streamline your billing process and ensure clients receive accurate, prompt invoices and receipts.