Managing Client's Demographics, Billing & Insurance and Files
Get started with managing clients in the Omni practice. By following this guide, you'll set up client profiles, manage payment options, handle insurance information, and organize client files efficiently.
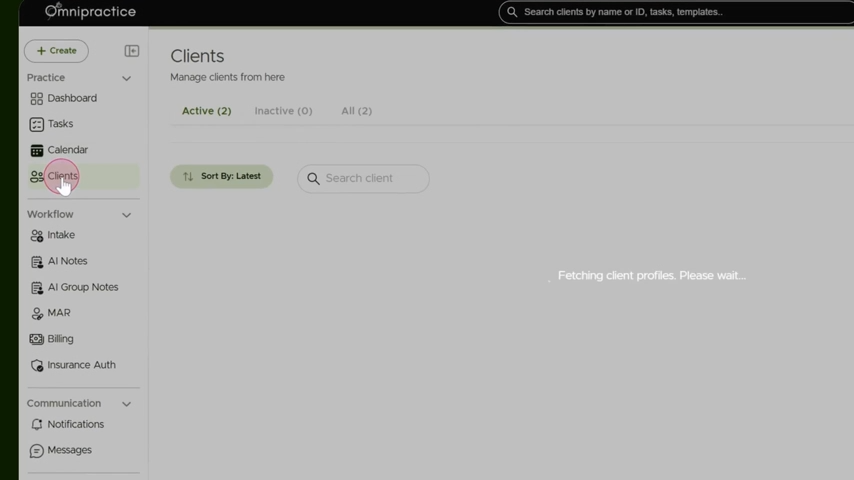
Step 1: Access the Clients Tab
Navigate to the Clients tab from the sidebar to begin managing your client database.
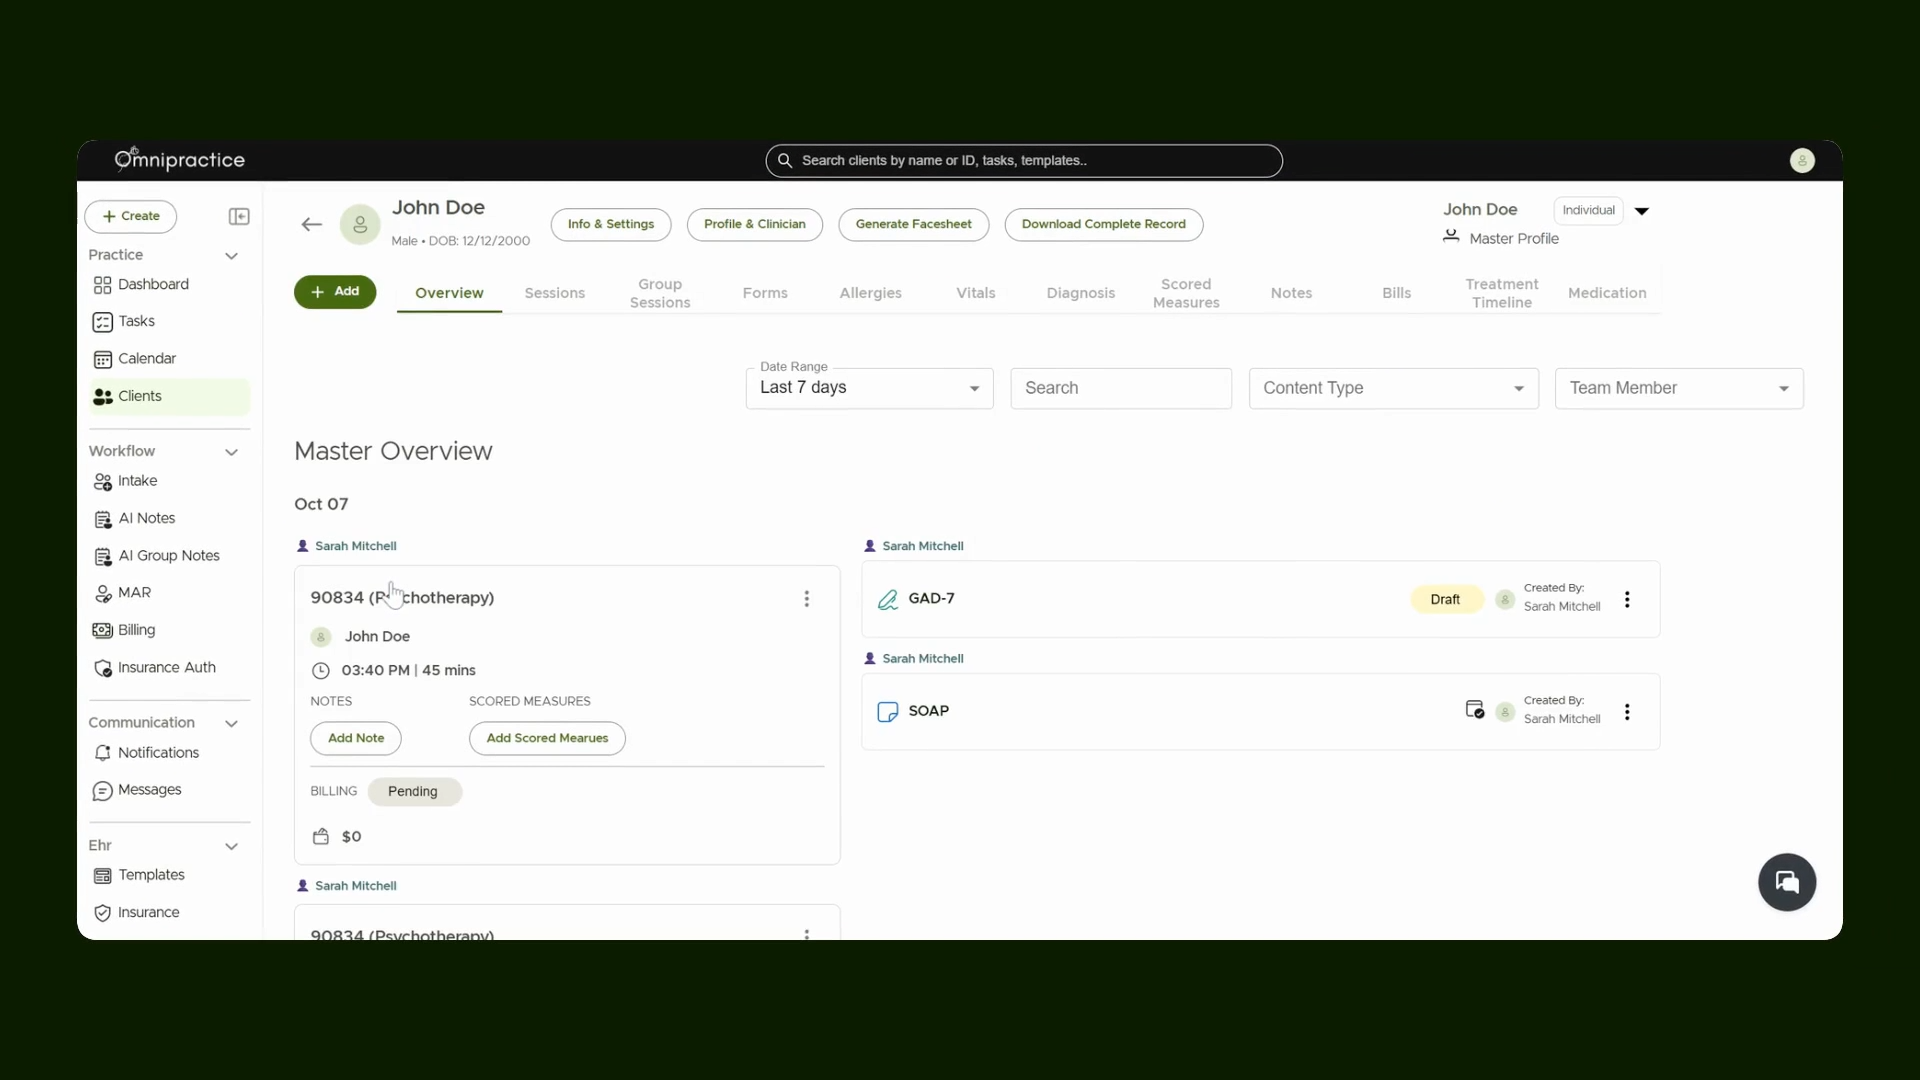
Step 2: Select an Existing Client
Choose a client already added to your system; for this example, let's use John Doe.
Step 3: Enter Basic Information
Go to Info and Settings to view and update client demographics and insurance details. Set key information such as gender, birth date, and personal preferences. You can also set up automated reminders for the client in this section.

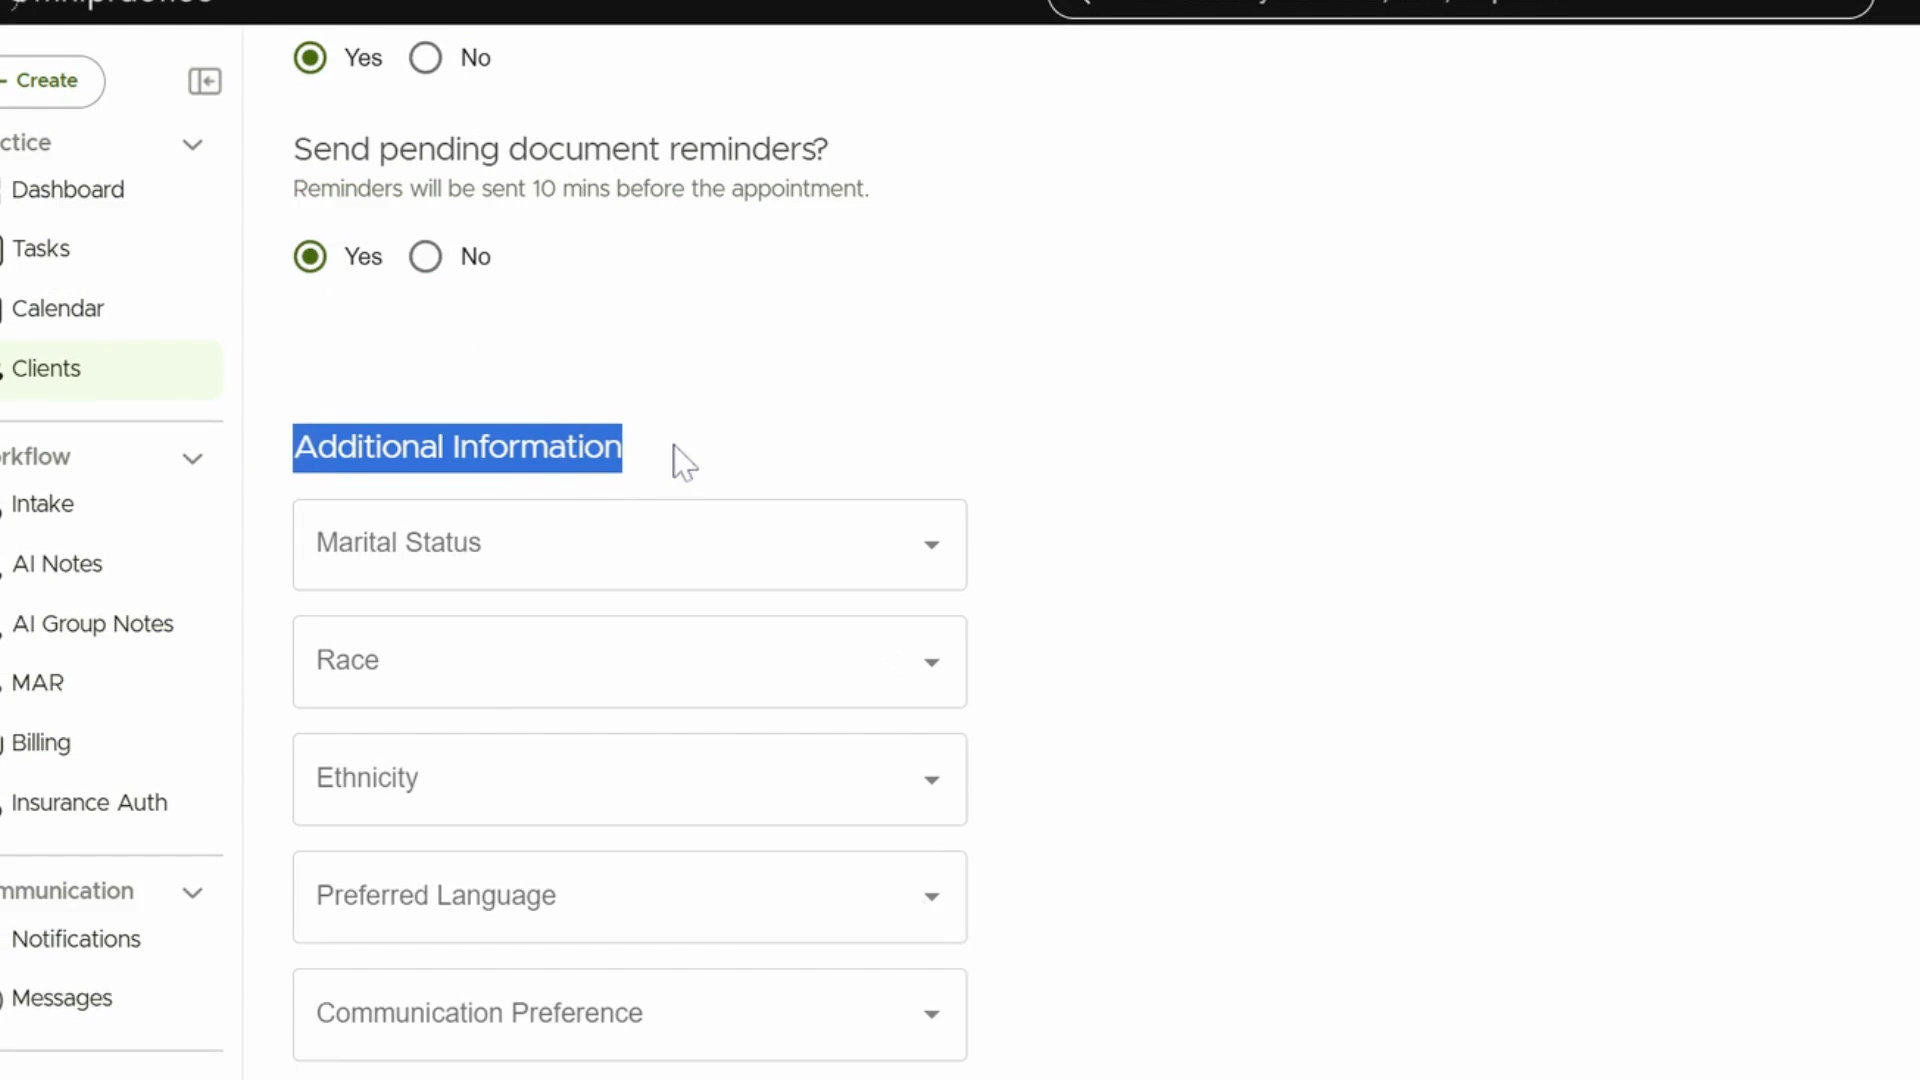
Step 4: Add Additional Information
Scroll to the Additional Information section to input more client details, select an emergency contact, and add the client’s address. After you enter all necessary information, remember to save your changes.
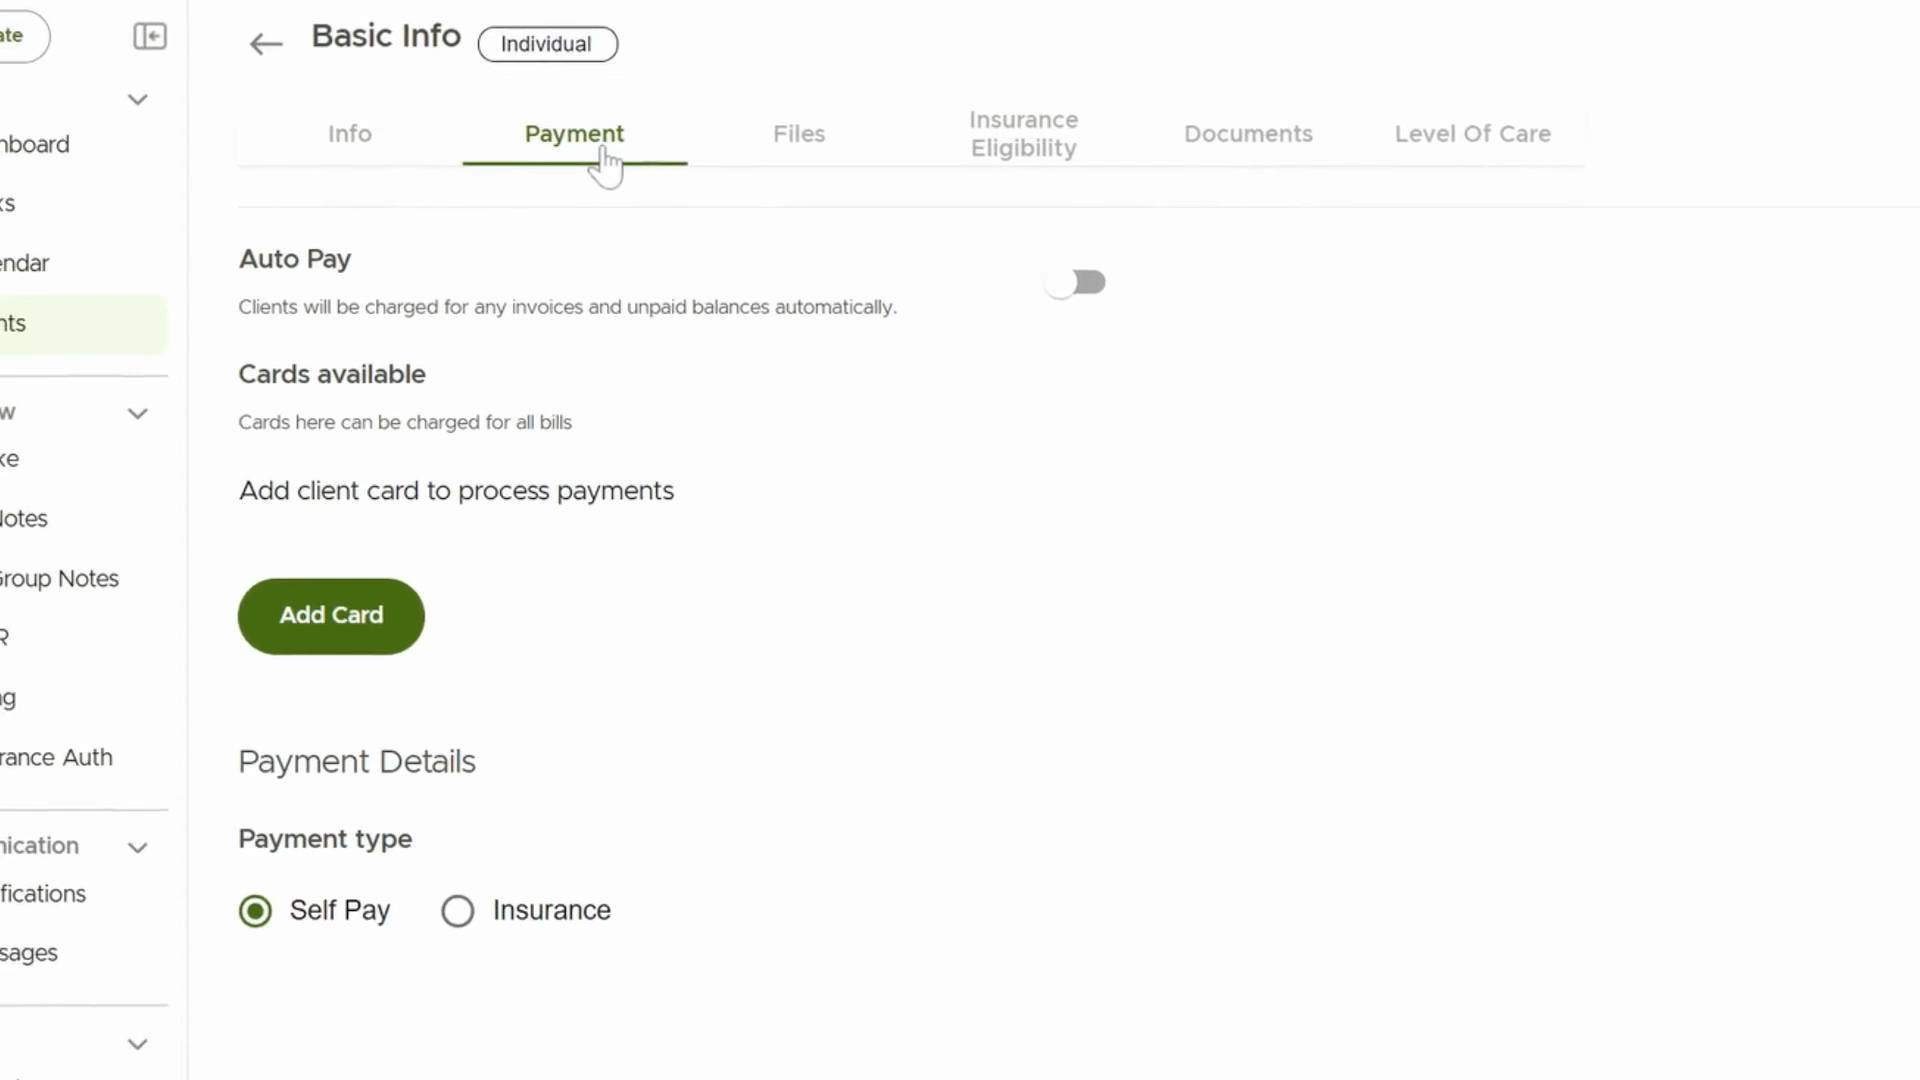
Step 5: Manage Payments
Head to the Payments section to enter and manage credit card information for the client. Input the card number and select Add Card to set a preferred payment method.
Choose between Self Pay and Insurance Pay options based on the client’s preferences.
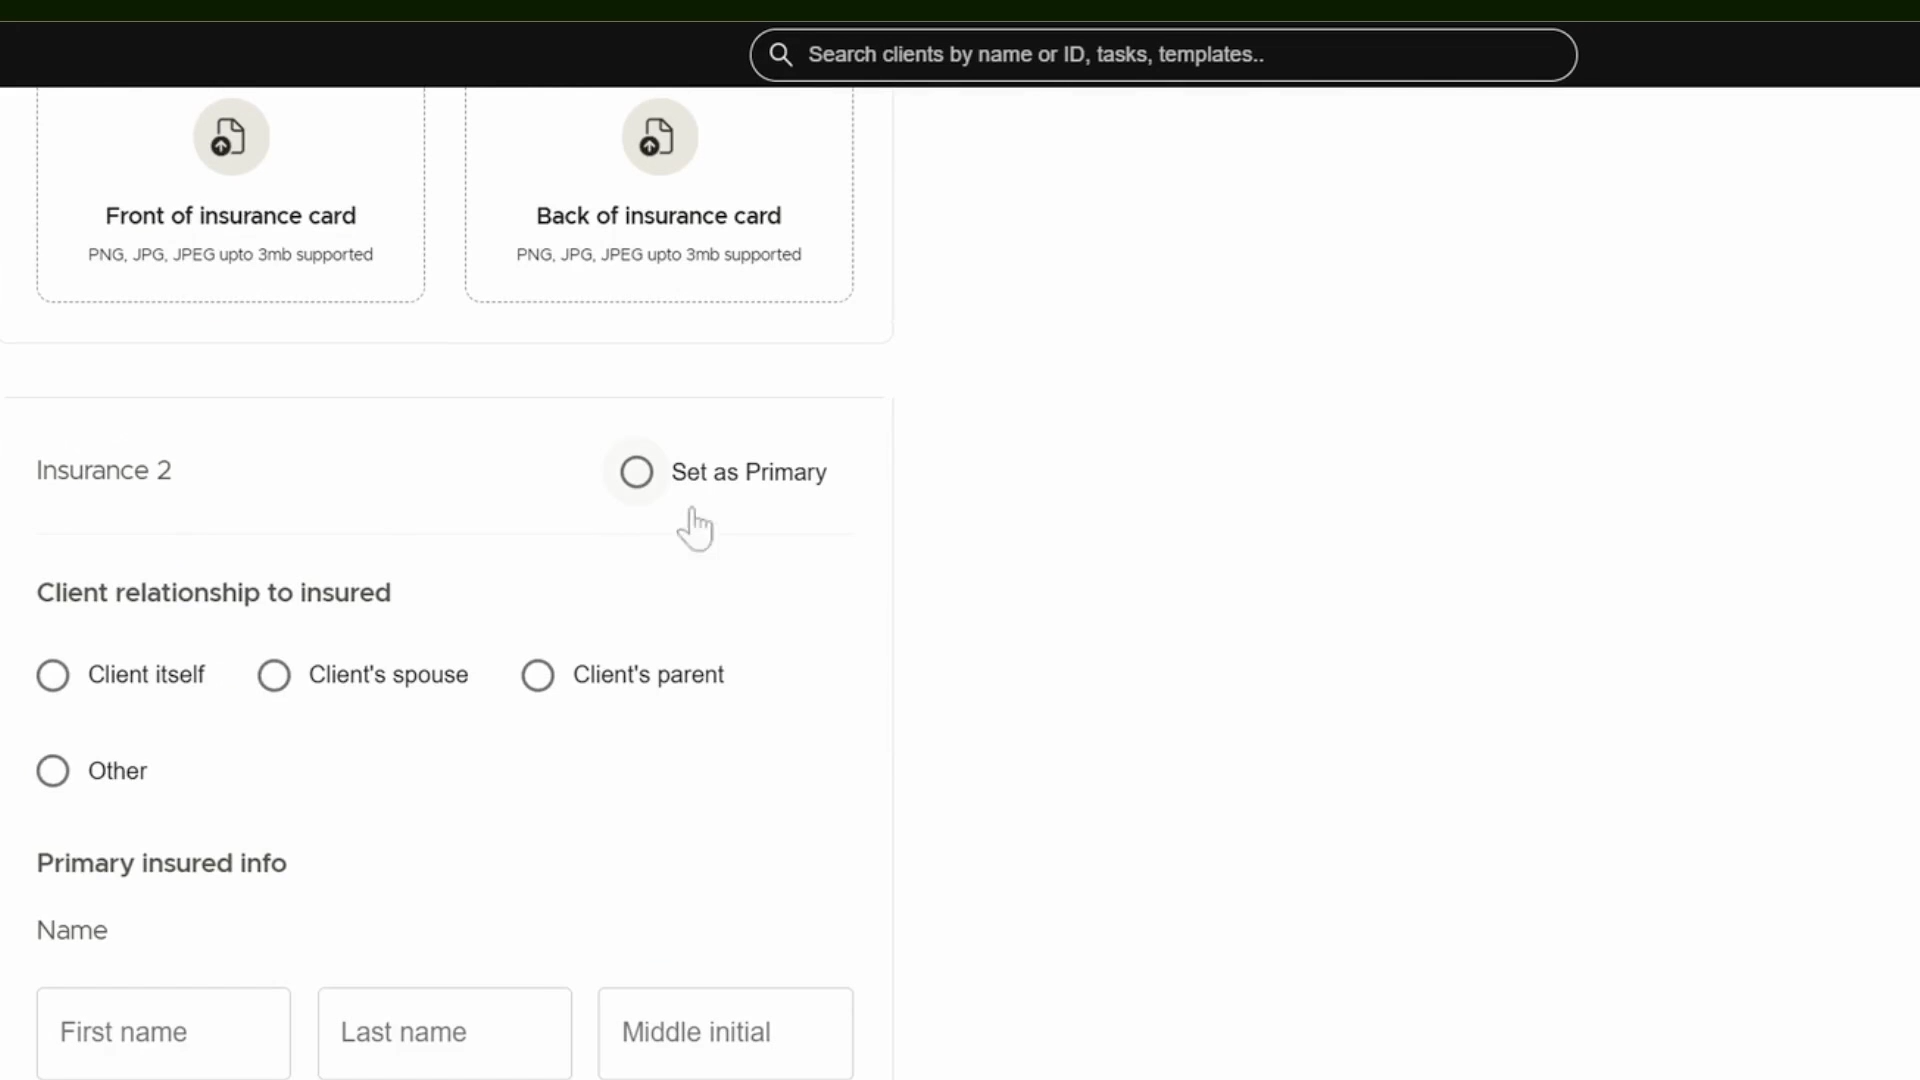
Step 6: Enter Insurance Details
Add multiple insurance details as required; all fields auto-populate if you're working with an existing client. Upload a copy of the insurance card directly in this section. If you've added several insurance methods, mark one as primary. Don’t forget to save your updates.
Step 7: Verify Insurance Eligibility
Open the Insurance Eligibility section to check the client’s insurance status using tools like Stedi or Claim MD. It's recommended to use Stedi for streamlined verification.

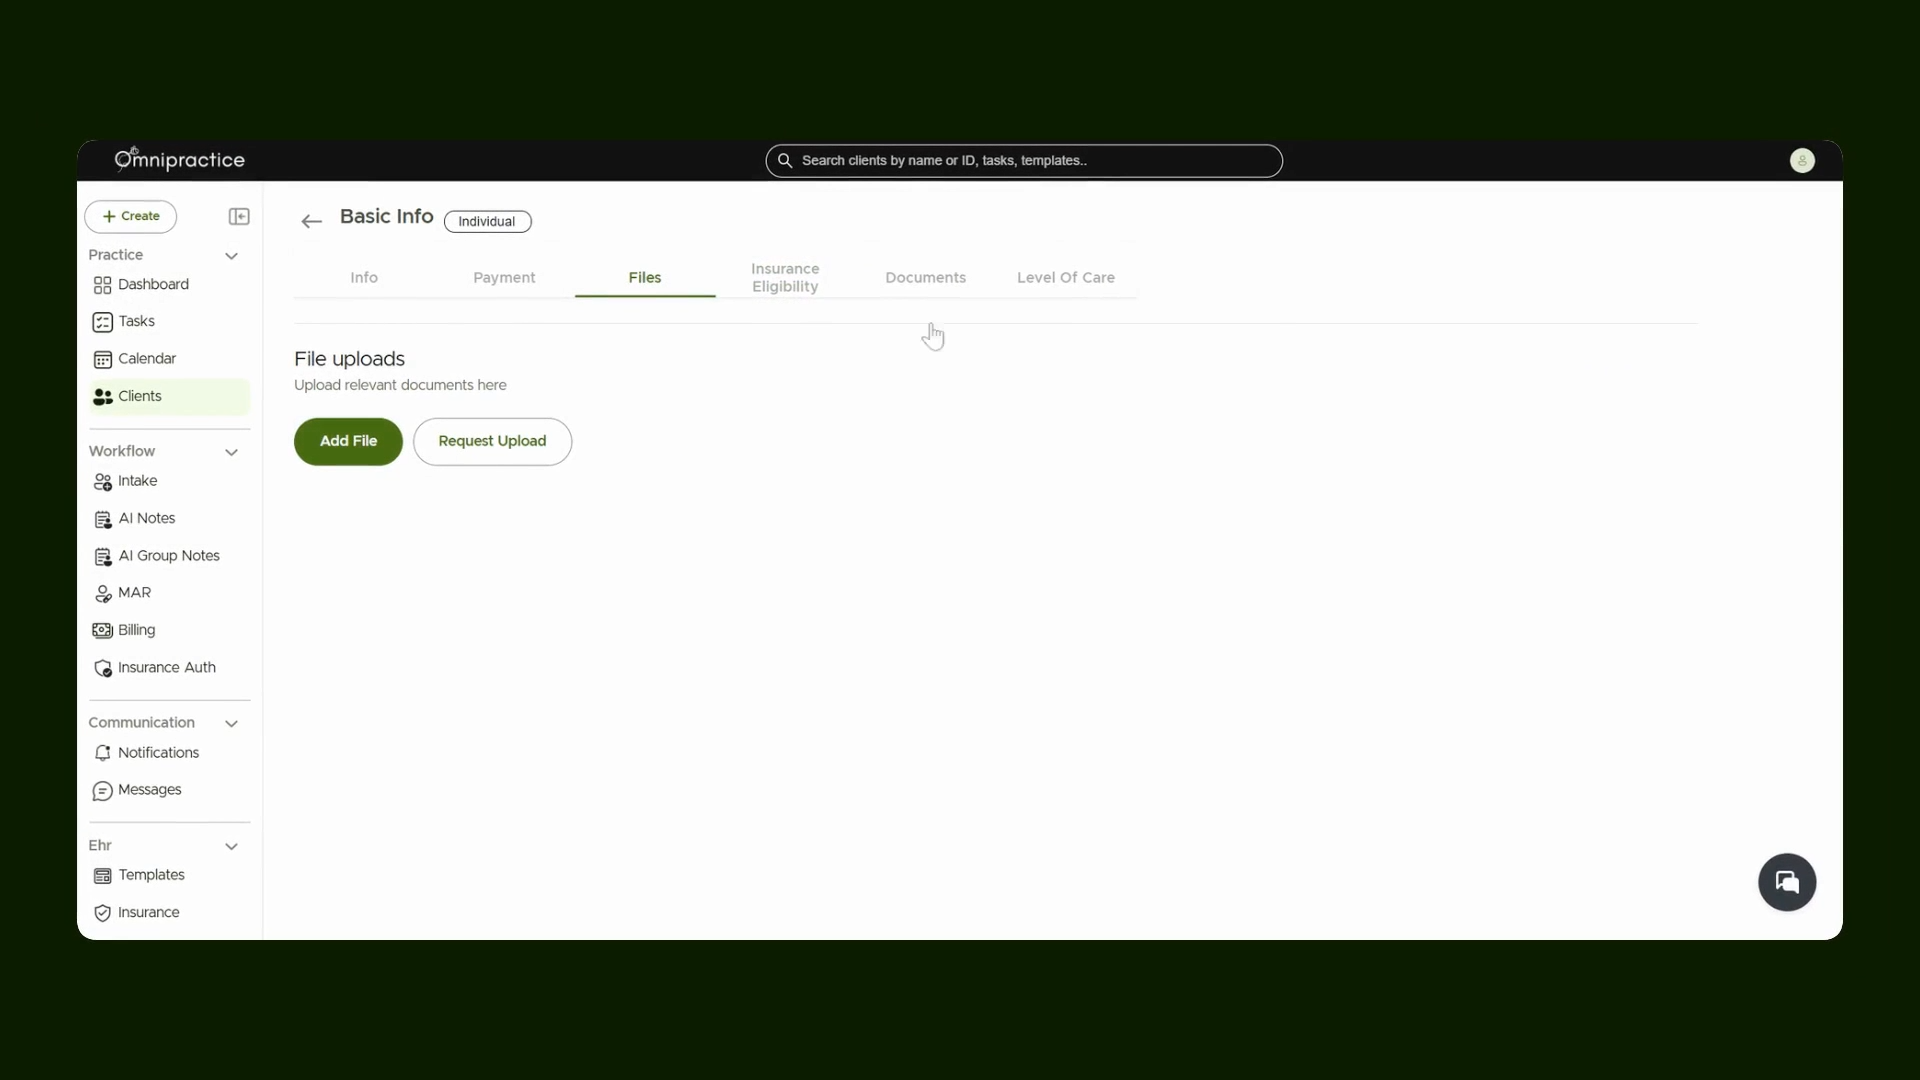
Step 8: Add or Request Files
Navigate to the Files section to upload relevant files or request uploads from the client. Clients can also upload files through their portal, and you'll see them appear in this area.
Step 9: Assign Level of Care
Select the current Level of Care for your client, including details like start date, end date, and provider's name.
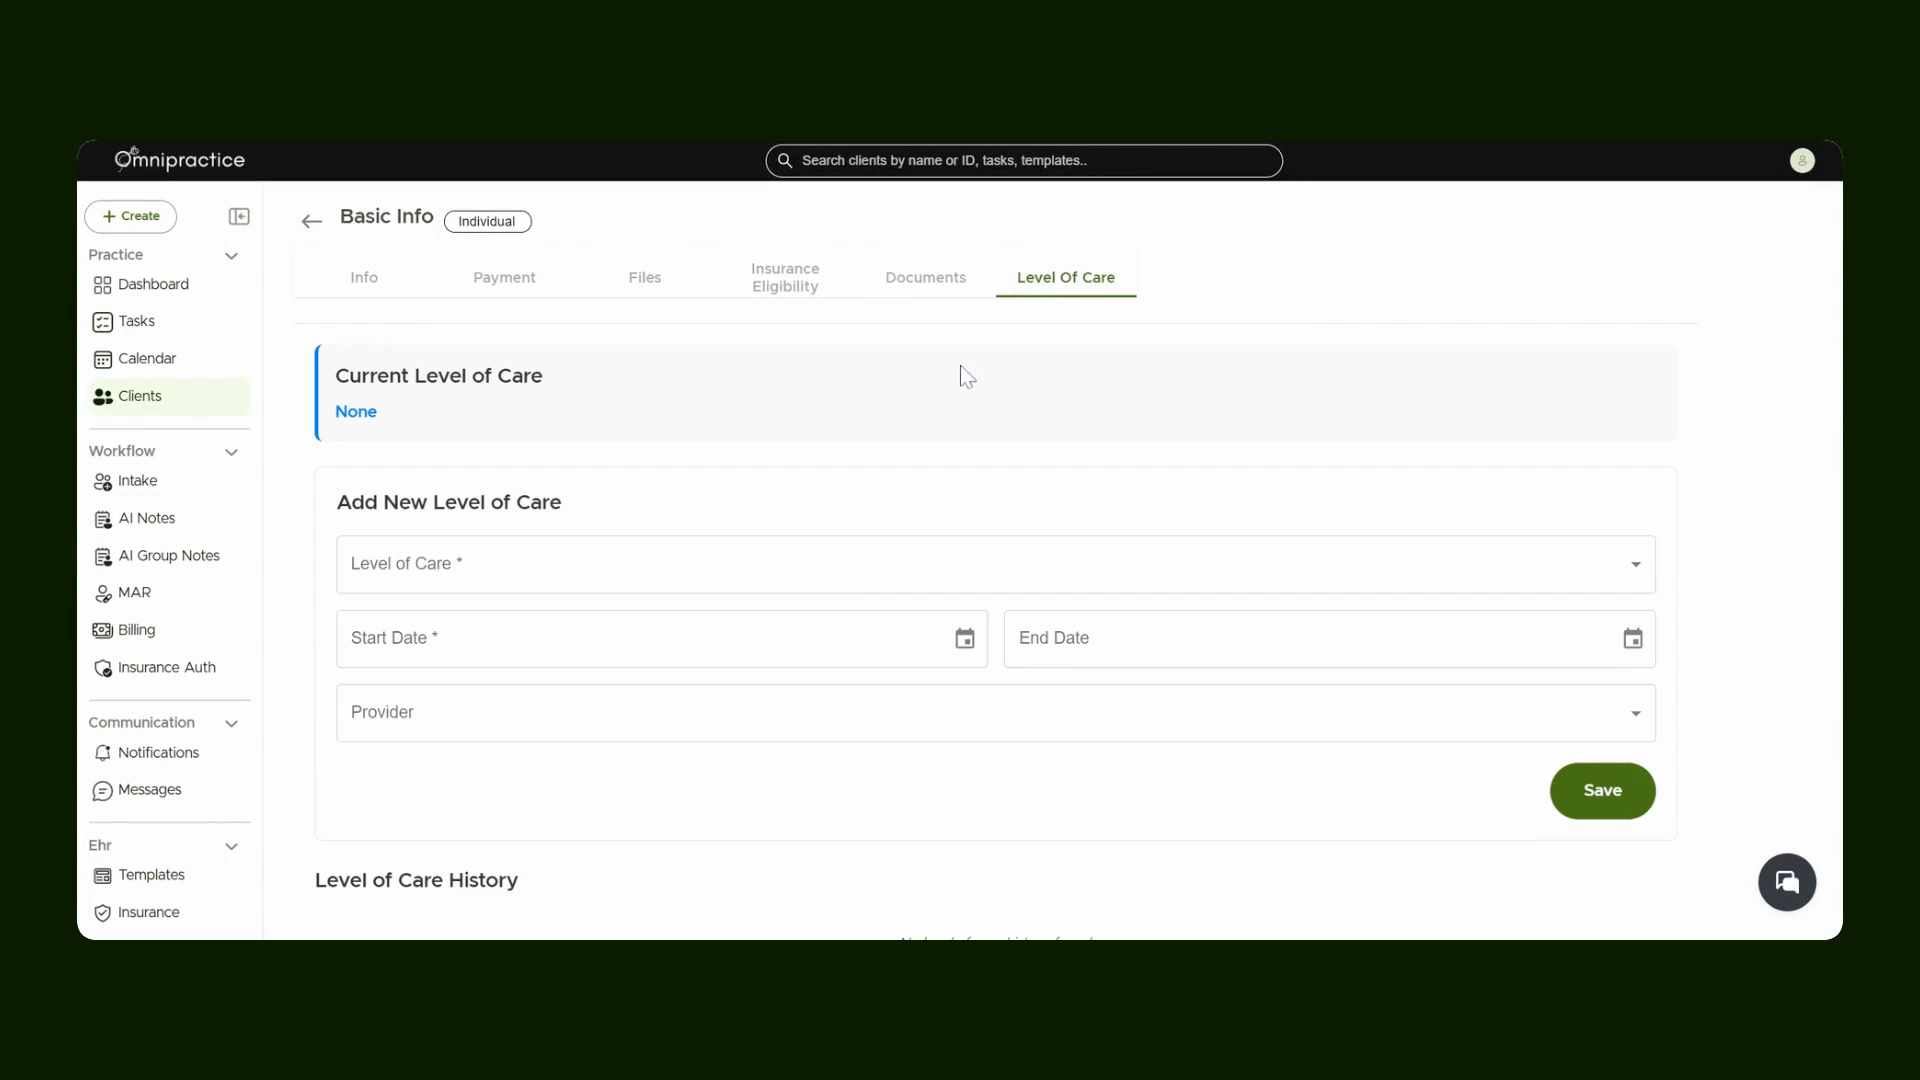
All entered details display on this screen, where you can edit or delete the level of care as needed.
You've now covered all the essential steps for setting up and managing a client in Omni practice. Your client records will be accurate and up-to-date, laying a strong foundation for delivering great care.