Managing Client's Clinical Data - Diagnosis, Allergies, Vitals and Medication
Managing a client's clinical data is straightforward with the right steps. Follow this guide to efficiently view, filter, and update clinical information such as allergies, diagnoses, medications, and vitals.
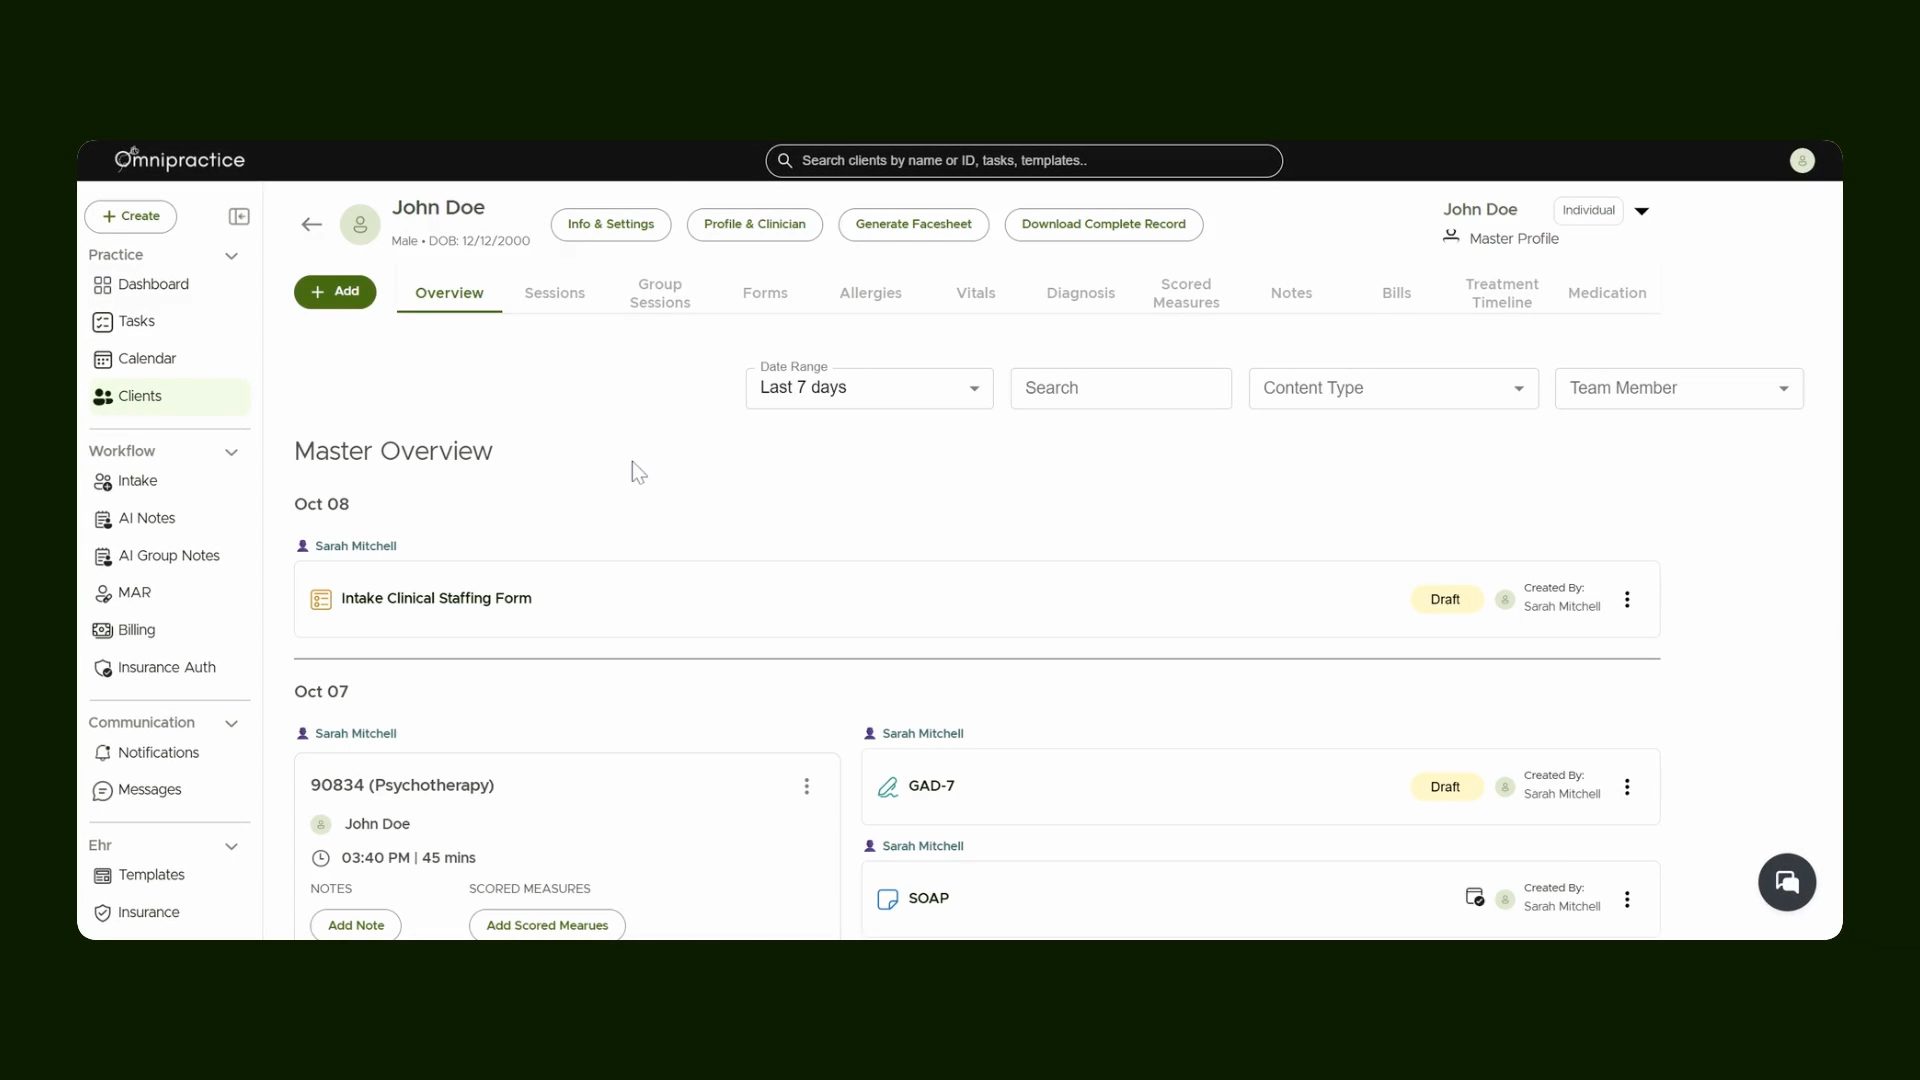
Step 1: Navigate to the Client's Profile
Start by opening the client's profile—here, for example, John Doe. The overview page displays all relevant data, including sessions, note forms, scored measures, and more.
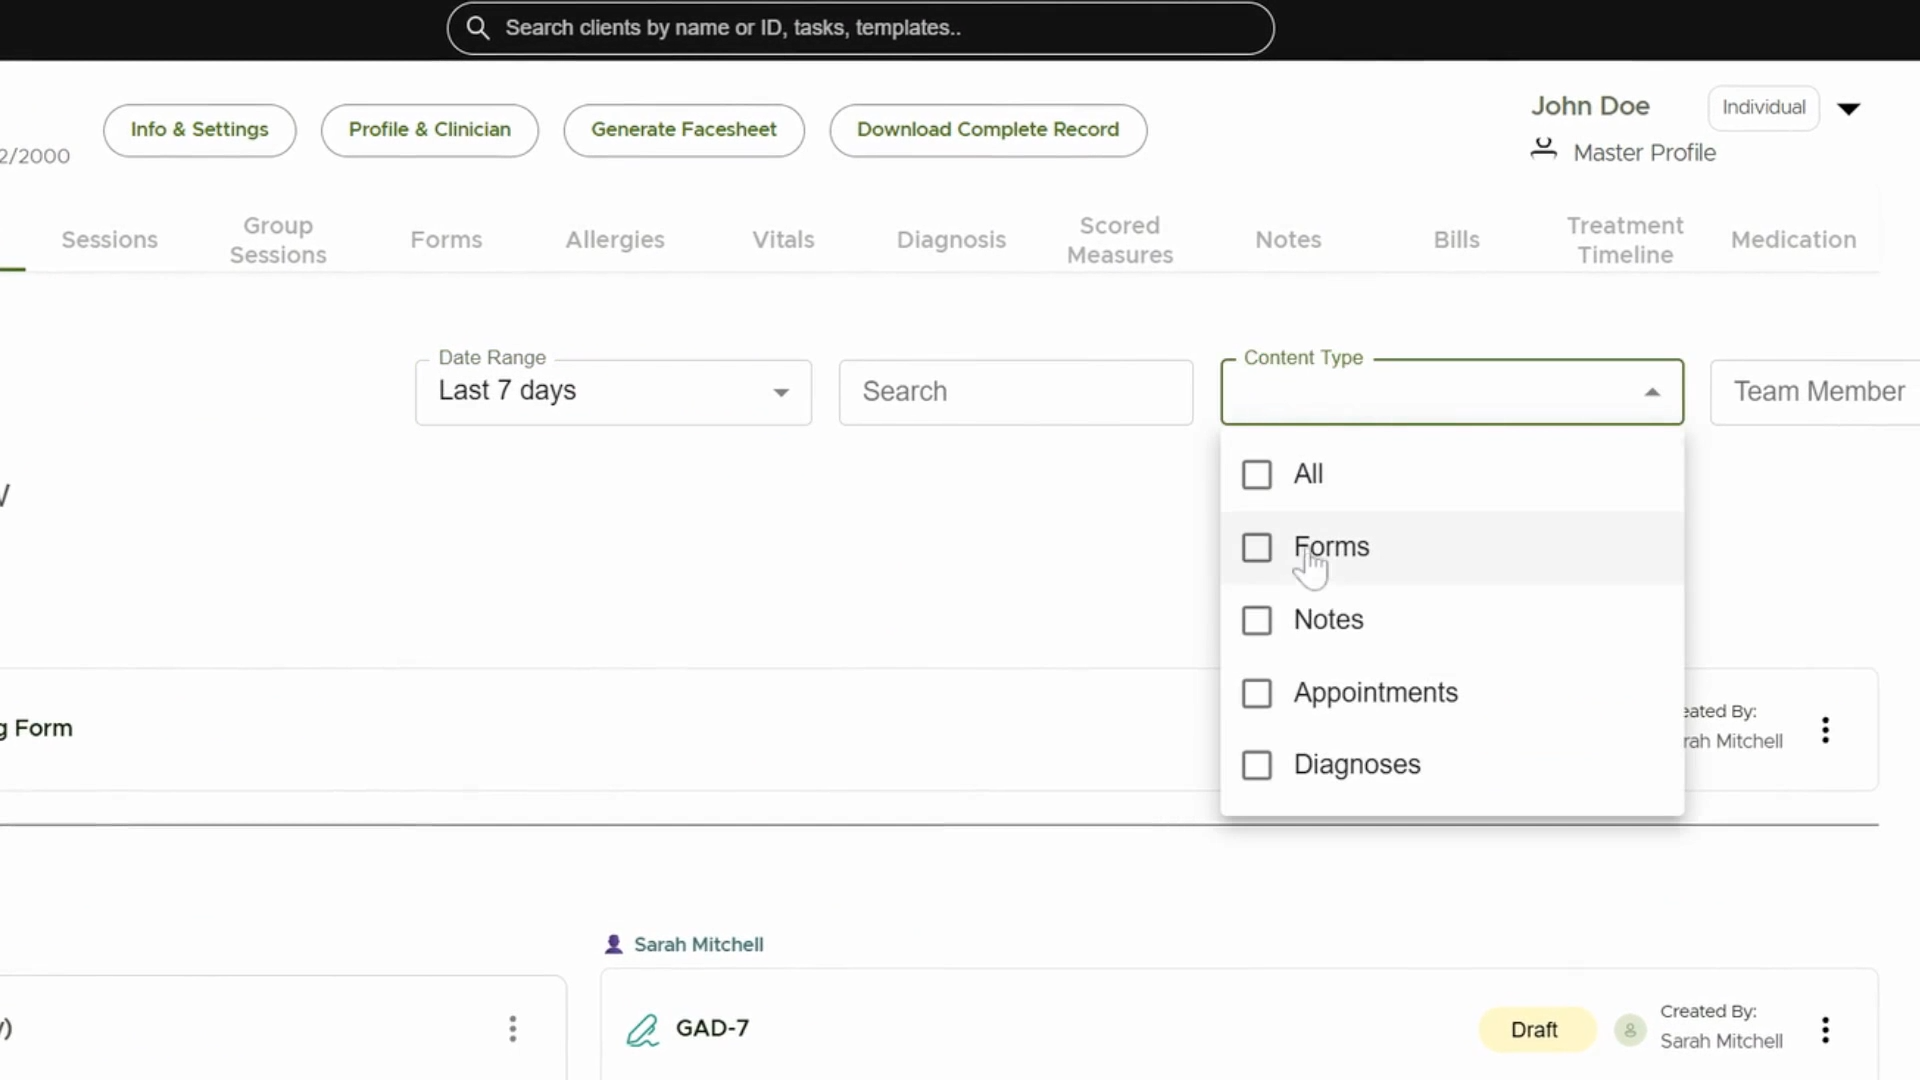
Step 2: Filter and Search for Clinical Data
Use the filtering options to narrow down the displayed data. Apply filters by date, content type (like forms or notes), or specific team members if multiple clinicians are present. The search bar also allows you to quickly locate specific entries.
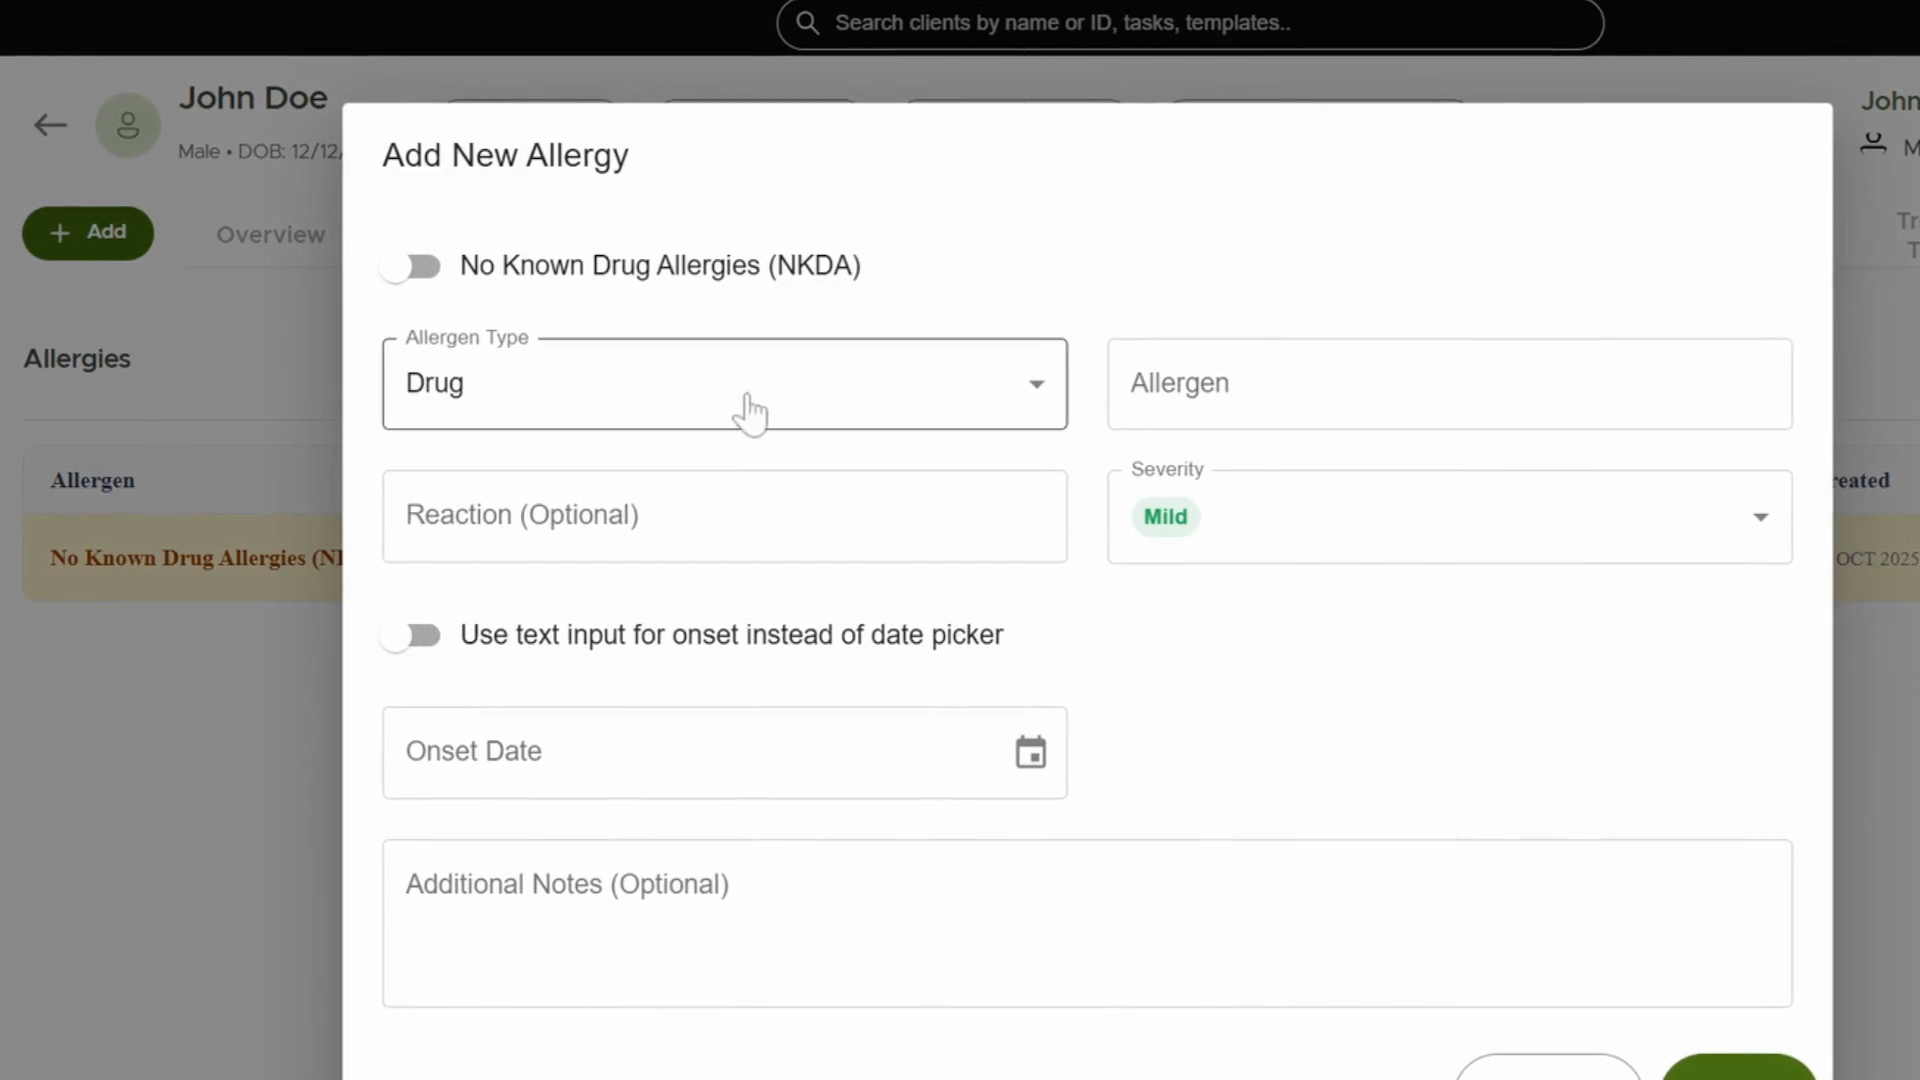
Step 3: Add and Manage Allergies
Go to the Allergies tab. Click Add to include a new allergy. Select the allergy type from the dropdown or type your own entry. Once finished, click Add and the allergy appears in the Allergies list.
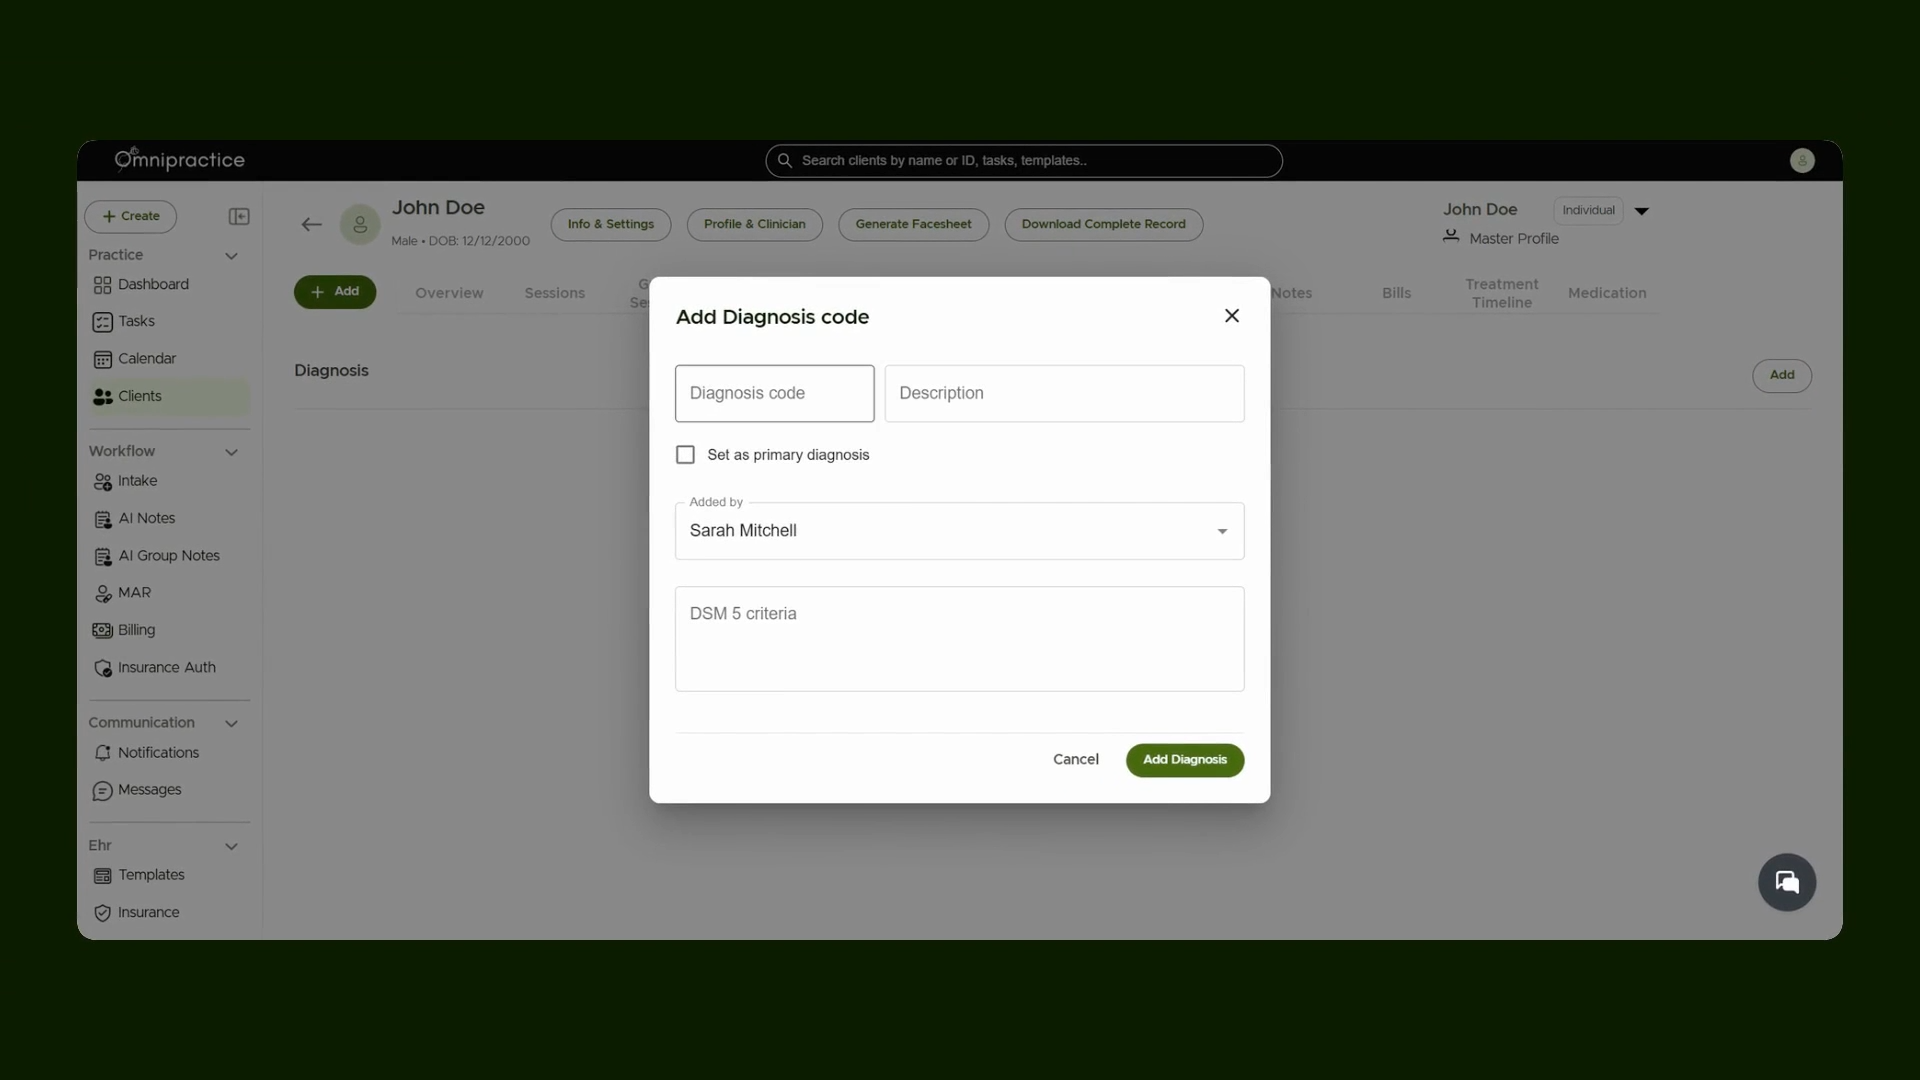
Step 4: Add Diagnoses
In the diagnosis section, click Add to enter a new diagnosis. Enter both the code and description, then press Add Diagnosis to save.
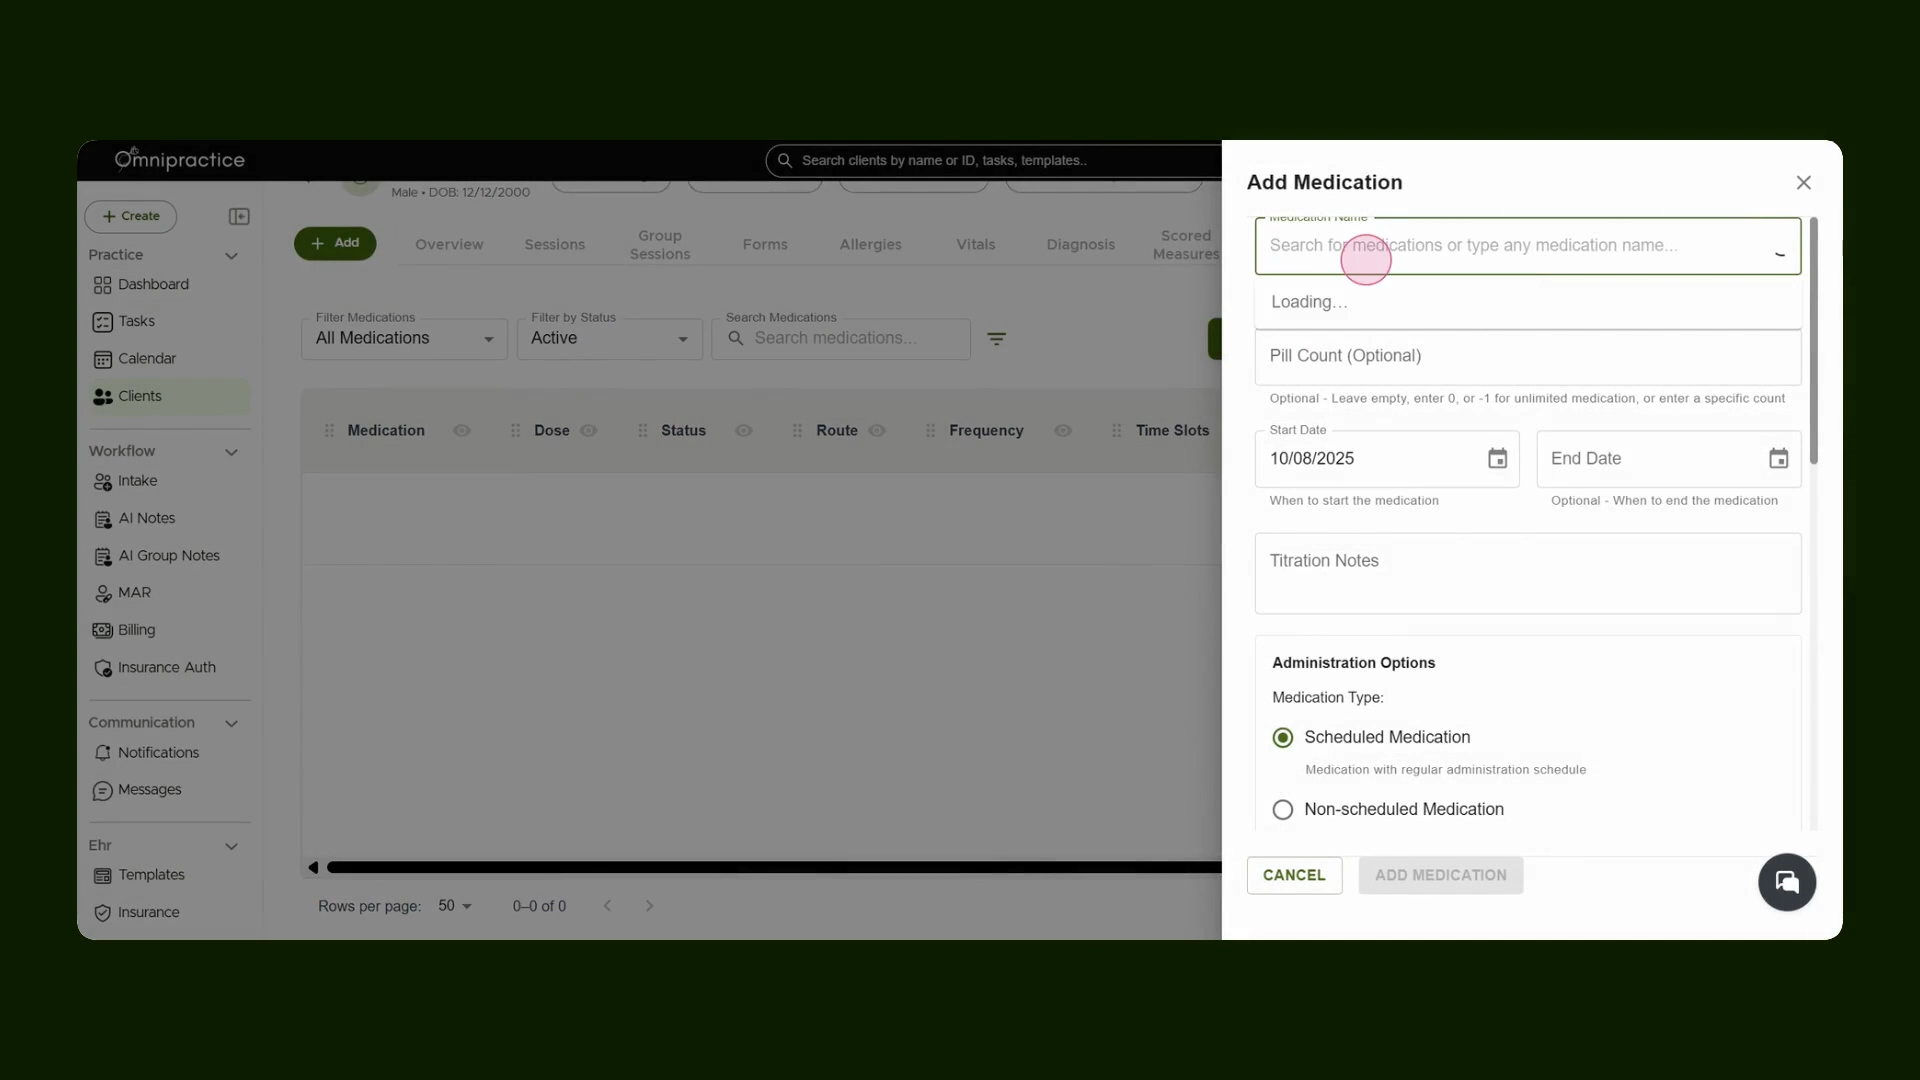
Step 5: Add and Schedule Medications
Head to the client's Medication tab to add medications. Select from the dropdown or enter the medication name manually. Use the AI recommendations button for auto-populated suggestions.
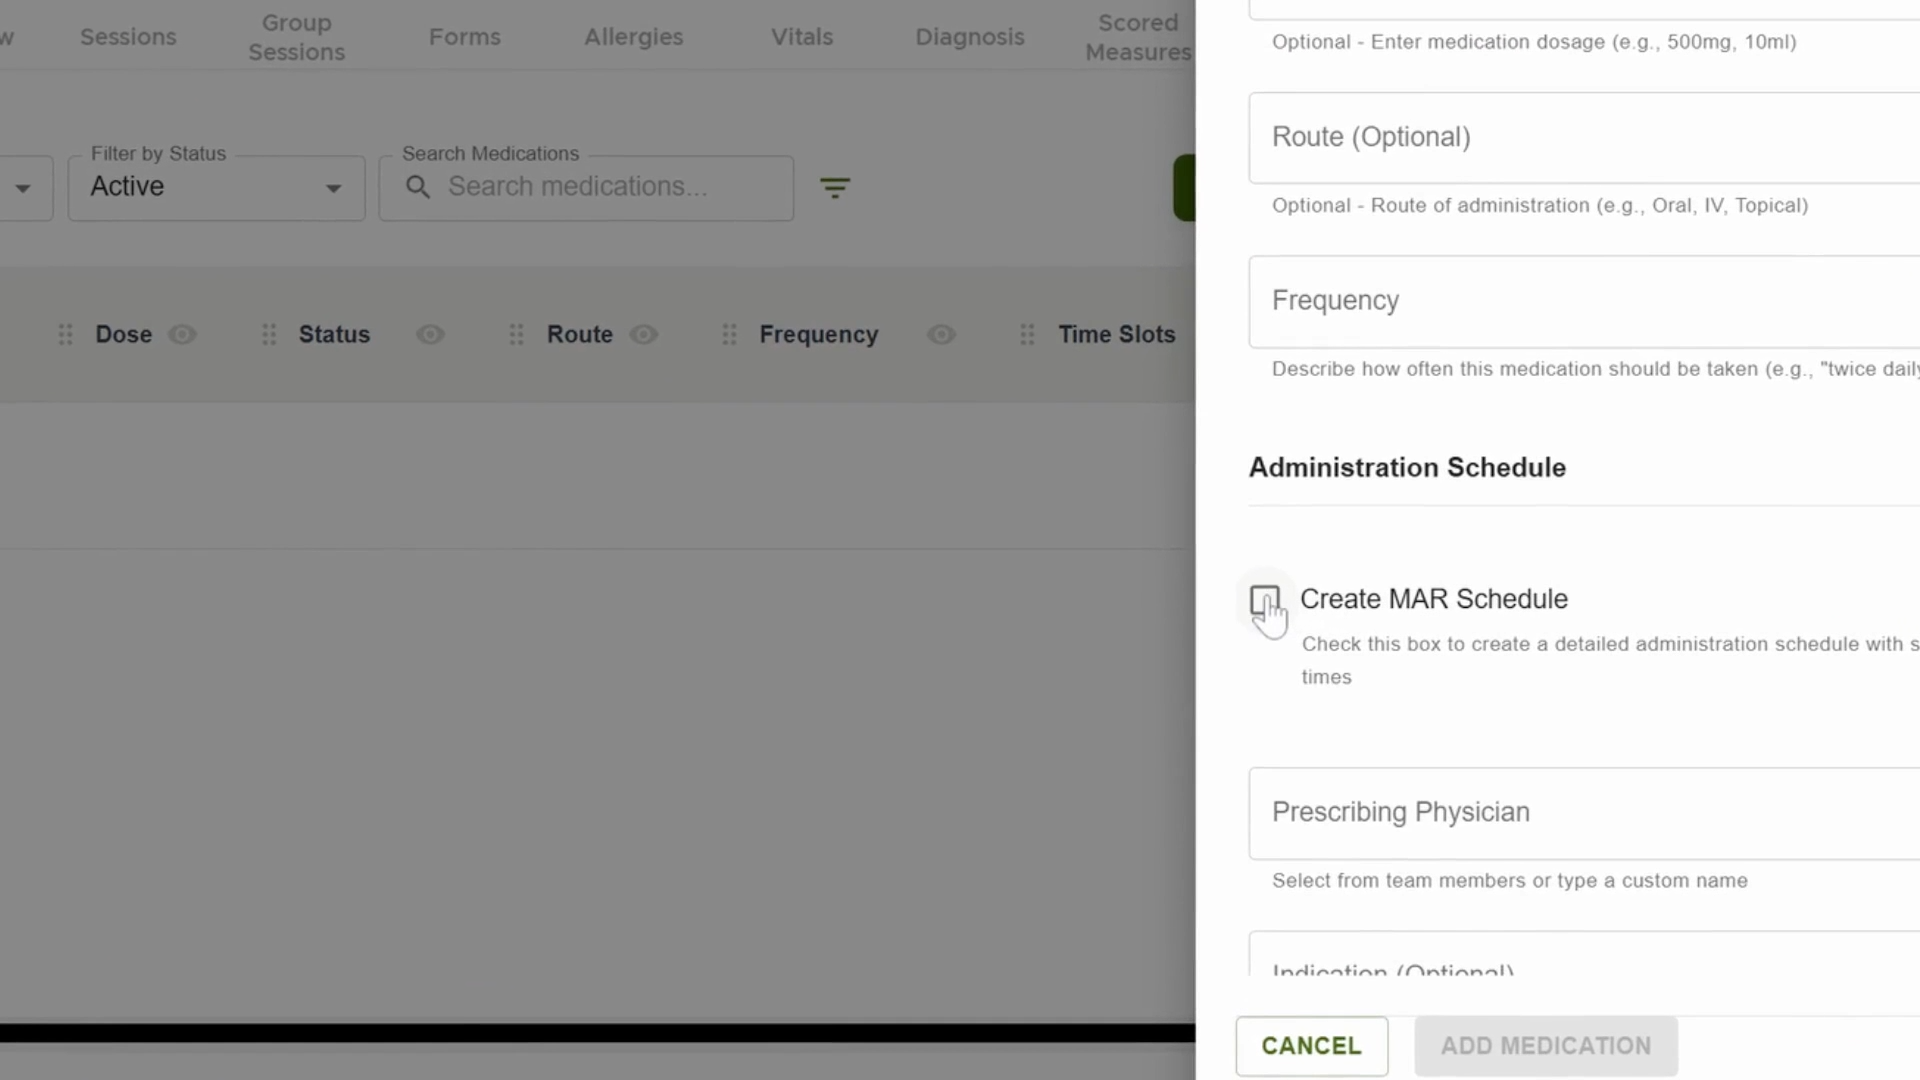
For medication schedules, choose Create MAR schedule. Specify frequency and time slots, then add the medication to the schedule.
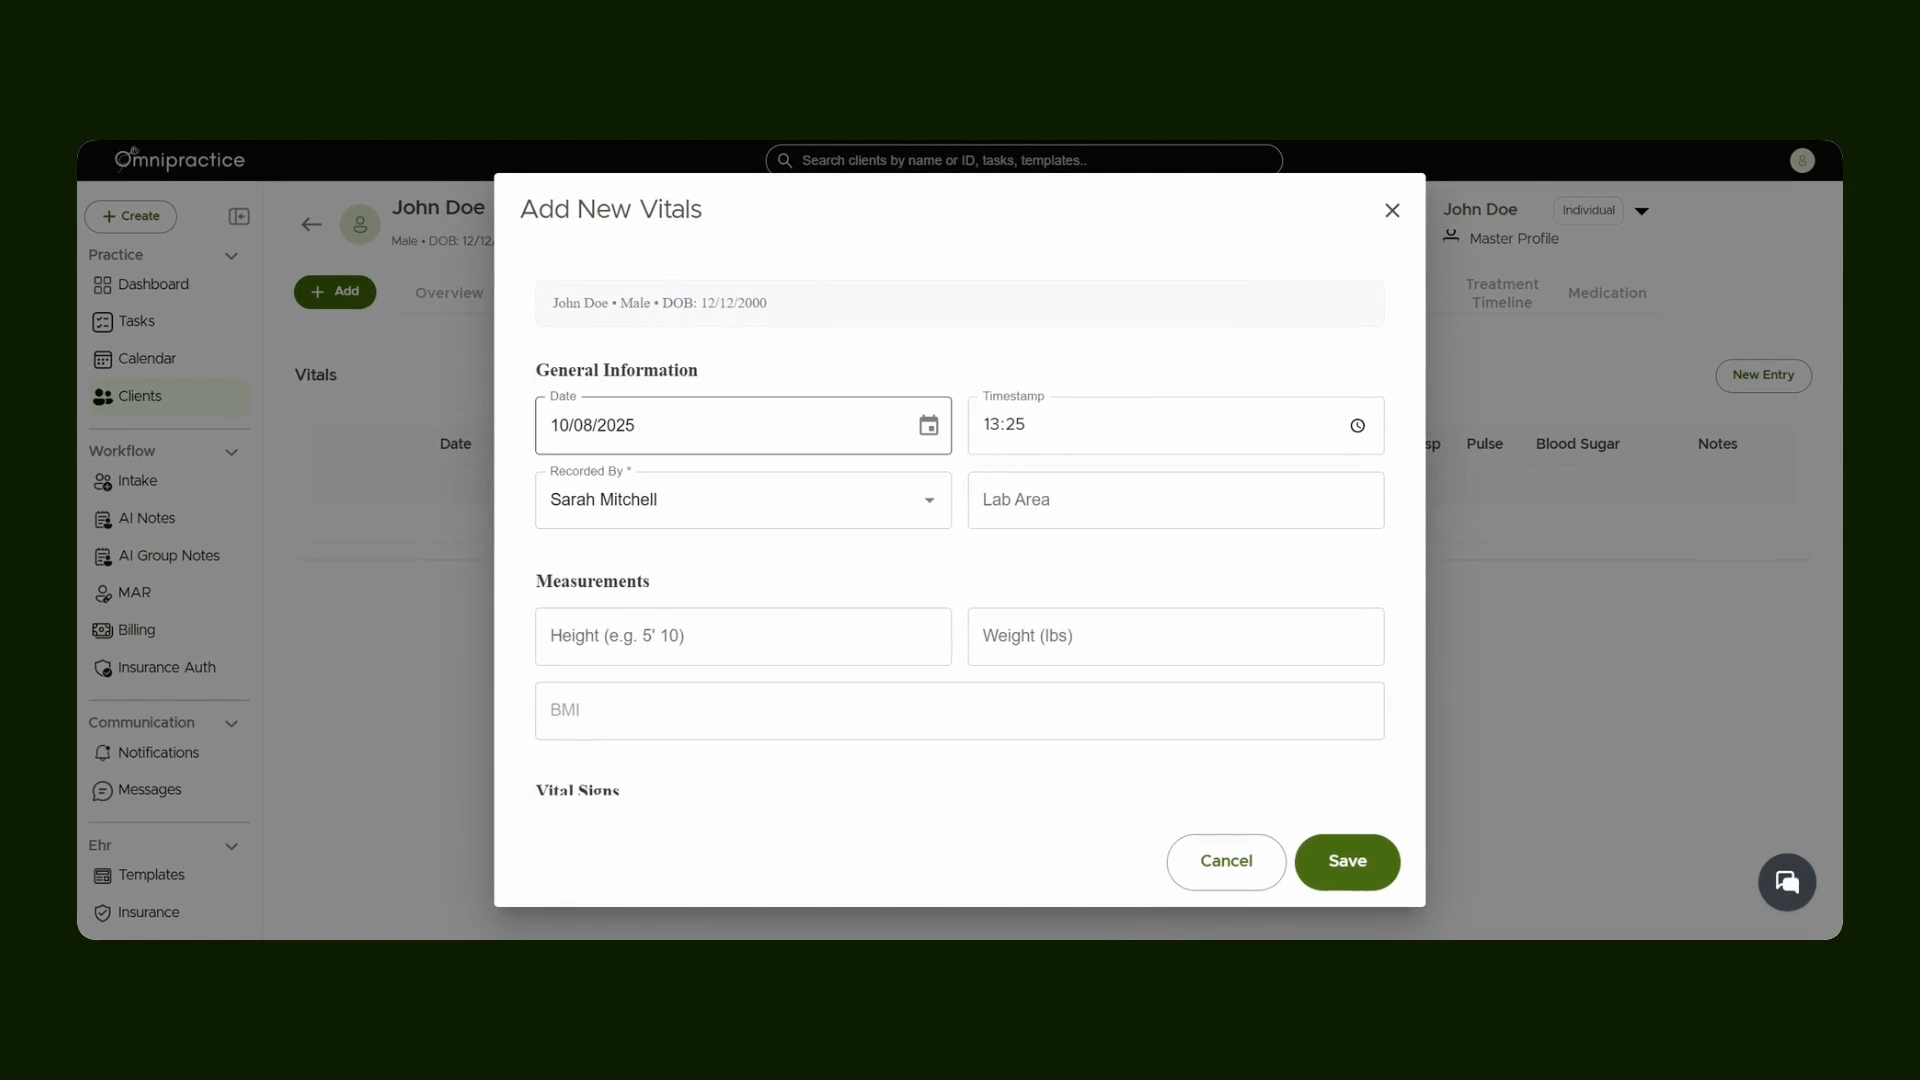
Step 6: Record Vitals
In the Vitals tab, select Add to enter new vitals data. Fill in all required information. The system pre-populates the name of the person recording these details. Click Save when you're done.
By following these steps, you'll efficiently manage all aspects of a client's clinical data, ensuring records are accurate and up to date.