Adding & Setting up a Client
Walk through setting up a client in Omnipractice, from entering basic info to assigning clinicians and adding intake forms. Follow these steps to get your client’s profile ready for use in the platform.
Step 1: Start a New Client Profile
Begin by creating a new client in Omnipractice. You'll land on the client creation popup.
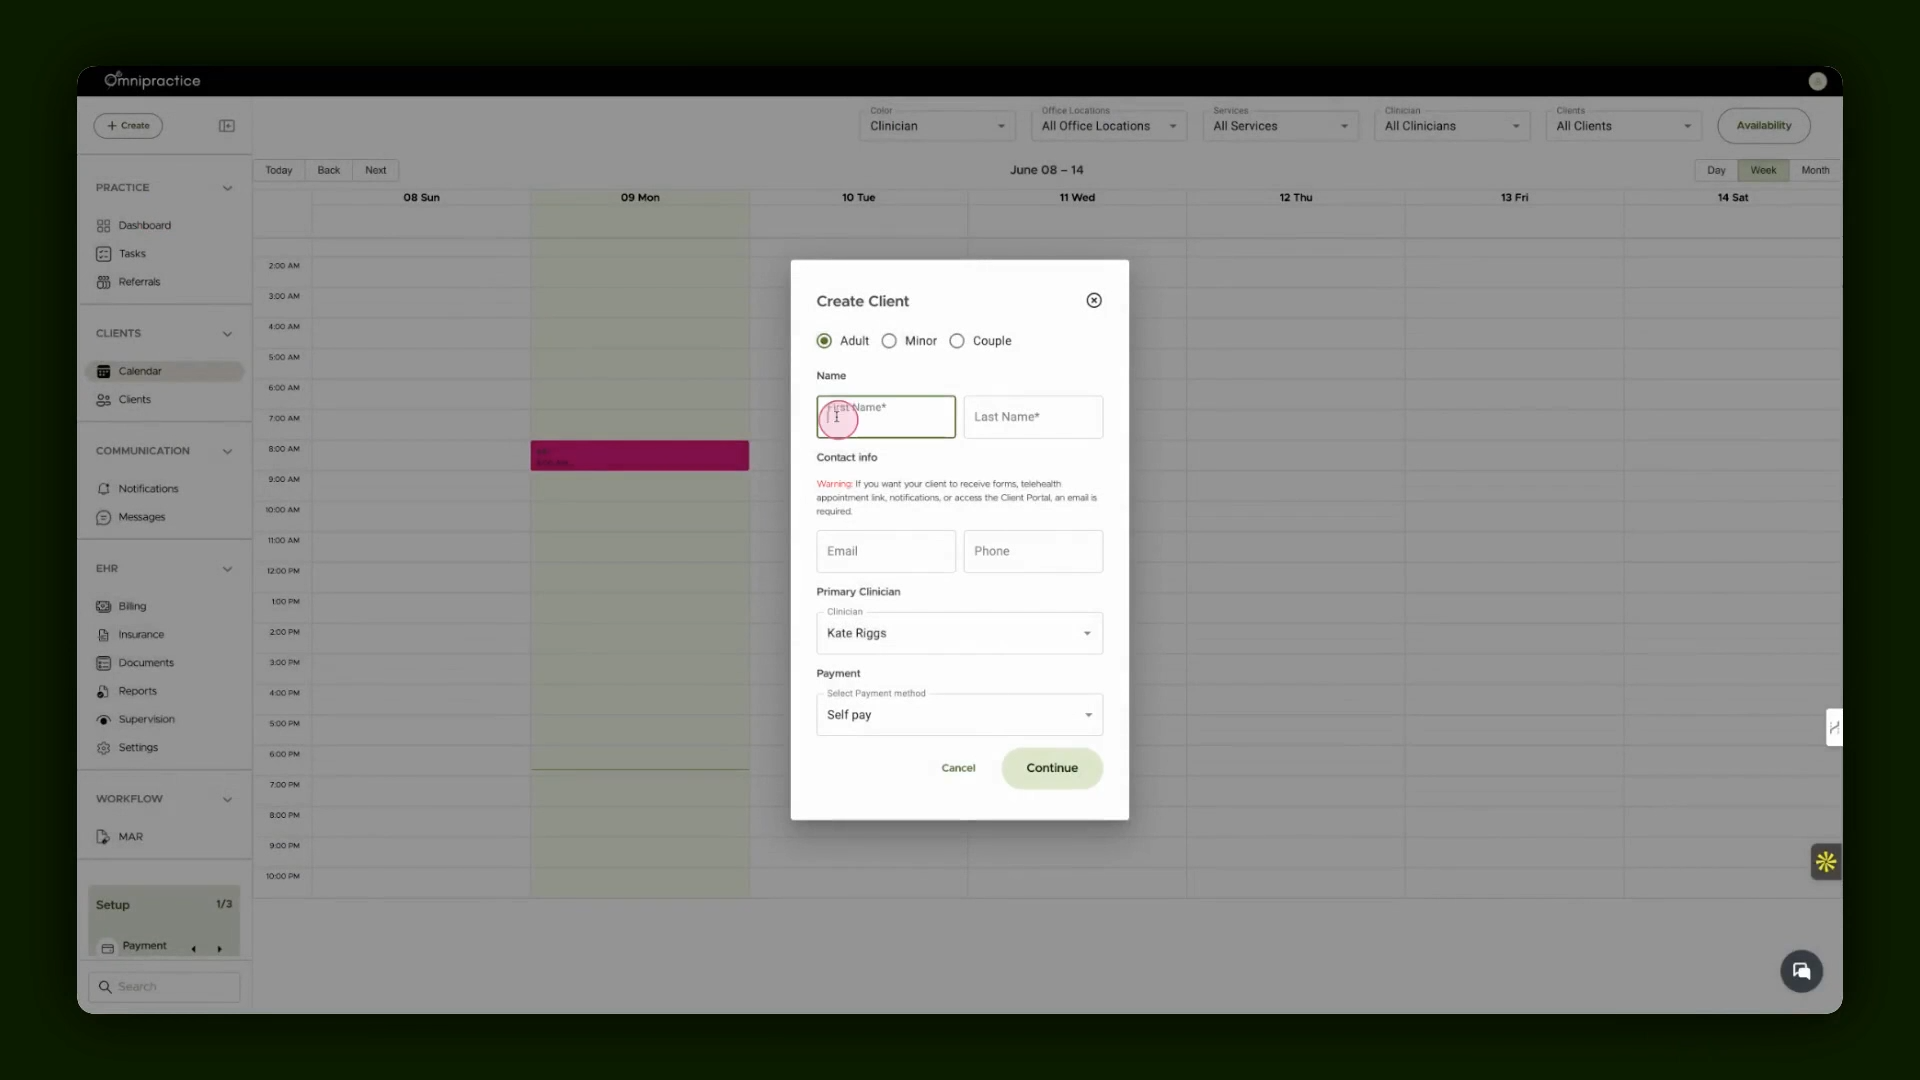
Step 2: Enter Client Information
Fill in core client details such as first name and last name. Add additional info as needed.

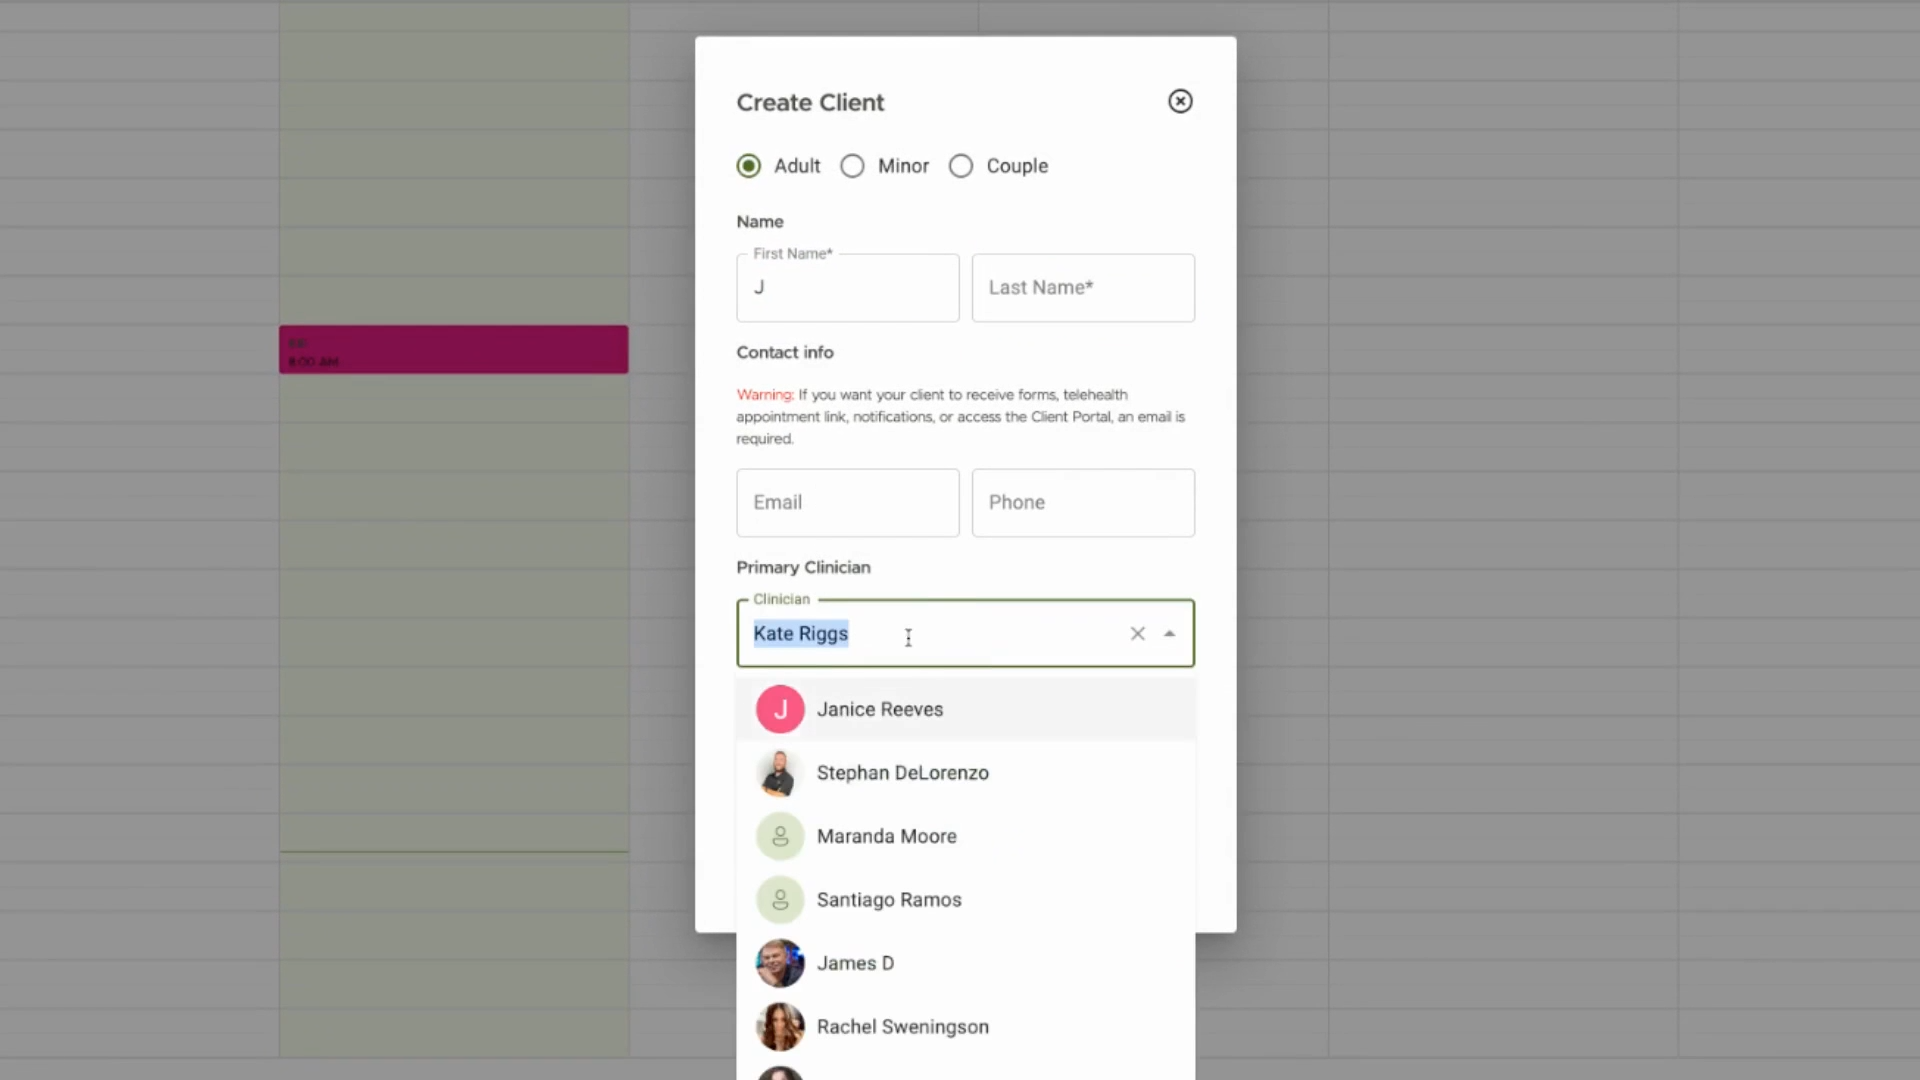
Step 3: Assign the Primary Clinician
Select a primary clinician responsible for this client.
Step 4: Complete and Create the Client Profile
Continue through the prompts and finish creating the client. The system will now display their profile in the client list.
Step 5: Access the Client Chart
Open the newly created client’s chart to manage their intake, clinical, and medication information.
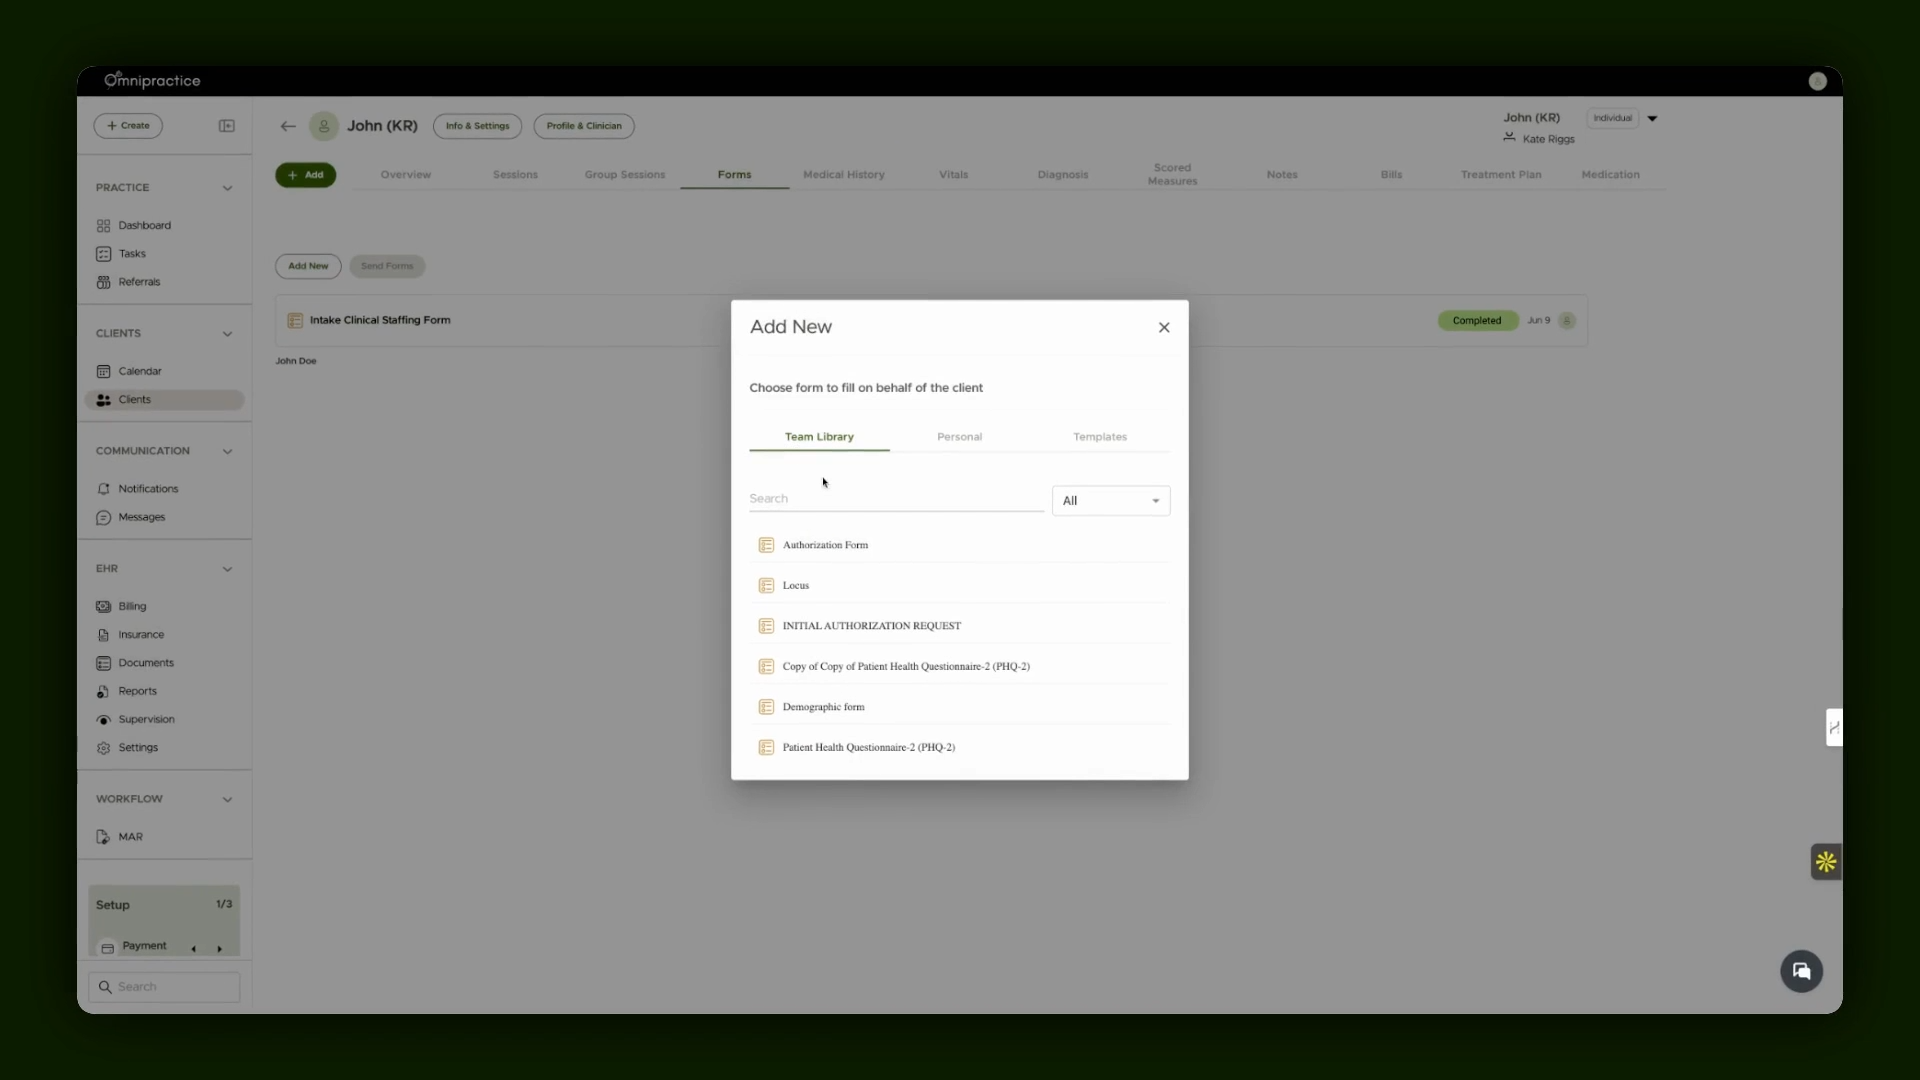
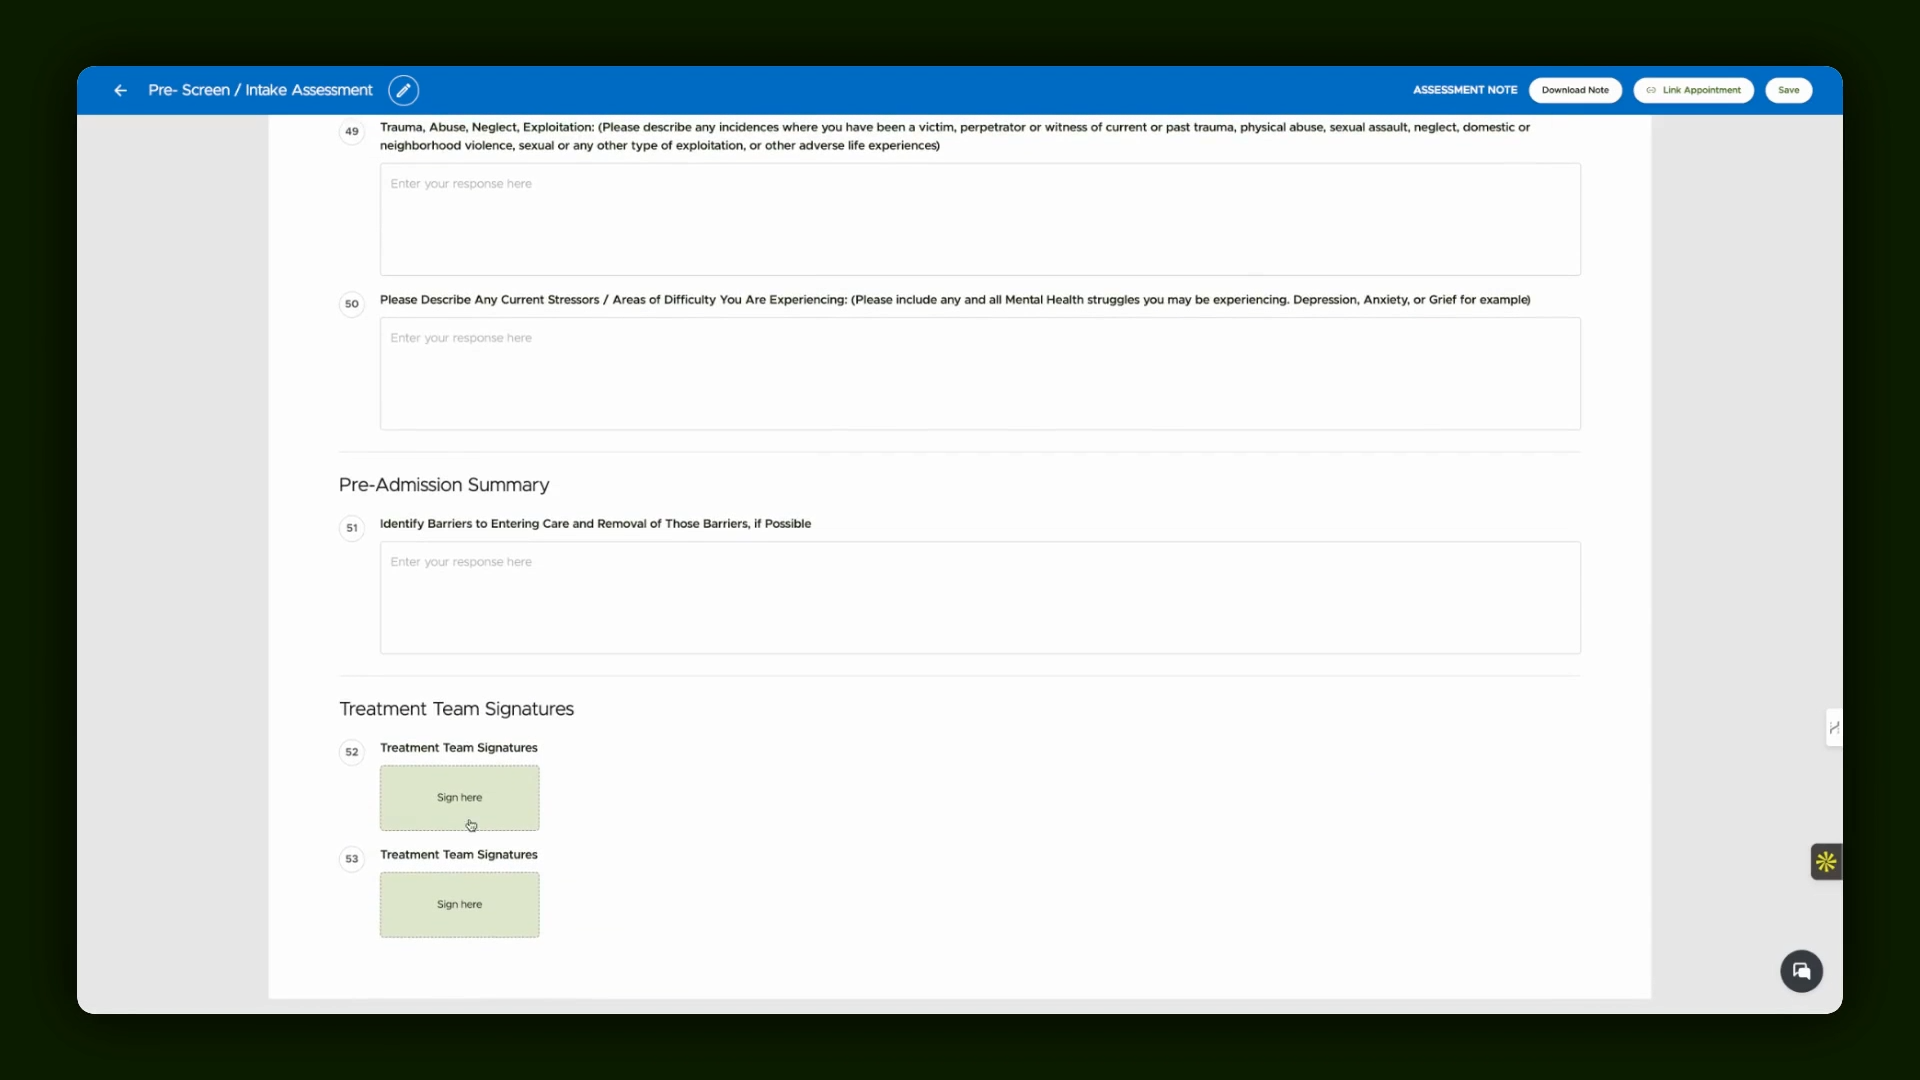
Step 6: Work With Intake Forms
Start with the Forms section to manage intake paperwork. Add standard forms (like intake or clinical staffing) from your team library or create new forms as required. Fill out sections during client interviews, and all details auto-save.
Step 7: Sign and Save Forms
After entering necessary details, sign and save forms. They’re stored within the client's chart under Notes for reference.
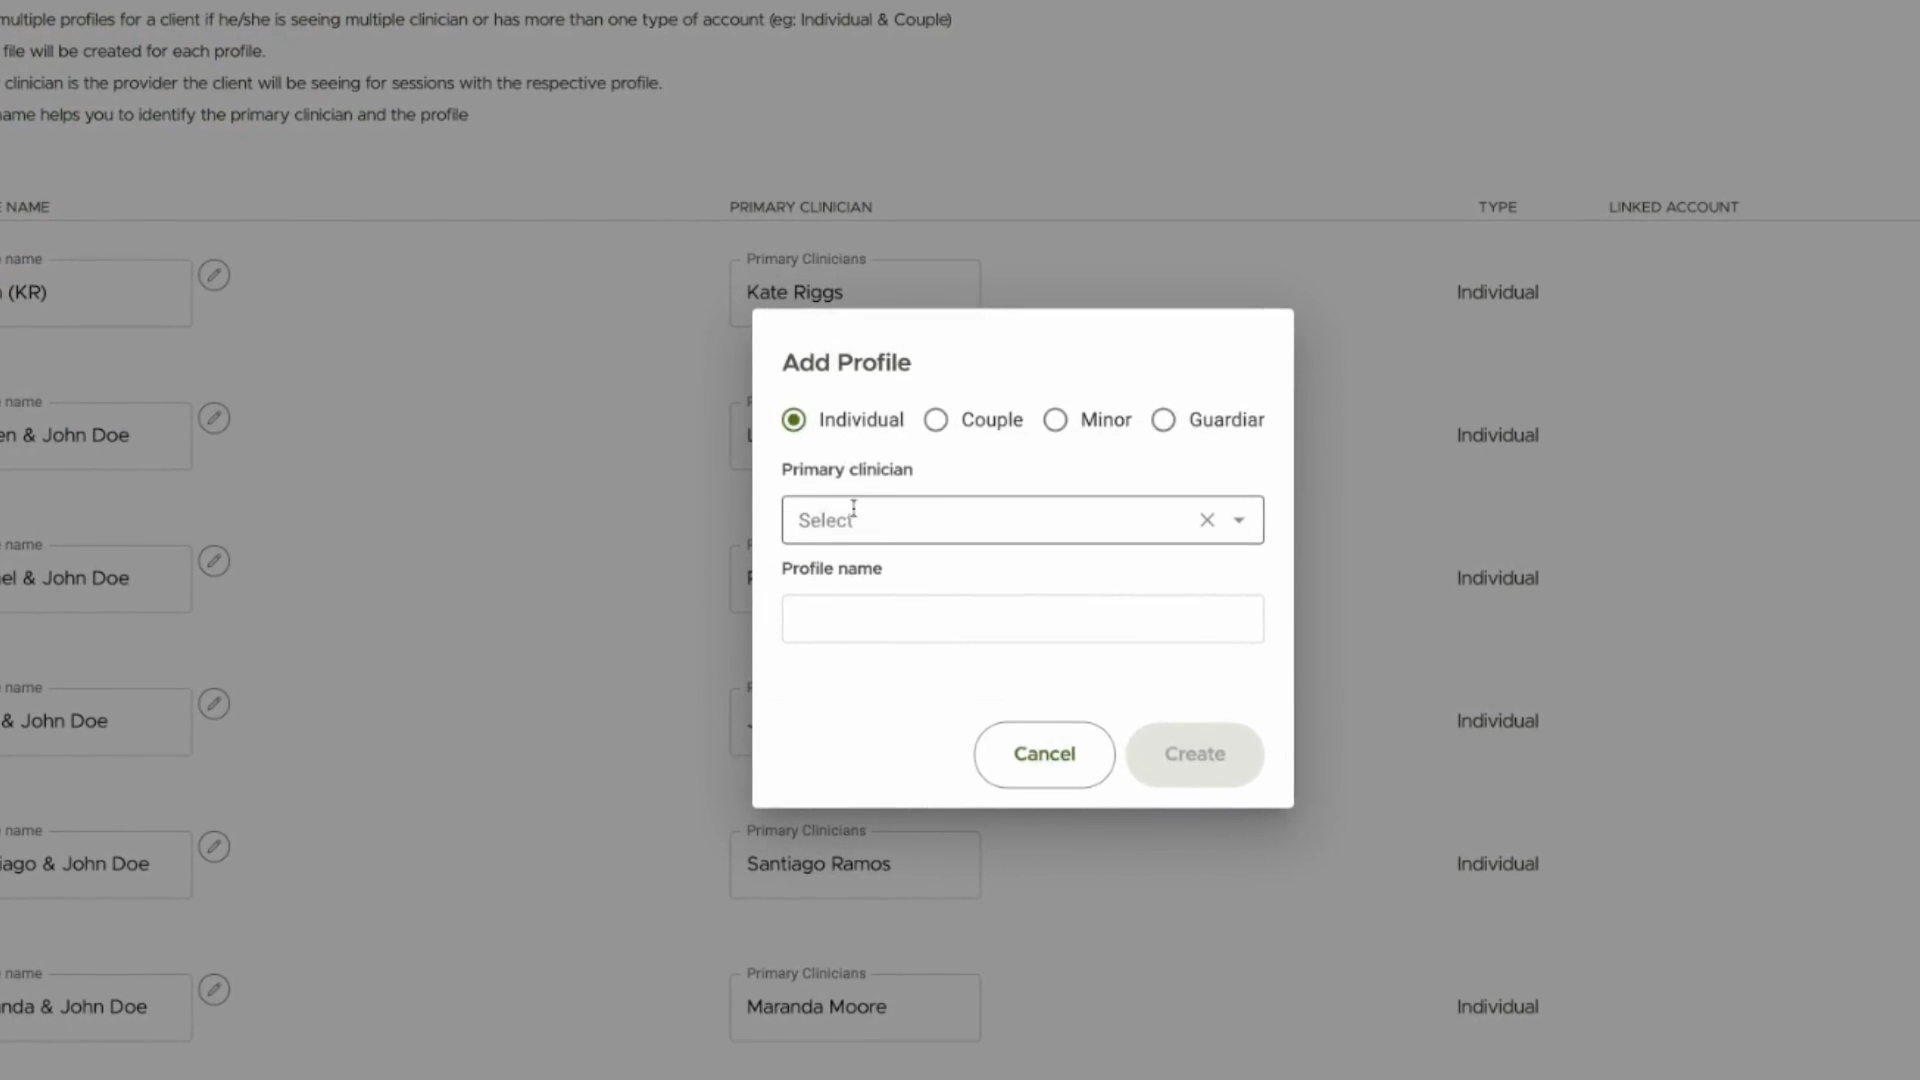
Step 8: Add Multiple Clinicians and Profiles
In Settings, add more clinicians to the client’s care team. Create multiple profiles, assign a primary clinician for each, specify profile names, and attach them to the client’s chart for flexible case management.
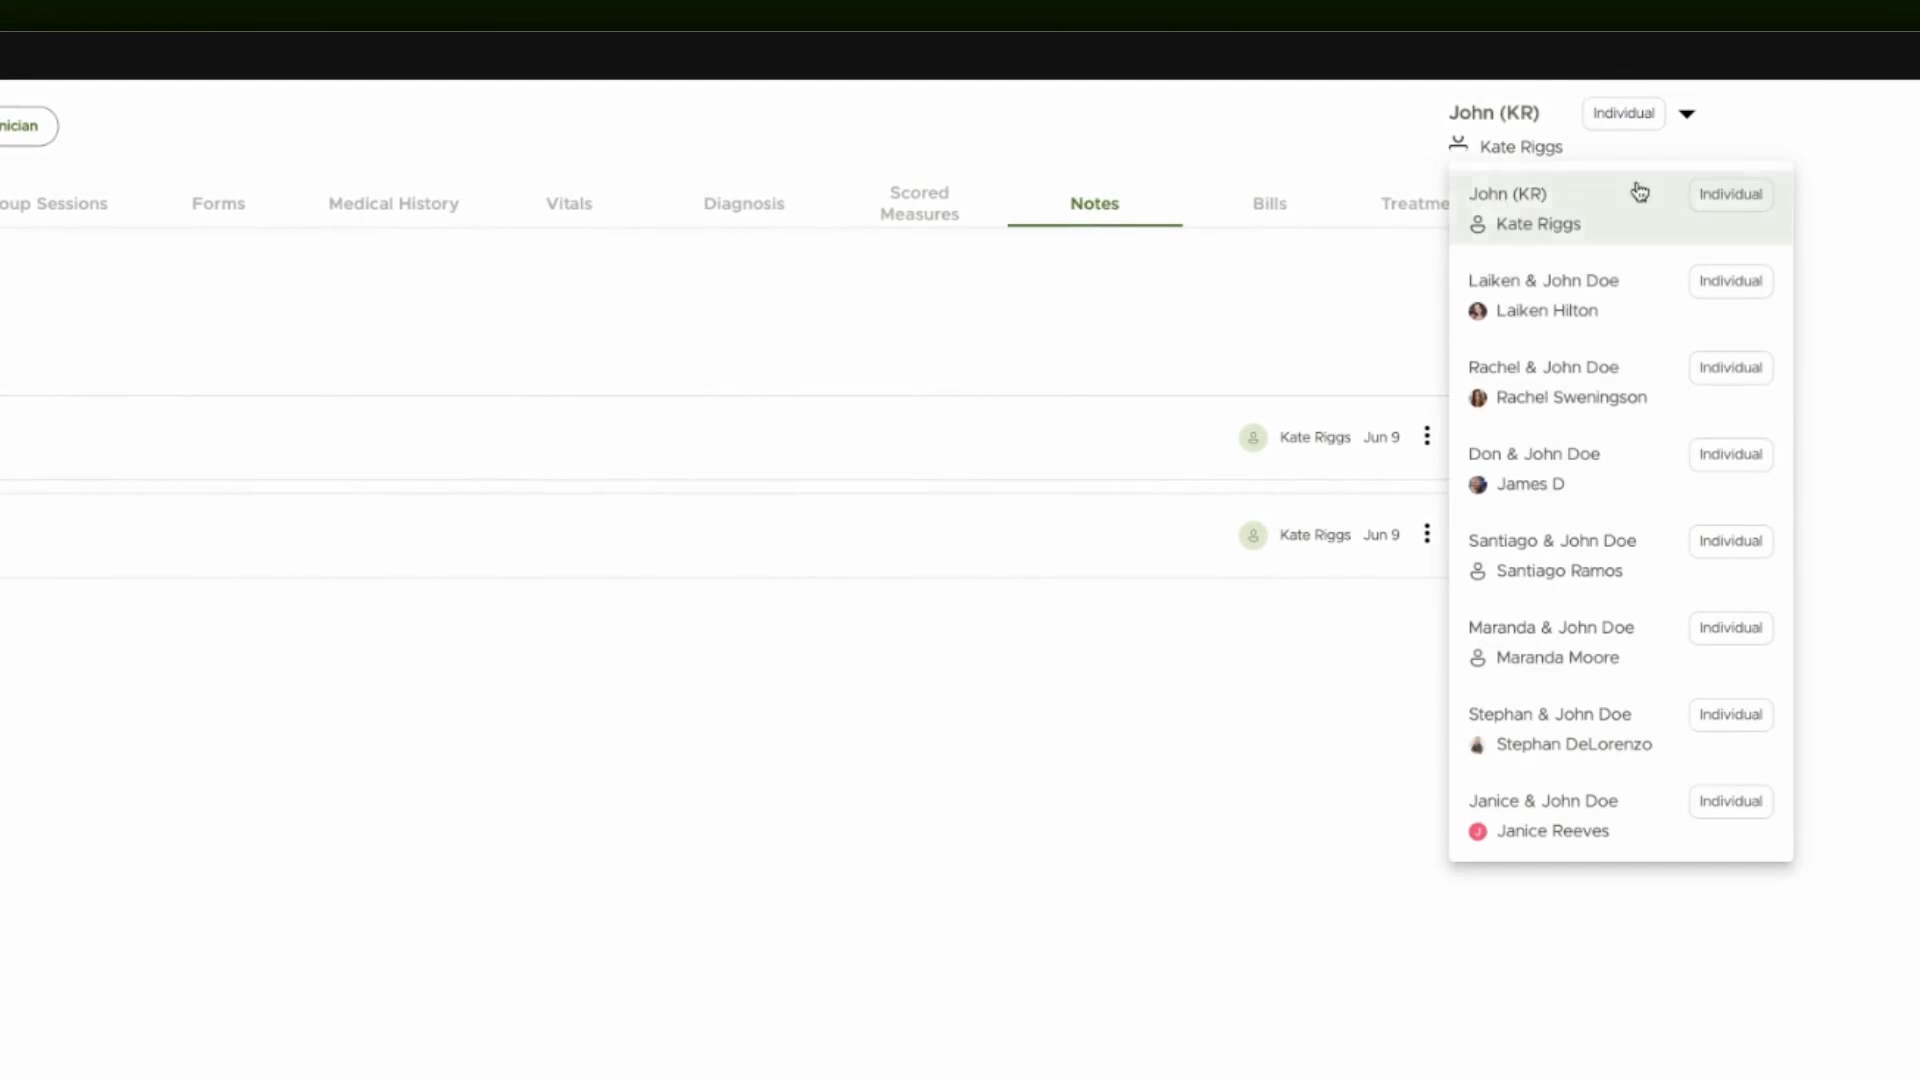
Step 9: Manage and Navigate Profiles
Enable or disable profiles at any time to keep the care team organized. Easily switch between versions of the client chart to see different clinicians’ active profiles.
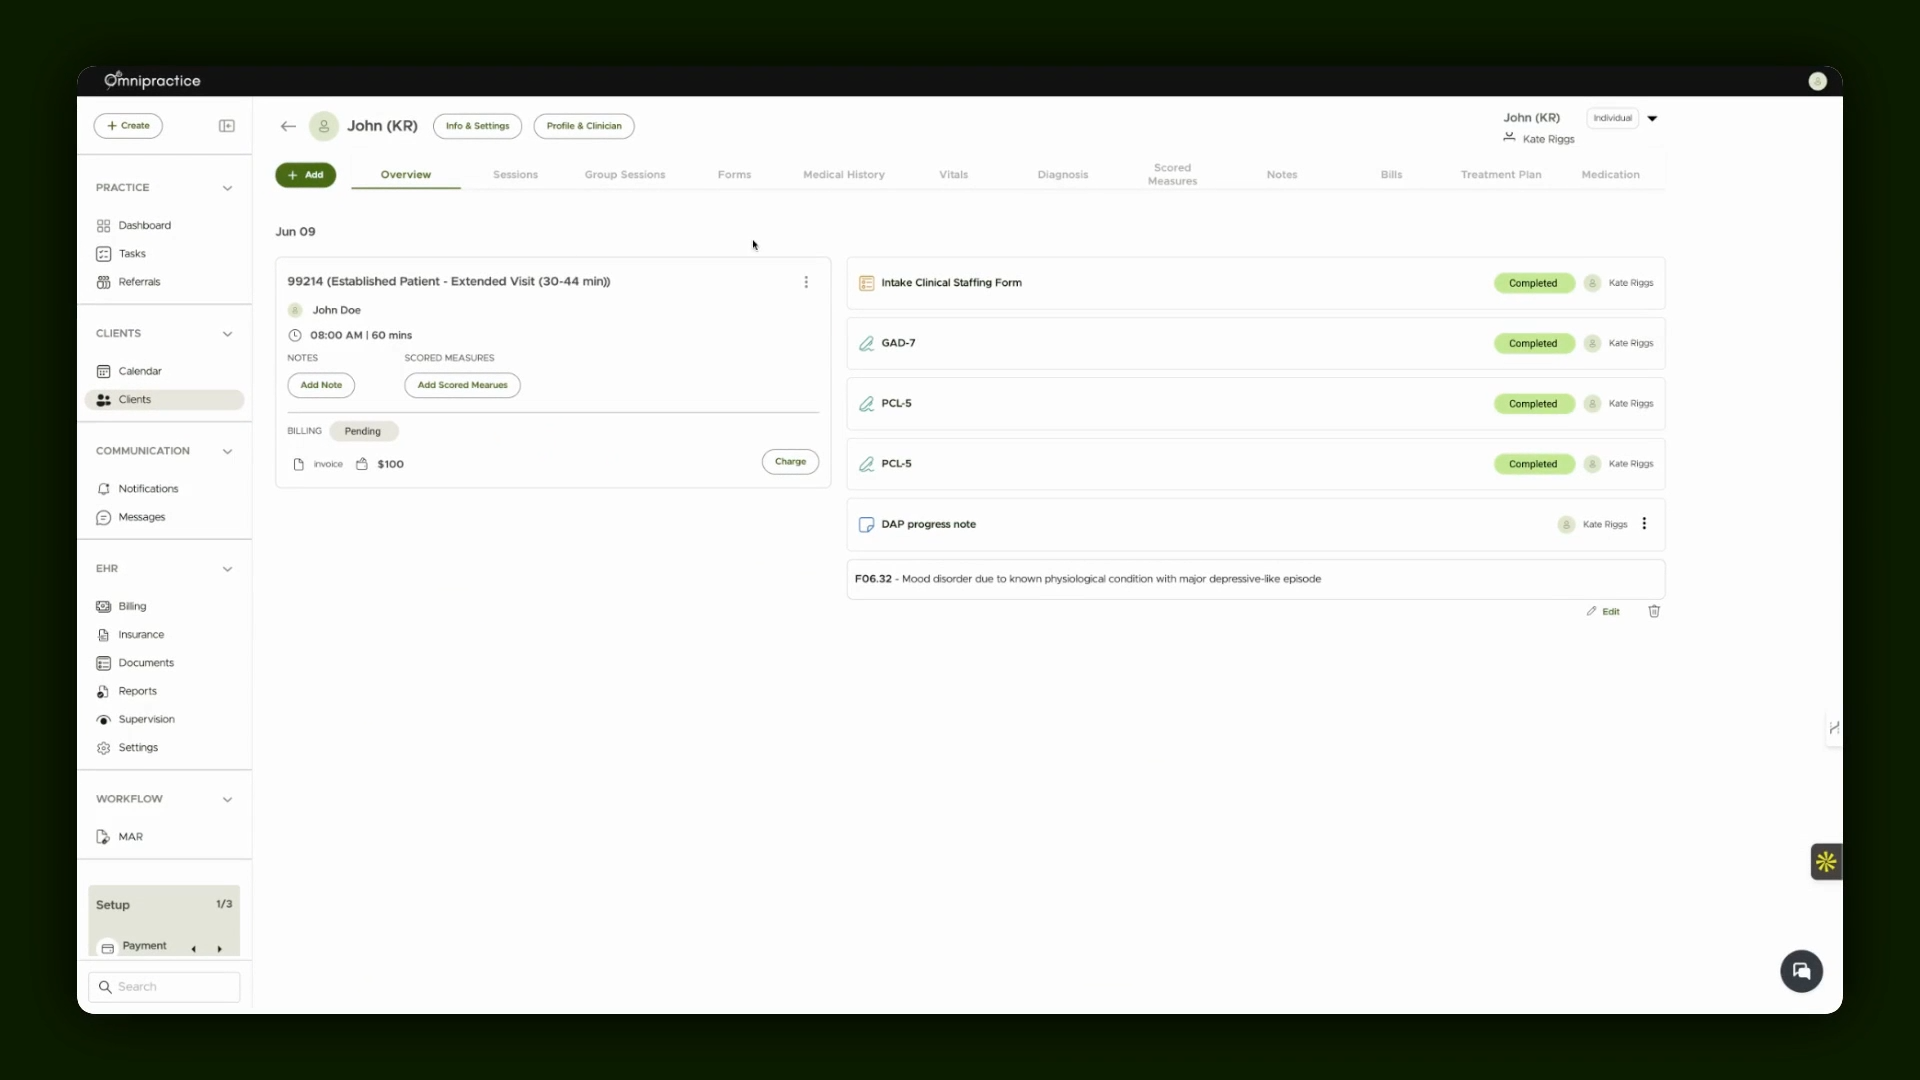
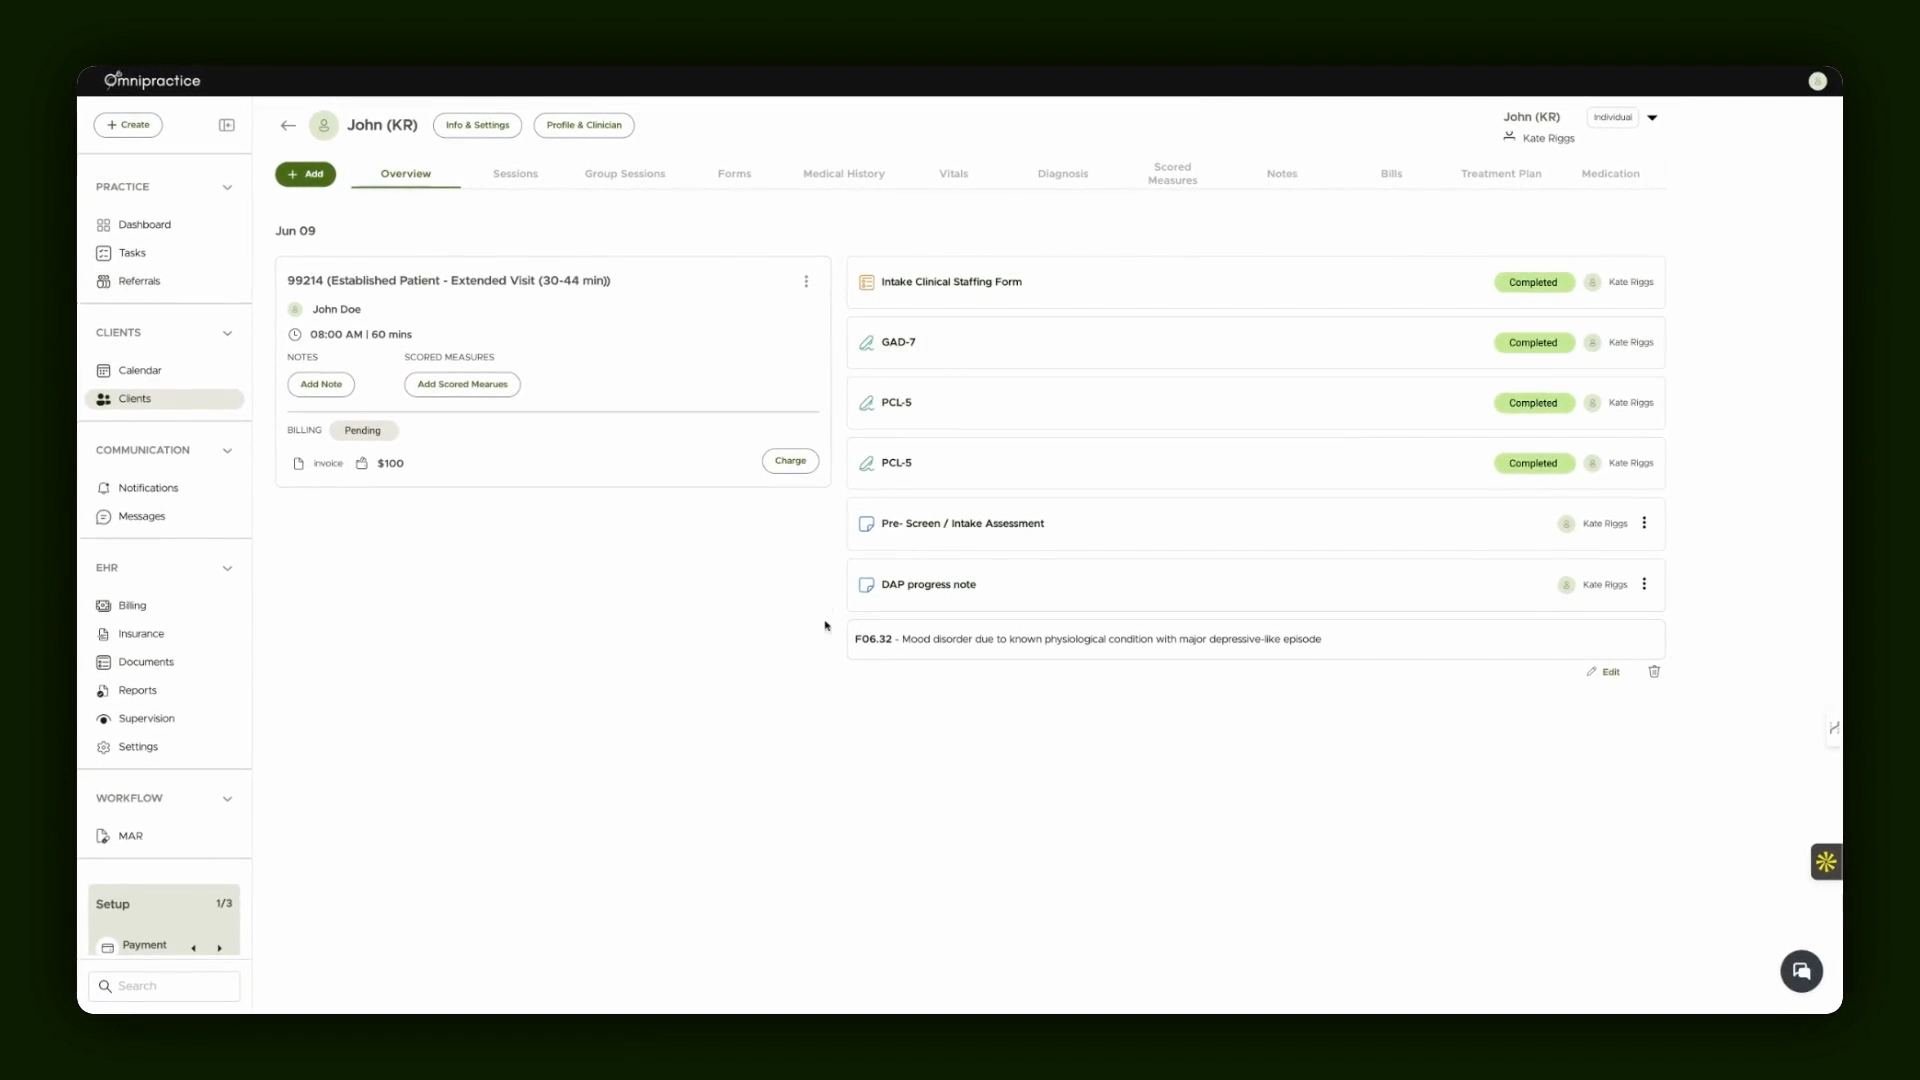
Step 10: Review Client Chart Overview
Check the chart overview for progress notes, intake assessments, scored measures (such as GAD 7 and PCL 5), and upcoming sessions. All important details appear for convenient reference.
Explore further workflow details and tab features in additional guides and videos. You're now ready to set up and manage new clients in Omnipractice!