ERAs in Omnipractice (Insurance Payment Reports)
This tutorial walks you through how to check ERA (Electronic Remittance Advice), and view payment reports. Follow these easy steps to manage your insurance claims from start to finish.
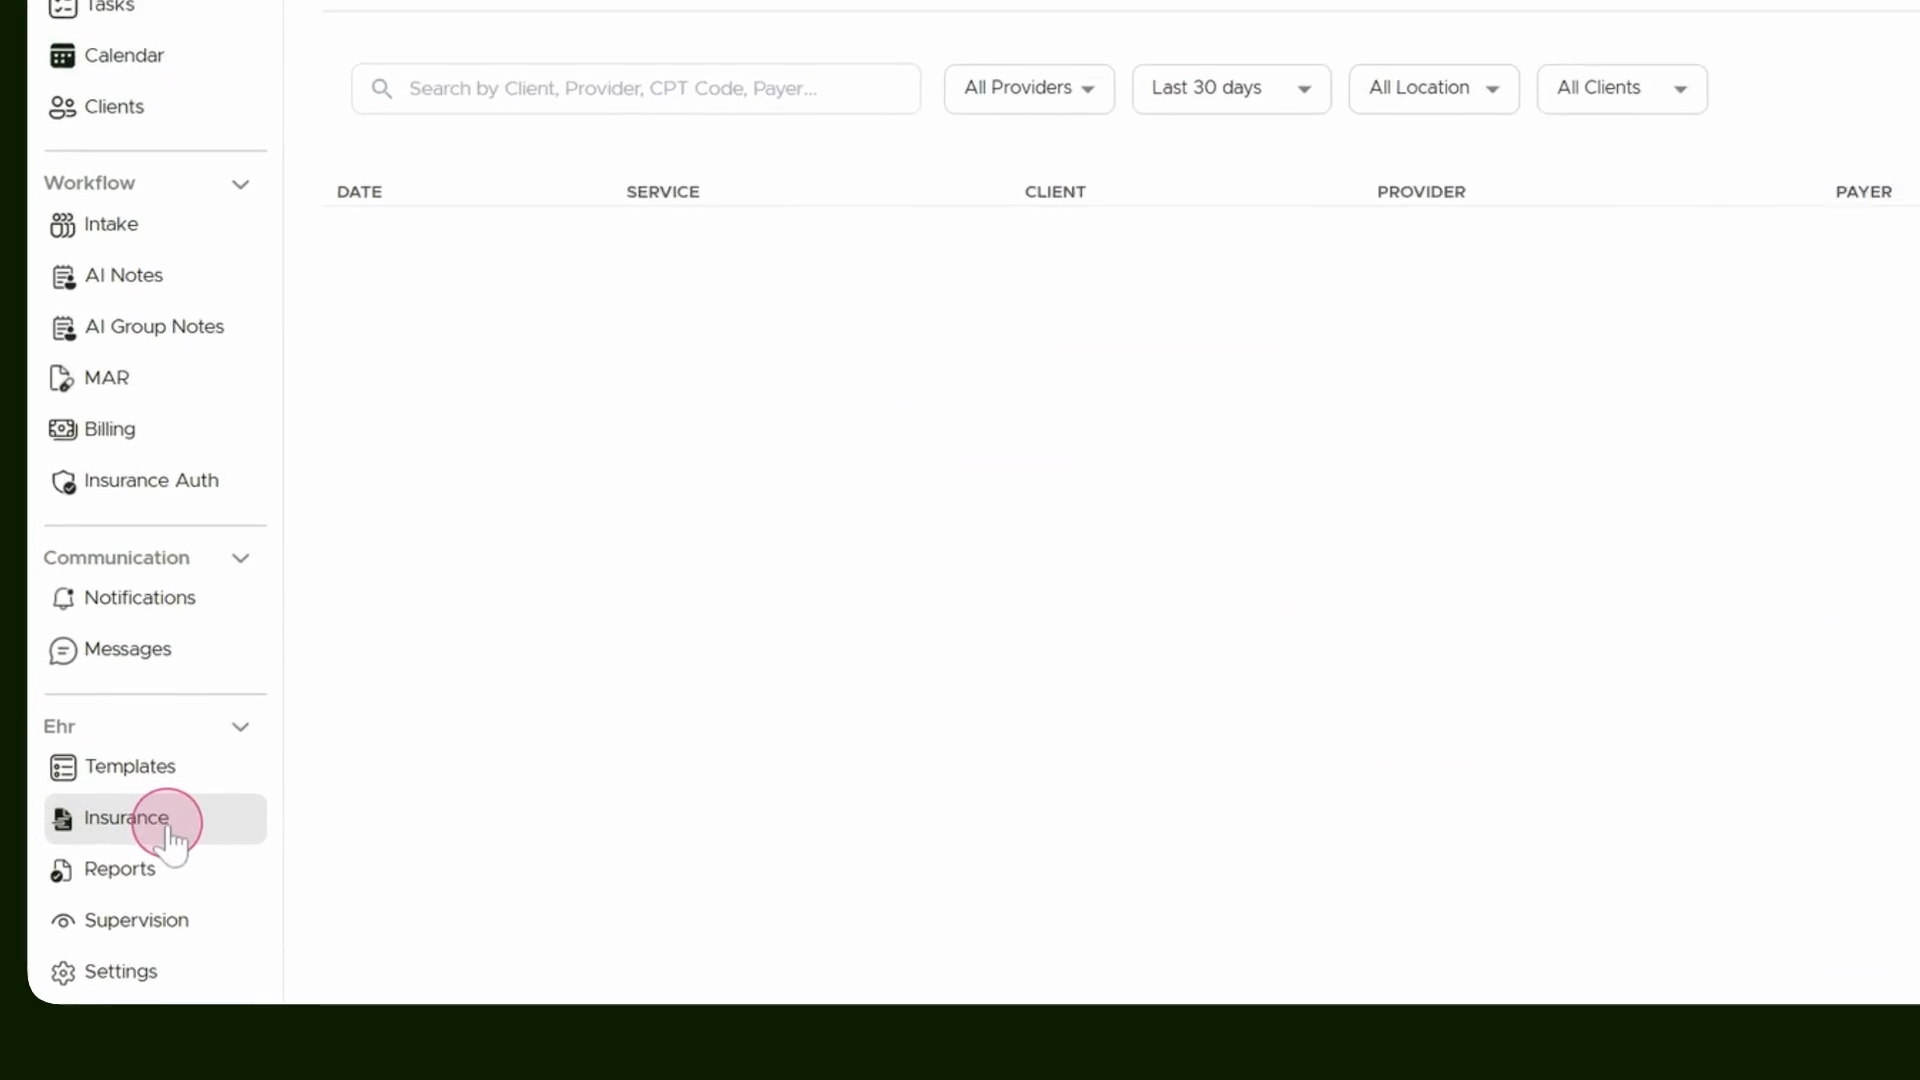
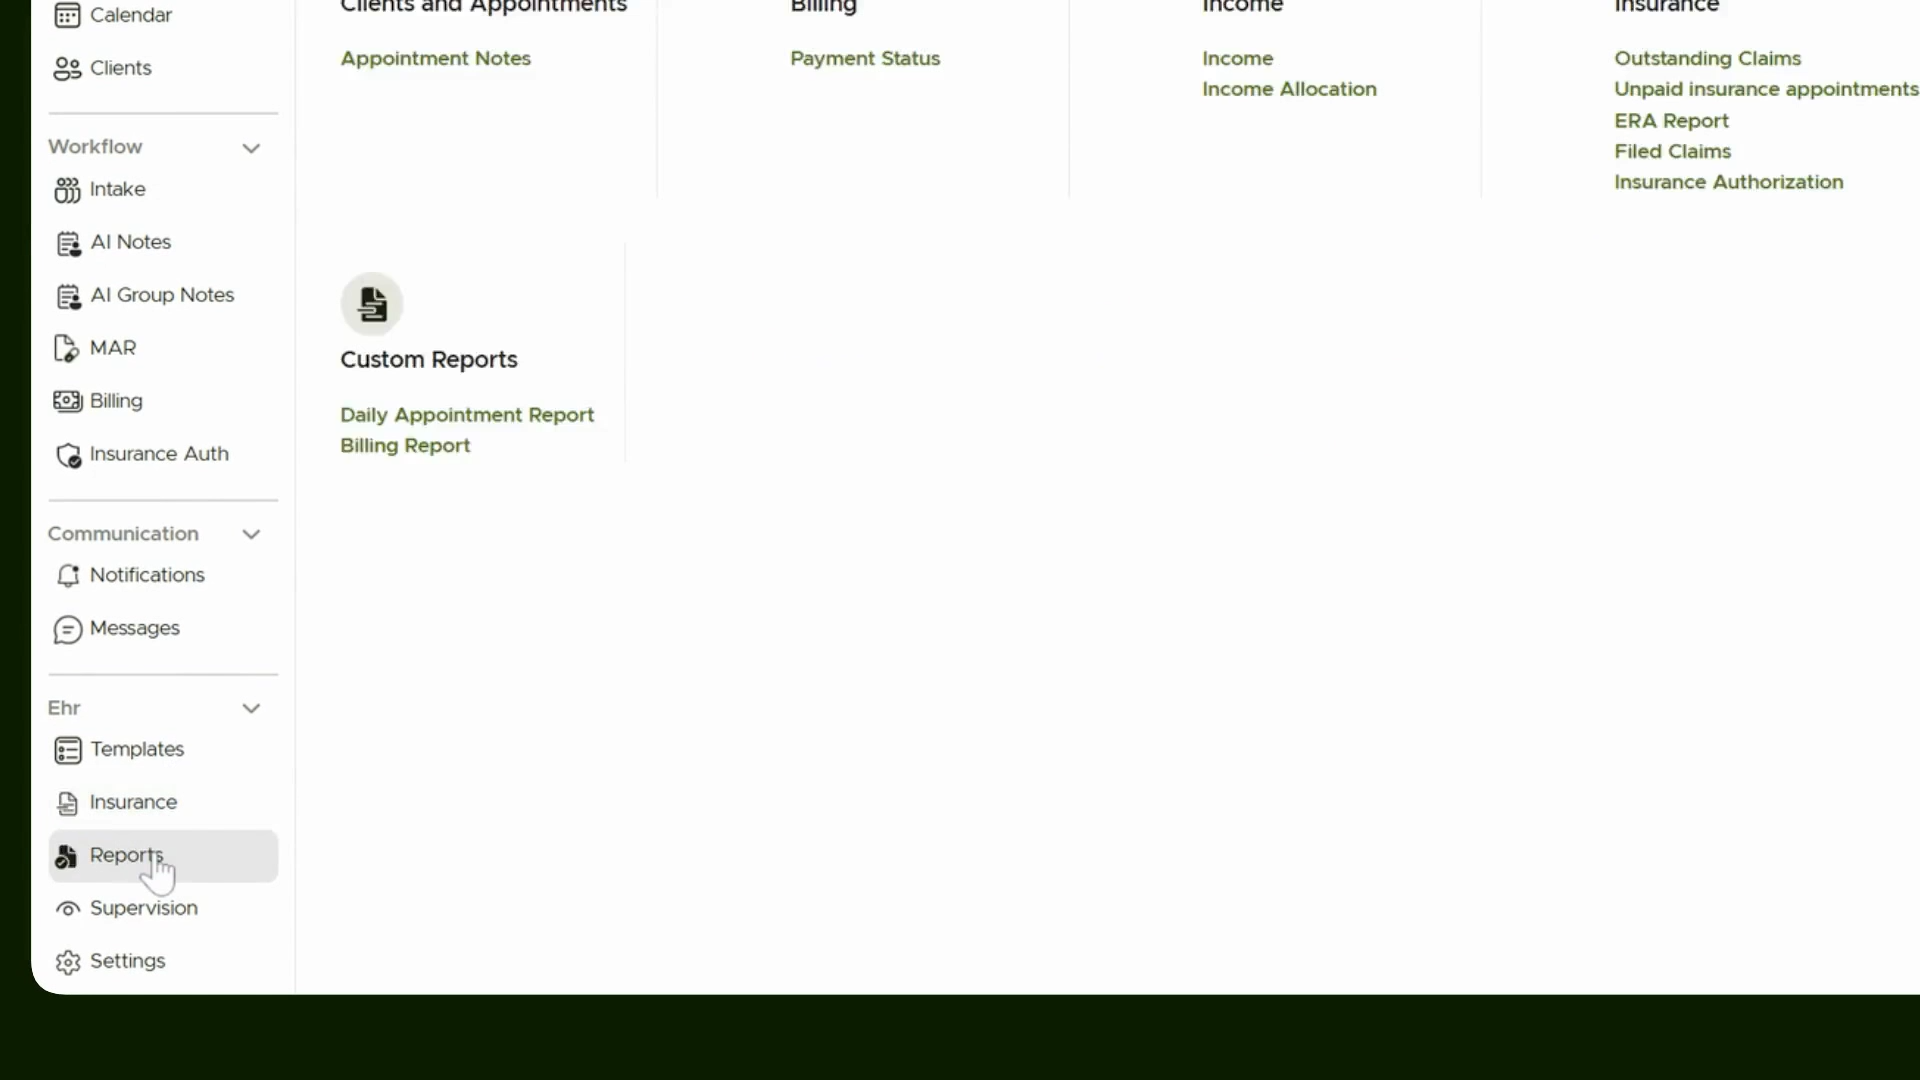
Step 1: Navigate to the Insurance Tab
Open the main menu and select the Insurance tab to begin managing insurance claims.
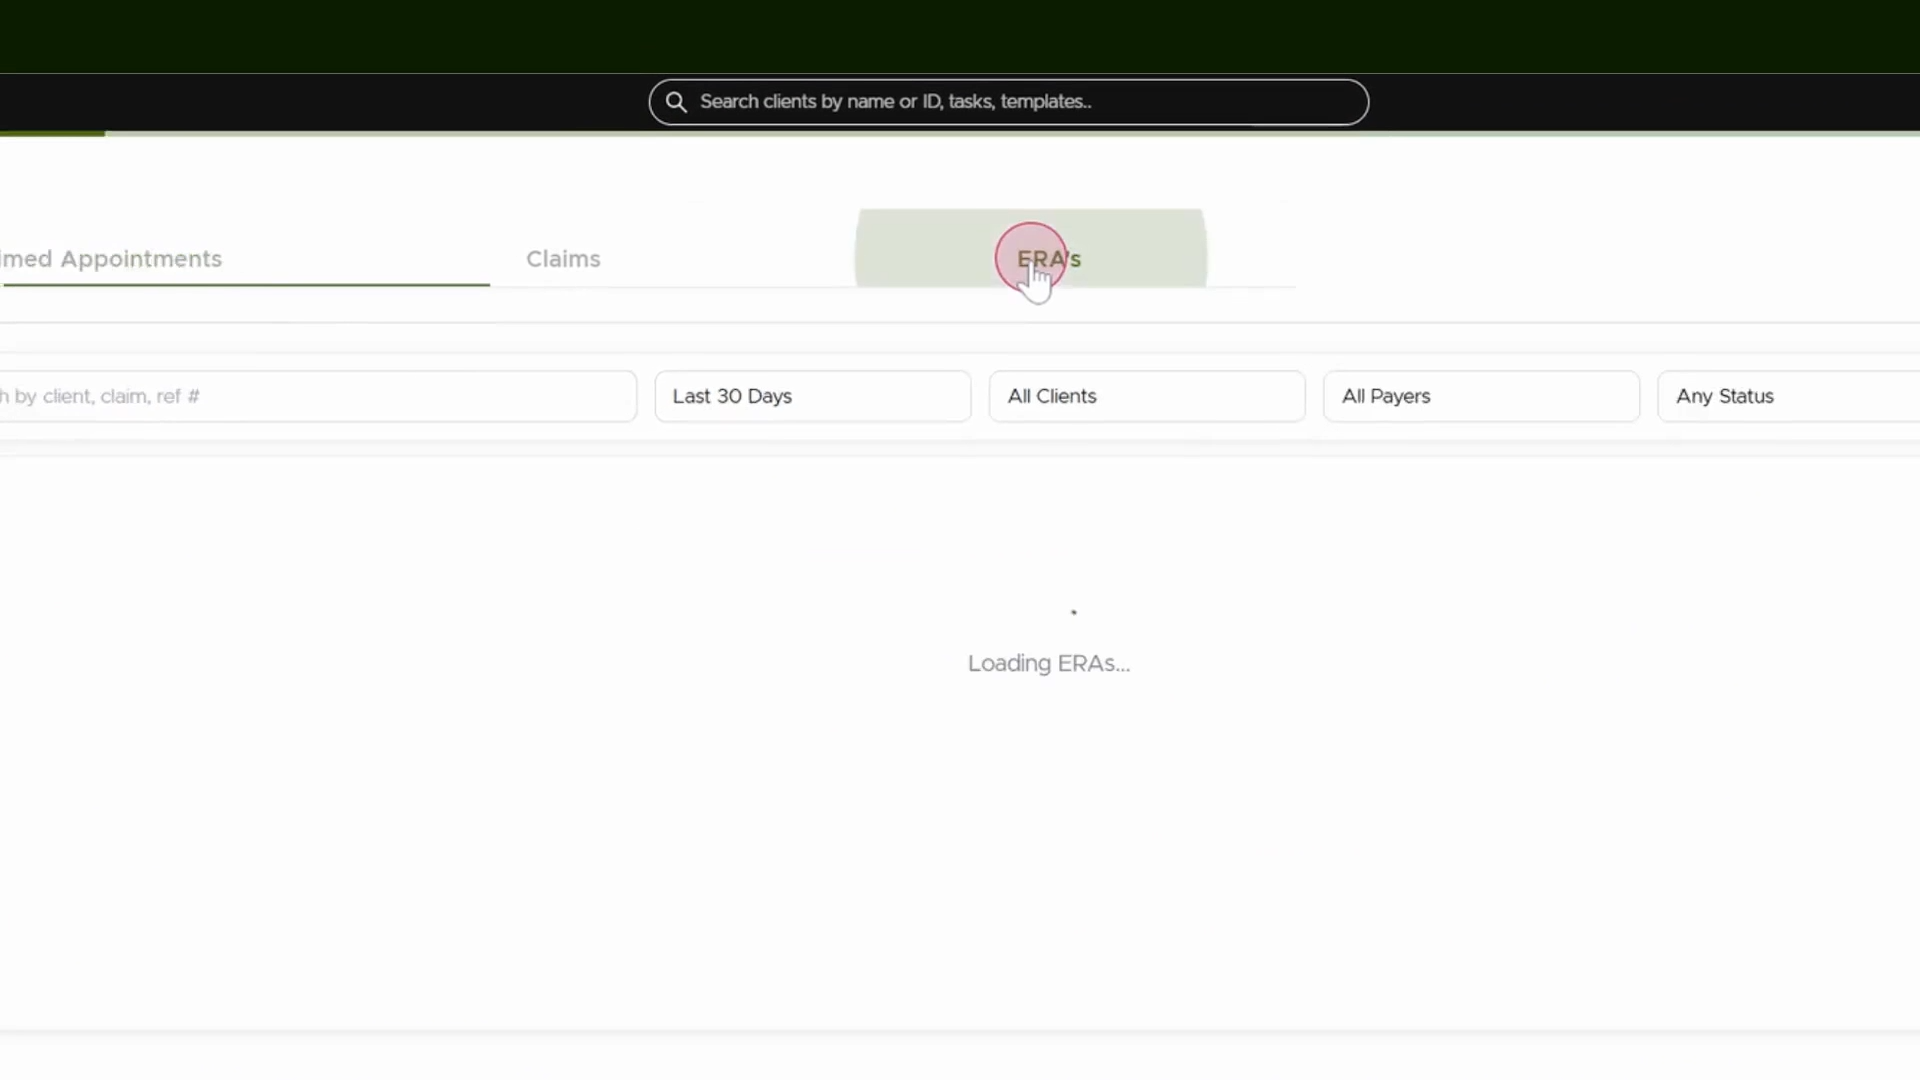
Step 2: Go to the ERA Tab
From the Insurance section, switch to the ERA tab to access ERA information.
Step 3: Review Received ERA and Claim Status
In the ERA tab, find the new claim for the recent appointment. Notice that the ERA has been received and the status is set to paid.
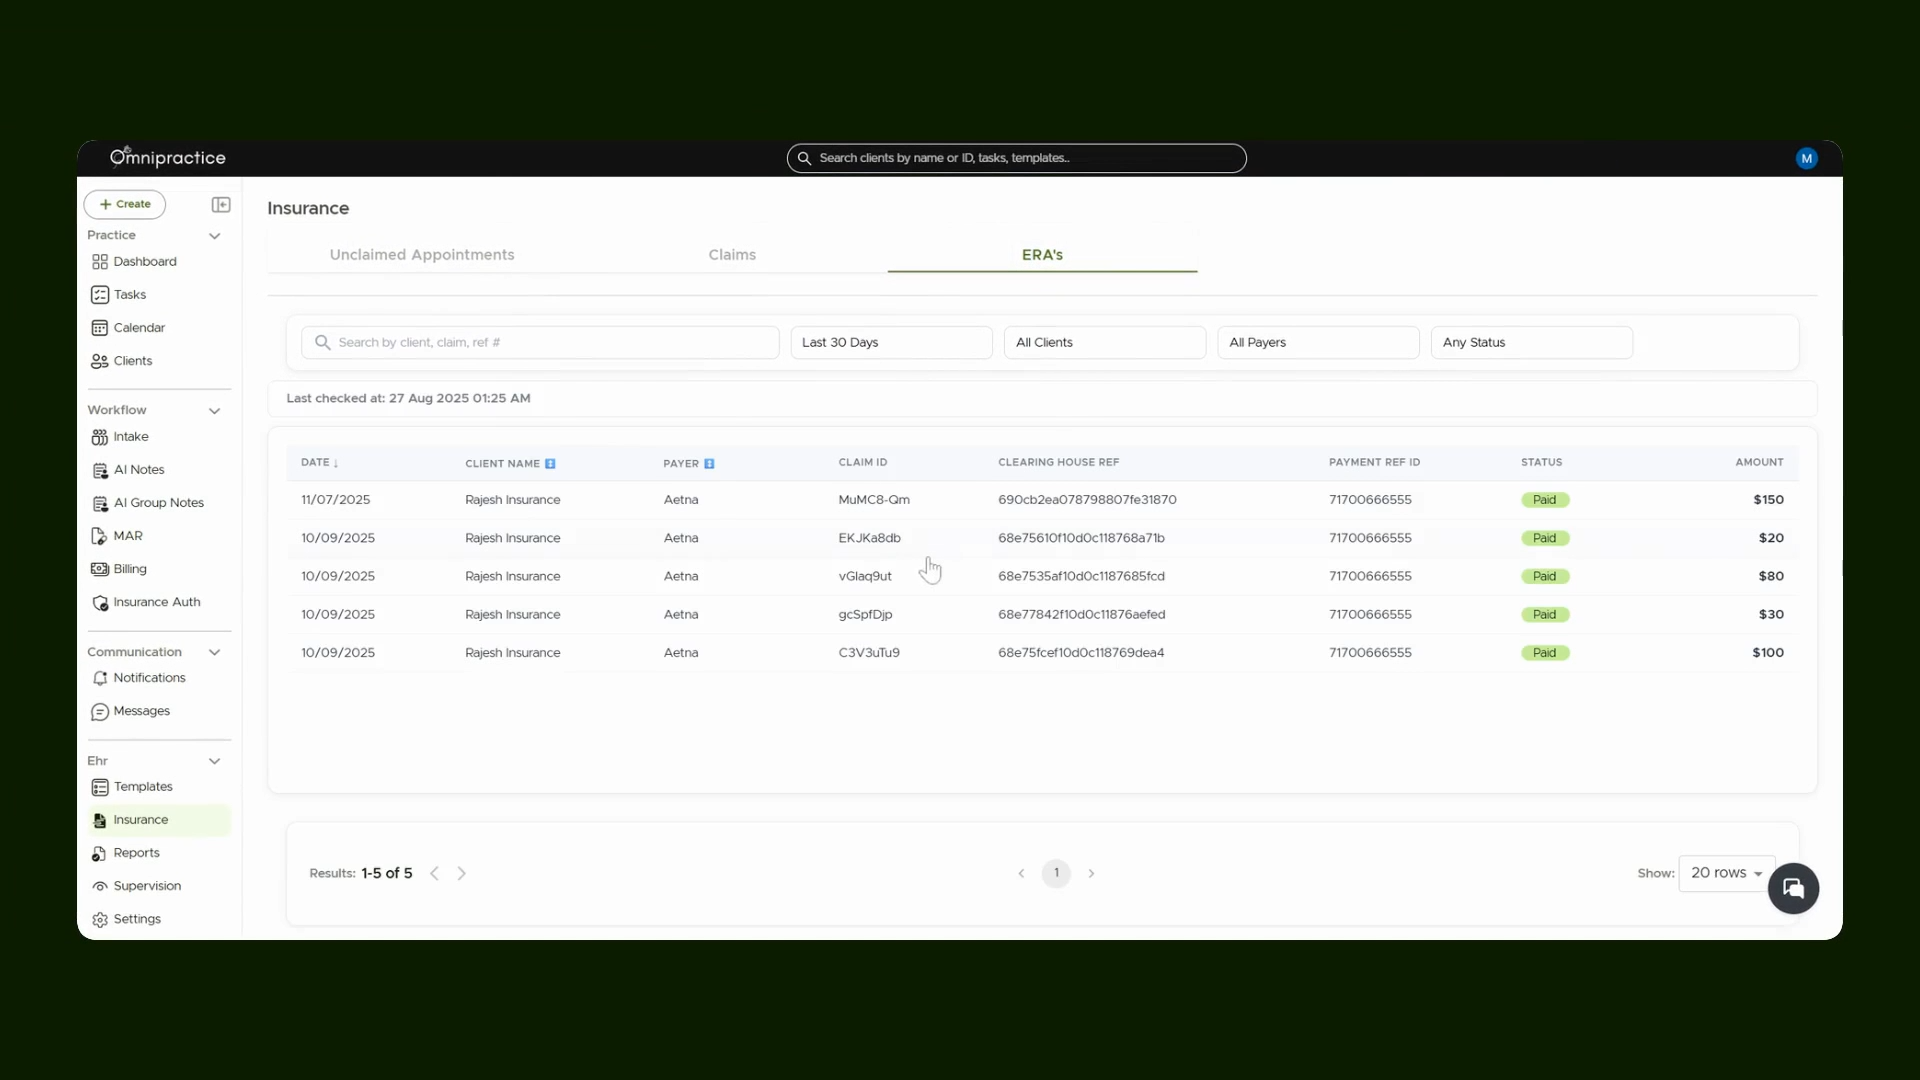
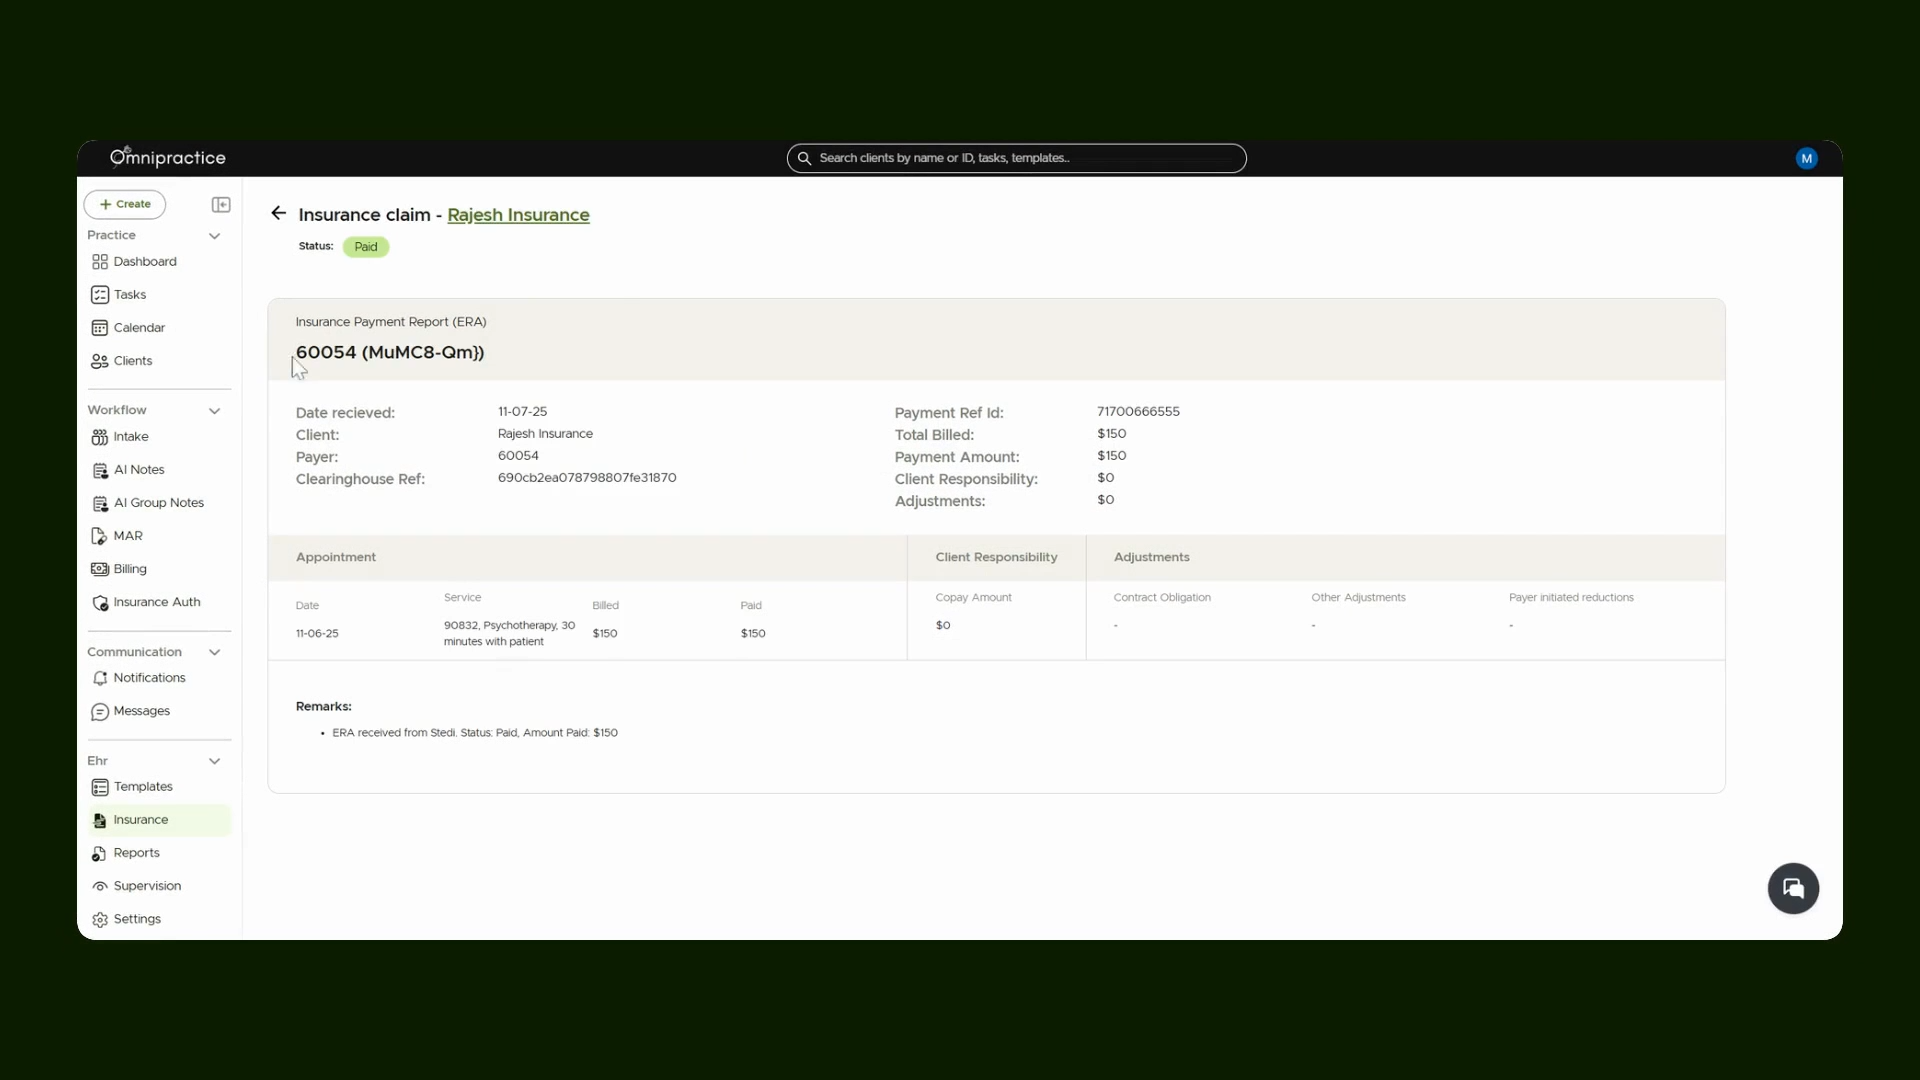
Step 4: View ERA Details
Click the row with your claim to view detailed ERA information in the ERA report.
Step 5: Go to Reports Tab
Navigate to the Reports tab from the main dashboard to access various financial and claim reports.
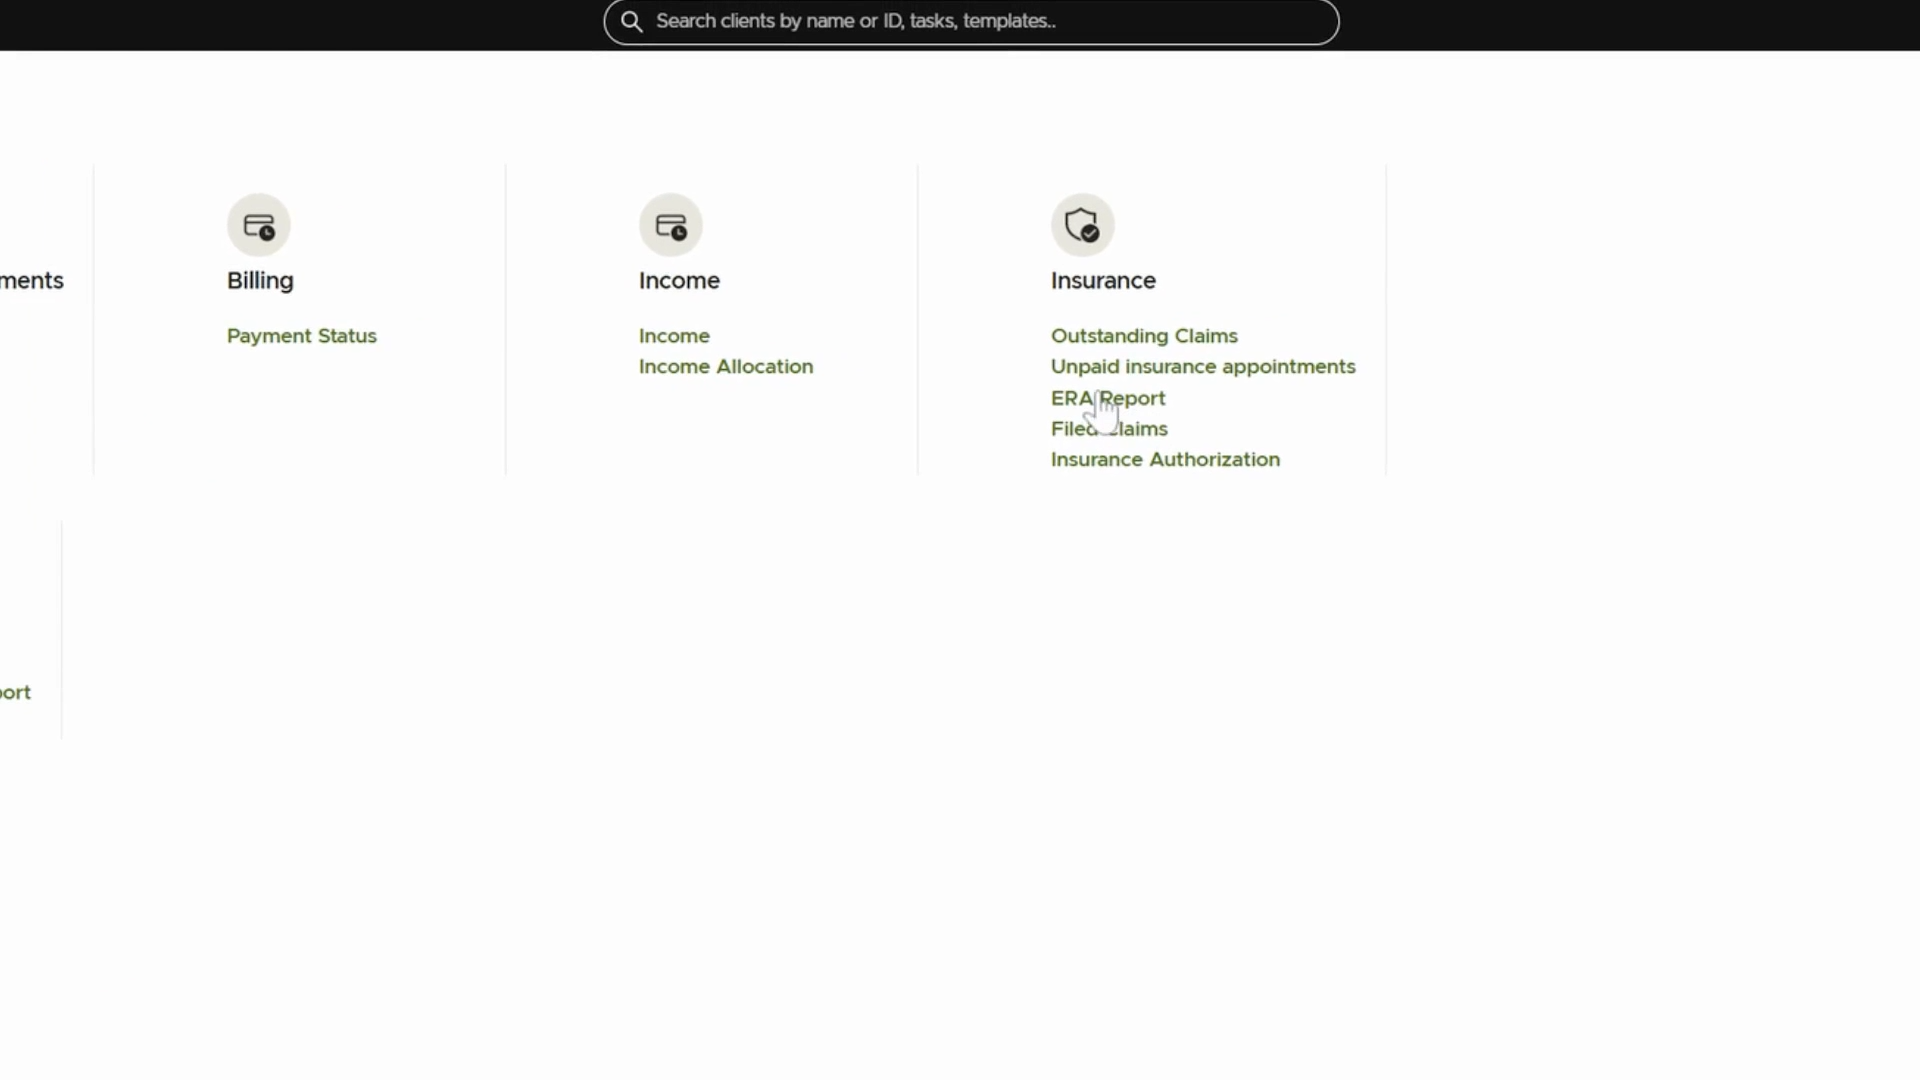
Step 6: Open ERA Report
Inside Reports, select the ERA Report to see a comprehensive list of ERAs received.
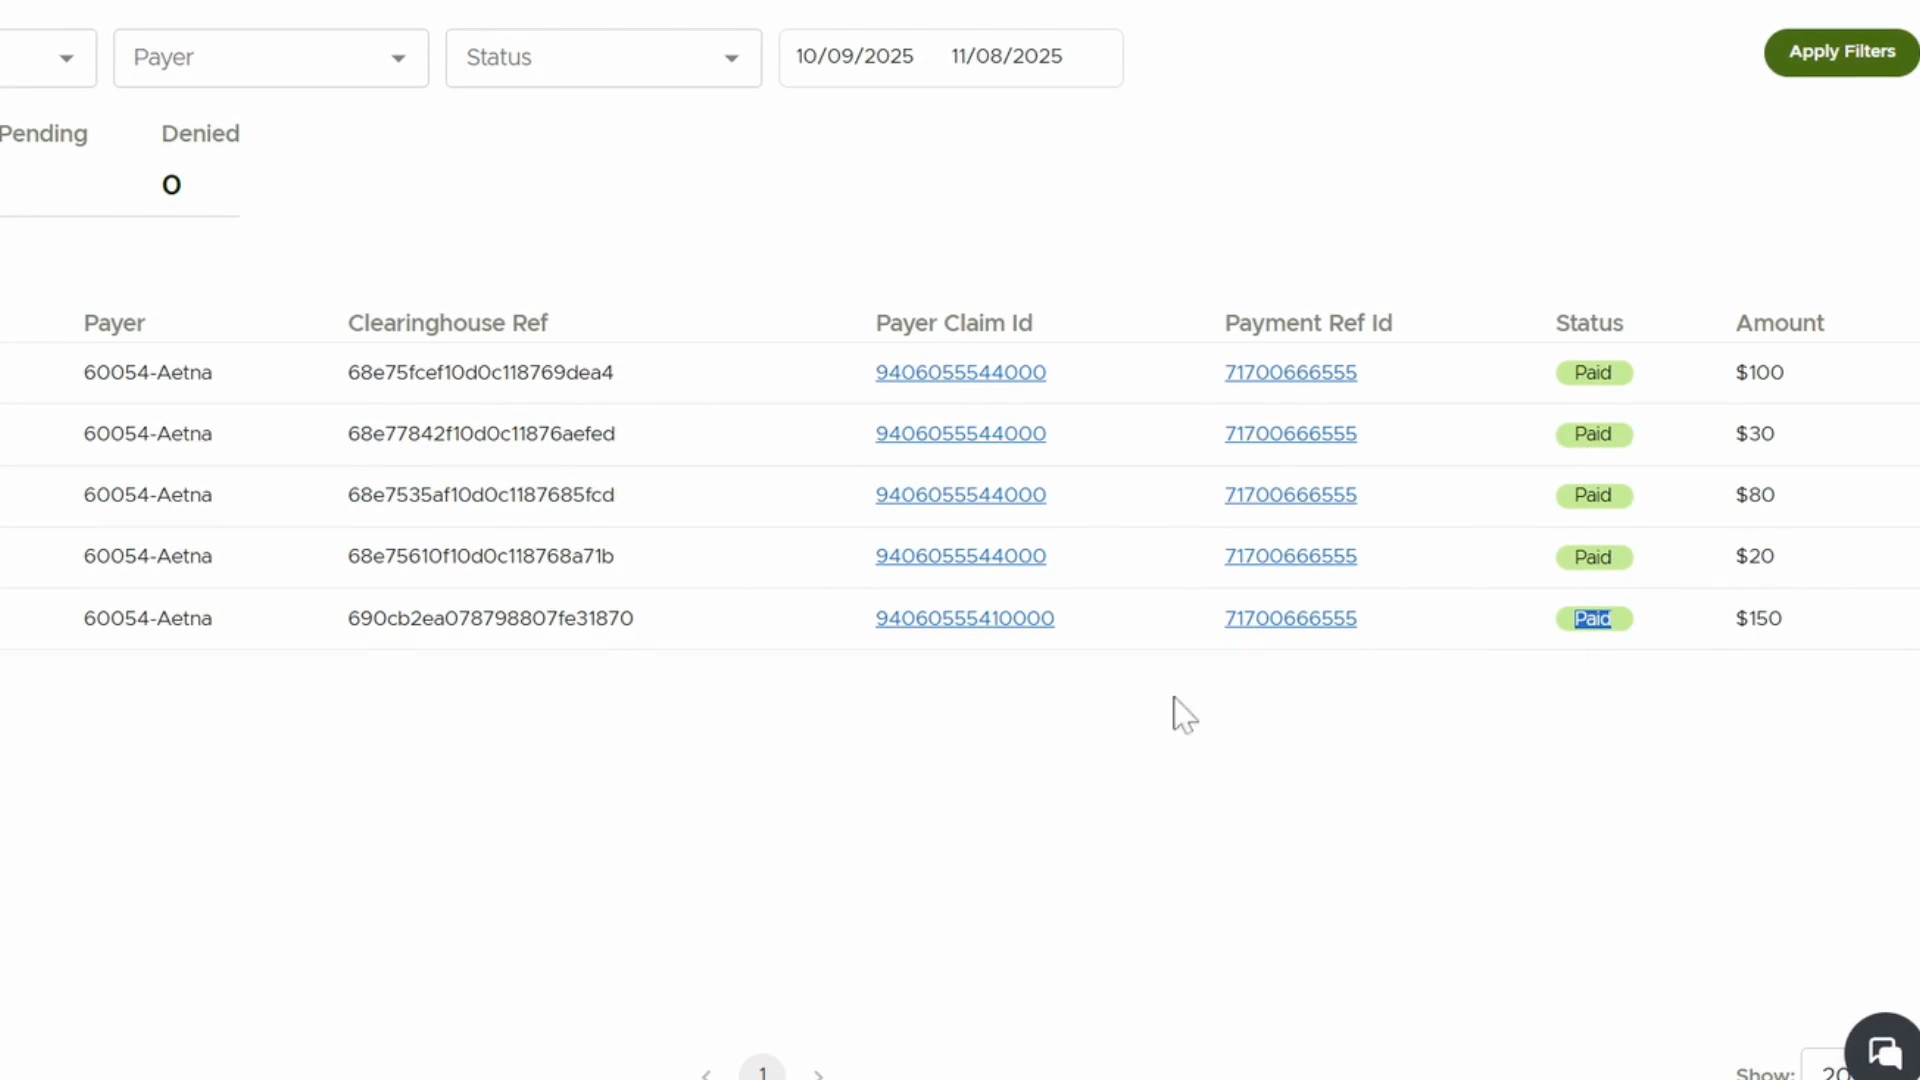
Step 7: Review ERA Report
Check the ERA report for detailed payment information tied to each claim.
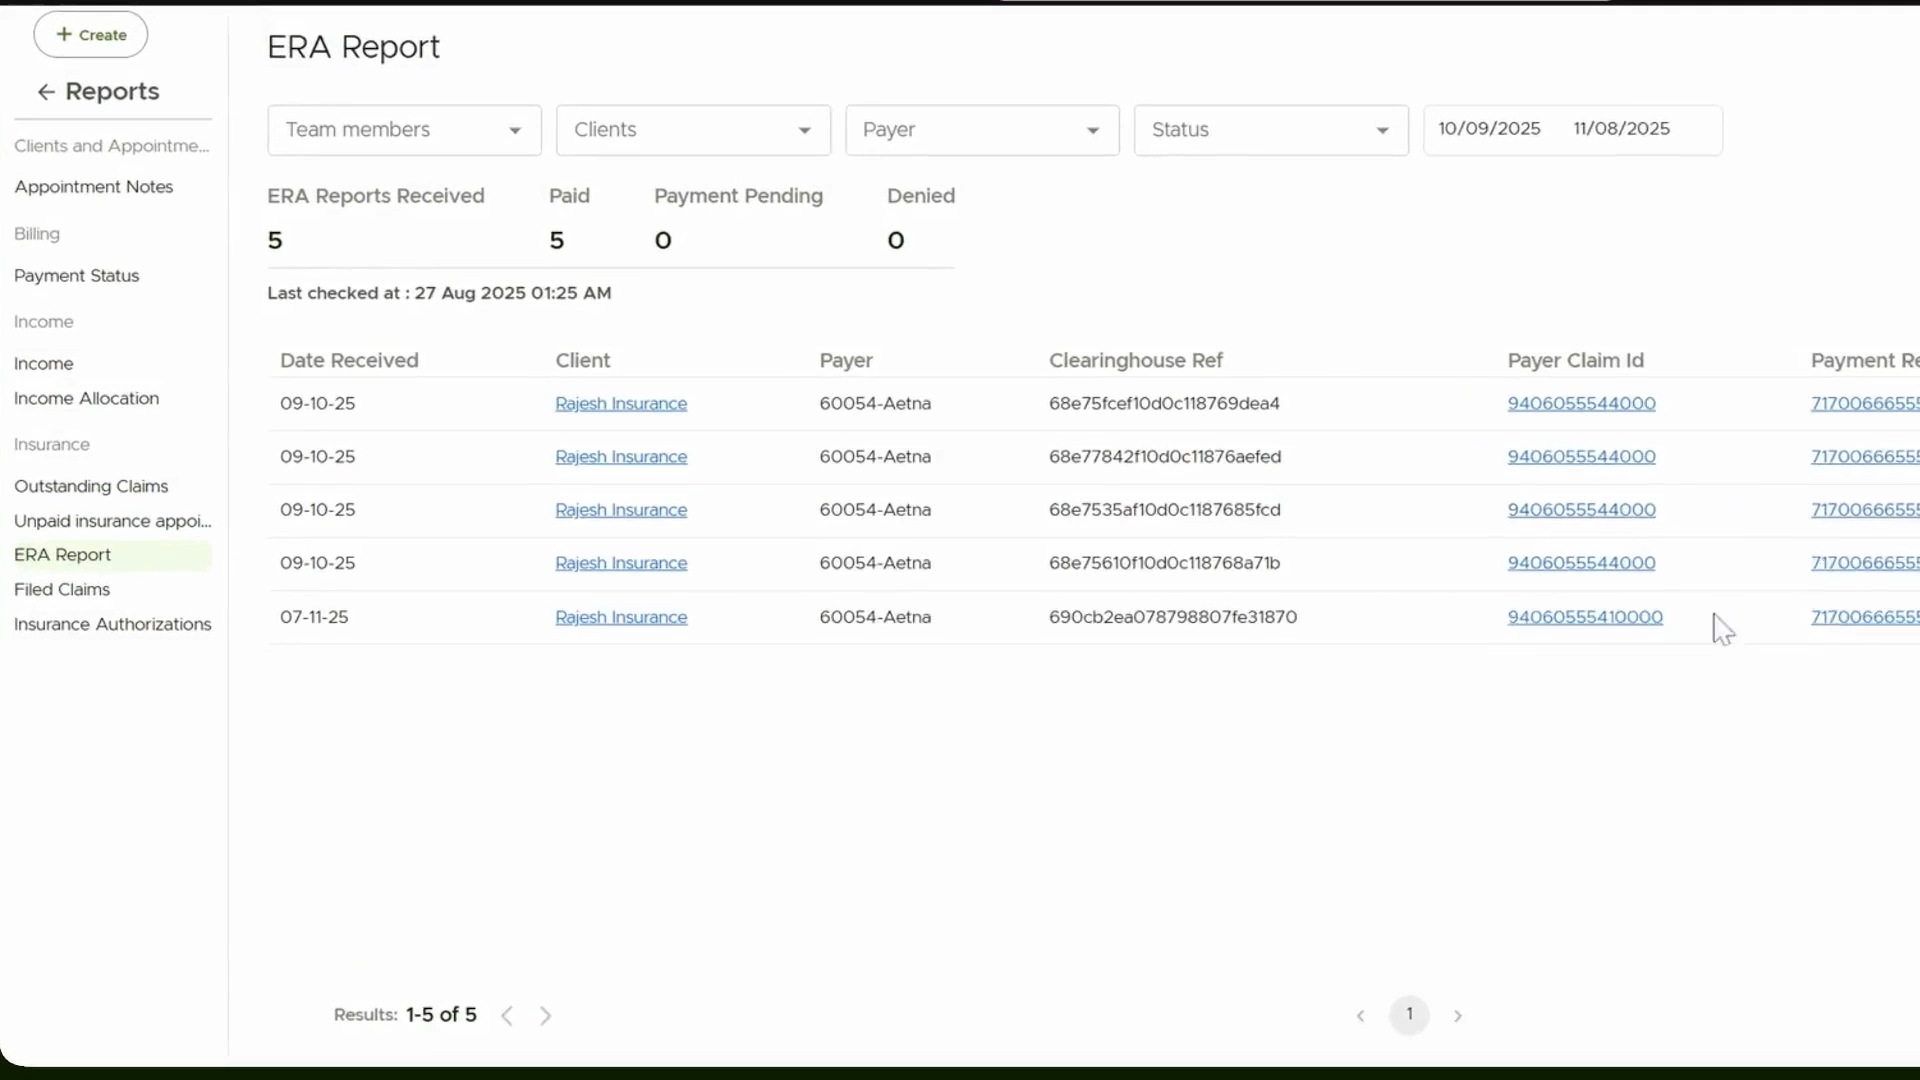
Step 8: Check ERA Status
Confirm that the ERA for your claim is marked as received and see the updated status.
Step 9: Access Claim Details
Click the Payer Claim ID link in the ERA report to open the detailed claims page.
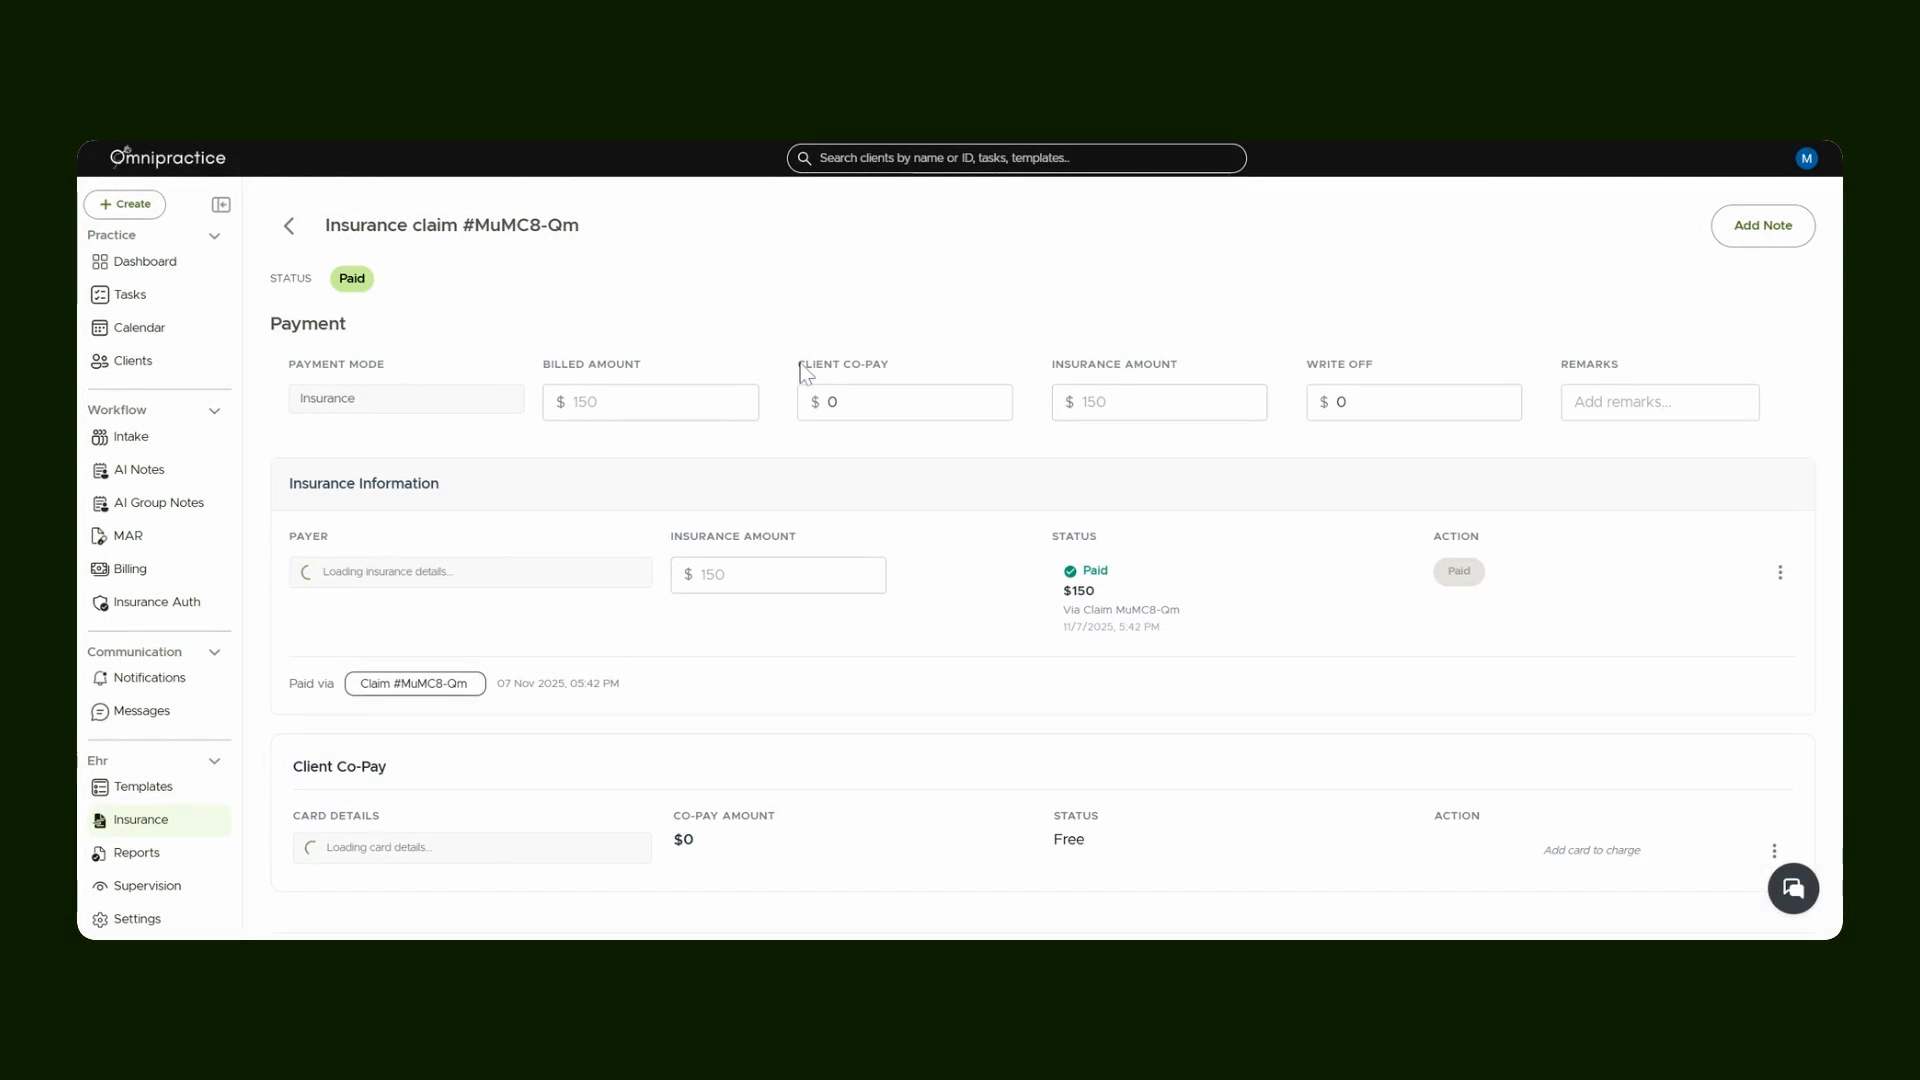
Step 10: View Claim Details
On the claims page, review all claim details and verify the ERA has been received.
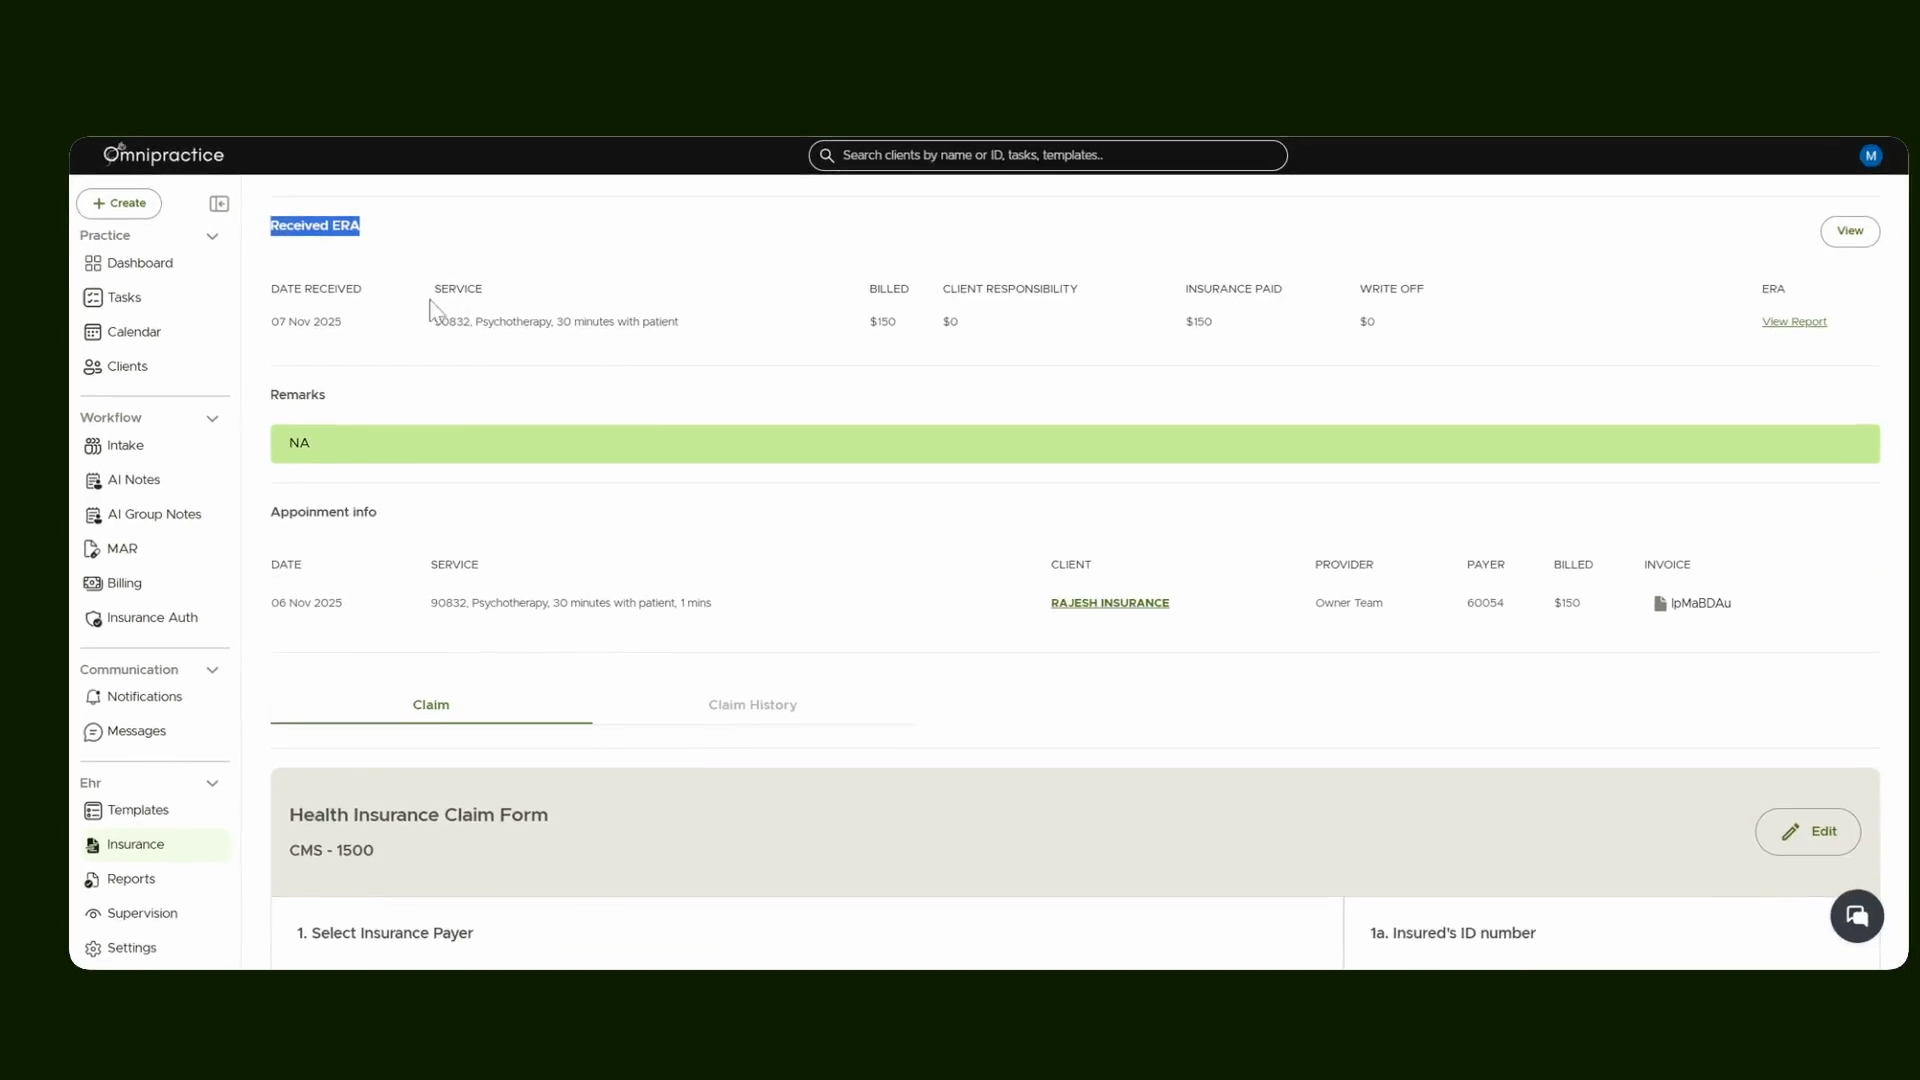
Step 11: View Report and Claim History
On this page, check the report and scroll through claim history for any updates or changes.
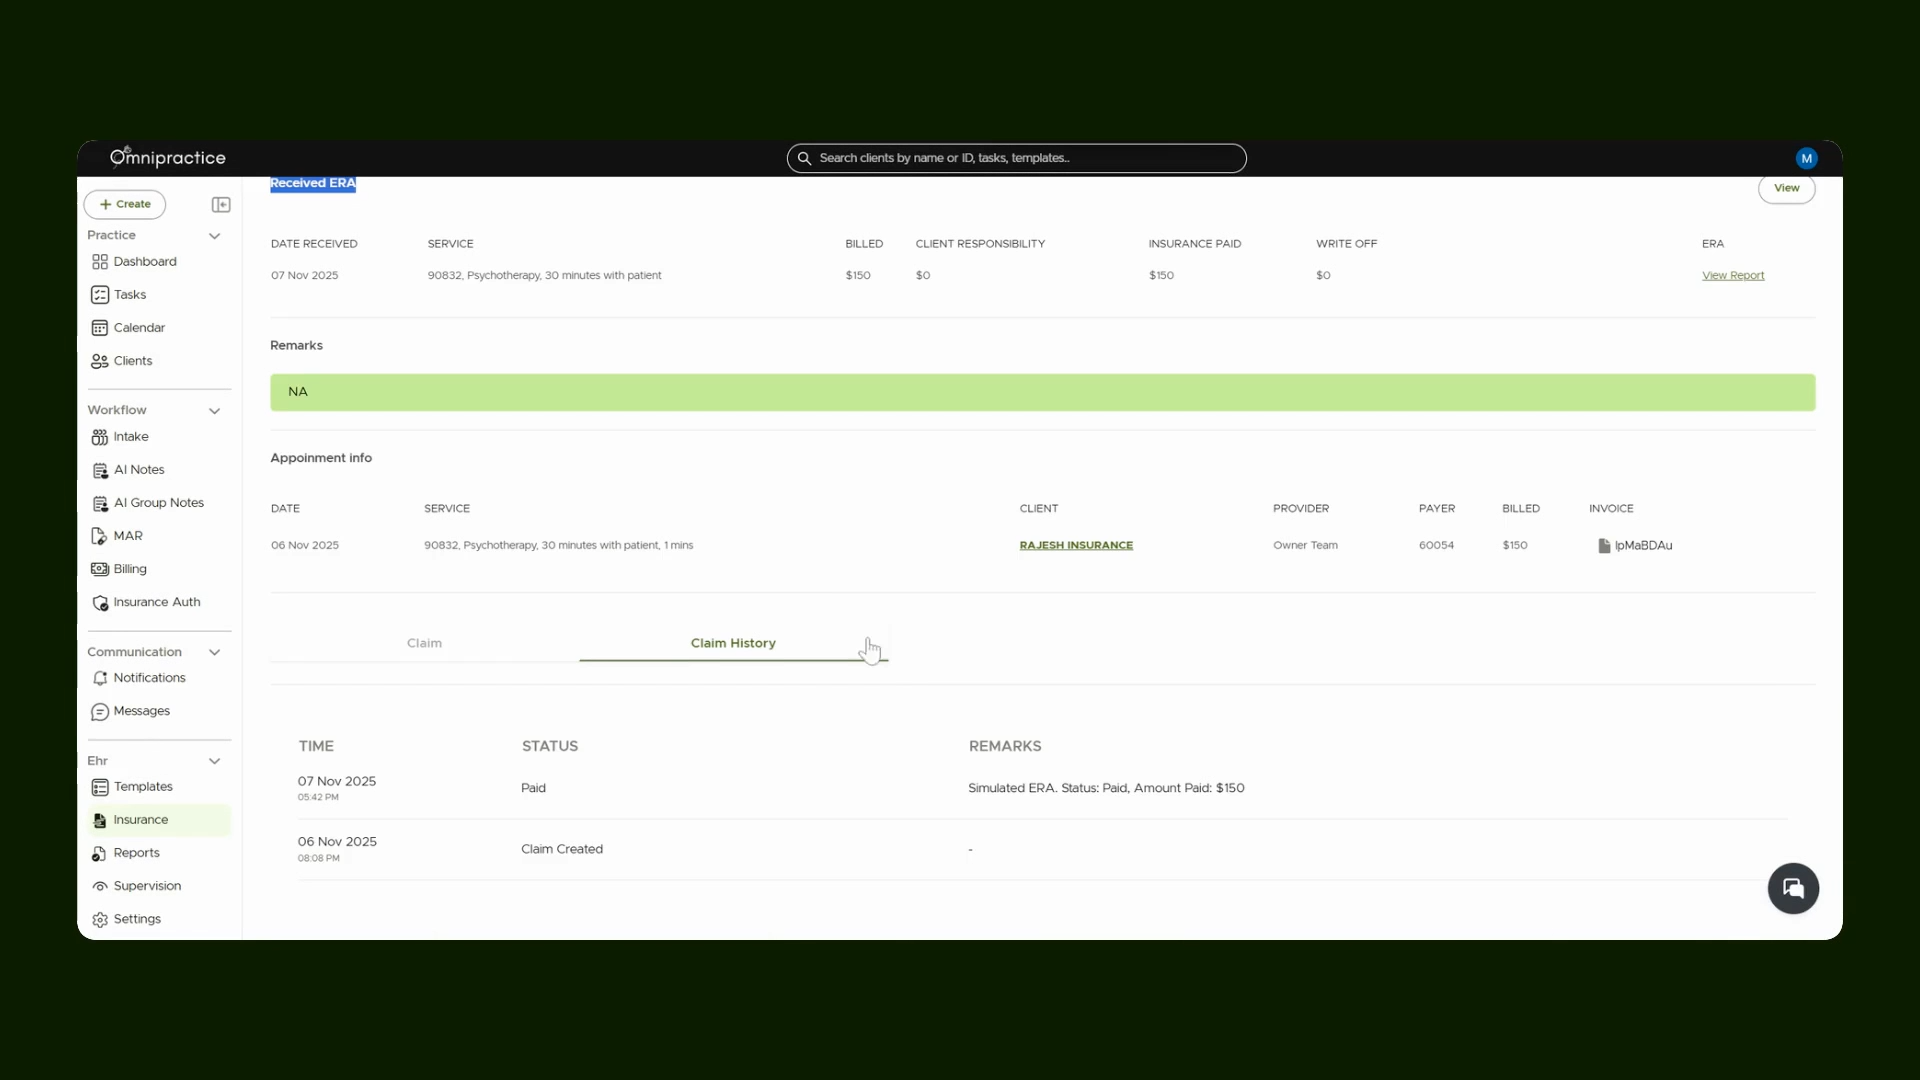
The claim history shows when the claim was created and when the ERA was received, providing a timeline for your records.
That's how to process a primary insurance claim, check ERA records, and view payment reports!