Submitting Primary Insurance Claims
Submitting a primary insurance claim for a client is a straightforward process with these step-by-step instructions. Follow along to ensure claims are created and submitted correctly, minimizing errors and delays.
Step 1: Go to the Client's Page
Start by opening the client's page on the platform.
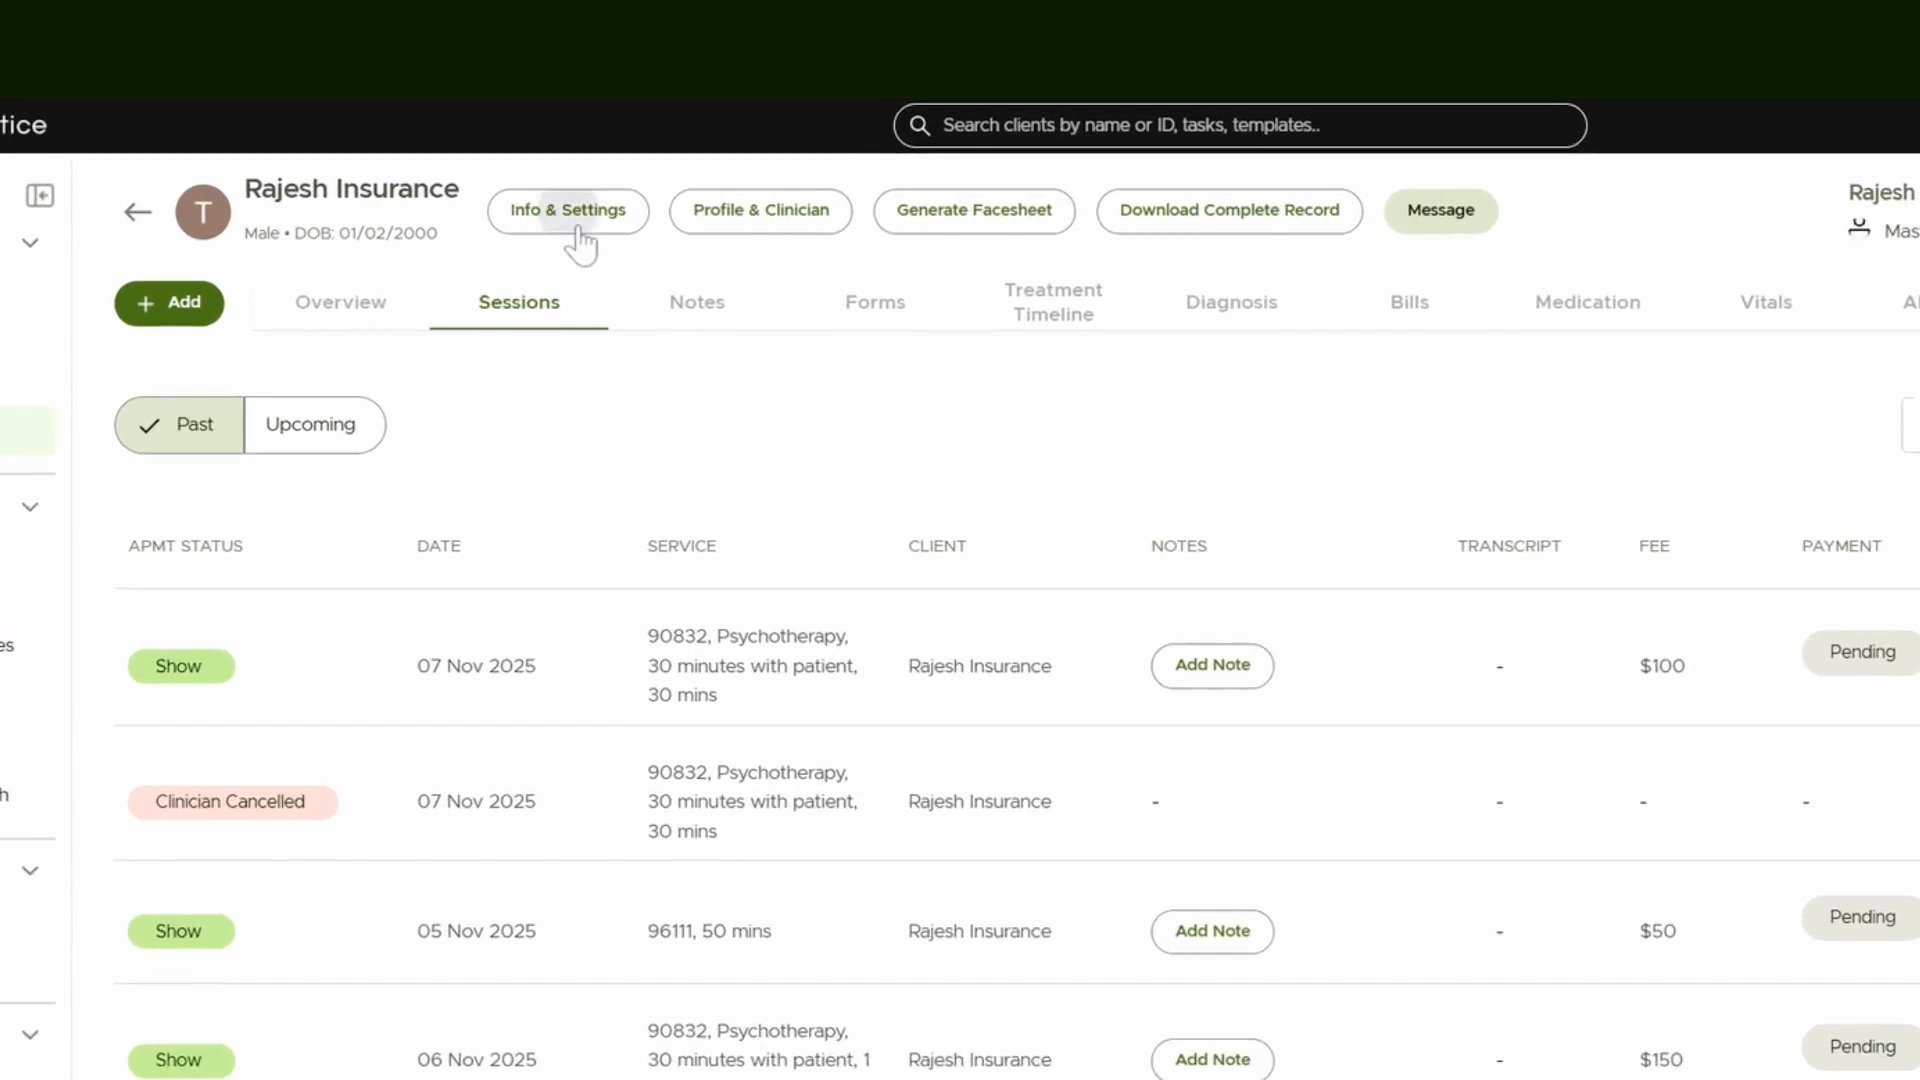
Step 2: Navigate to Payments Tab
Navigate to the basic info, settings, and then the Payments tab.
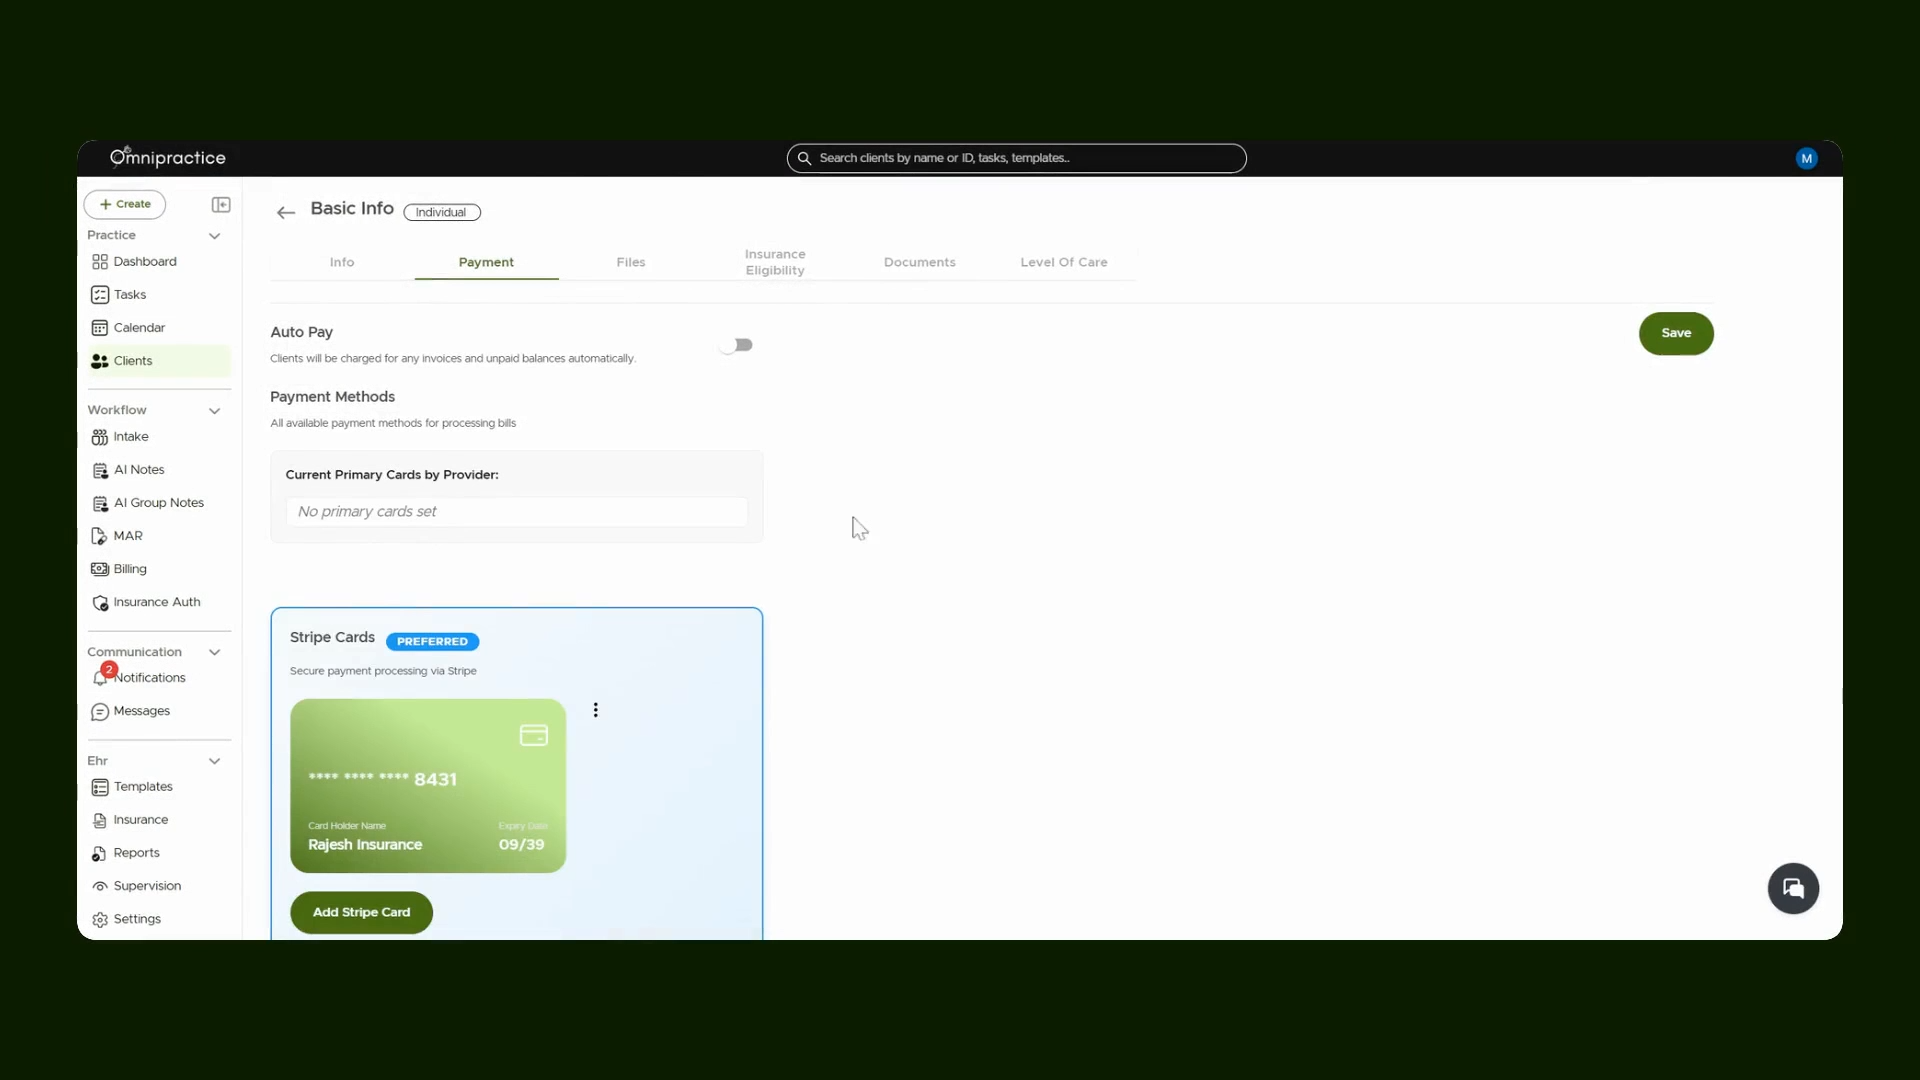
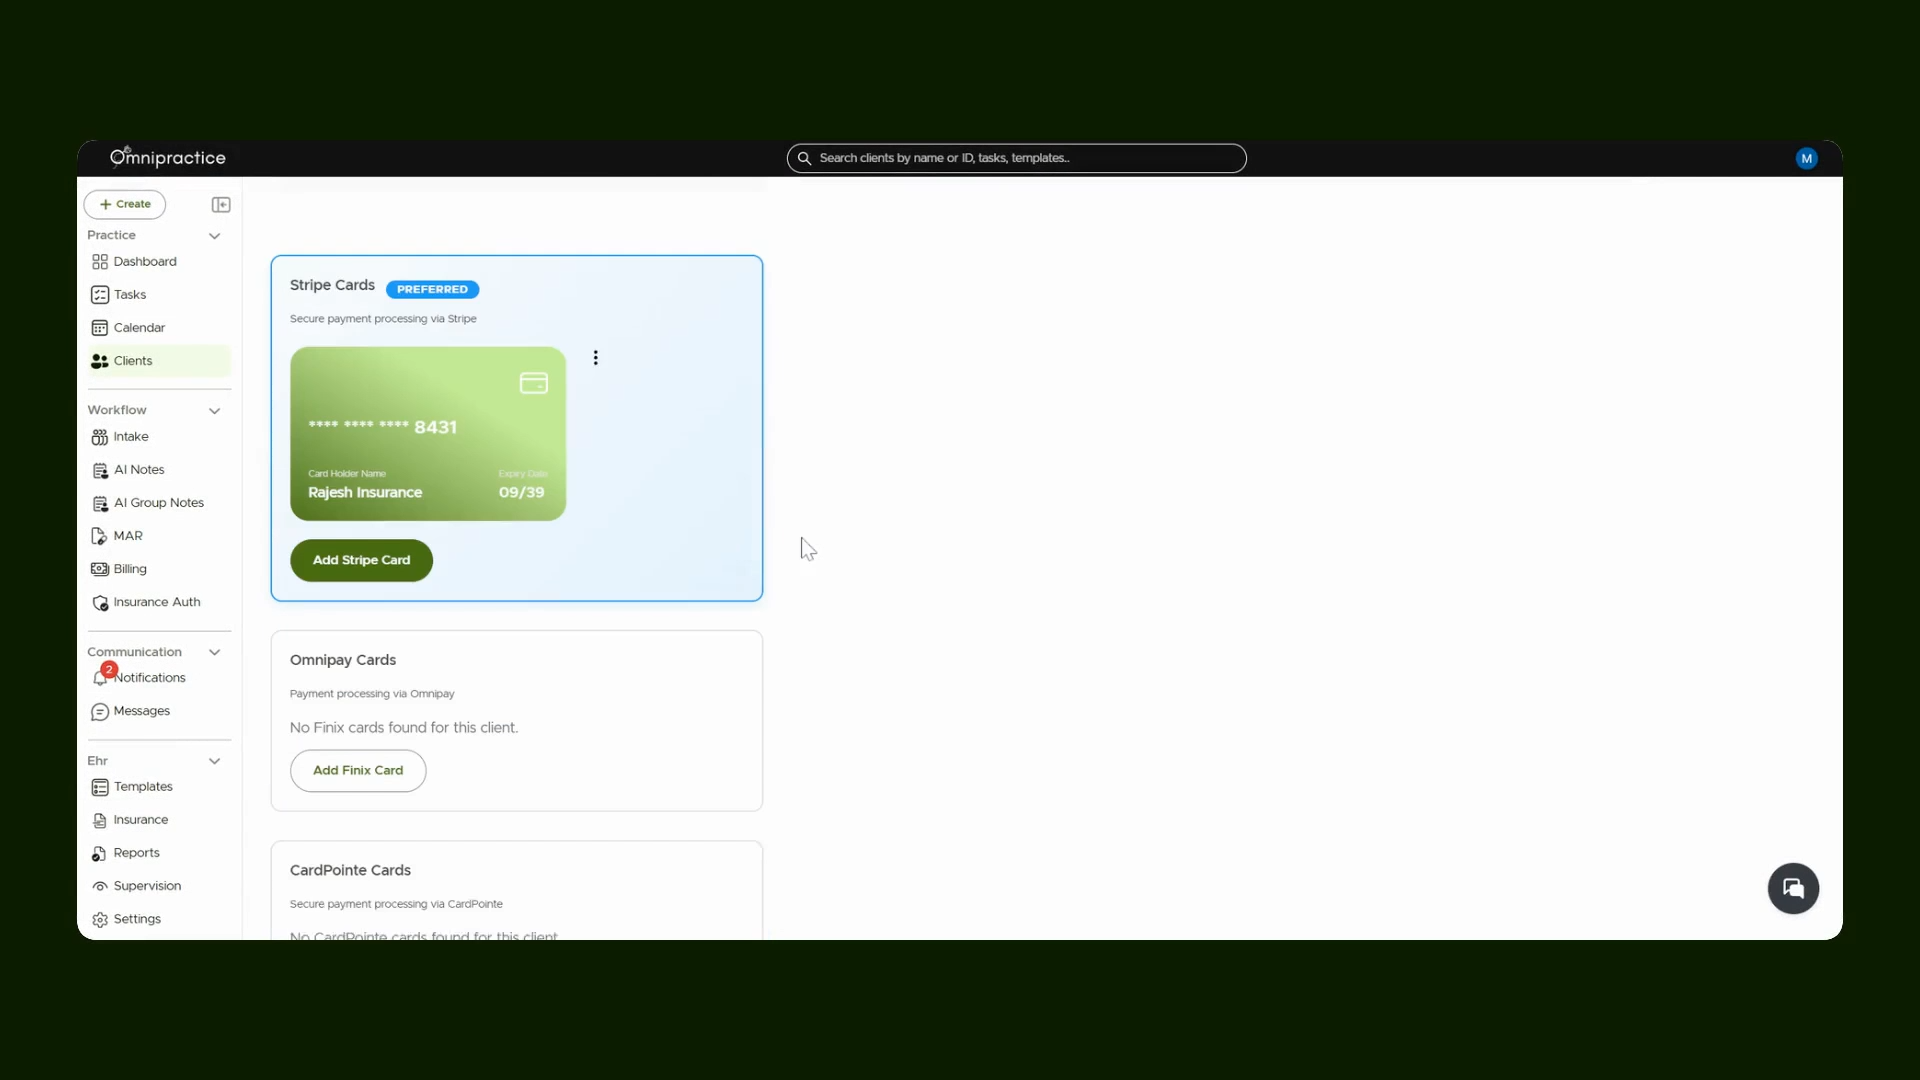
Step 3: Add Payment Methods and Enable Autopay
Add multiple payment cards if desired and set one as the primary method. Enable Autopay to have the client’s copay charged automatically from the selected card.
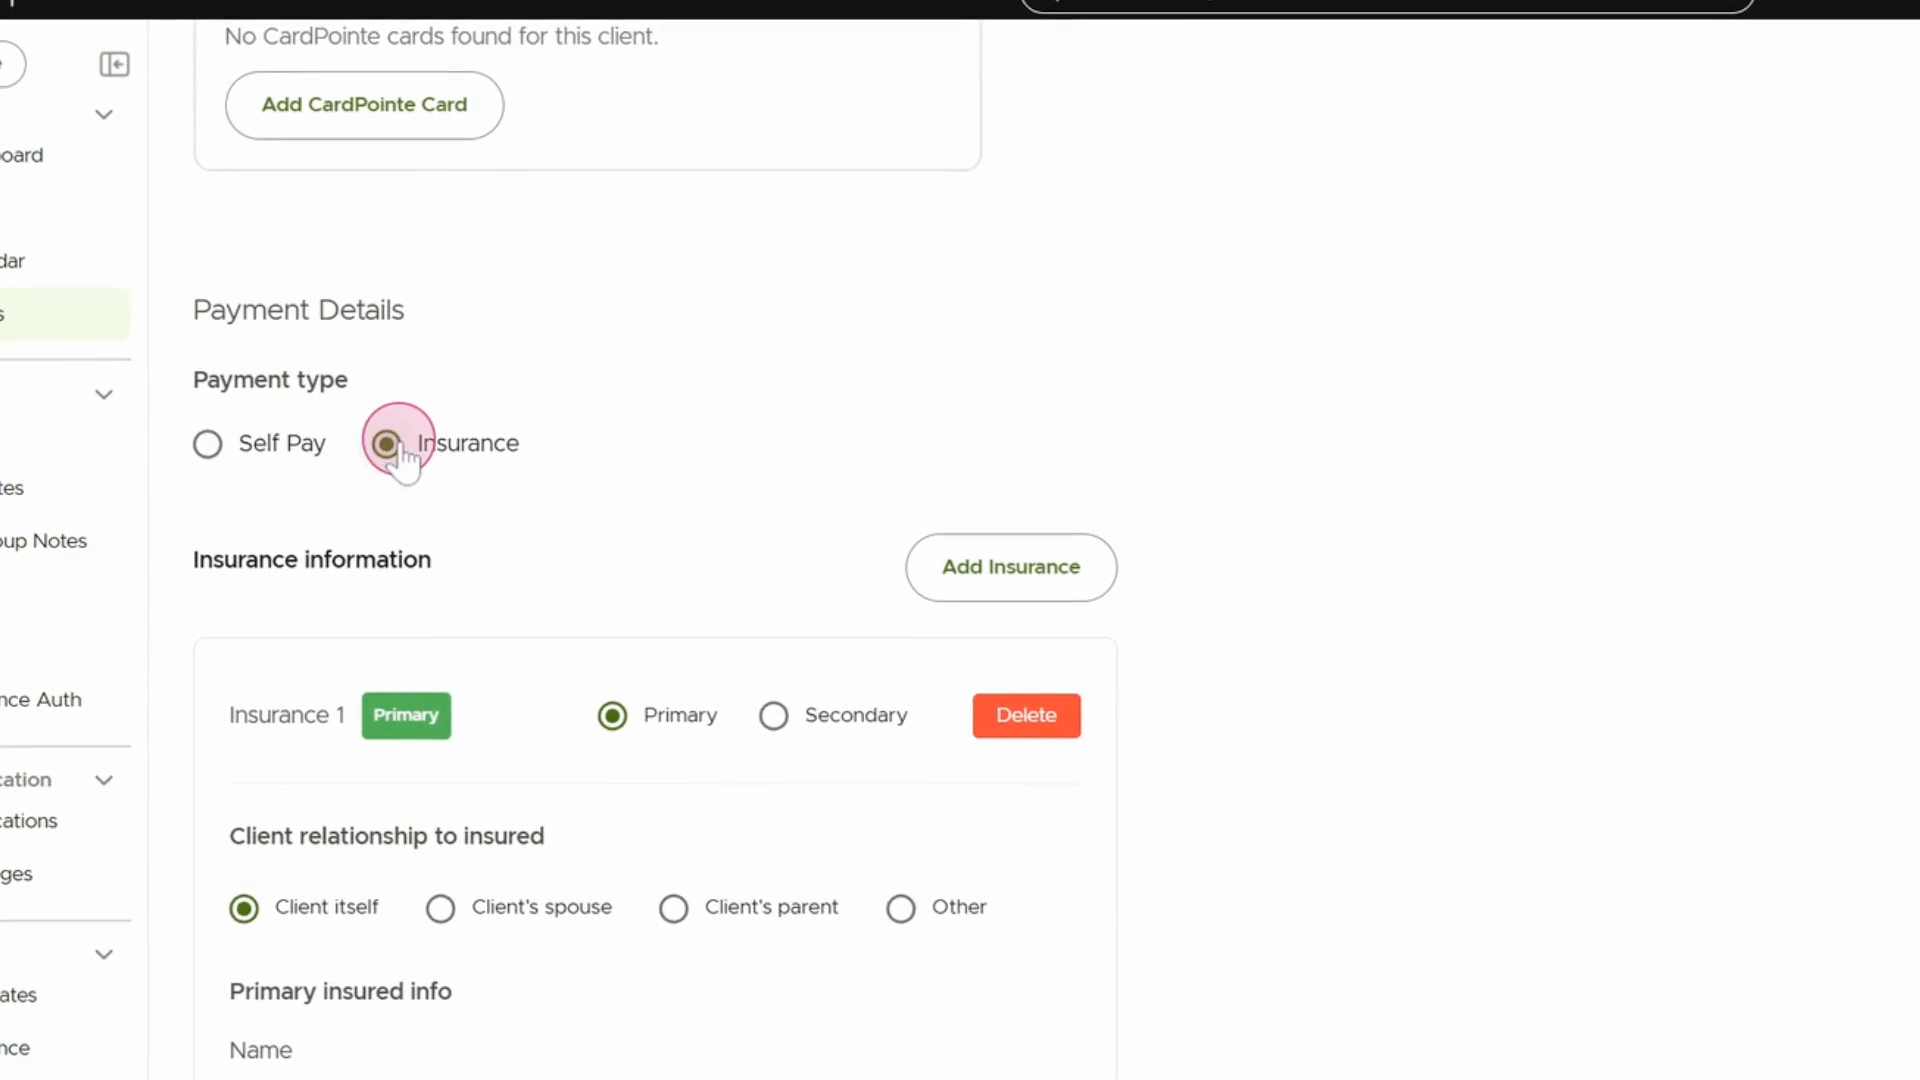
Step 4: Add Insurance Details
Select payment type as Insurance and select client’s relationship with insured person. In case of client themselves, the system will auto-populate these details.
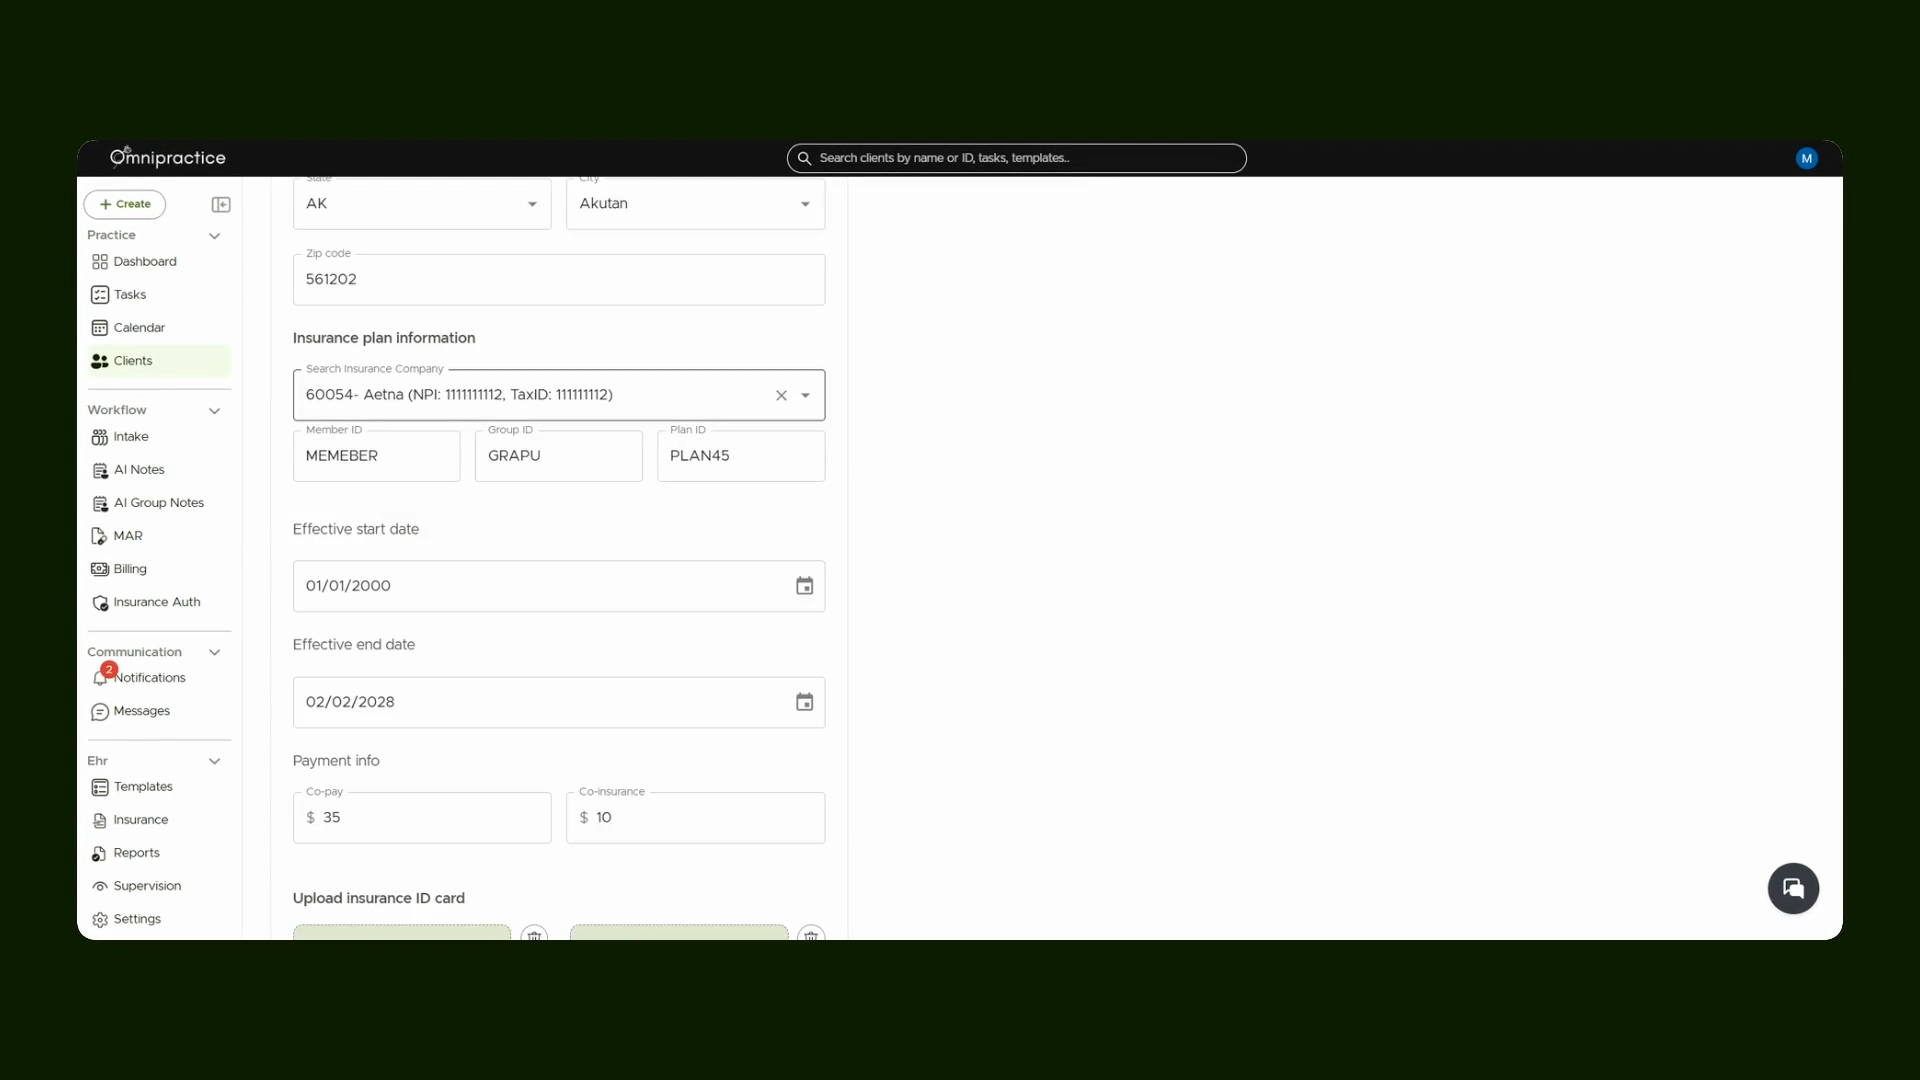
Step 5: Complete and Save Insurance Plan Information
Fill in all necessary insurance plan details and save the changes.
Step 6: Verify Insurance Eligibility
Check and confirm the insurance eligibility directly from the platform.
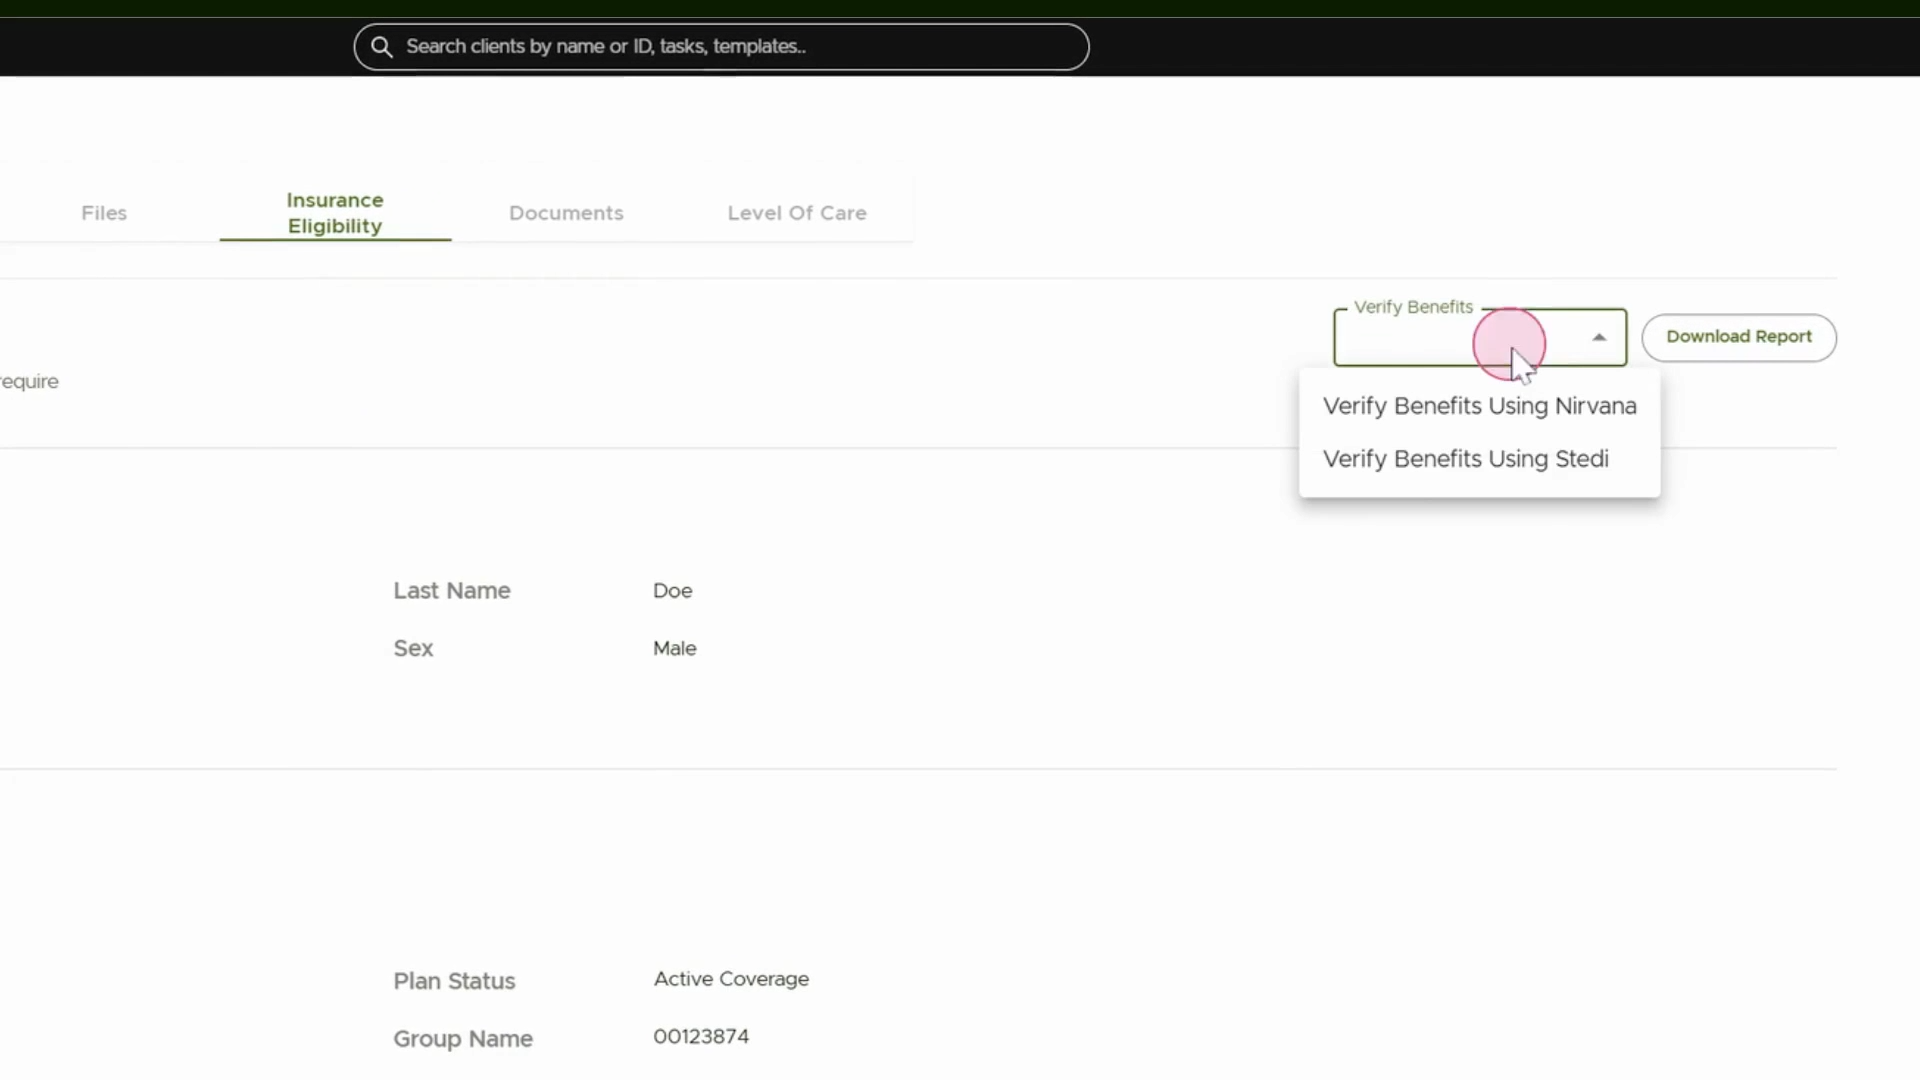
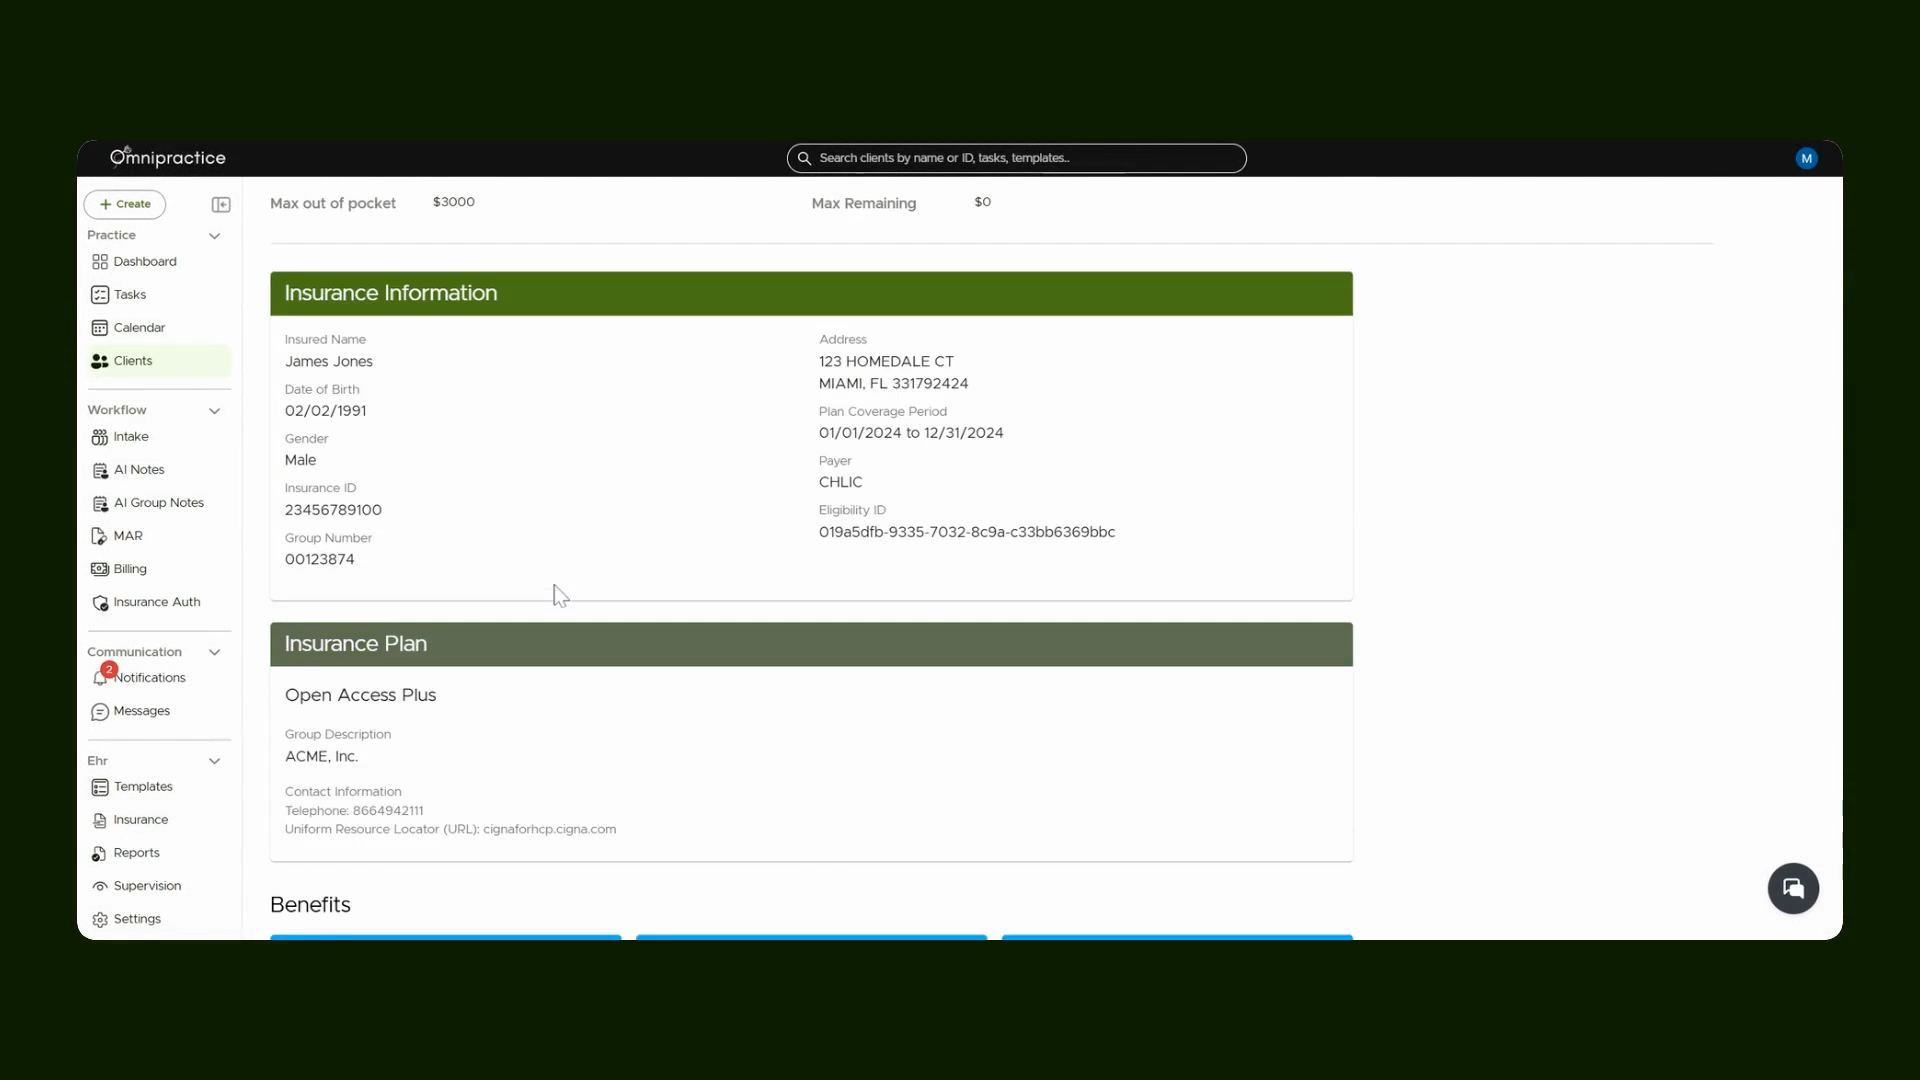
Step 7: Review Benefits with Steady
Use Stedi to verify the insurance benefits. Download the eligibility report if needed for your records.
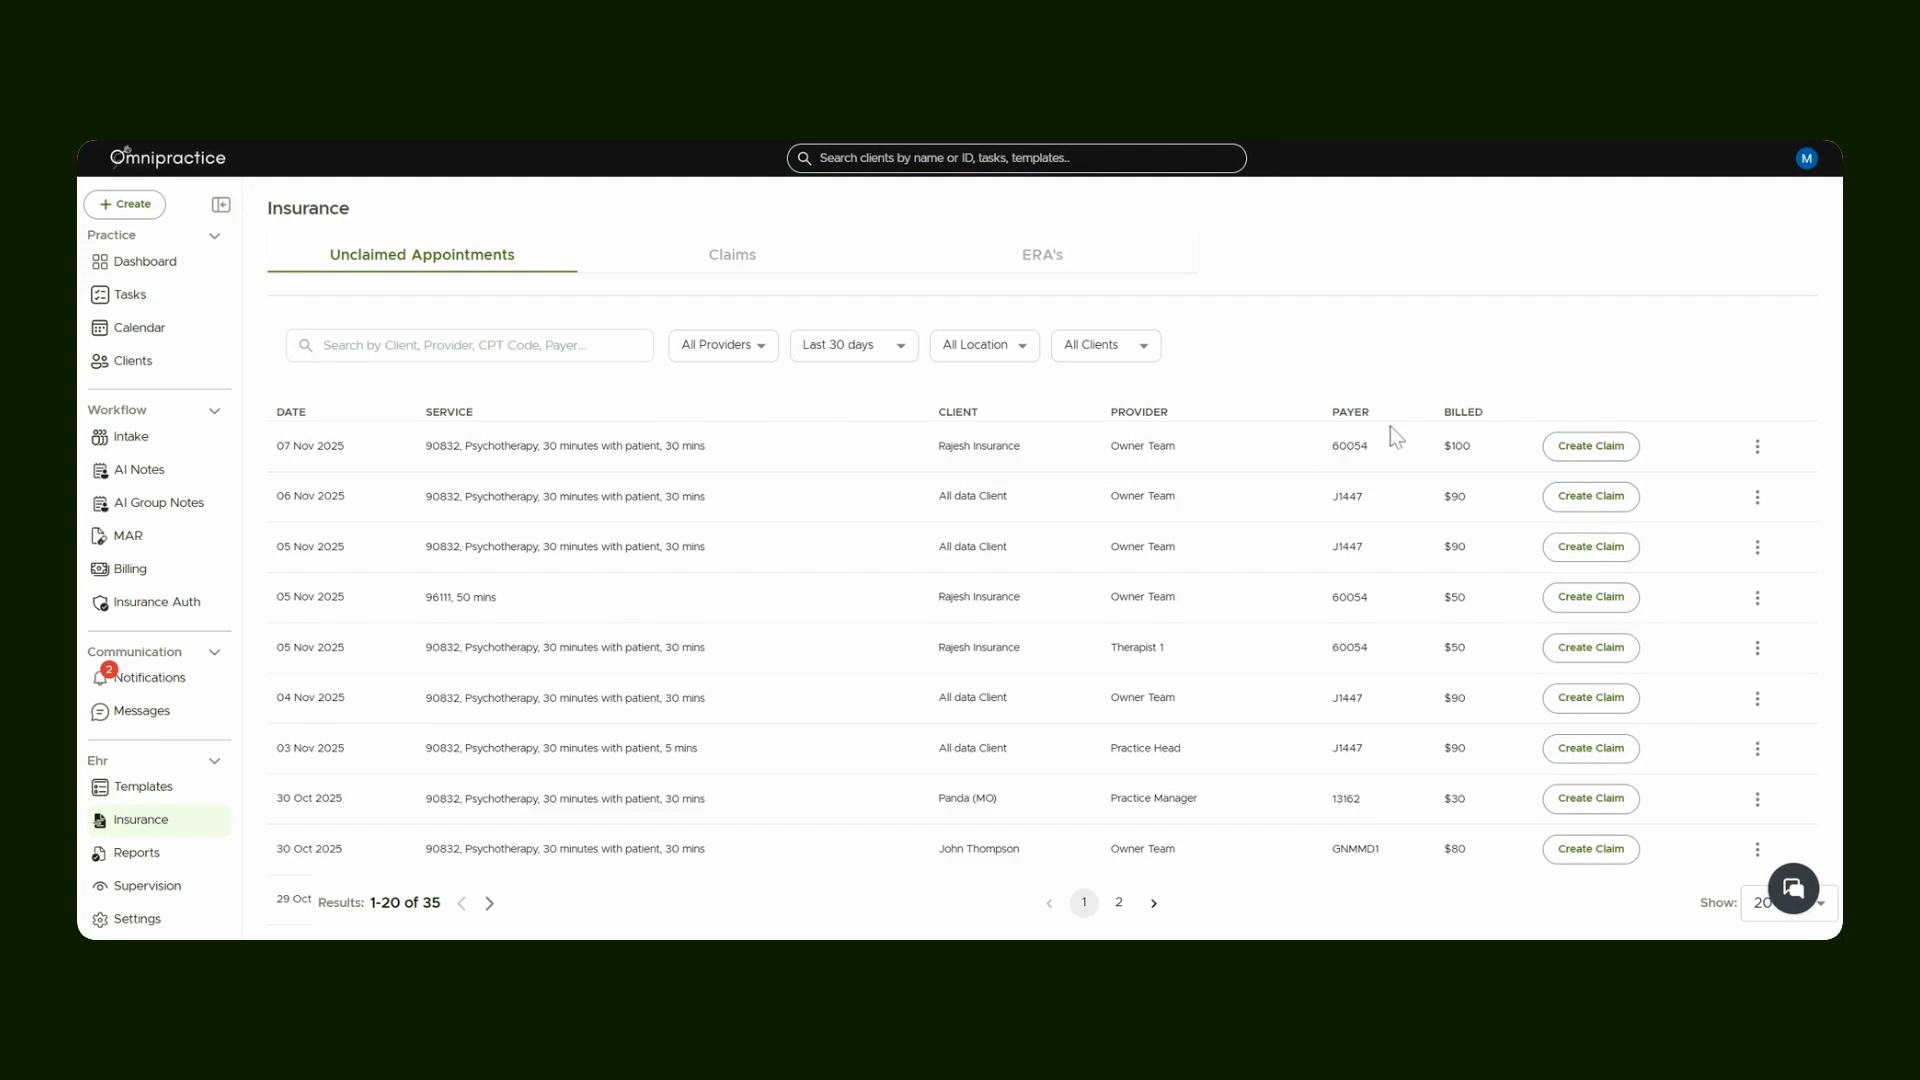
Step 8: Go to Insurance Tab
Once the session is complete, you can go to Insurance tab from sidebar.
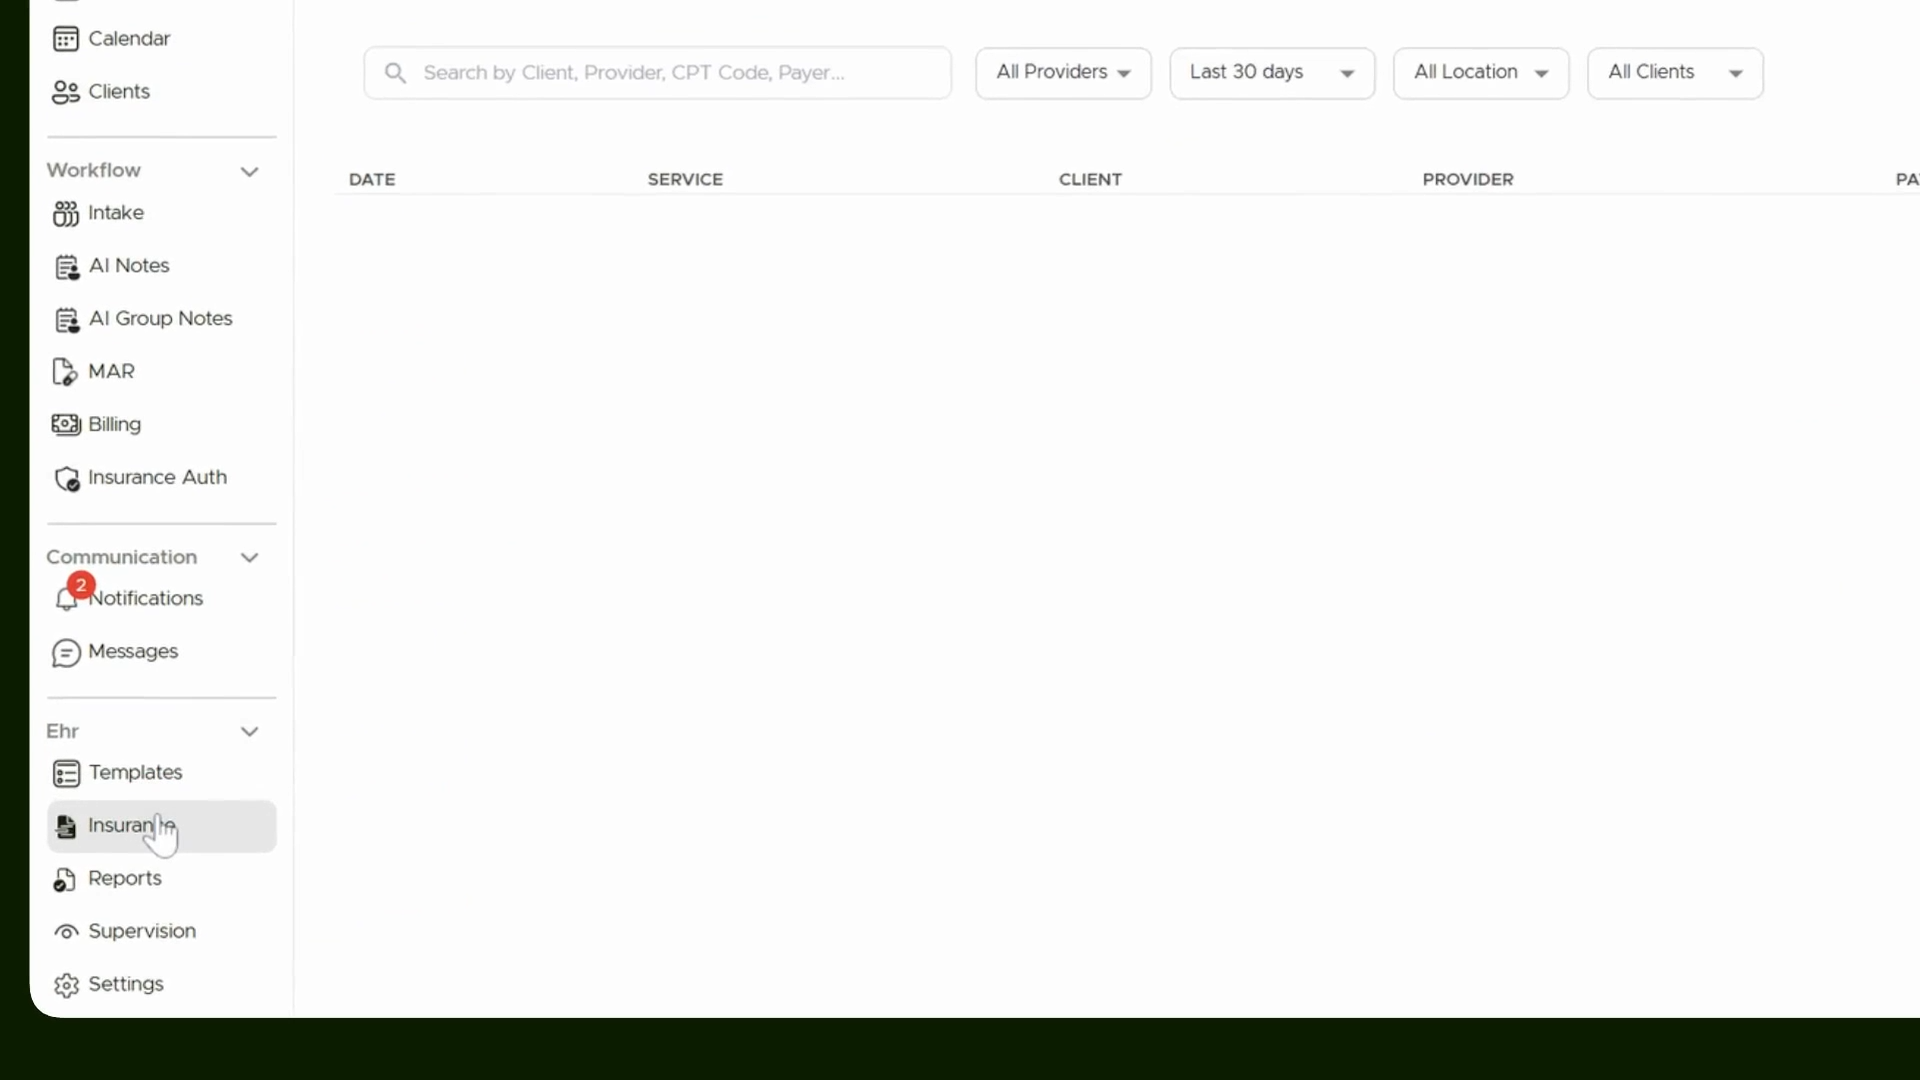
Step 9: Finding Unclaimed Appointments
Go to the Insurance tab and find the appointment under the unclaimed appointments list. It’s now ready for a claim.
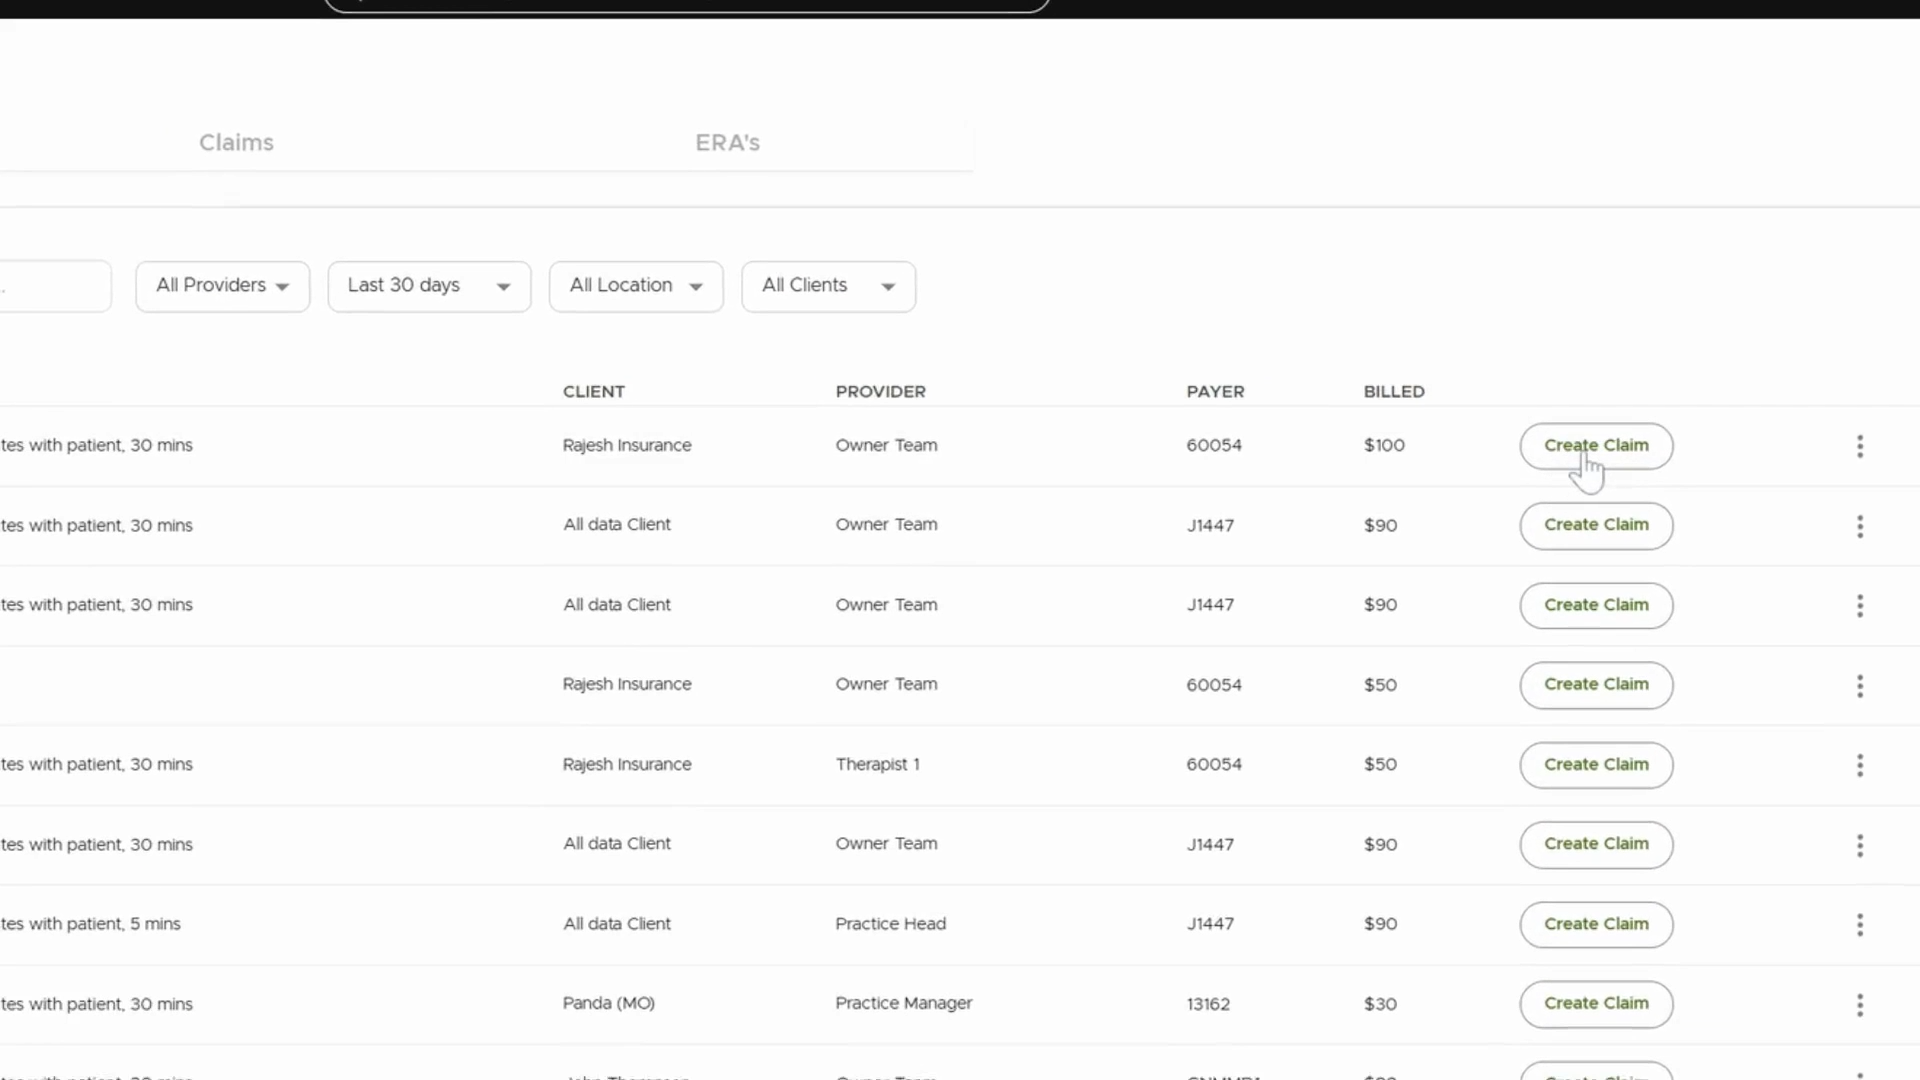
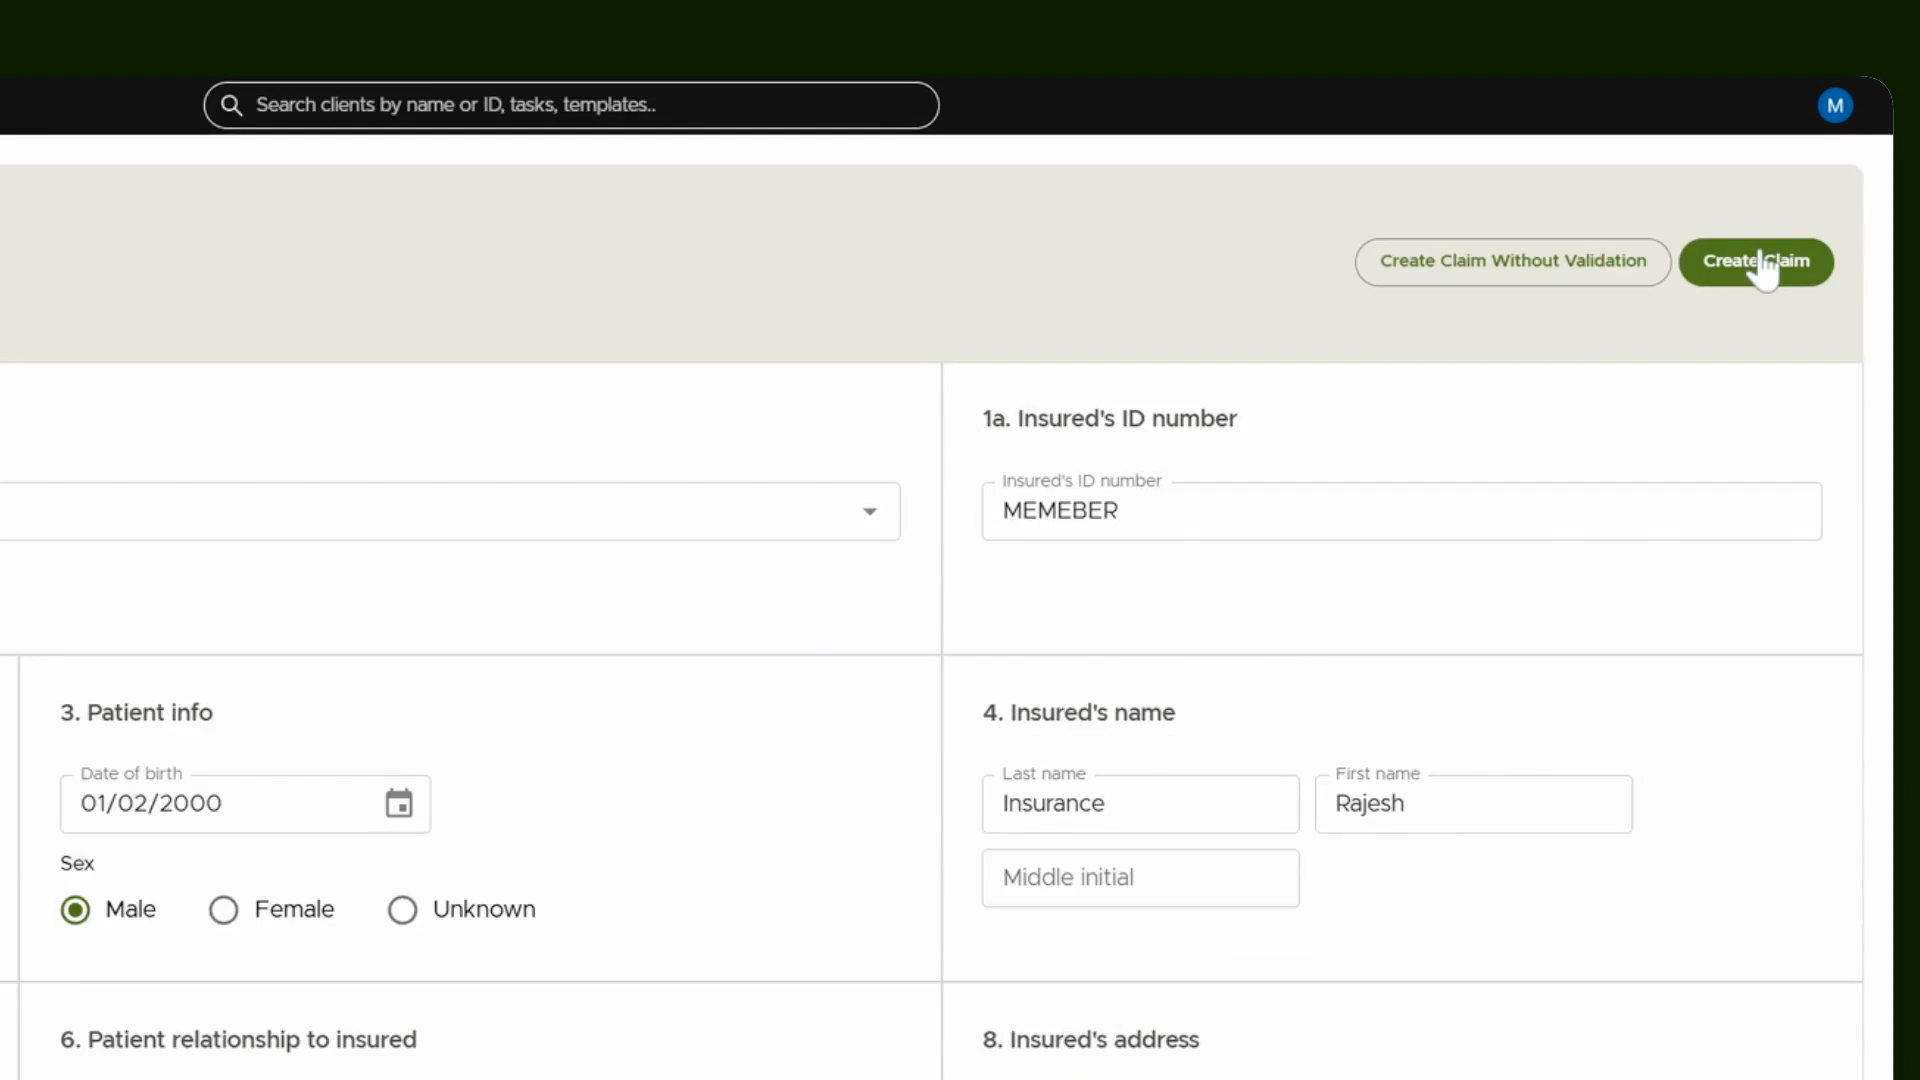
Step 10: Start Claim Creation
Click Create Claim. The client and payer details auto-fill; review and confirm as needed.
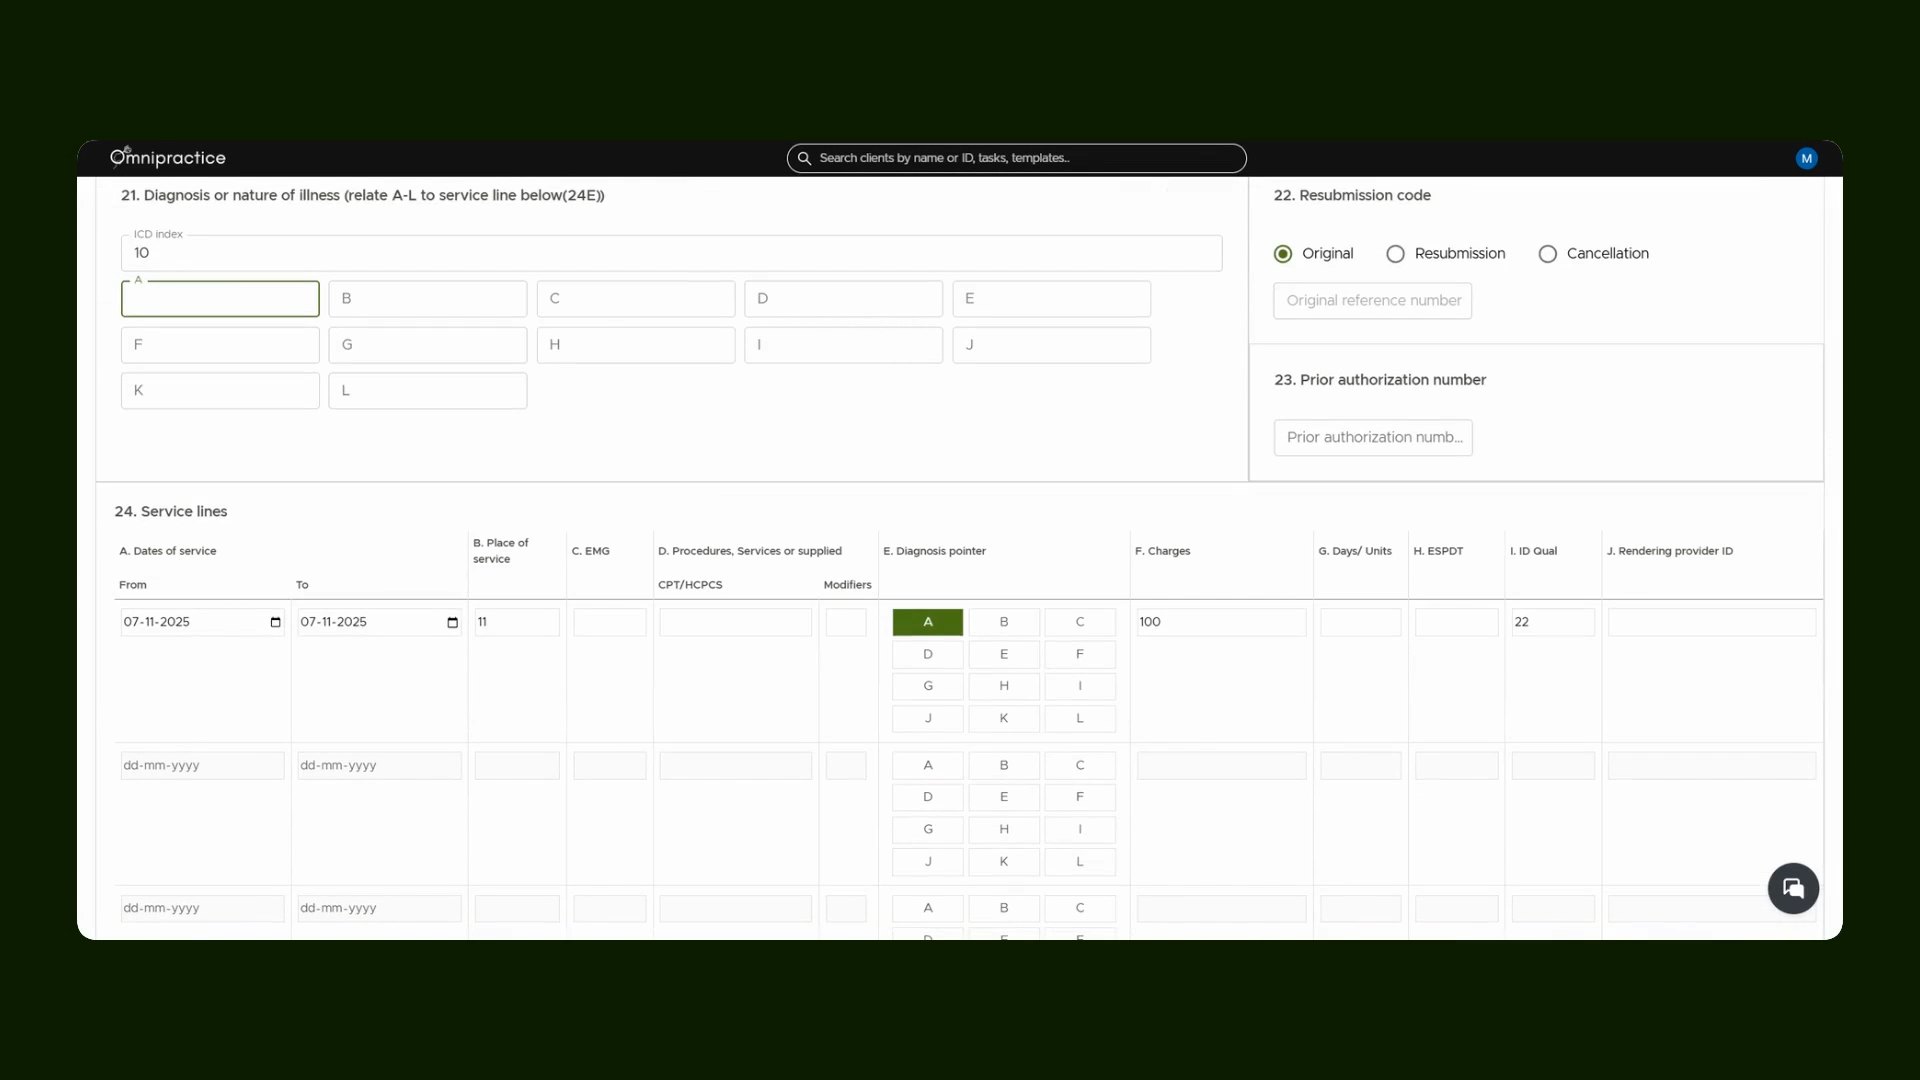
Step 11: Enter Diagnosis Code and Other Details
Fill in the appropriate diagnosis code as required for the claim submission.
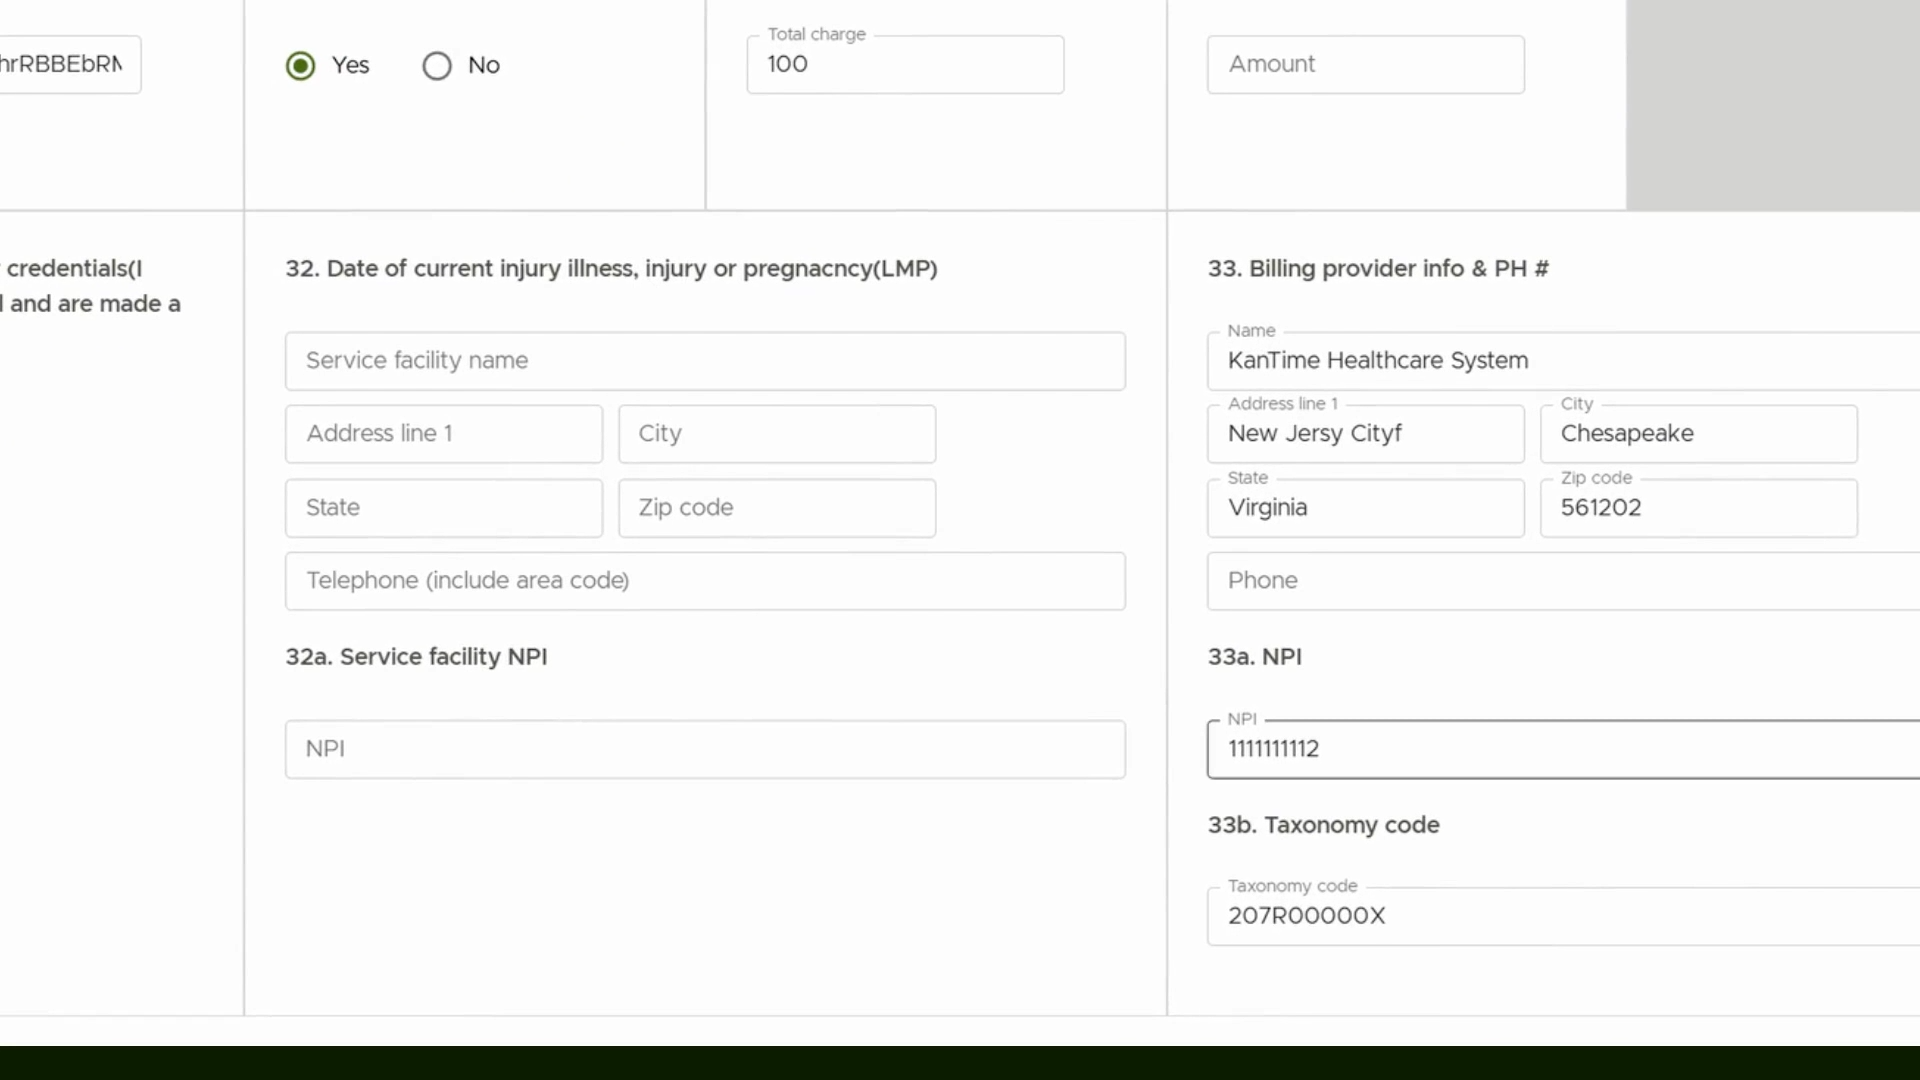
Step 12: Select Assignment and Add NPI
Choose whether to accept assignment and make sure the correct NPI is entered.
Step 13: Create the Claim
Finish and create the claim form. or save it without validation to complete it later.
Step 14: Verify Claim in Claims Tab
After creating the claim, you’ll see it listed in the claims tab.
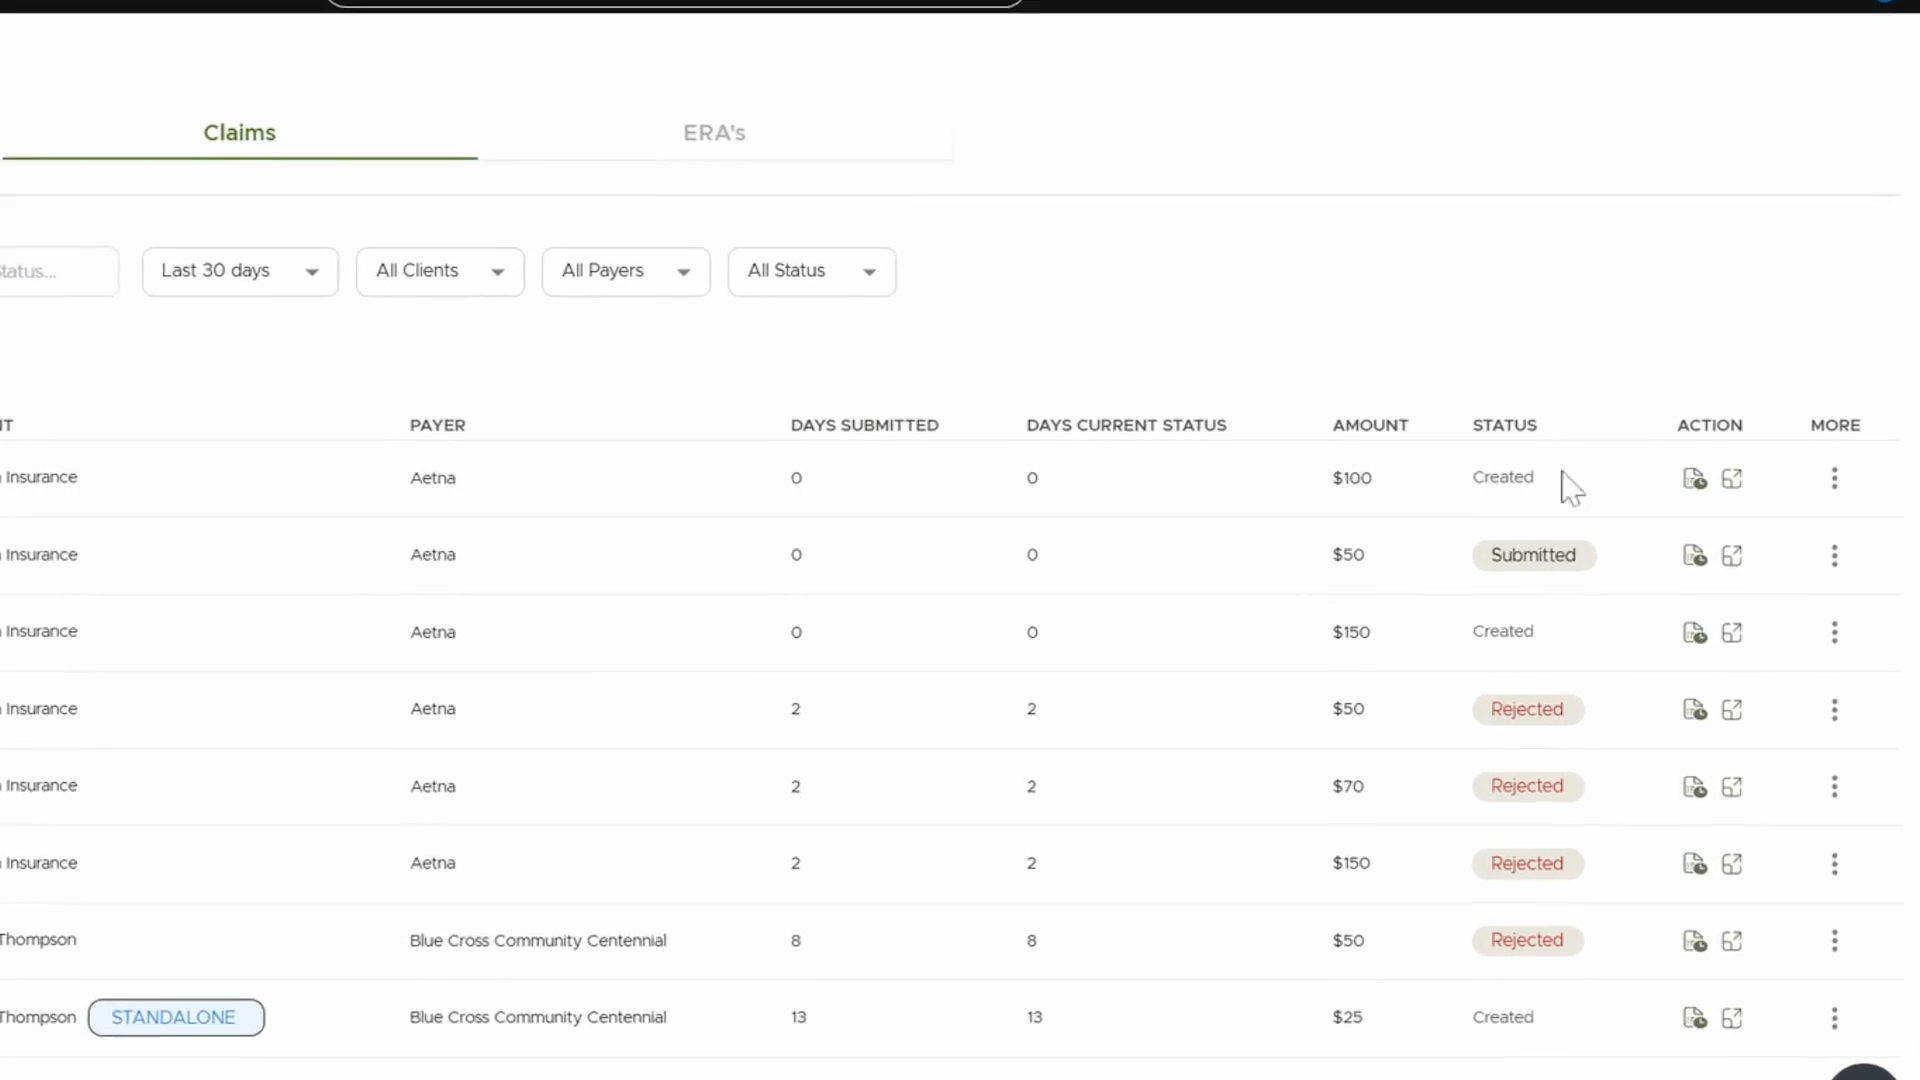
Step 15: Mark as Ready or Delete Created Claims
Mark the claim as ready, delete, or submit as appropriate. Ensure all details are correct before submitting.
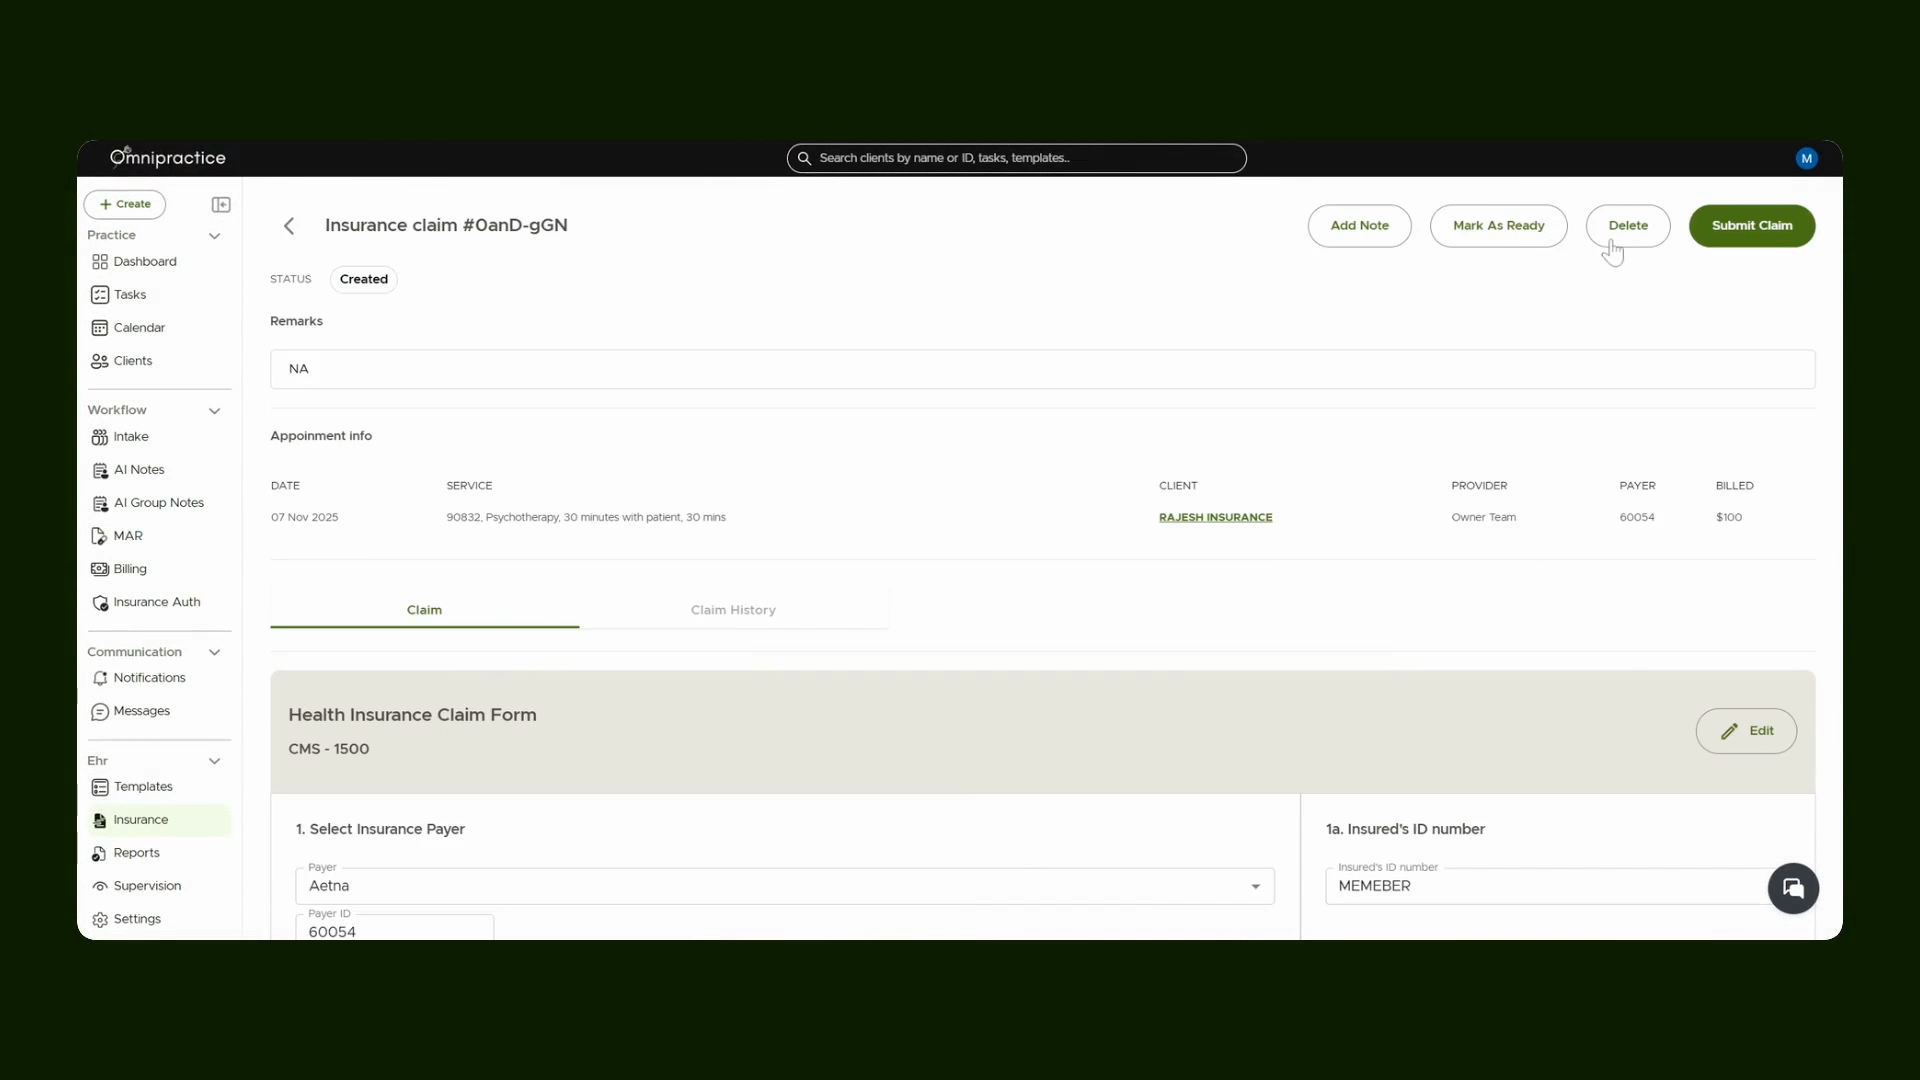
Step 16: Submitting the Primary Claim
Once the claim is ready to be submitted, you can submit the claim and status will update automatically.
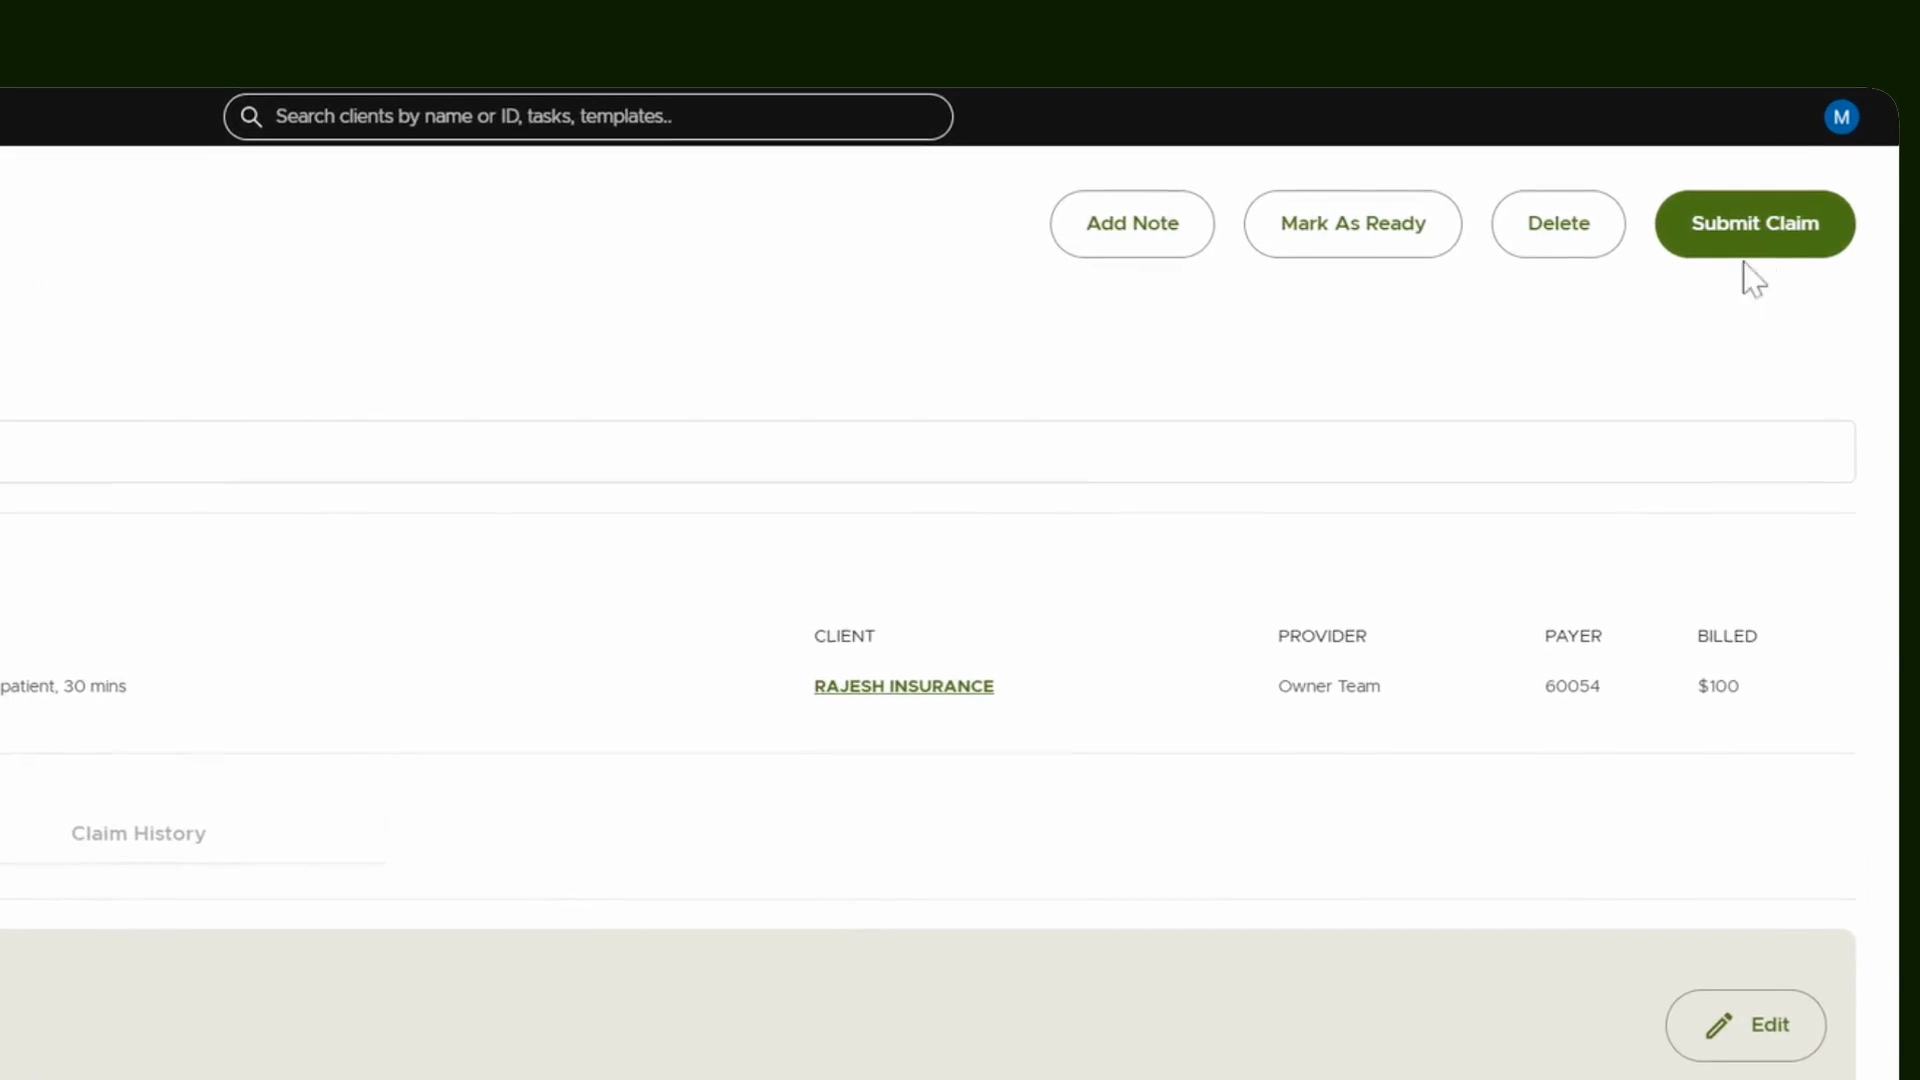
You can also see the status of claims in sessions tab.
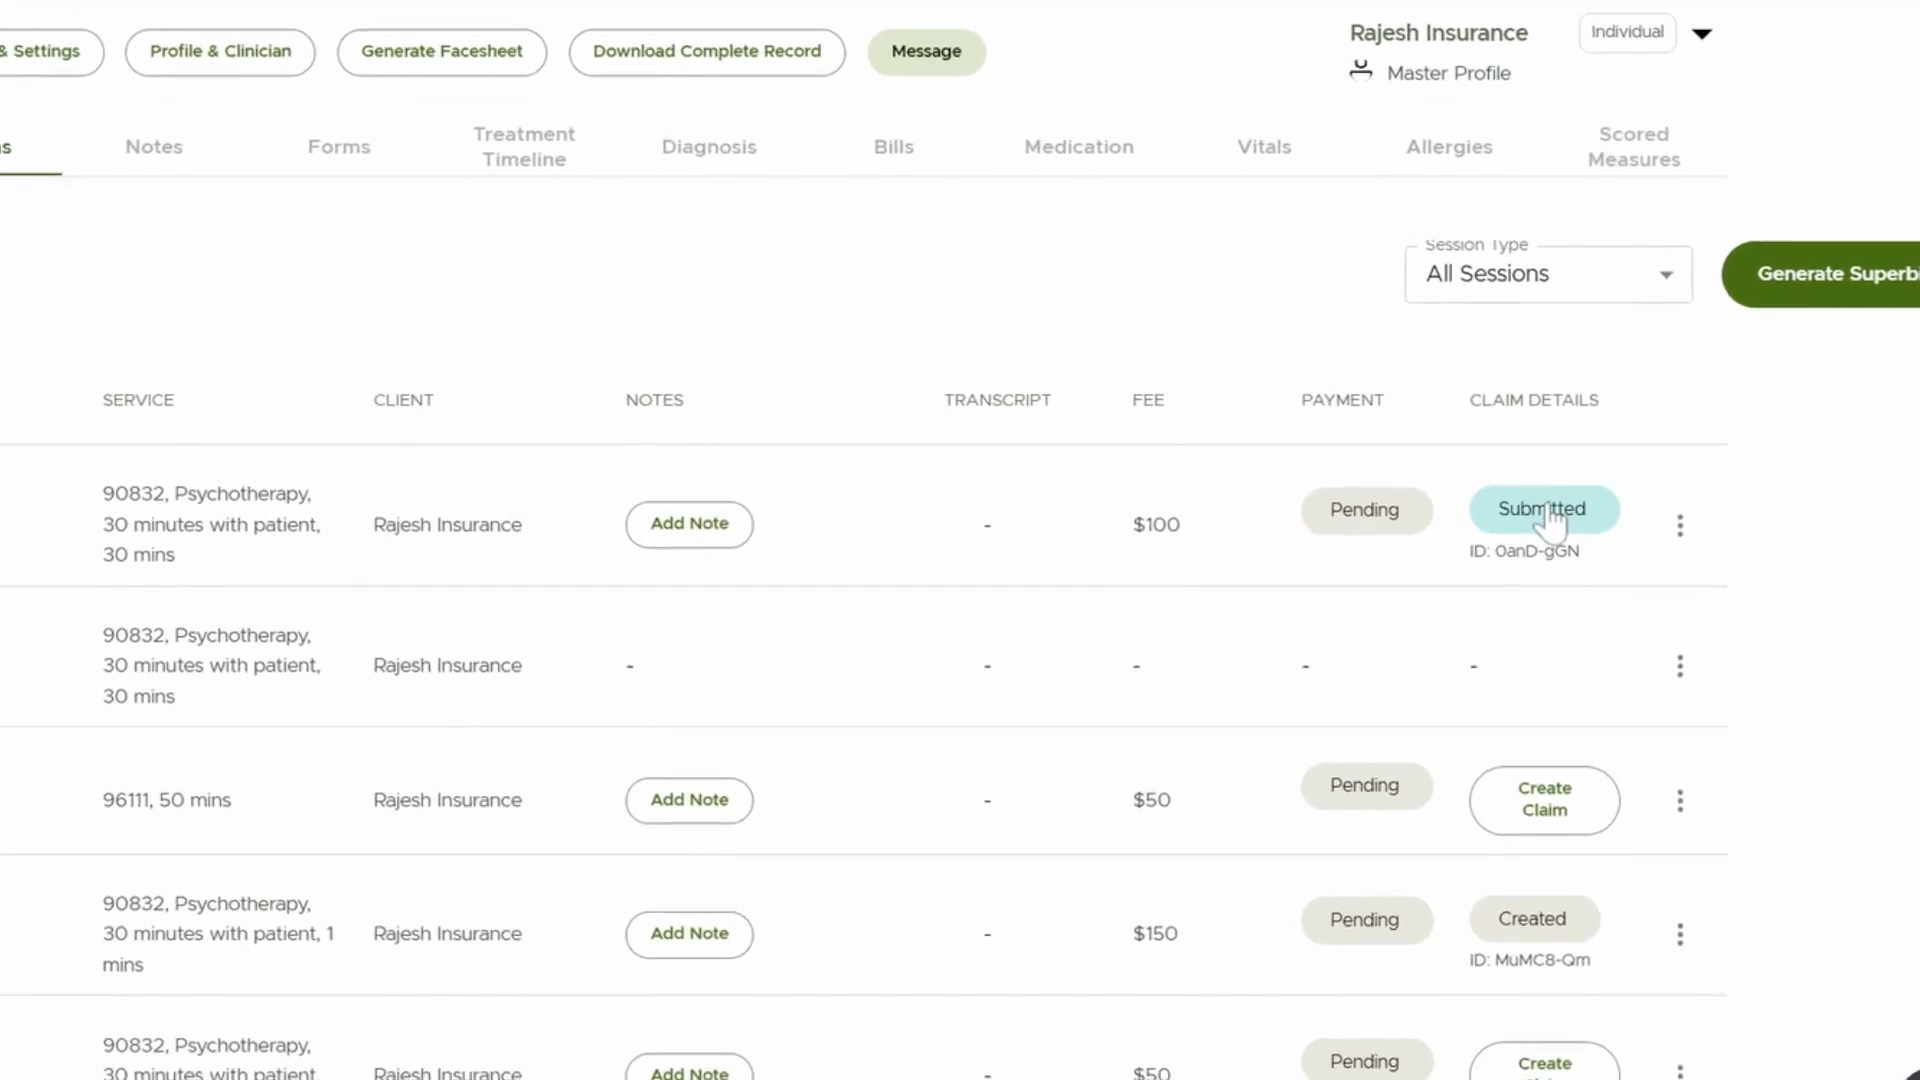
And that’s how to create and submit a primary insurance claim for an appointment.