How to create and access saved superbills
Learn how to create a new Super Bill and access saved Super Bills with these step-by-step instructions. By following this guide, you'll manage Super Bills easily, whether generating a new one or searching for previous records.
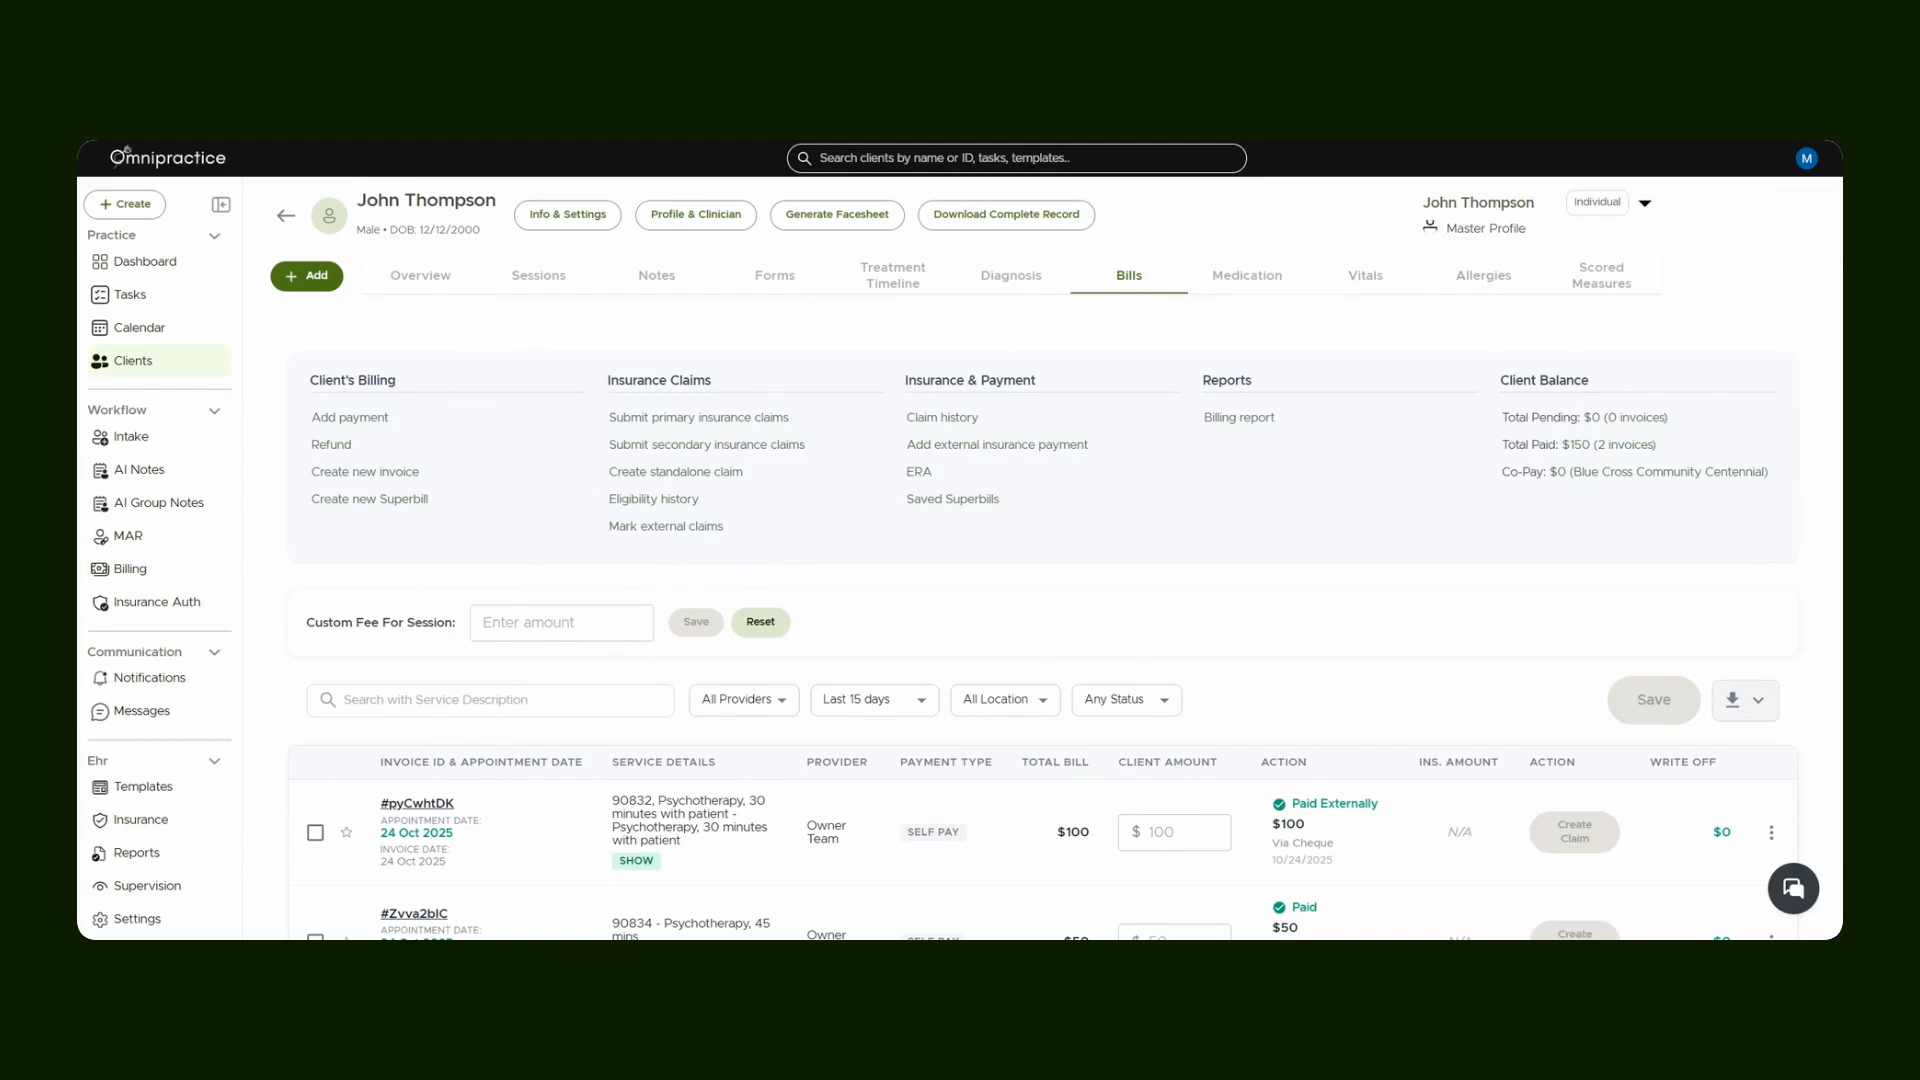
Step 1: Open the Client File and Go to the Bills Tab
Start by opening the client file. Click the Bills tab at the top of the screen to manage billing information.
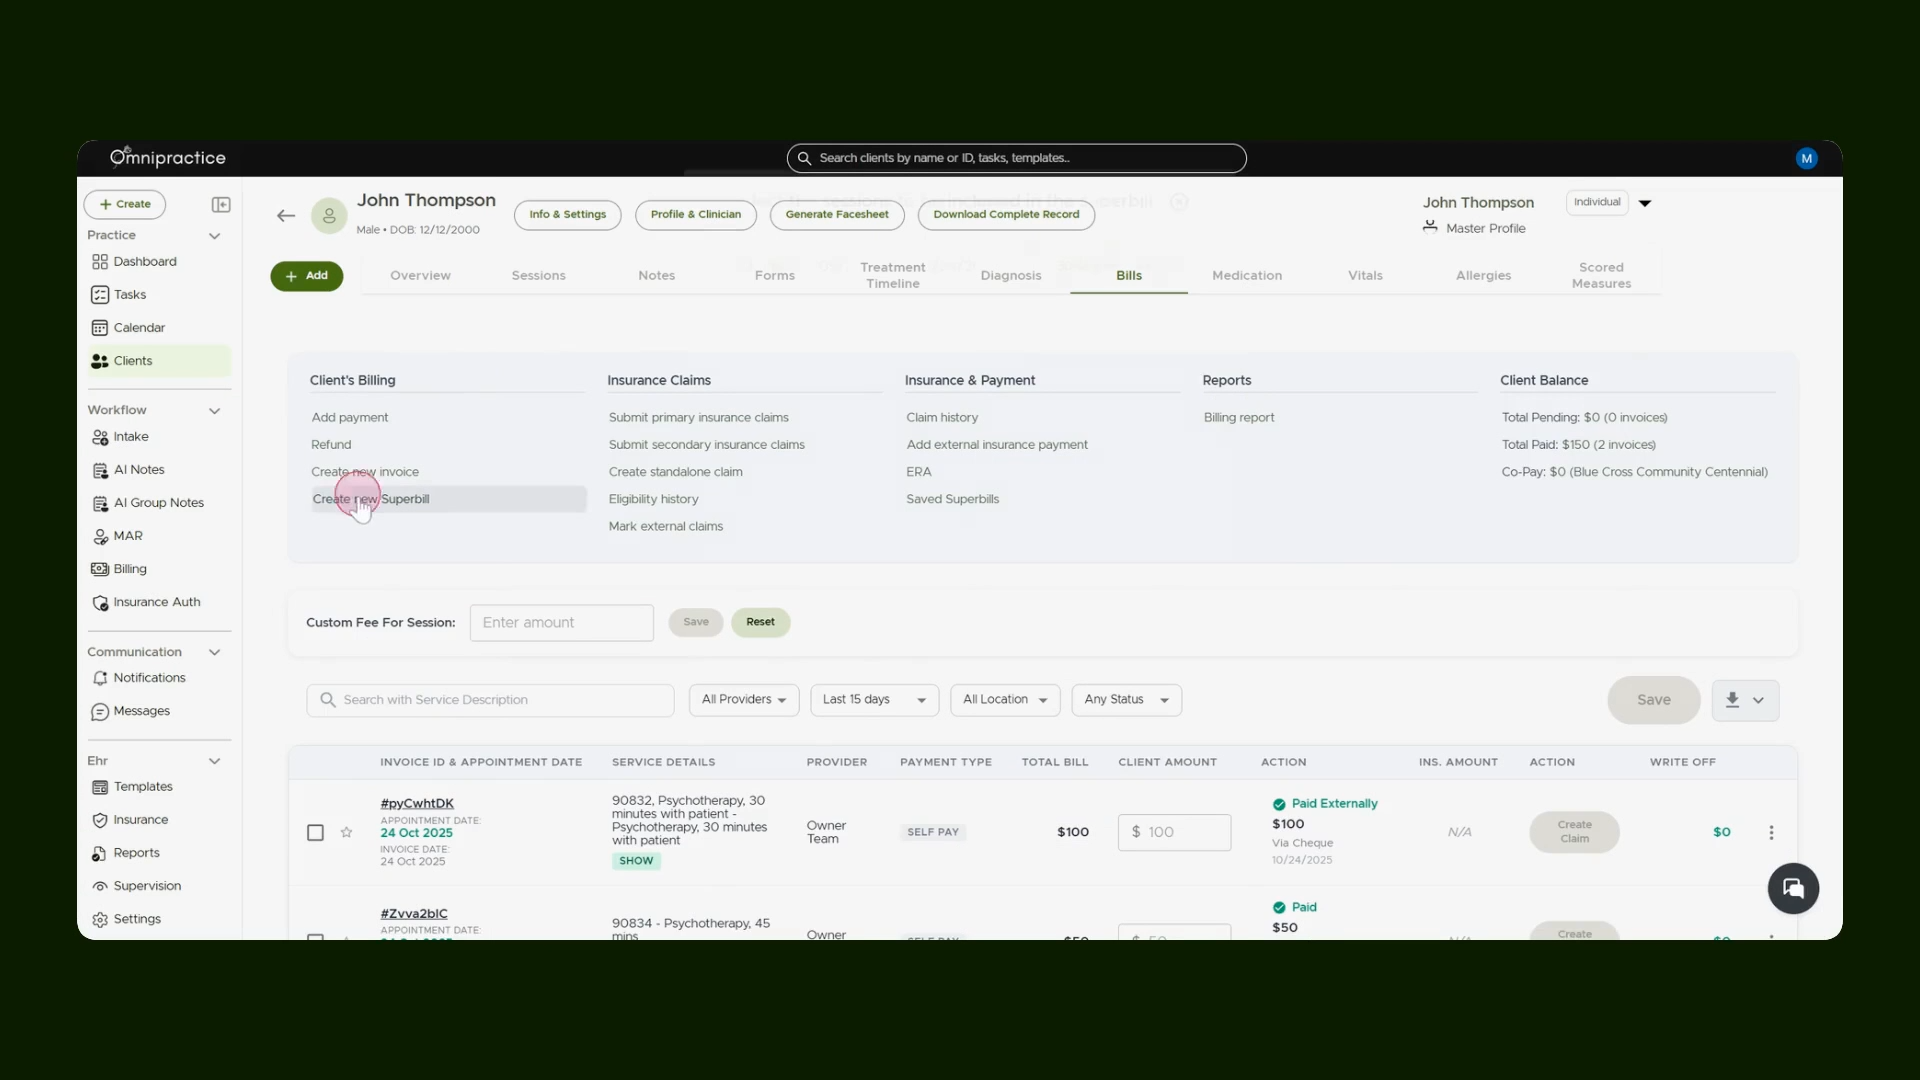
Step 2: Click Create New Super Bill
Select the Create New Super Bill button to begin generating a new superbill.
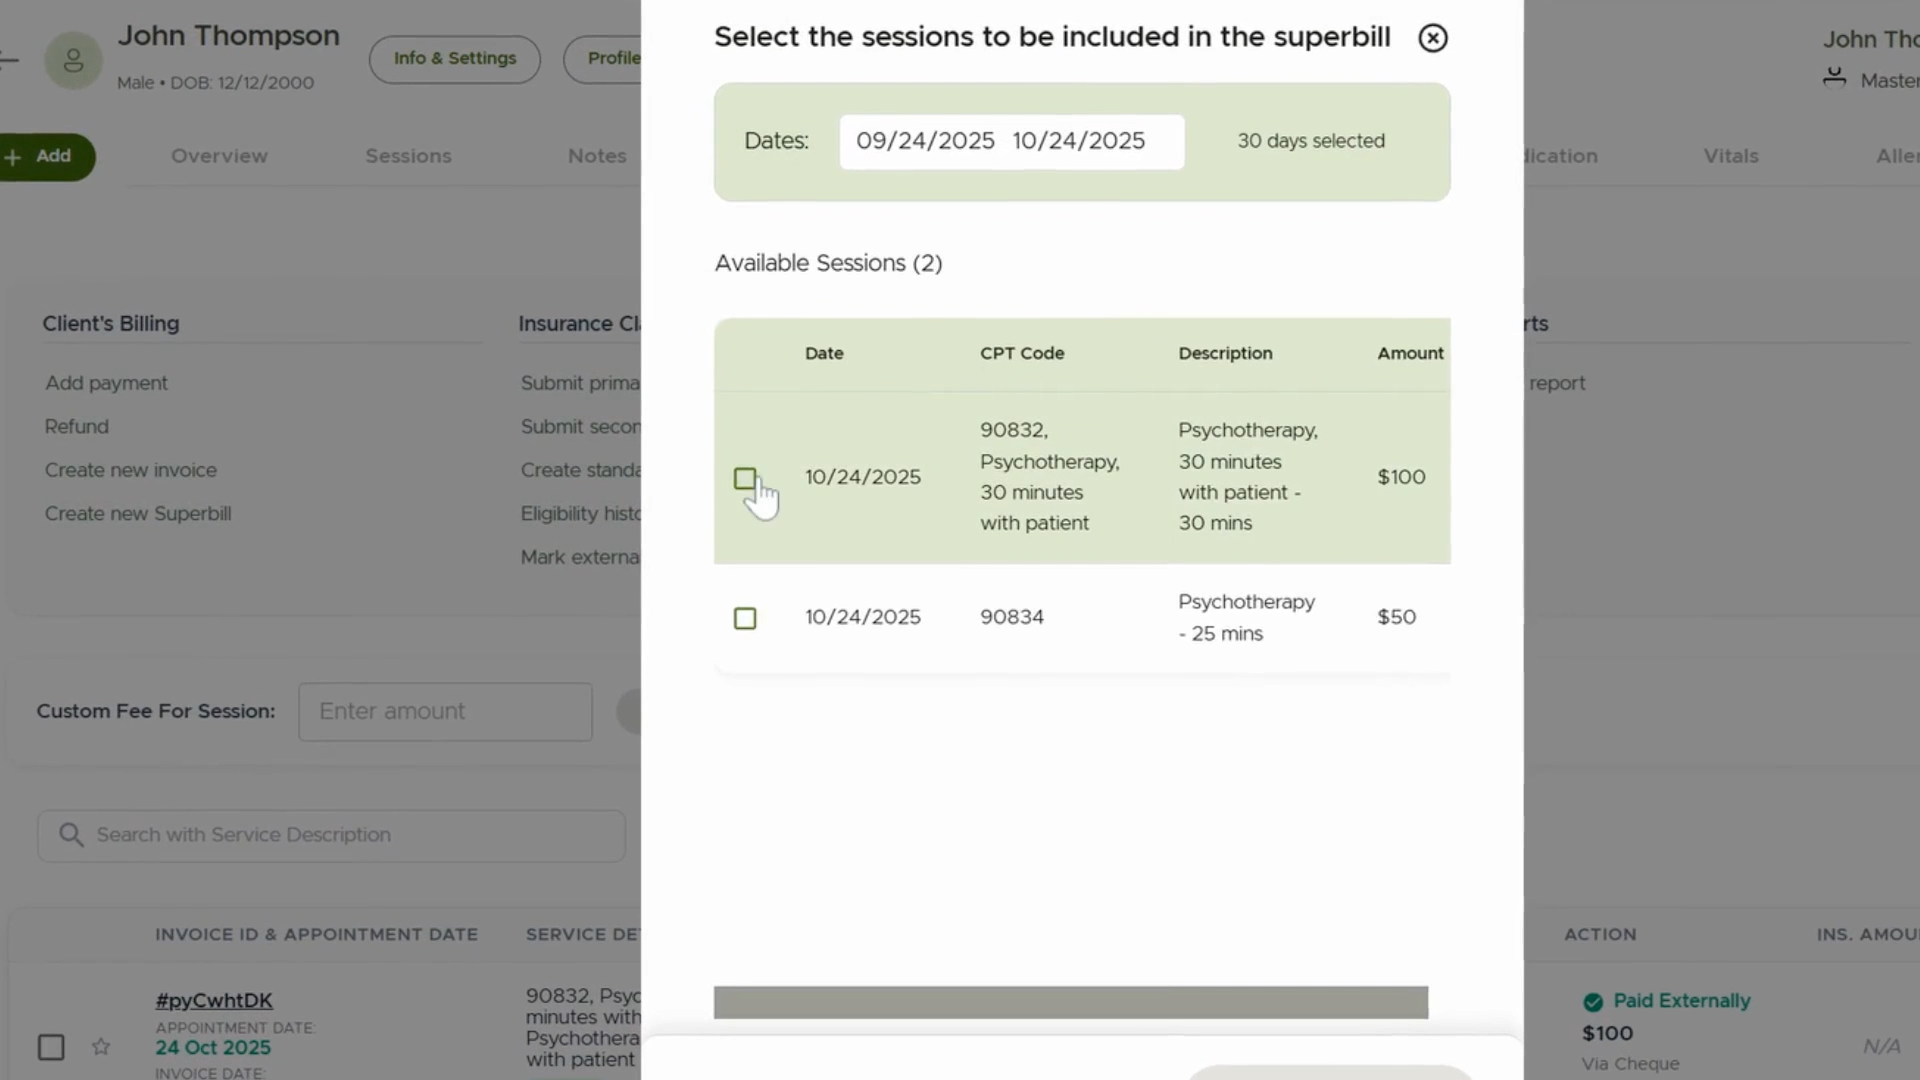
Step 3: Select the Appointments
Choose the appointments that should appear on the Super Bill. This links the relevant session details.
Step 4: Generate the Super Bill
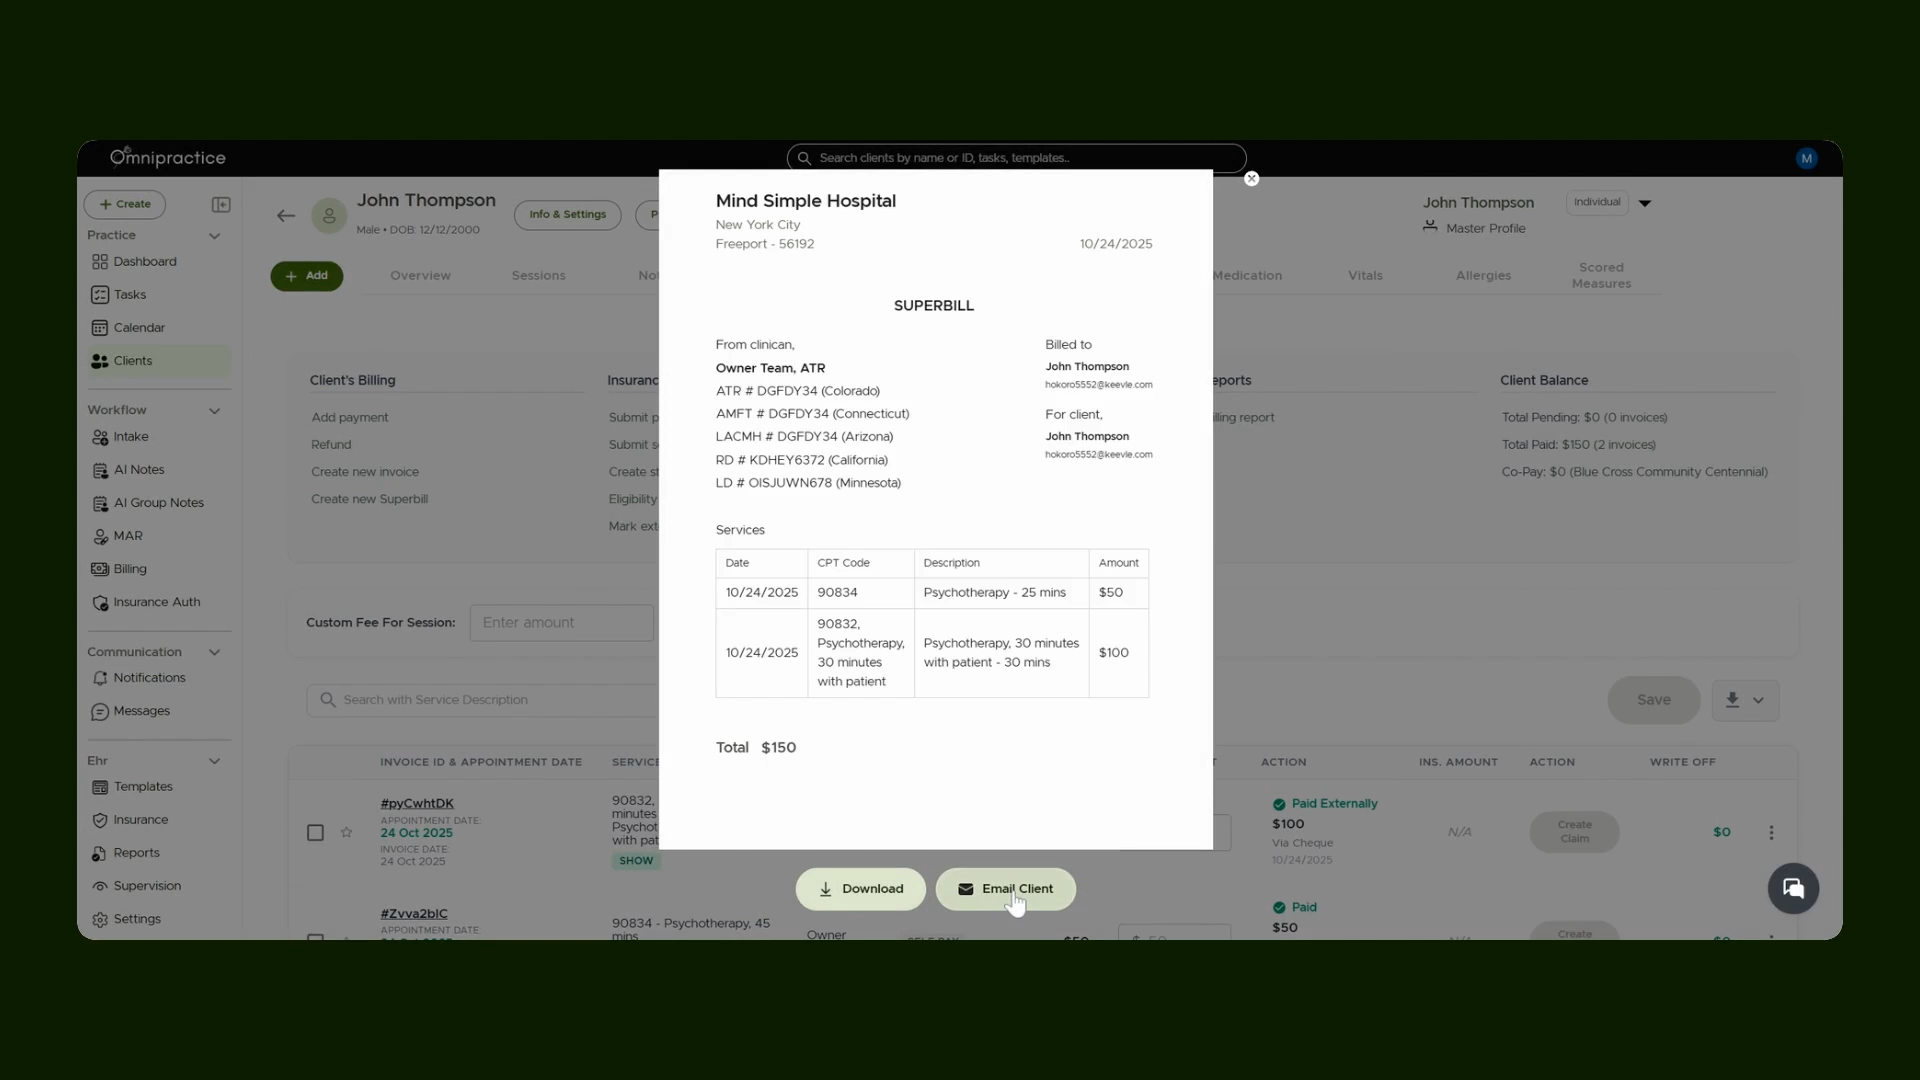
Press the Generate Super Bill button to finalize and create the Super Bill.
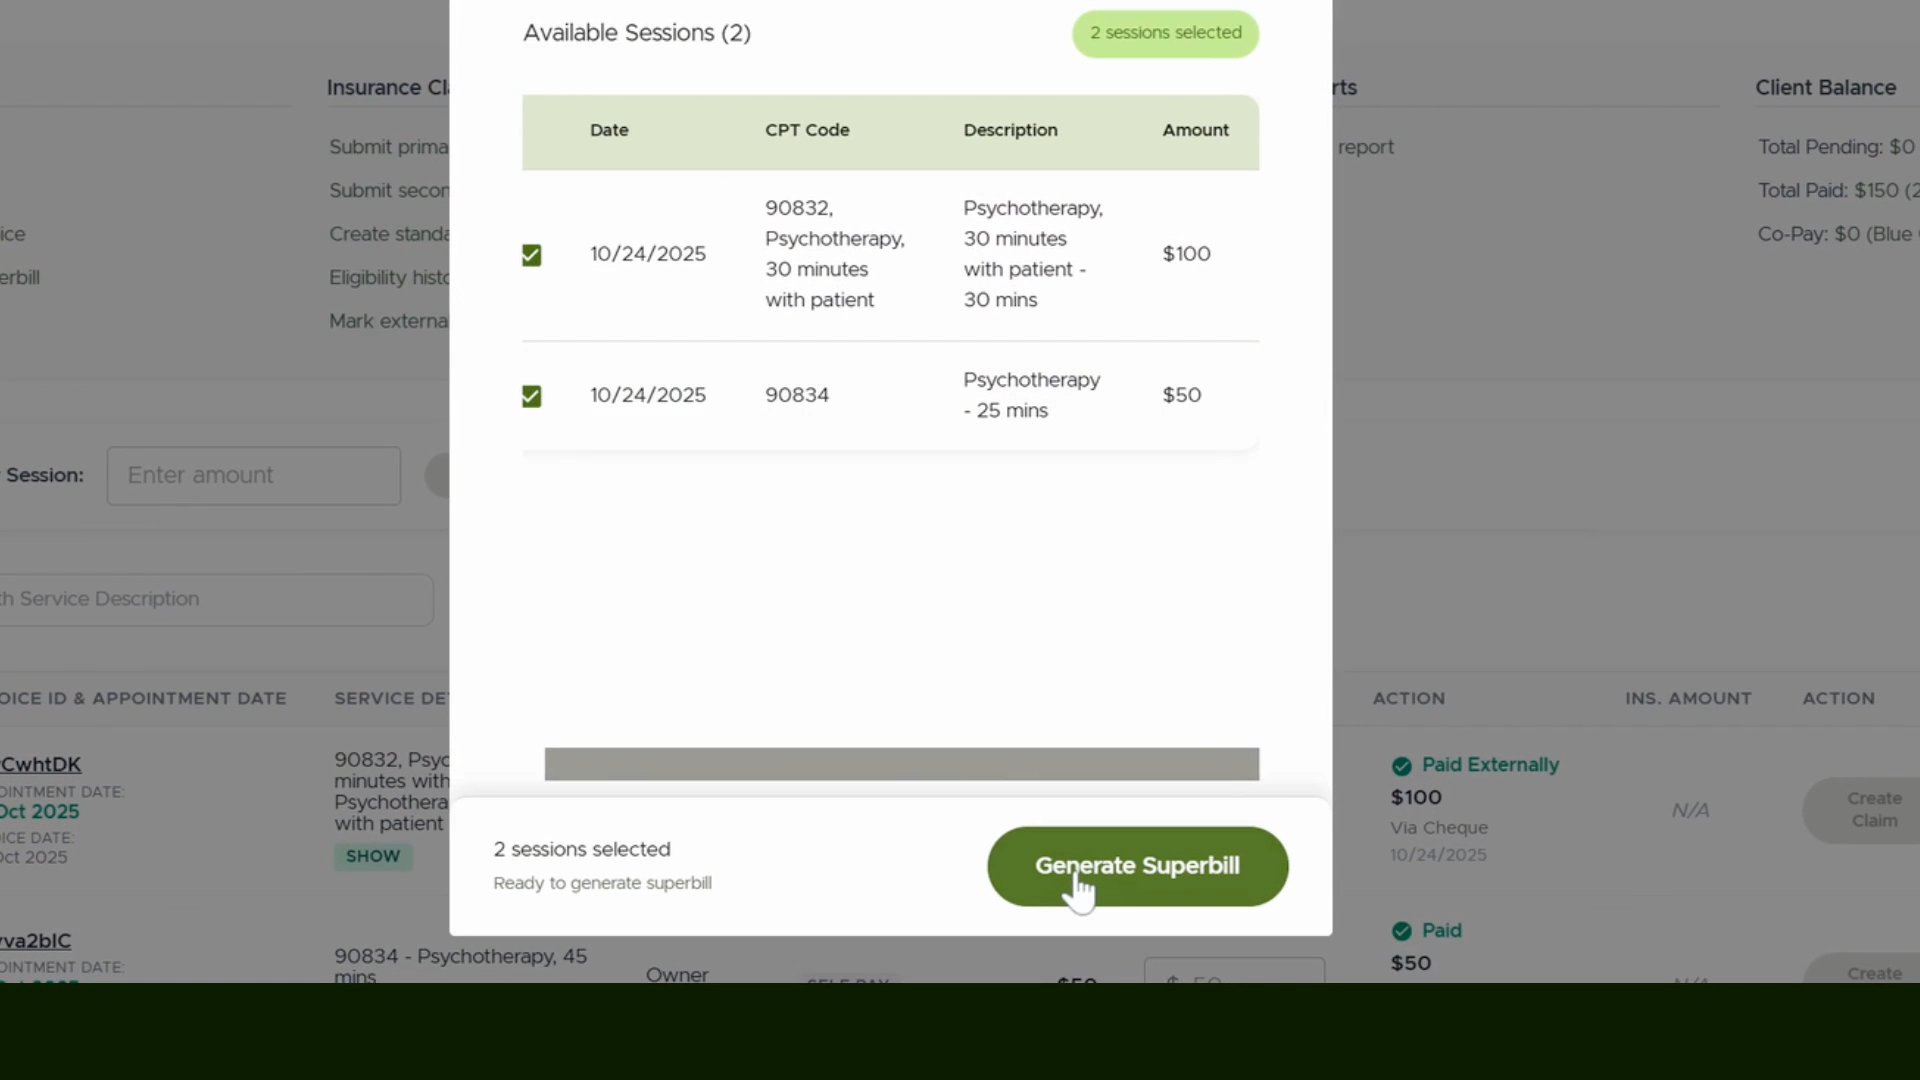
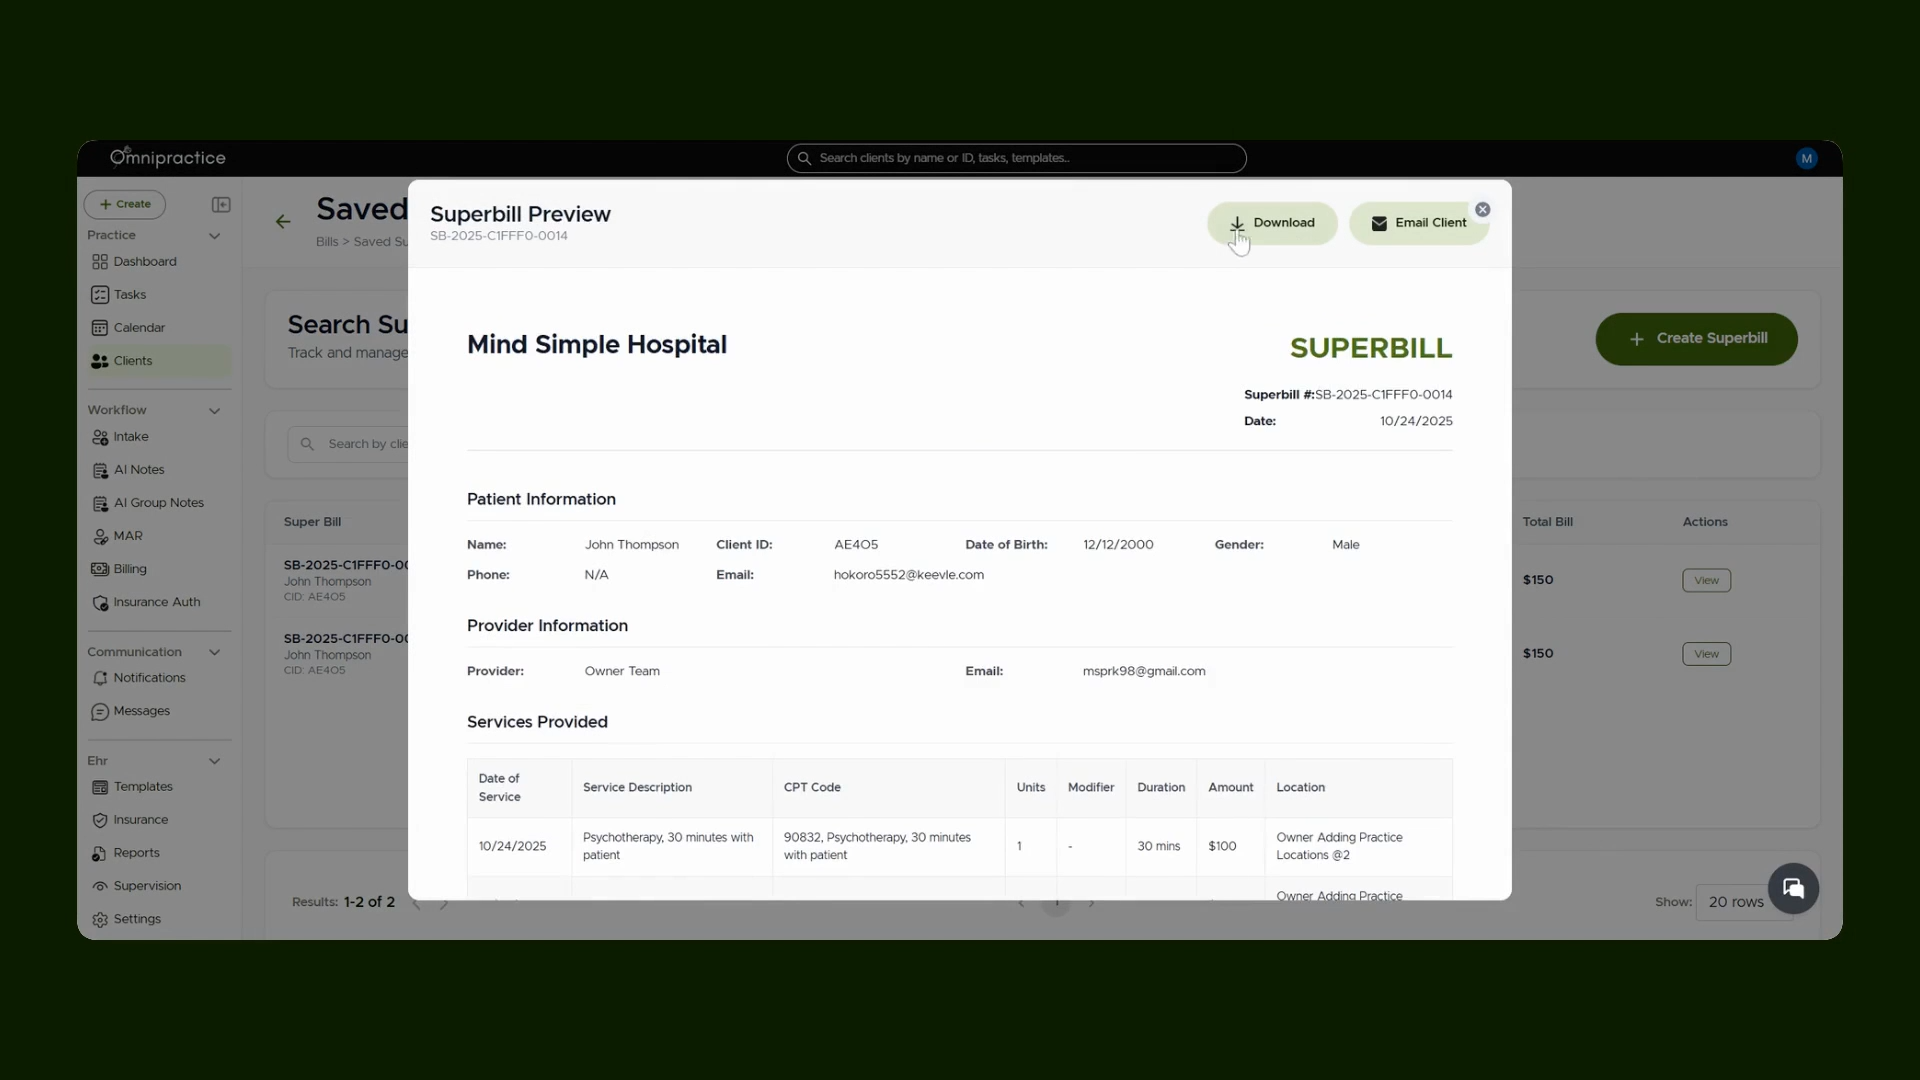
After creating the Super Bill, options appear to download the document or send it directly to the client with the Download and Email buttons.
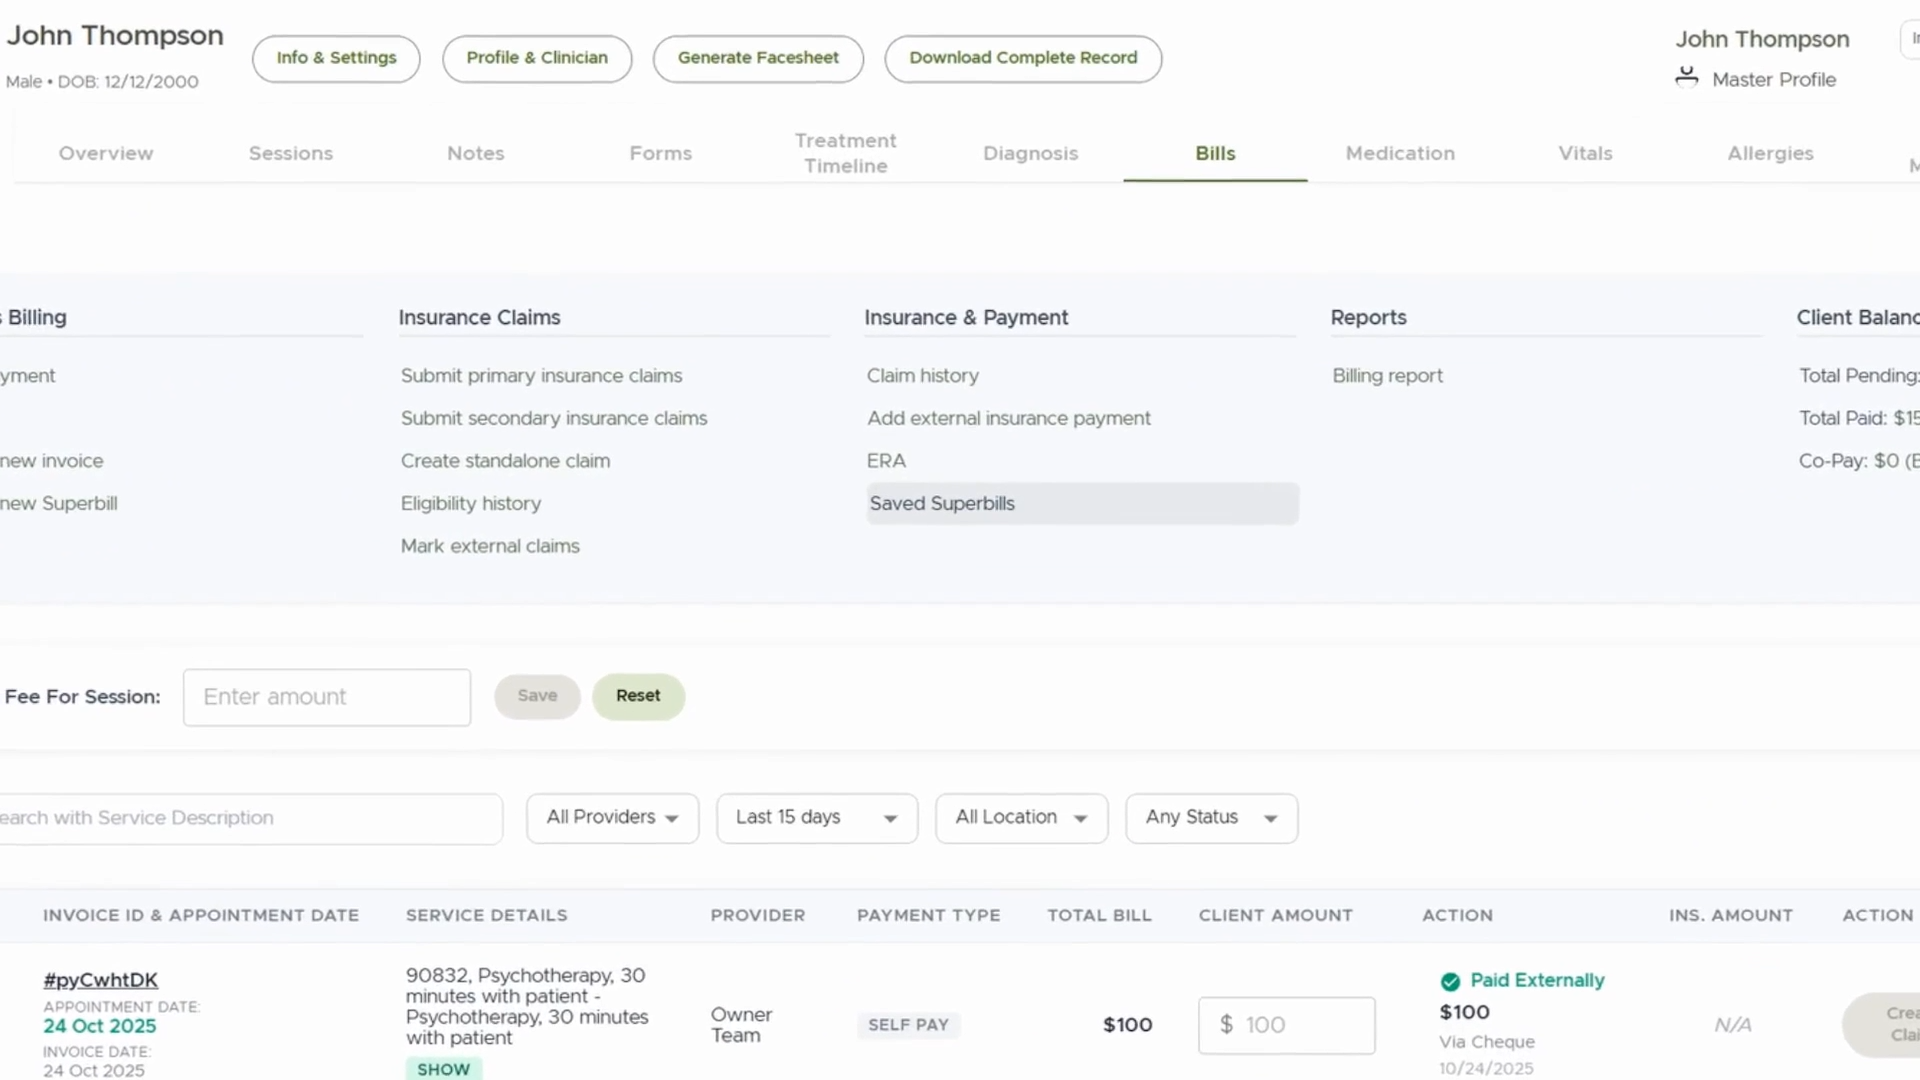
Step 5: Access Saved Super Bills
Go to the Saved Super Bills tab to review previously generated Super Bills for the client.
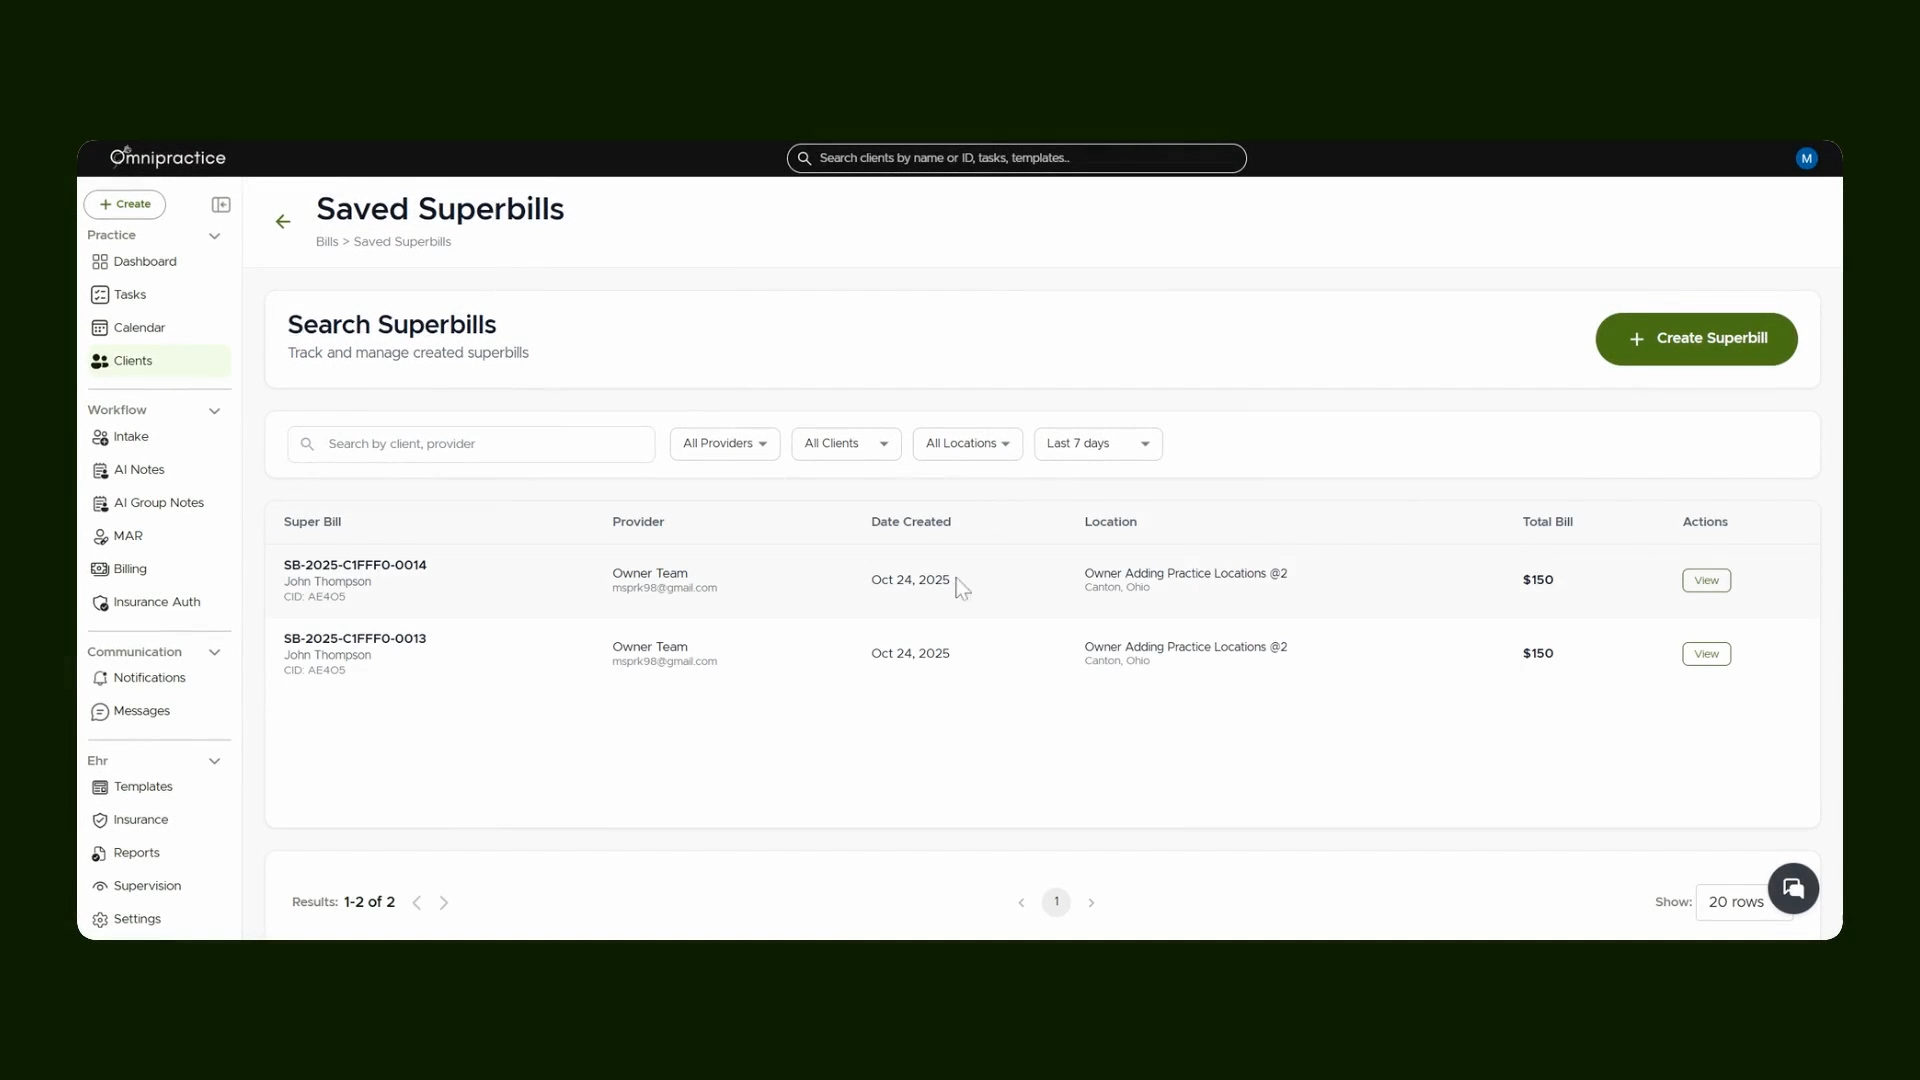
The screen displays a list of all Super Bills associated with the client.
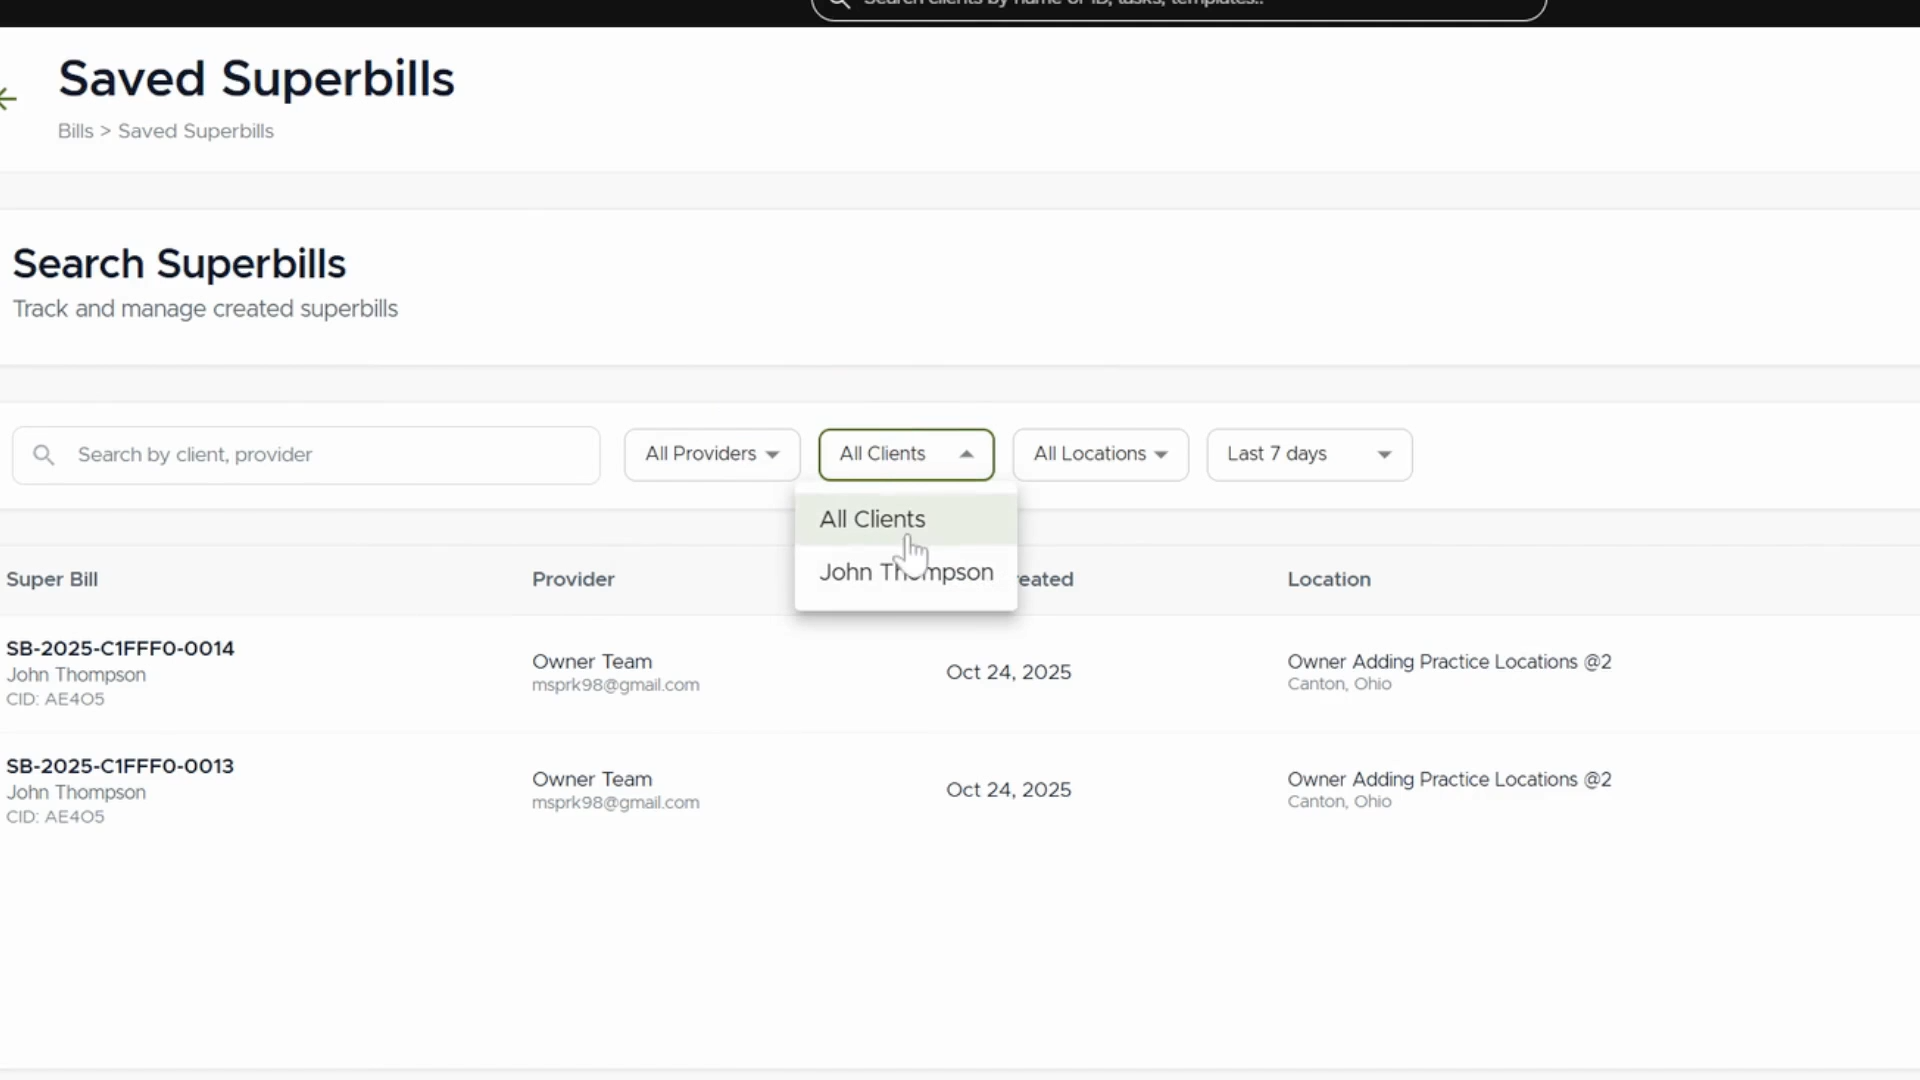
Step 6: Use Filters to Search for Super Bills
Filter Super Bills by provider, client, or date to quickly find the record you need.
Step 7: View, Download, or Email a Super Bill
Select a Super Bill from the list to view its details. Use the available Download and Email options as needed.
You've now completed the process to create, search, view, and share Super Bills efficiently.