Create and Manage Leads in Omnipractice
Ready to improve your workflow? This tutorial shows exactly how to manage leads and convert them to clients in the platform, step by step.
Step 1: Navigate to the Intake Panel
Start by opening the platform dashboard. Click the Intake tab in the sidebar for quick access to your full list of potential clients.
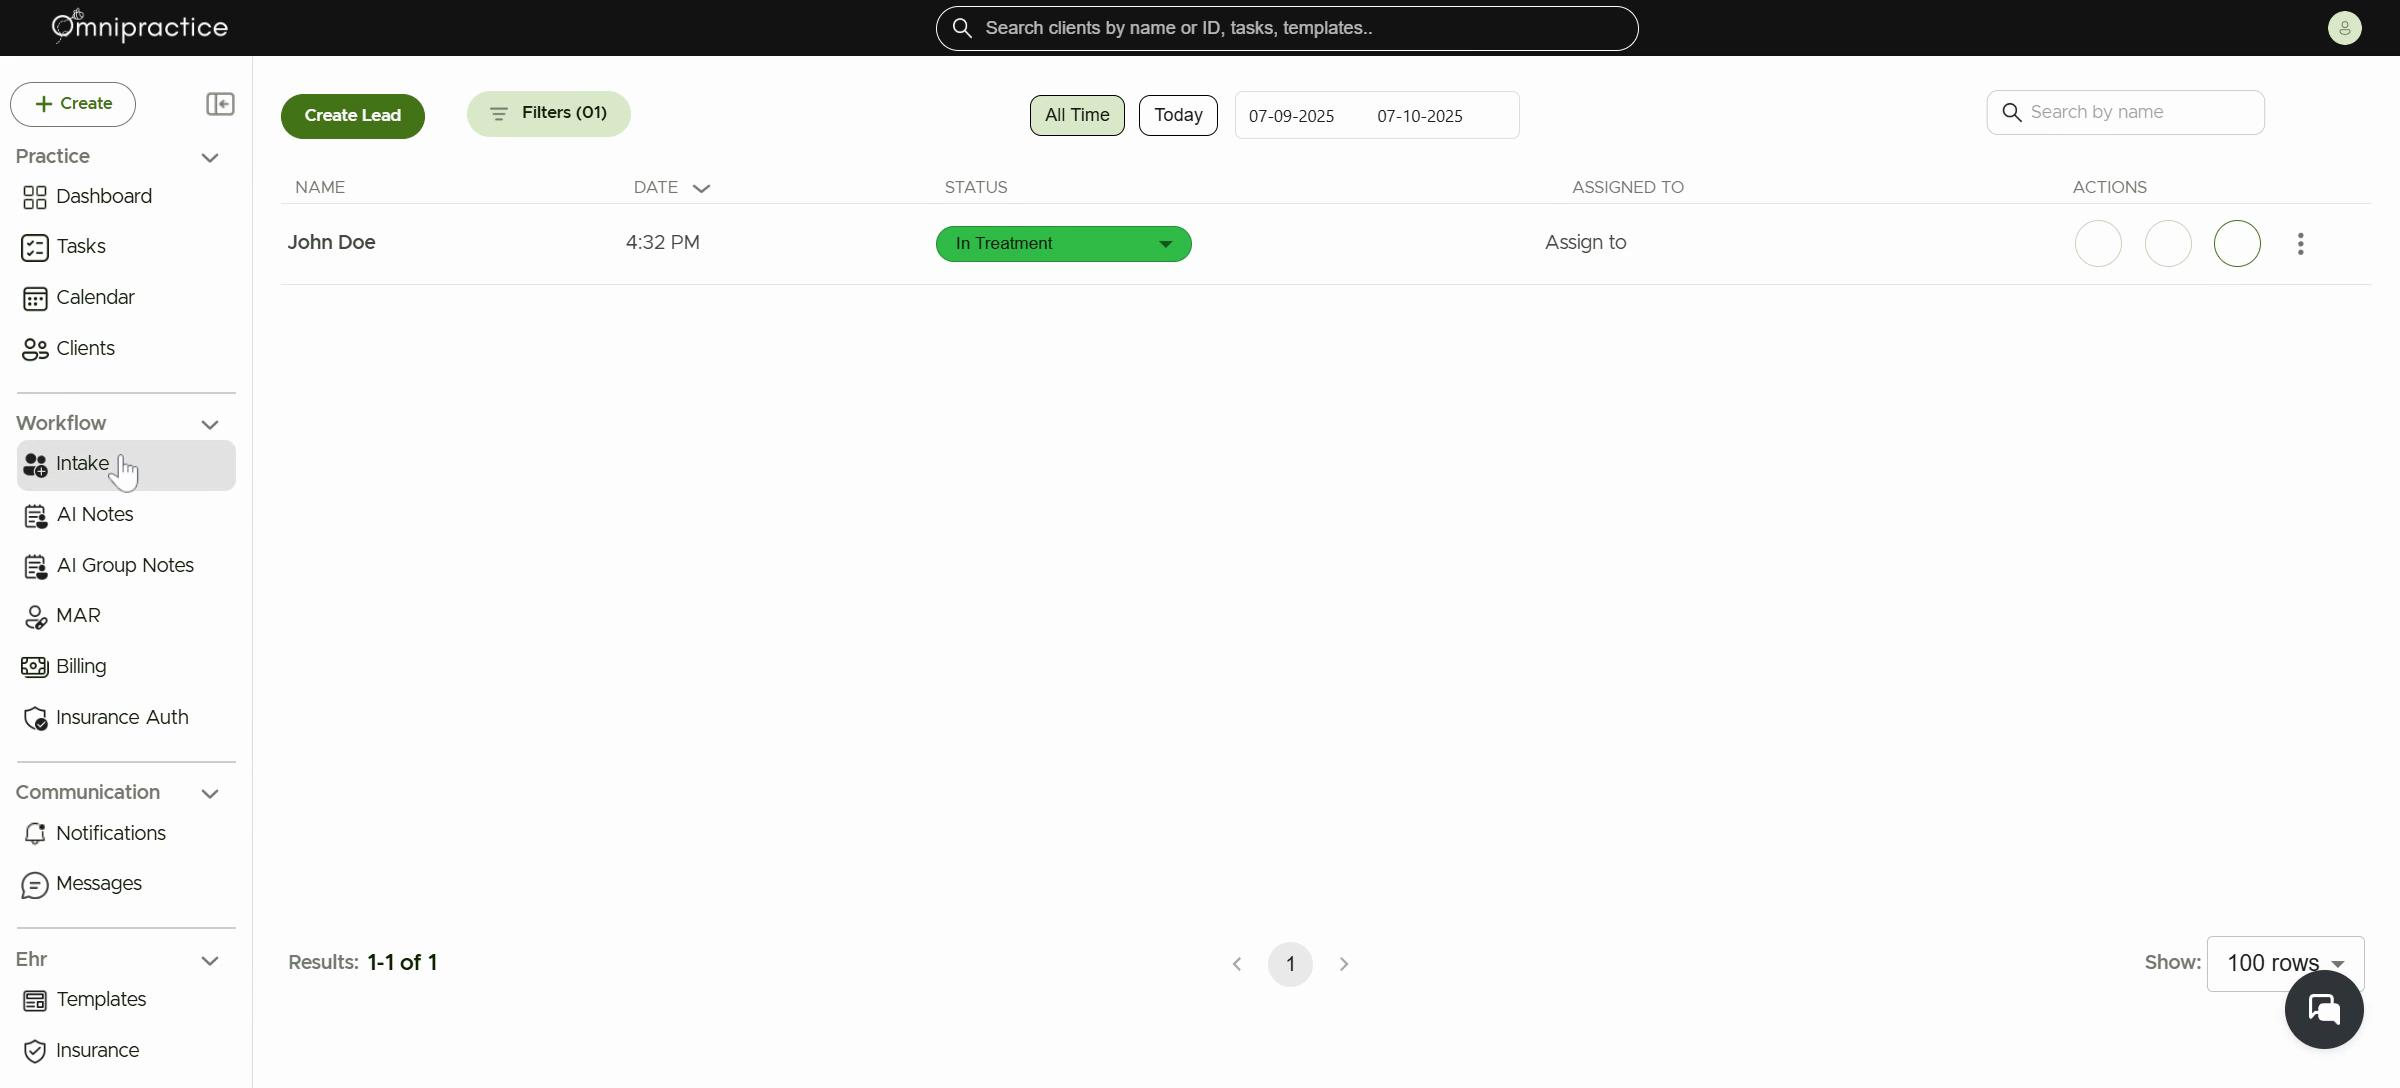
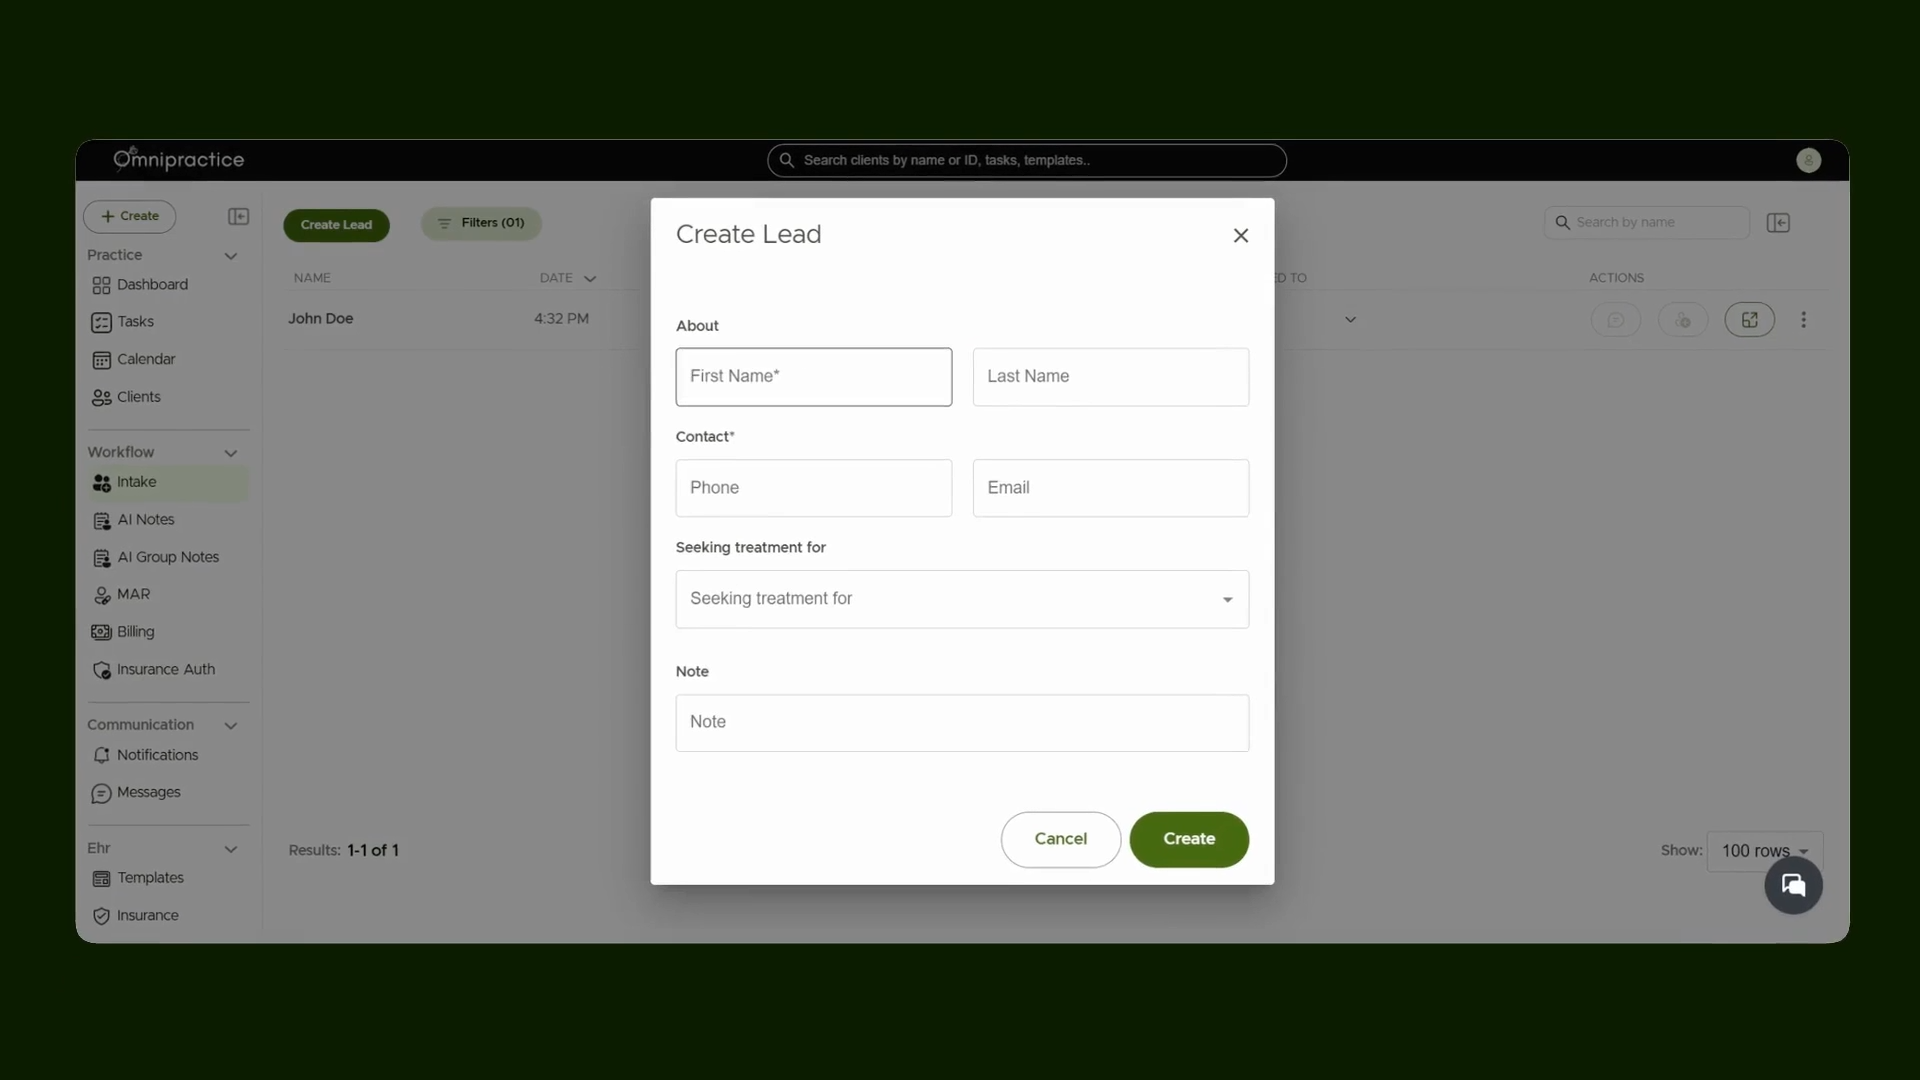
Step 2: Add a New Lead
Click the Create Lead button to bring up the lead entry form. Fill out the required fields and submit. The updated leads list, now including your new entry, appears next. From here, use the dropdown to assign a status if needed.
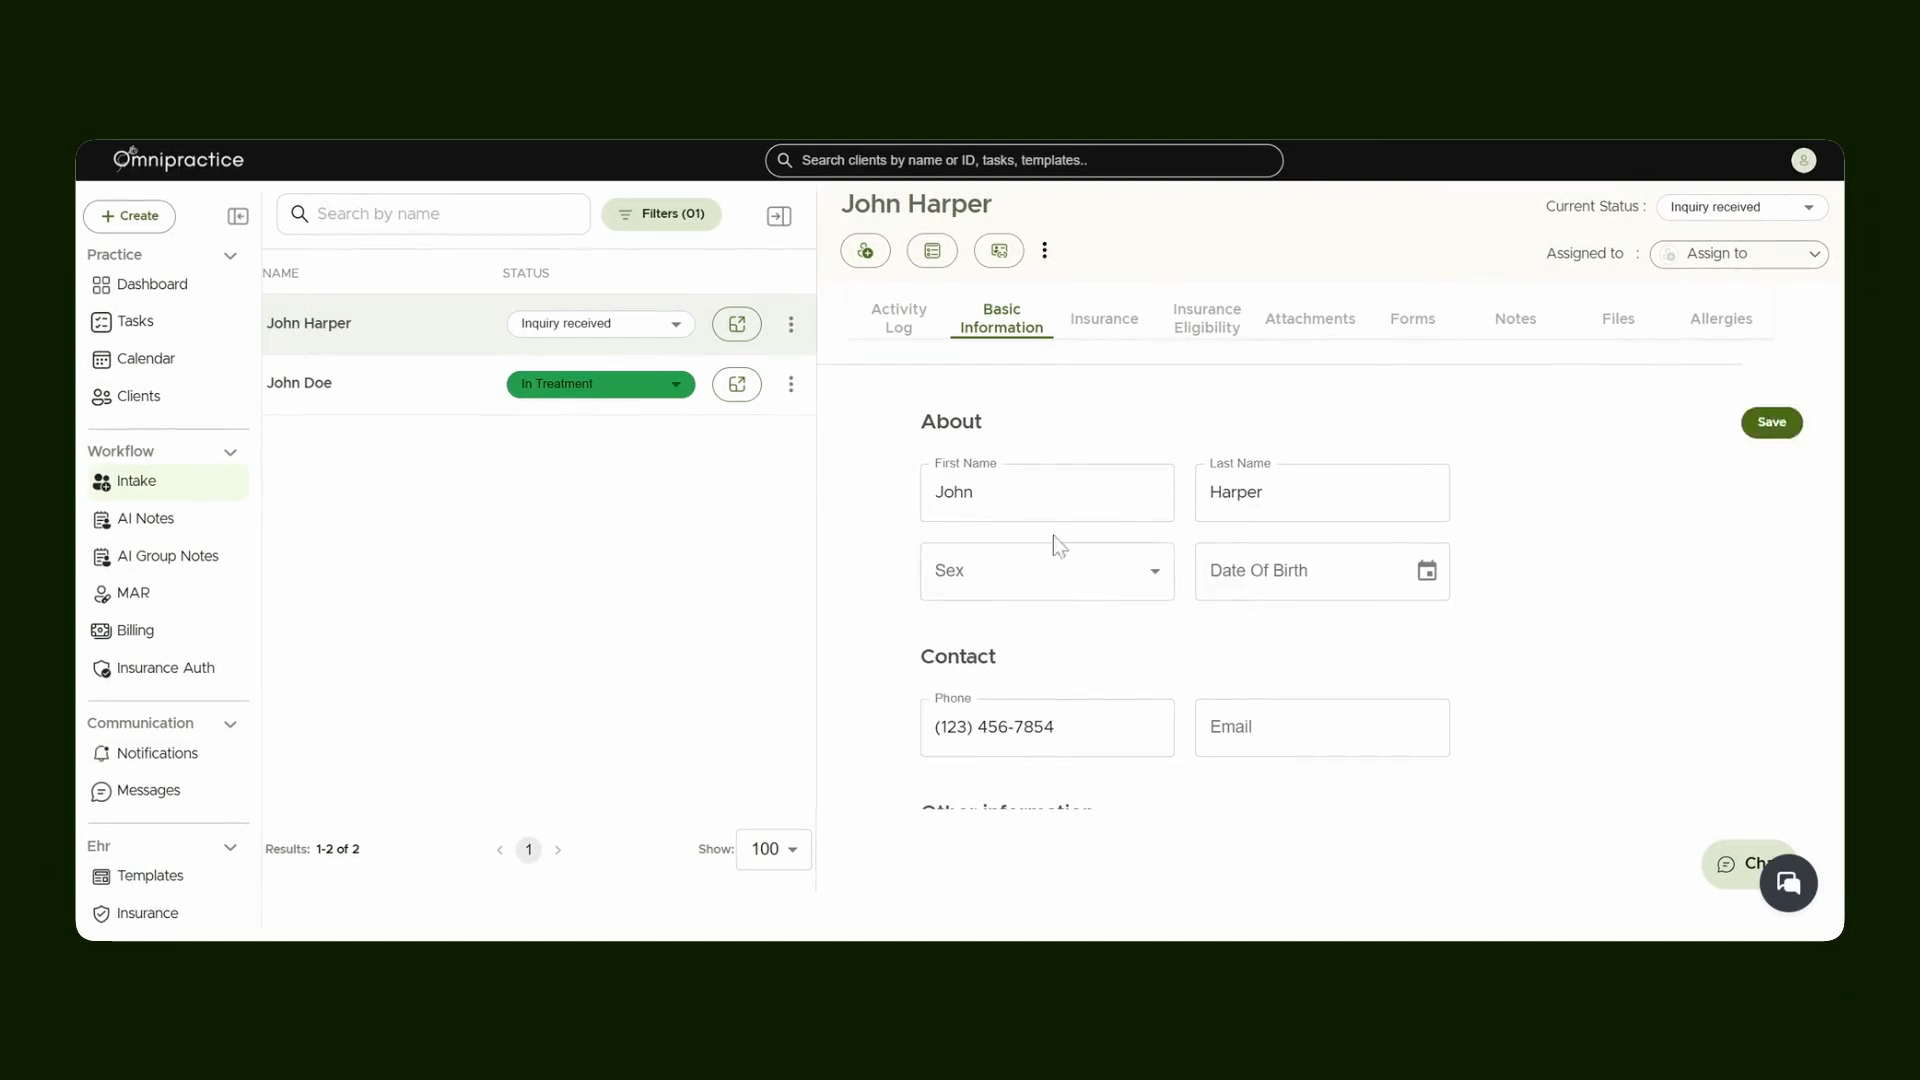
Step 3: View Lead Details
Select a specific lead from the list. The platform displays that lead’s full profile with all details in one spot.
Step 4: Add Notes to a Lead
To record extra information, click the Add Note button and choose your note options.
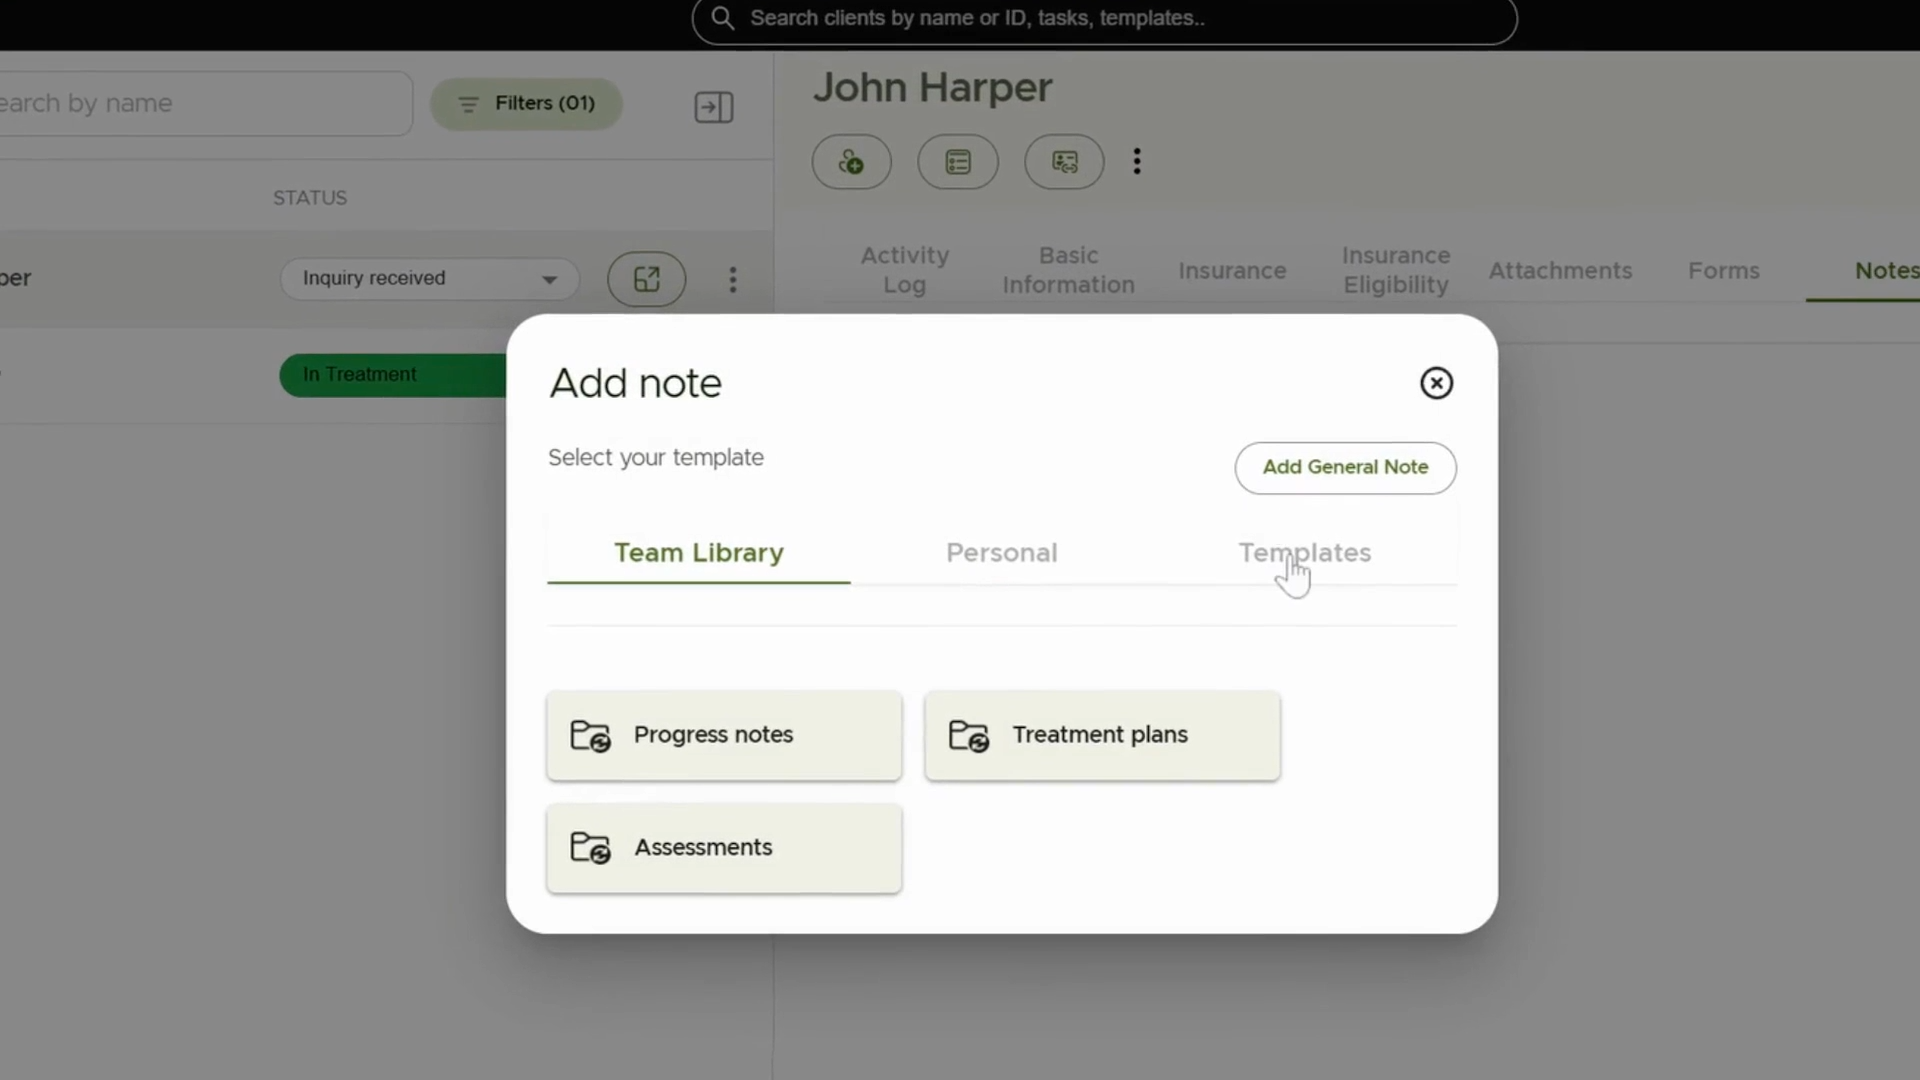
Step 5: Use Pre-Made Note Templates
For fast, consistent note-taking, switch to the Templates tab and pick a pre-built note template.
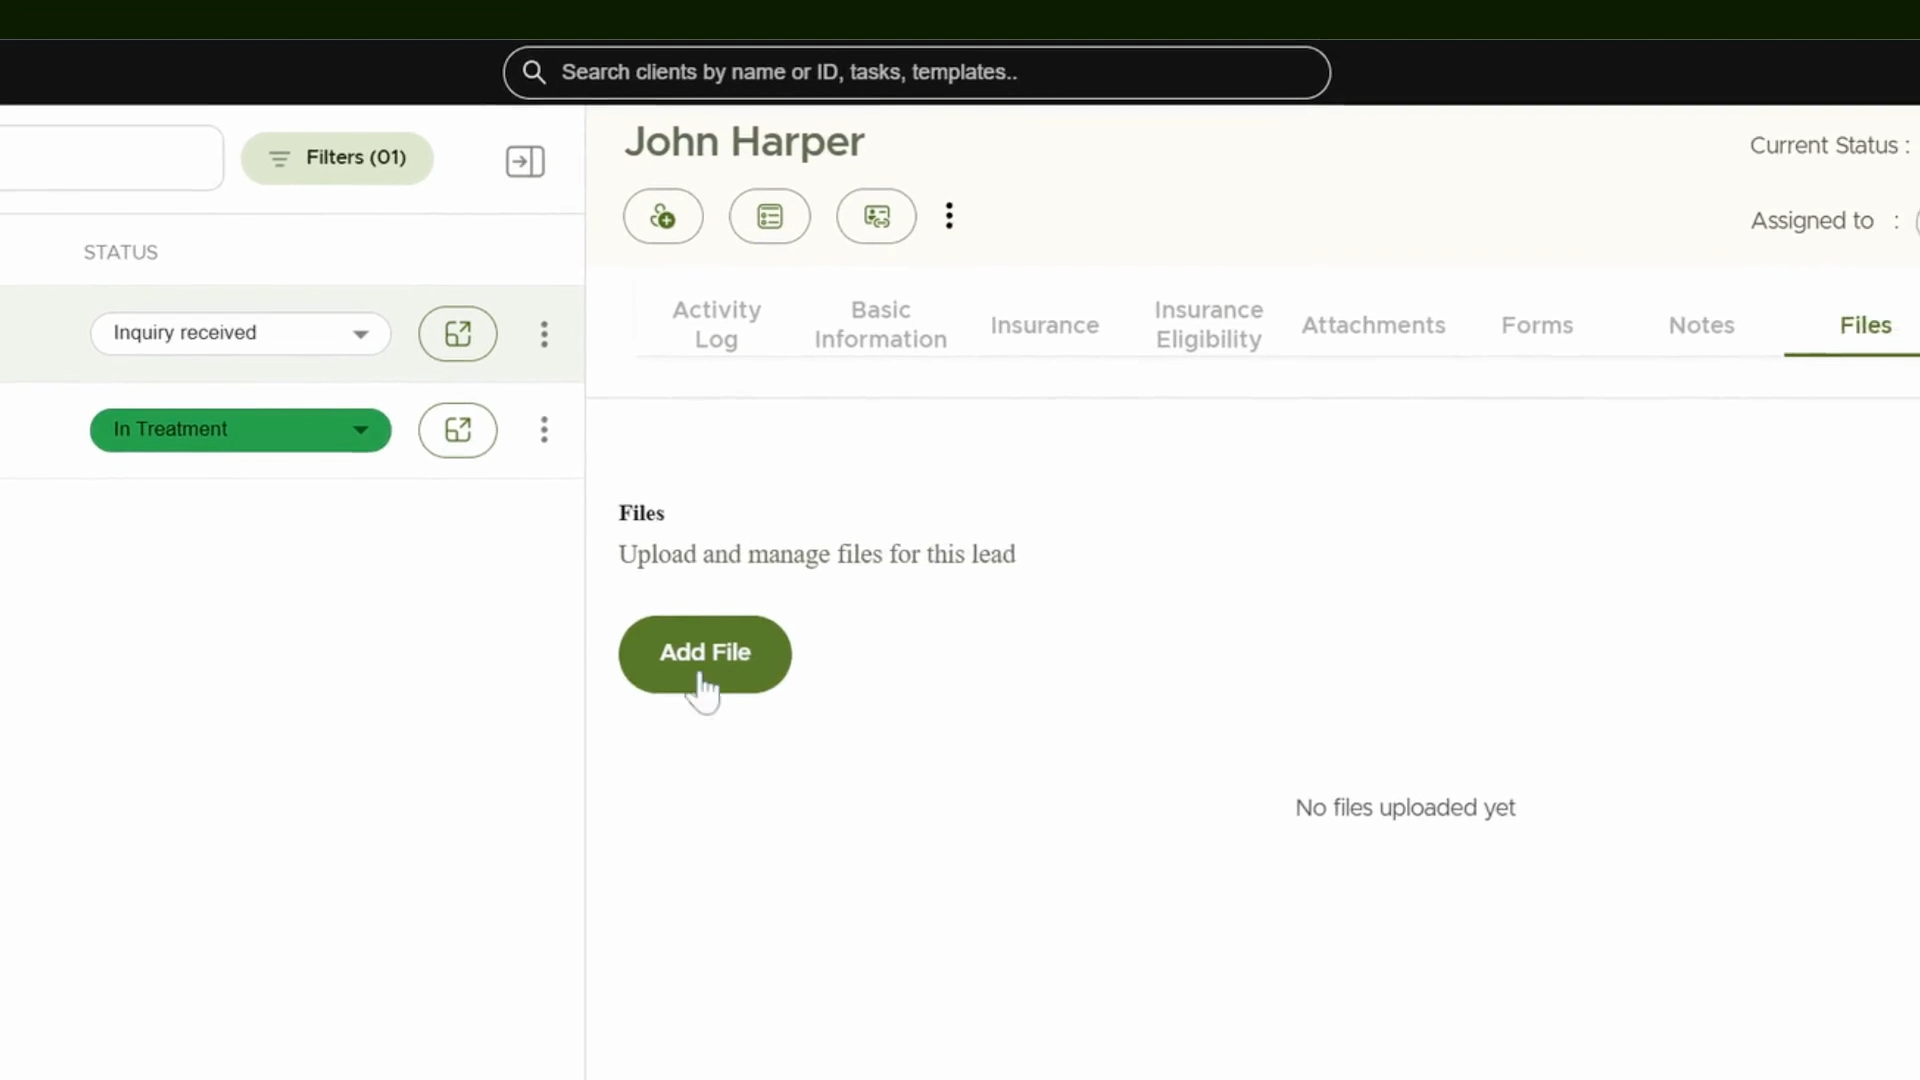
Step 6: Manage Documents
From the Files tab within the profile to handle important documents for the lead.
Step 7: Record Allergies
Click to open the Add New Allergy form and enter any necessary allergy details displayed visually.

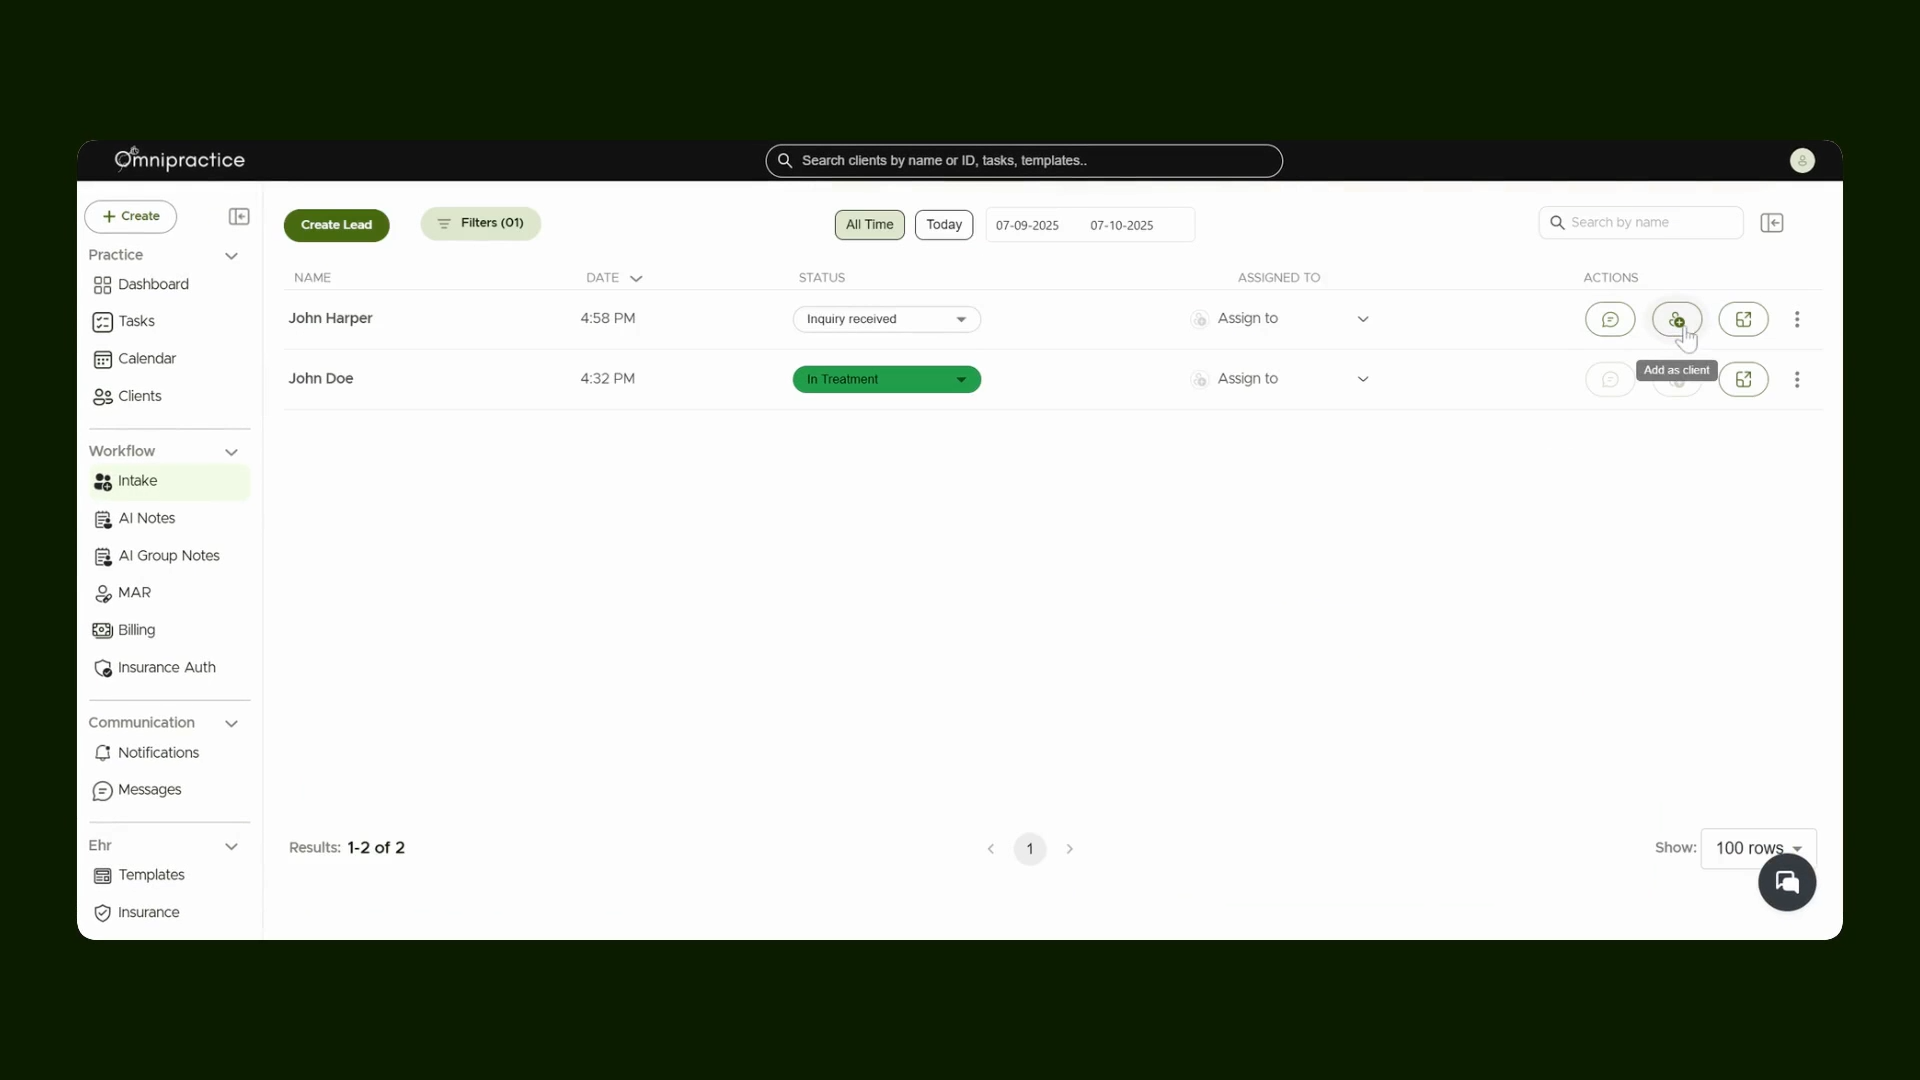
Step 8: Convert a Lead to a Client
Once ready, for client creation process. Click on the user icon to convert lead to client. The platform opens a client creation form automatically. Complete all required info to finalize the new client profile.
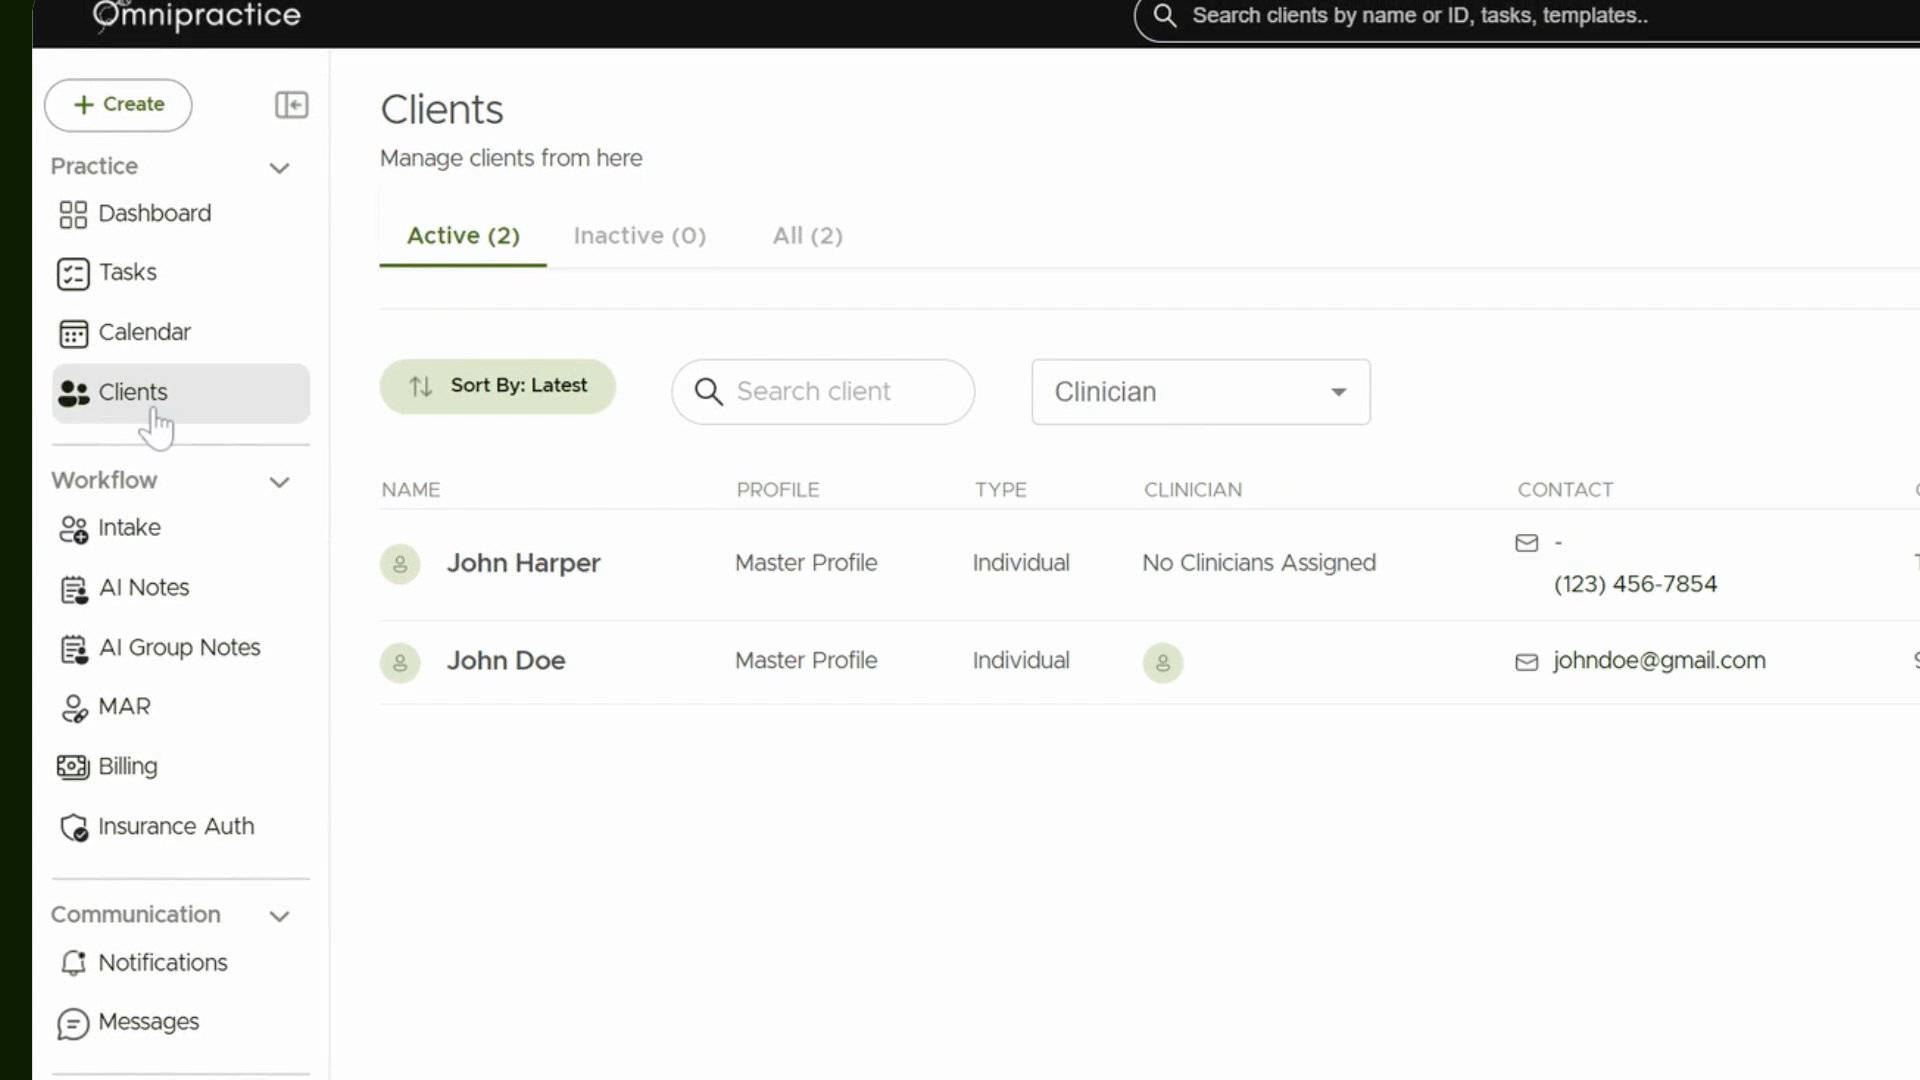
Step 9: View Your Clients
Head back to the main client list. Confirm the new client has been added successfully alongside existing clients.
You’re all done! You’ve learned the precise steps to manage, update, and convert leads to clients in the platform, streamlining your client intake process.