Creating Custom Tables with Dropdown Options in Note & Form Templates
Dynamic tables with drop downs make it easy to collect structured, detailed information—ideal for situations like tracking drugs and their classes. Using conditional logic, you can display questions based on earlier responses, so your forms stay focused and relevant.
Step 1: Access Templates
Go to Templates to start setting up your dynamic table.
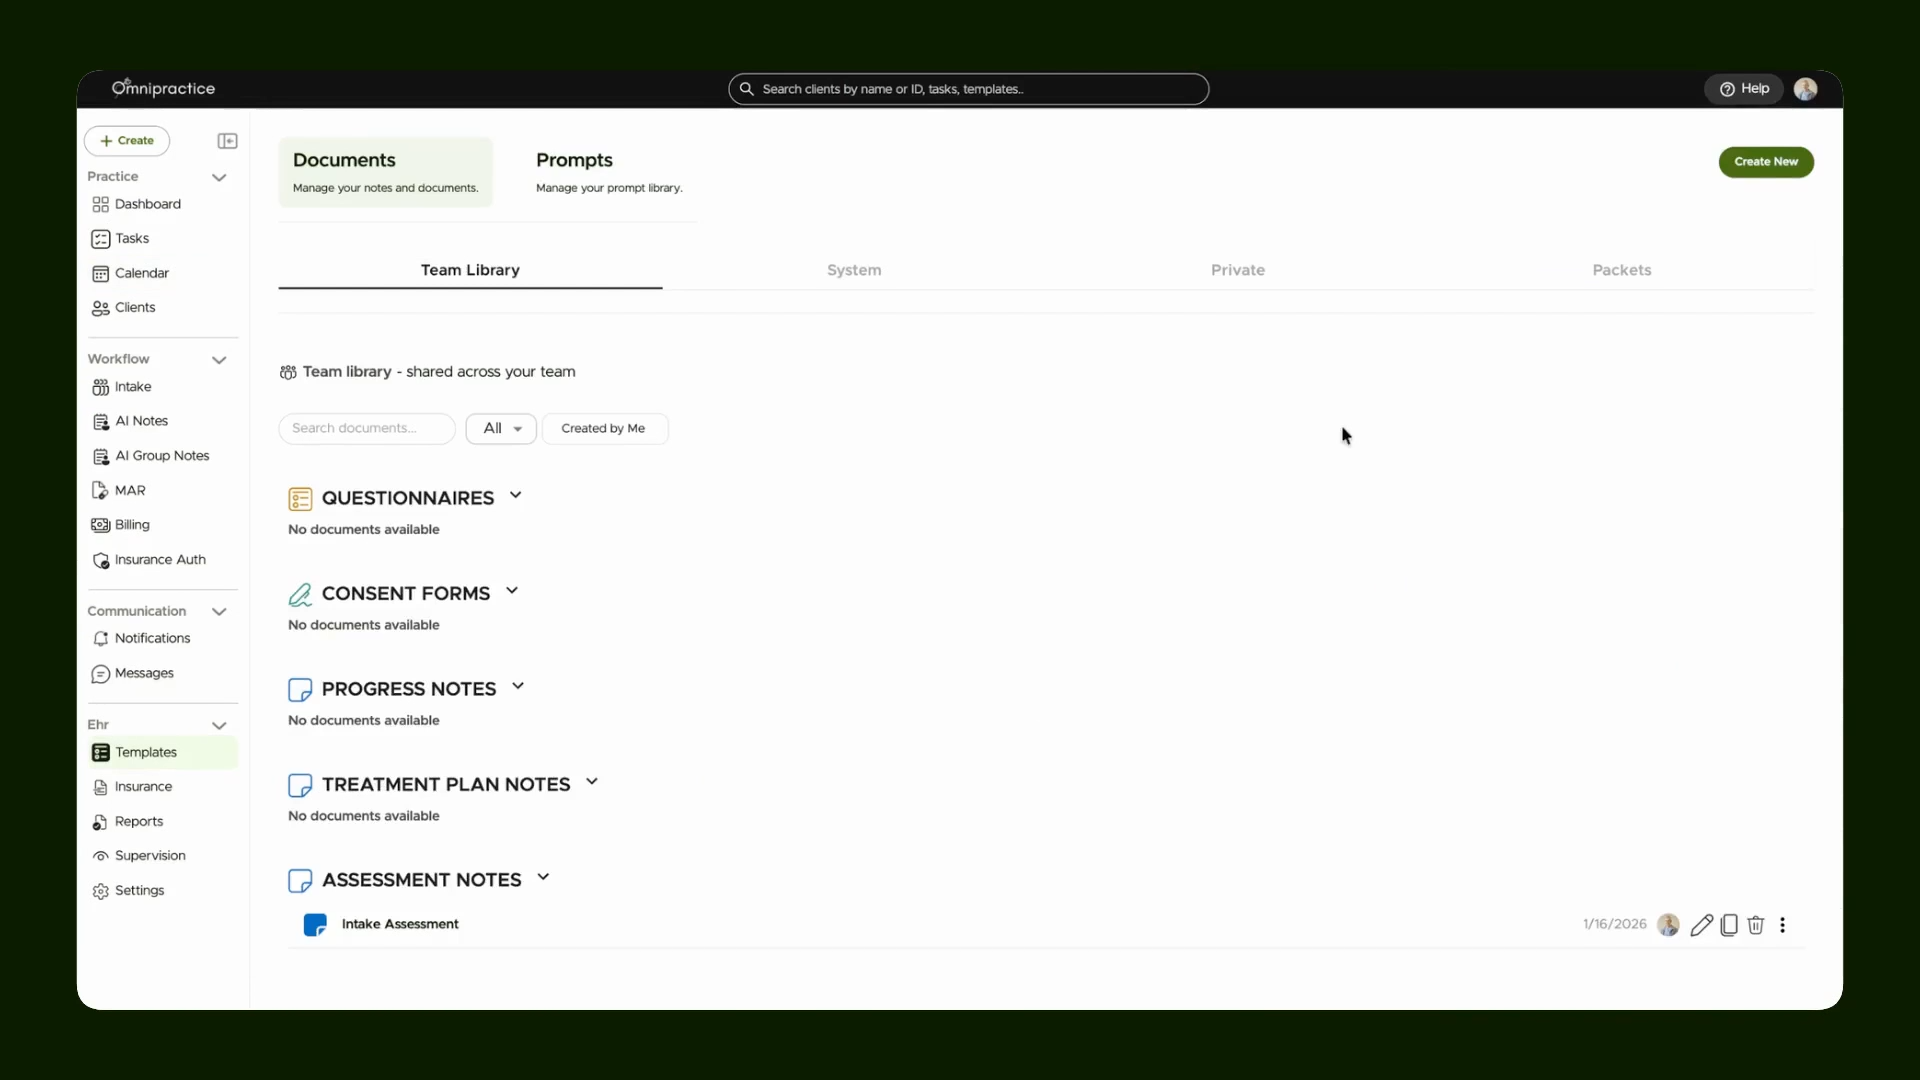
Step 2: Begin Creating a New Template
Click the Create New button to open a fresh template.
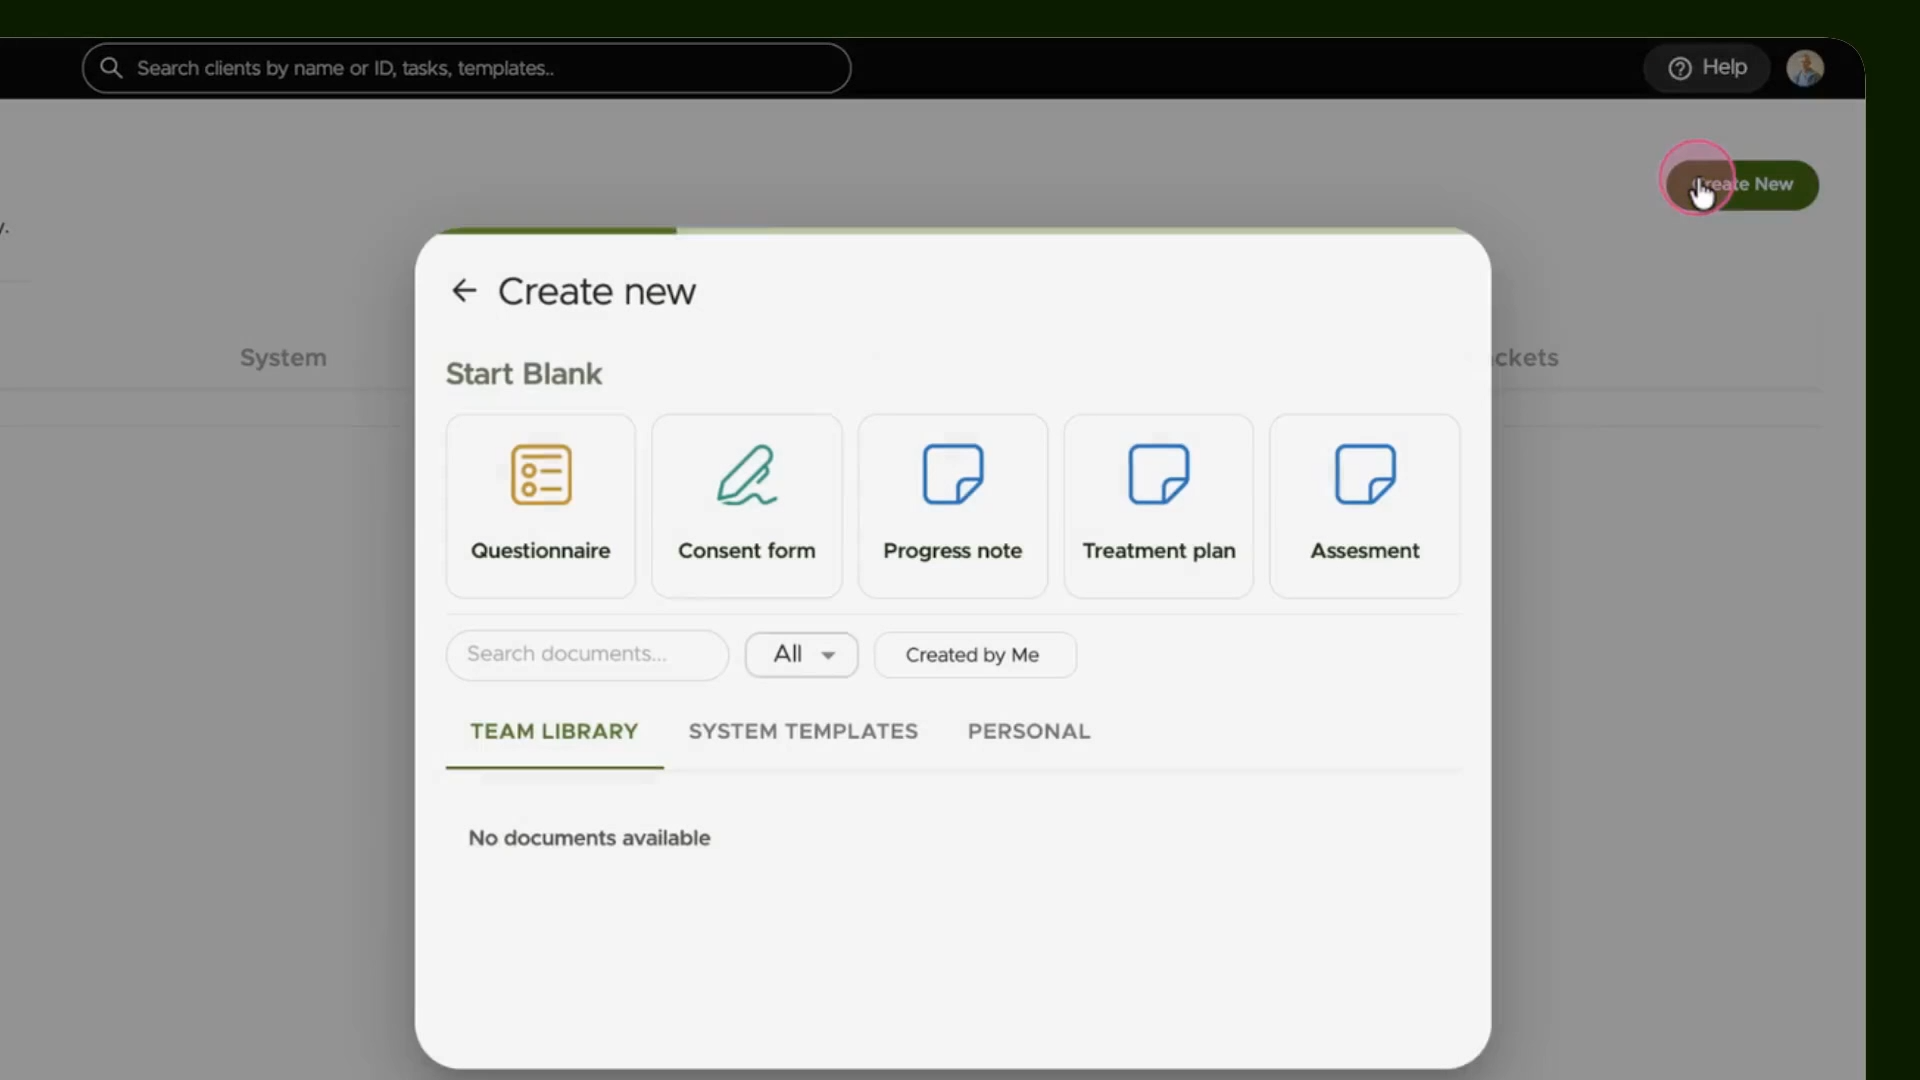
Step 3: Choose Template Type
Select Assessment to make a template tailored for assessments.
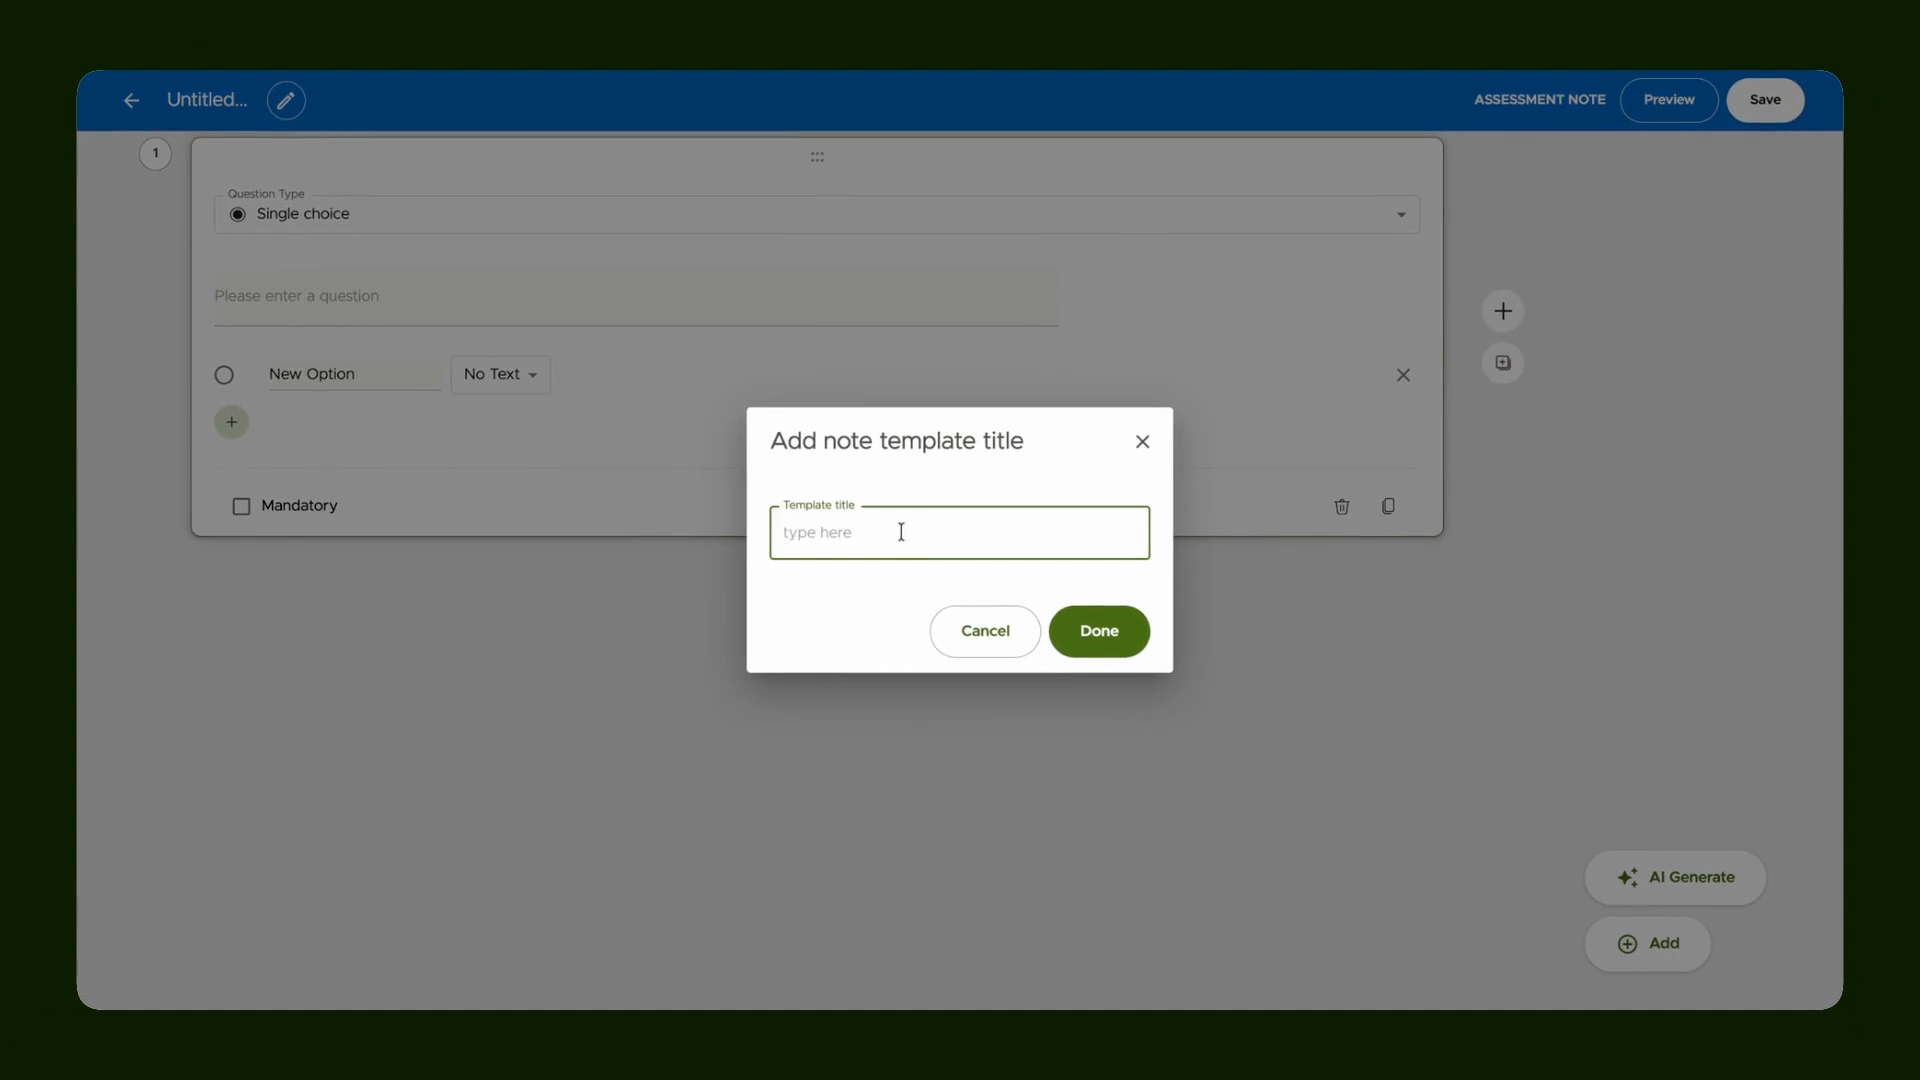
Step 4: Name Your Assessment
Enter a clear name for your new assessment so you can recognize it later.
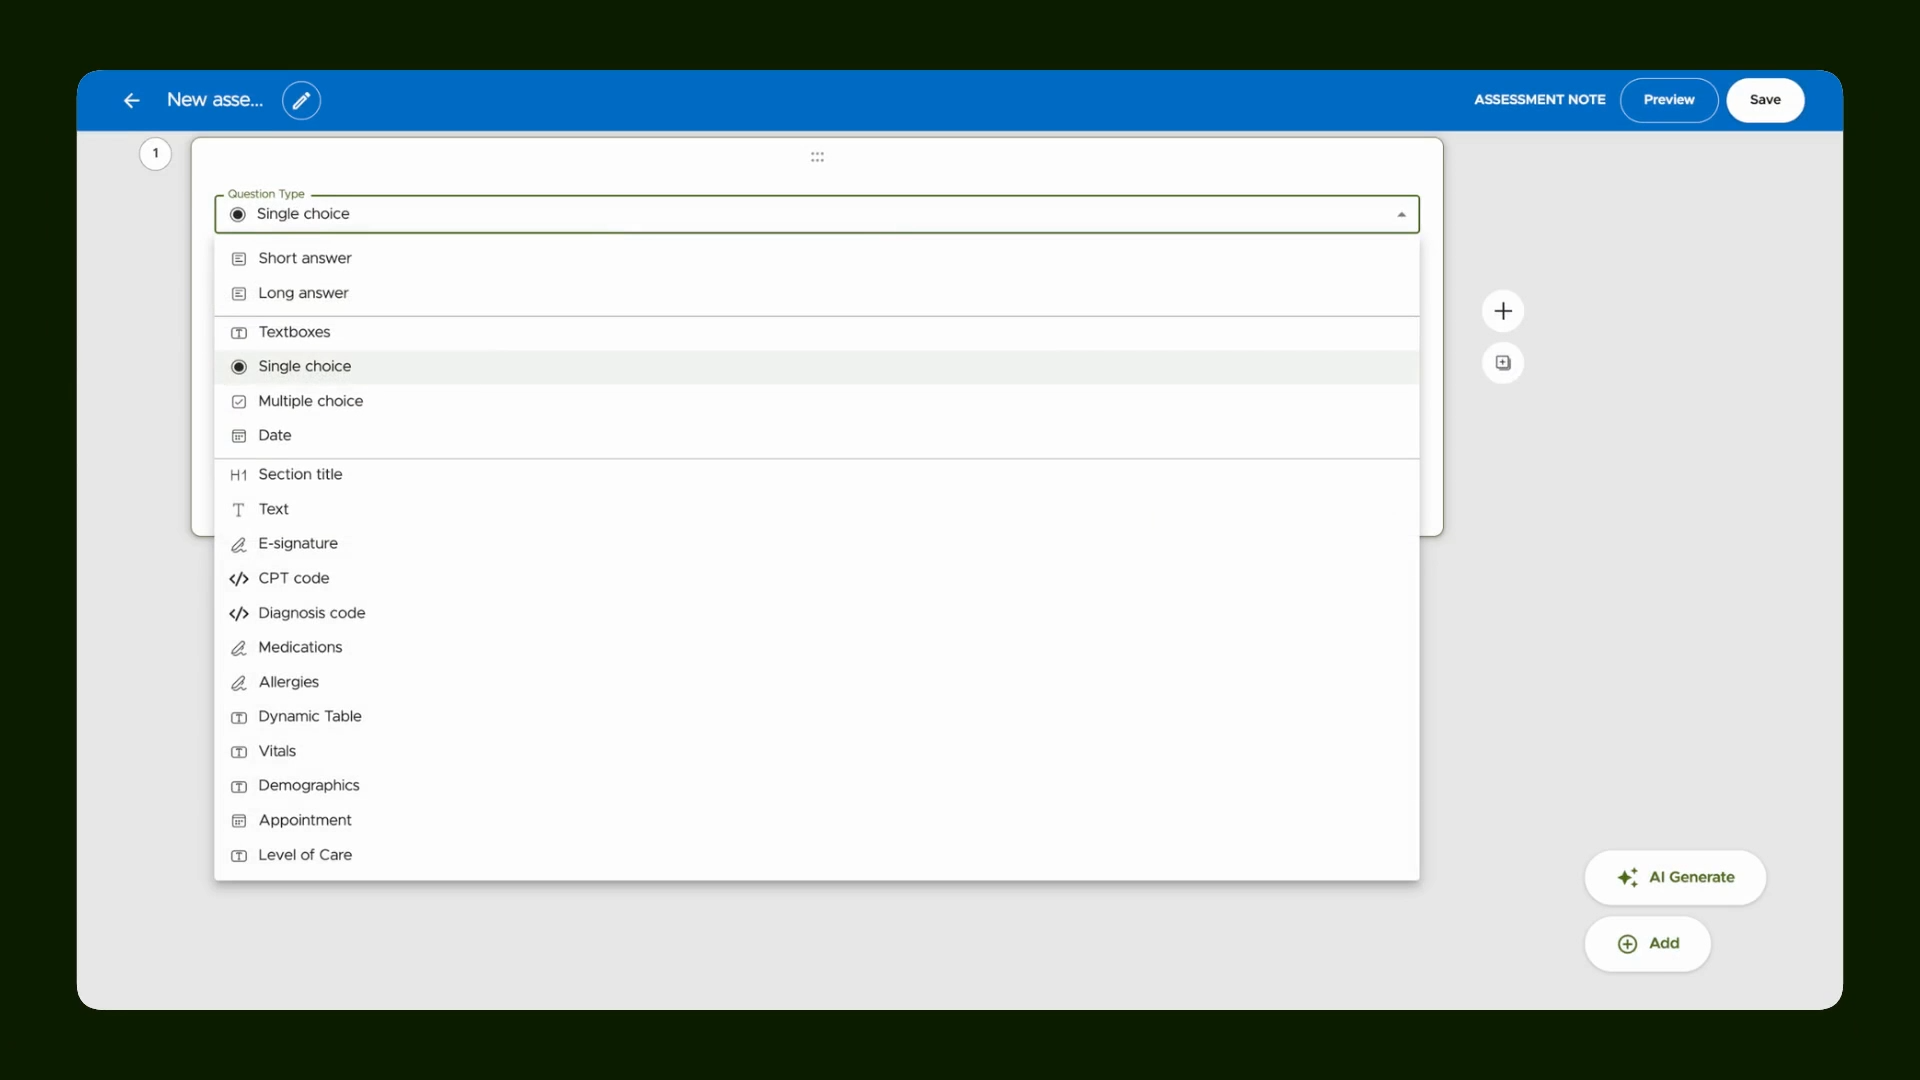
Step 5: Add a Dynamic Table
Insert a table field to capture your data, such as a listing of drugs.
Step 6: Edit the Table and Set Up the First Column
Edit your table and create the first column, which will be labeled "Class."
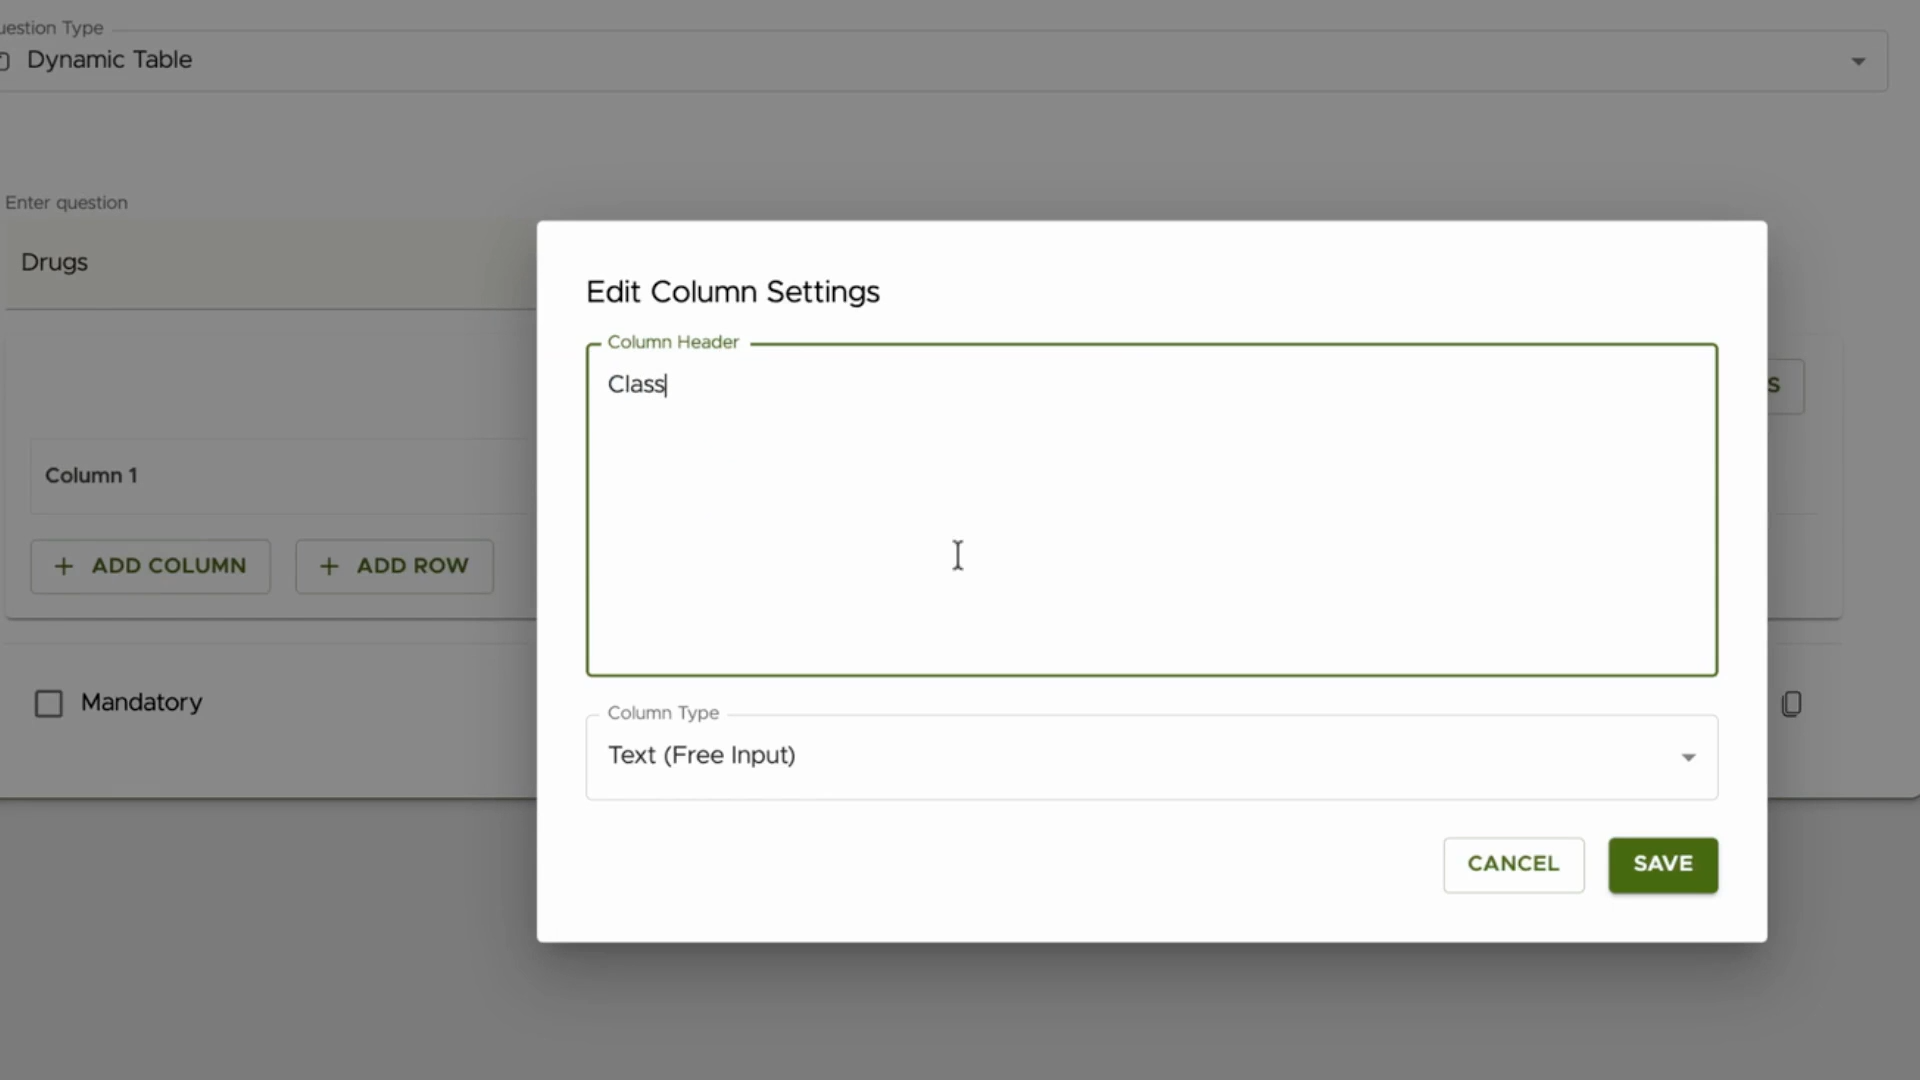
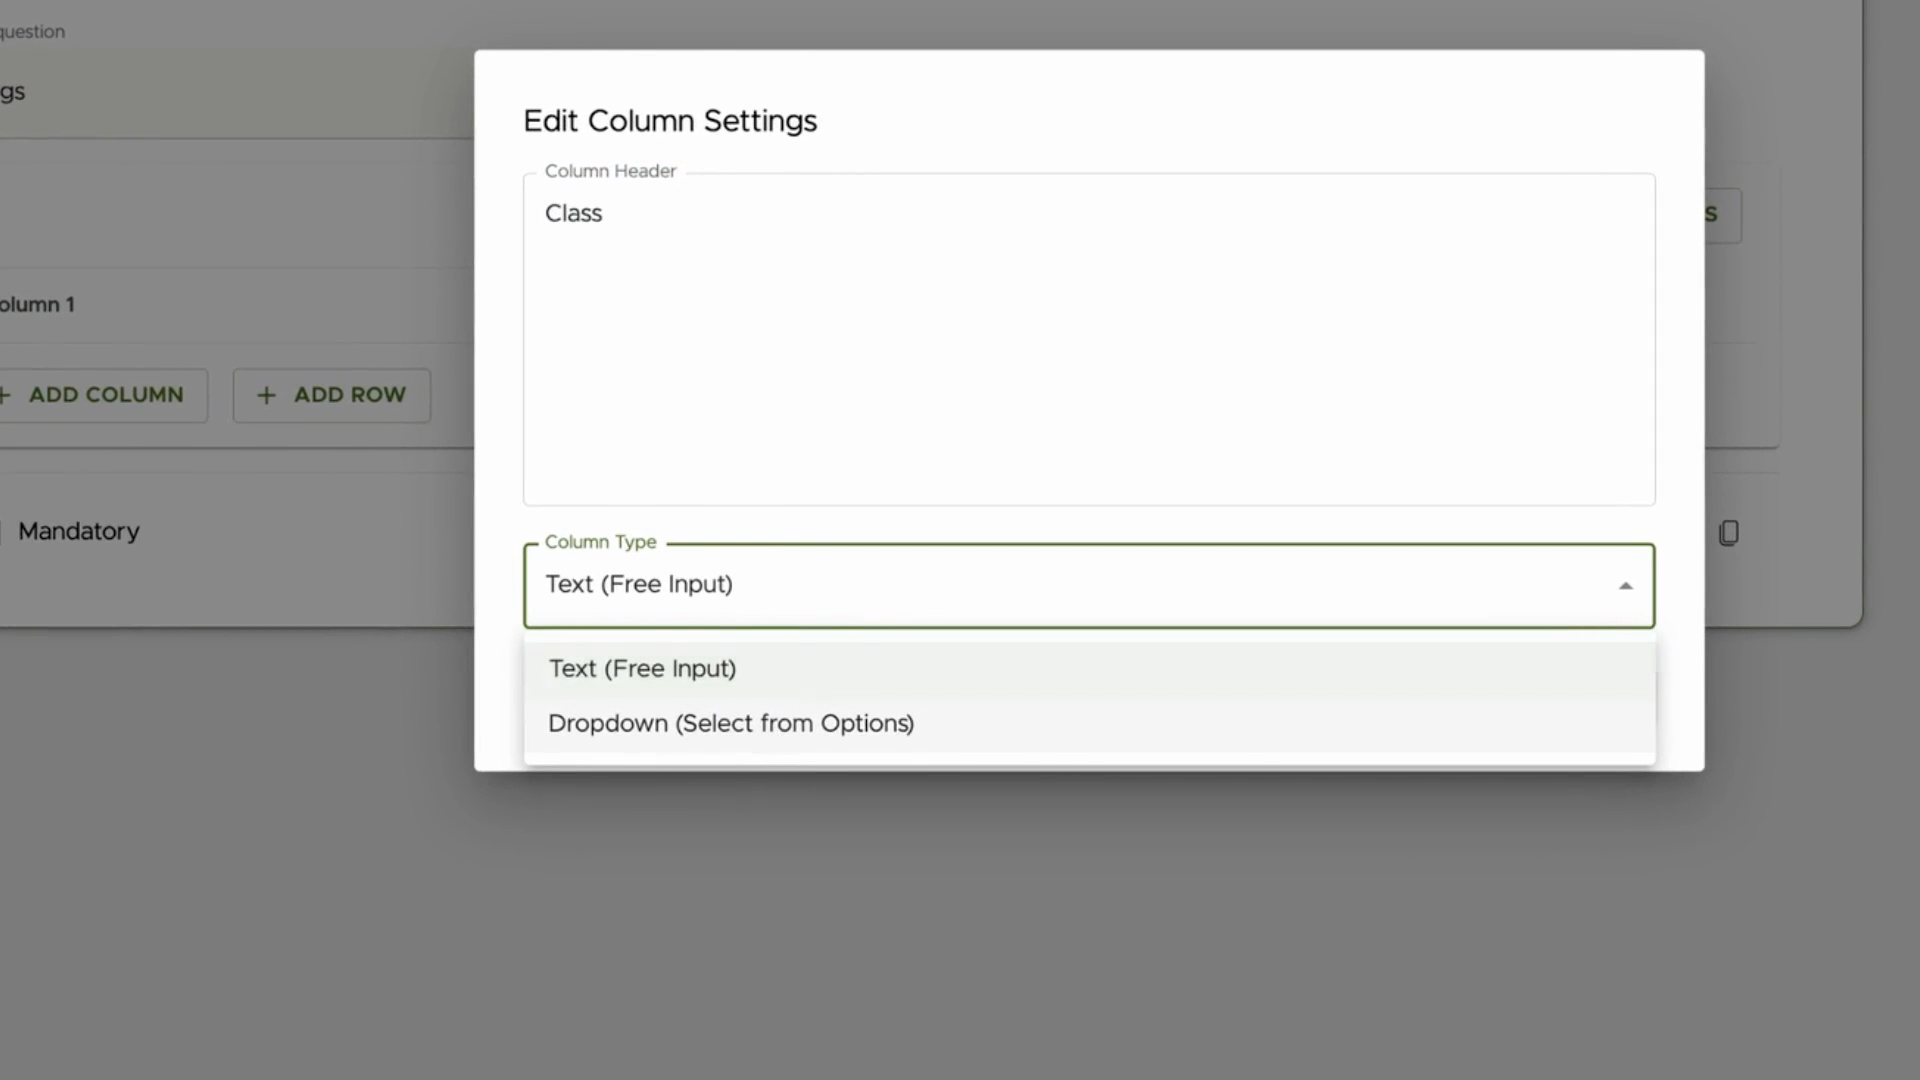
Step 7: Set First Column to Drop Down
Change the column type to Drop Down so users can pick from a list.
Step 8: Populate Drop Down Options for First Column
Add all the needed options (e.g., drug classes) to your first column.
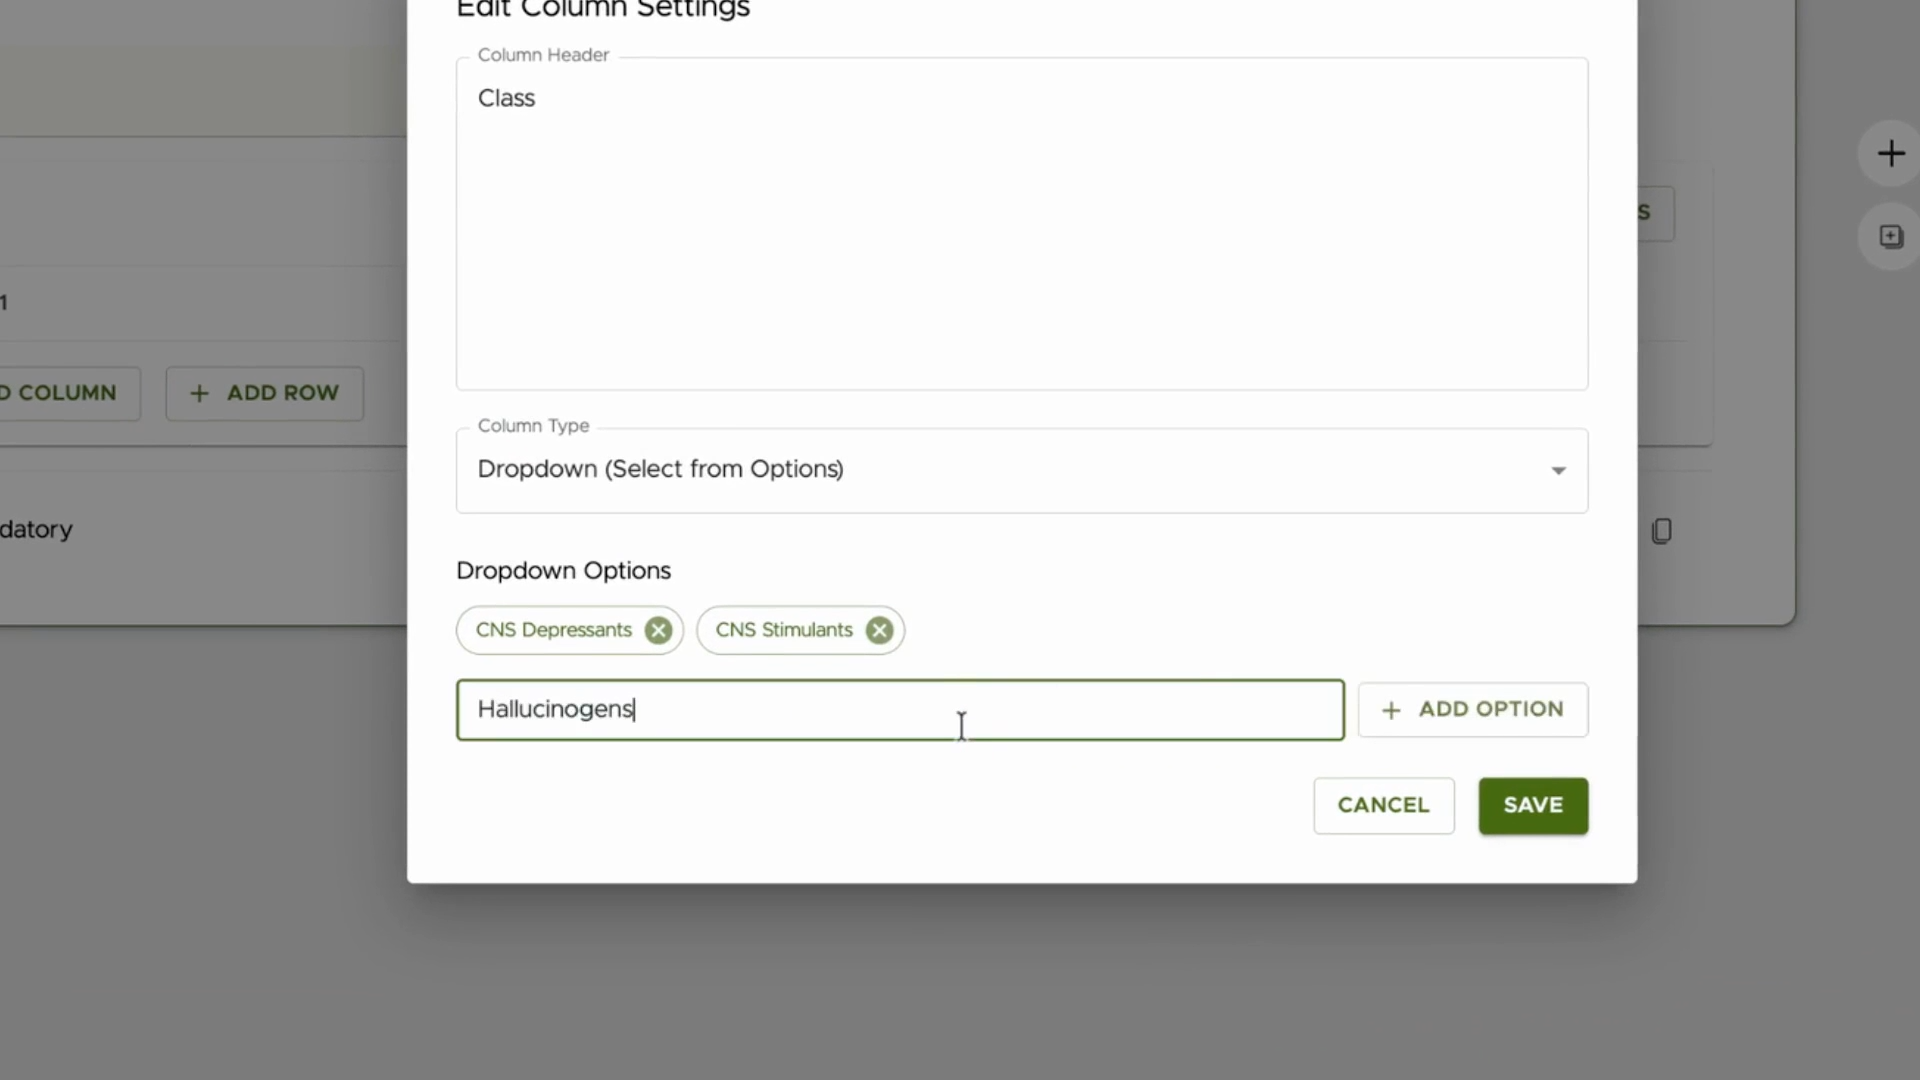
Step 9: Save the First Column
Save the first column after entering all required options.
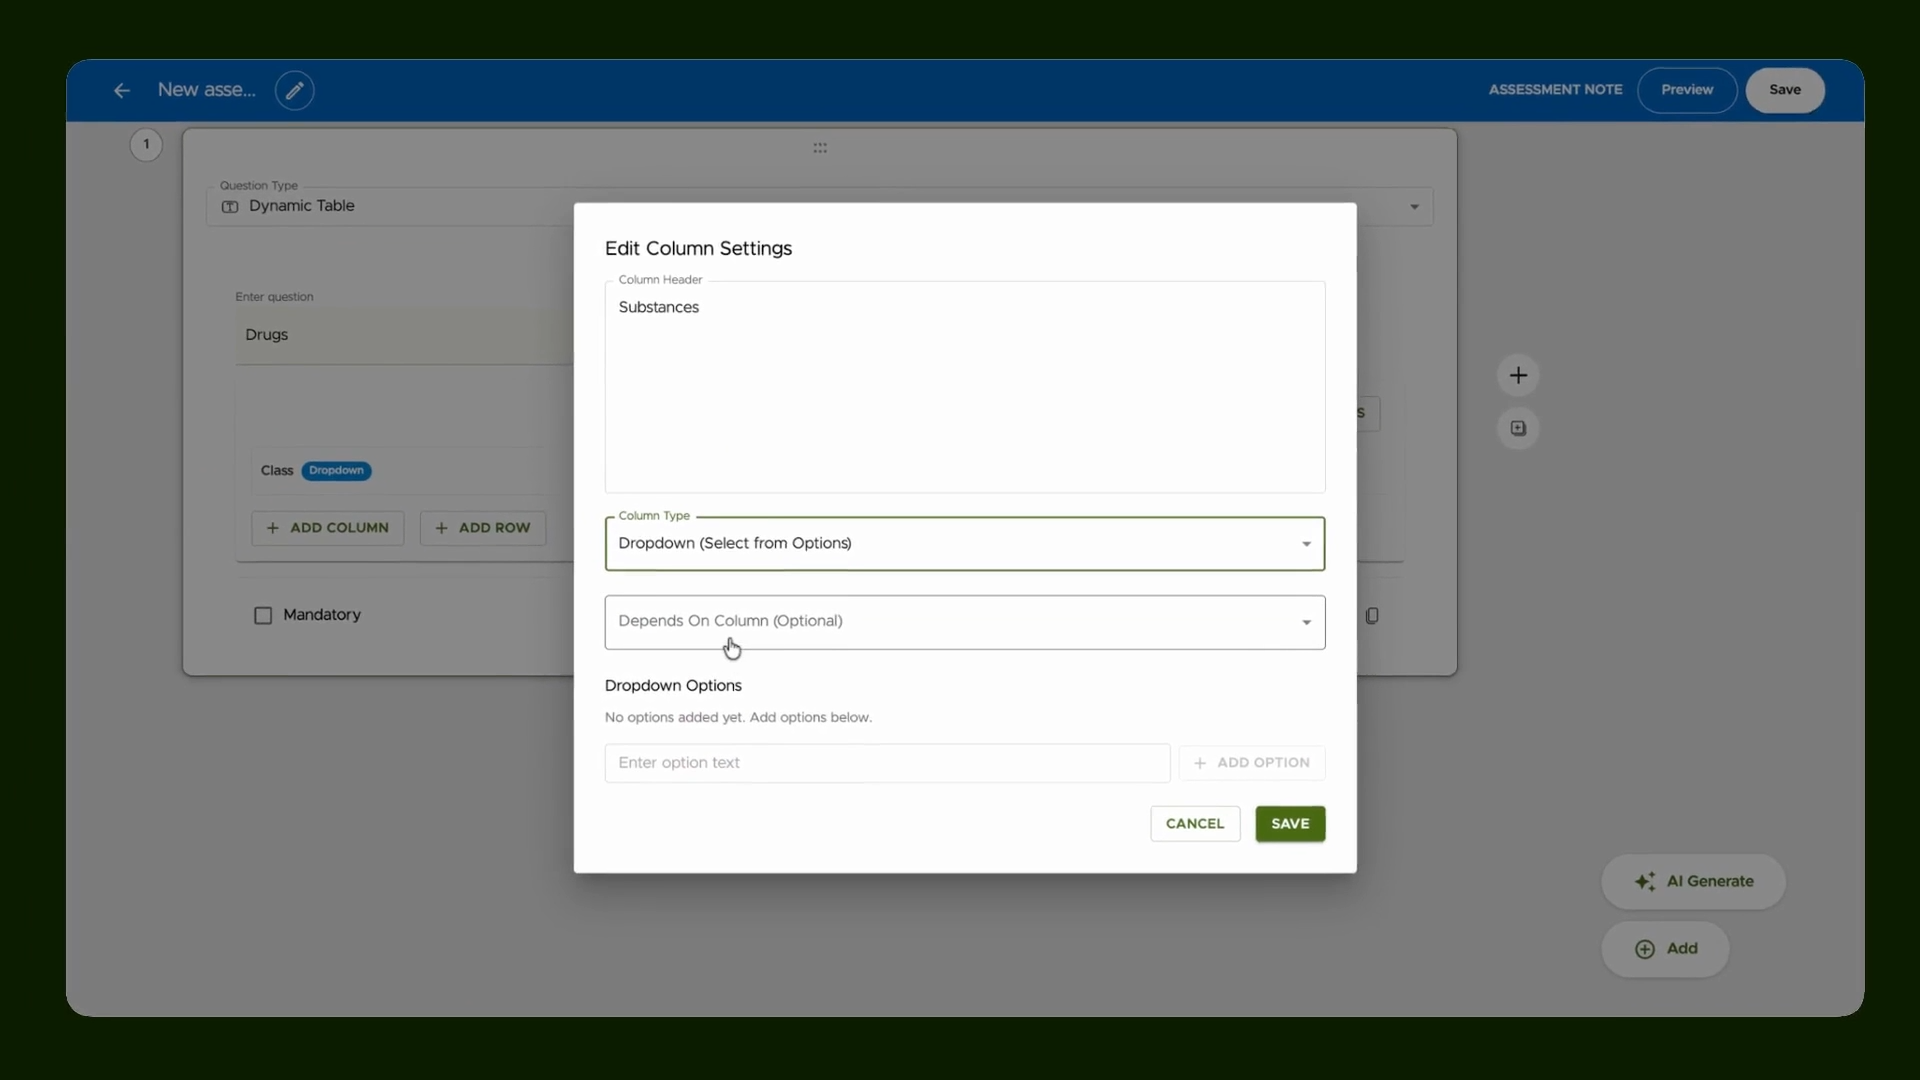
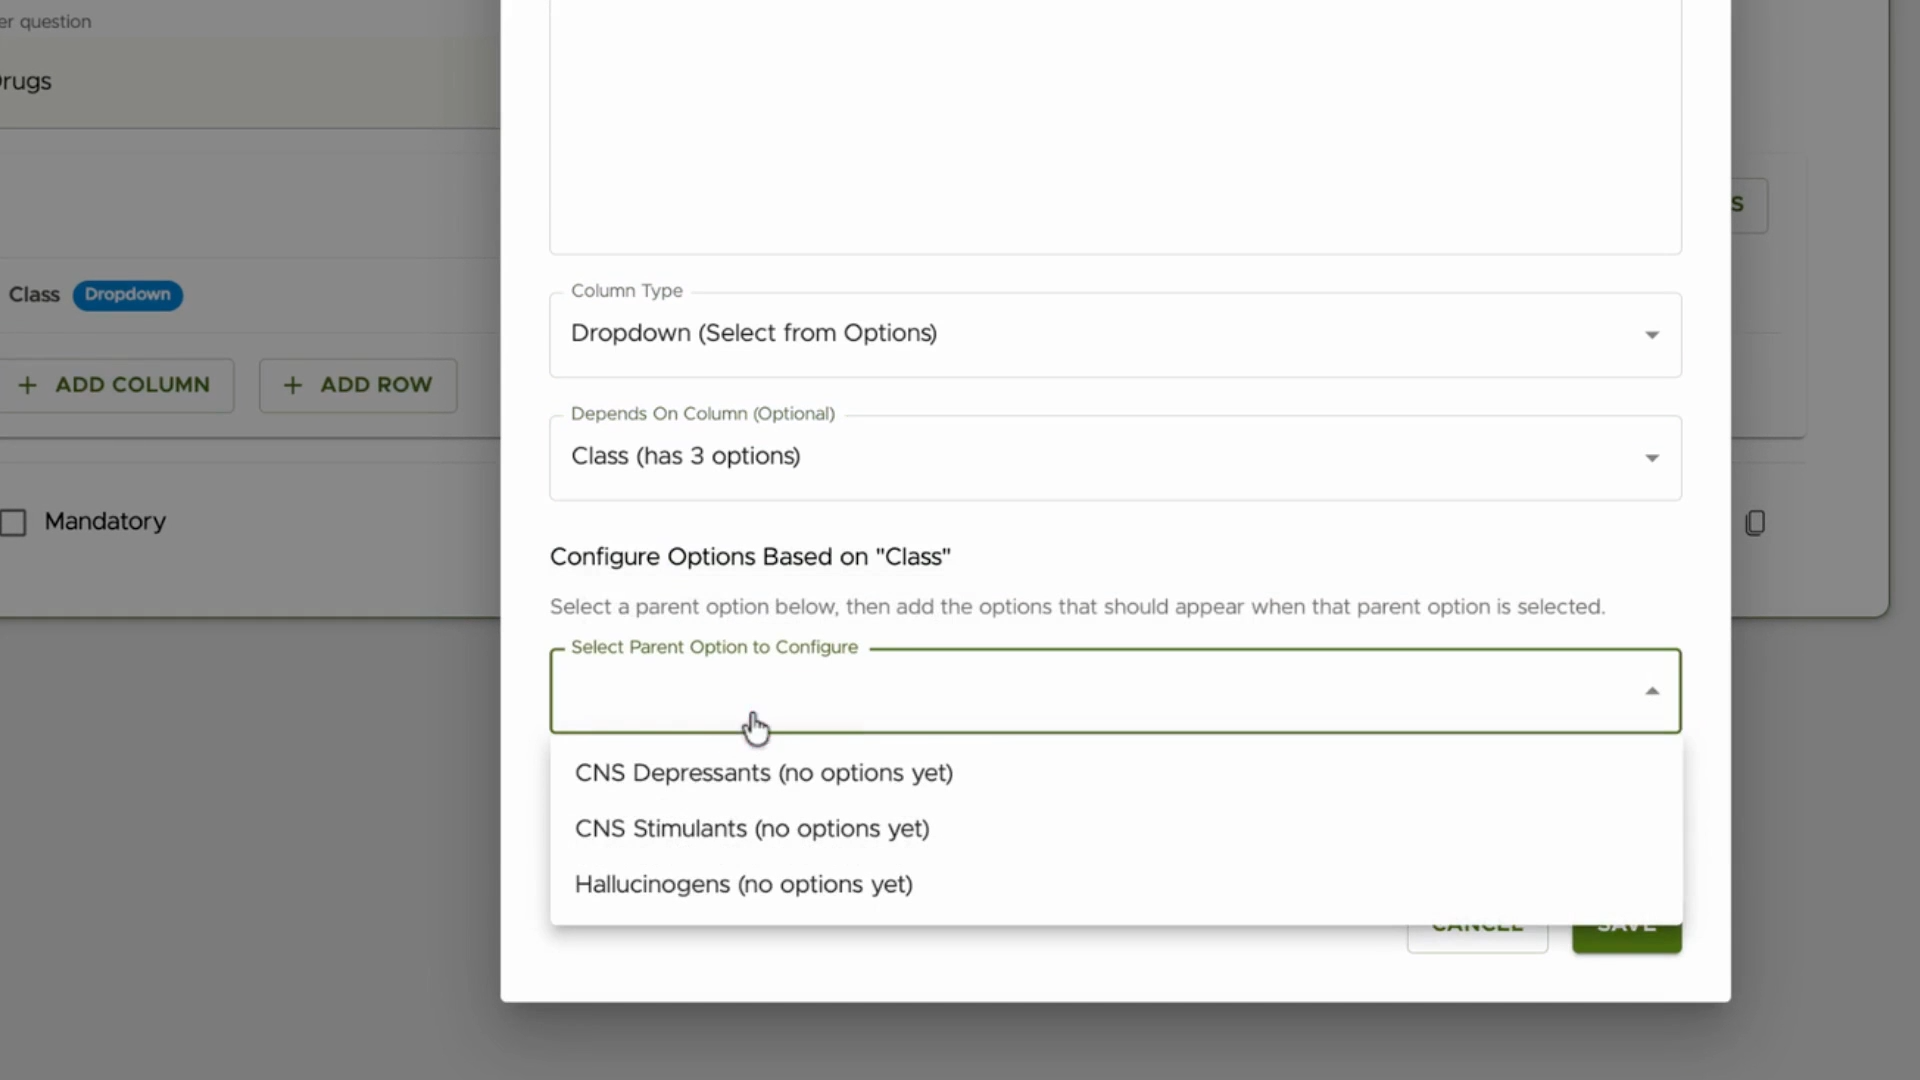
Step 10: Add and Configure Second Column (Substances)
Add a second column called "Substances," set its type to Drop Down, and turn on dependency so its choices change based on the first column.
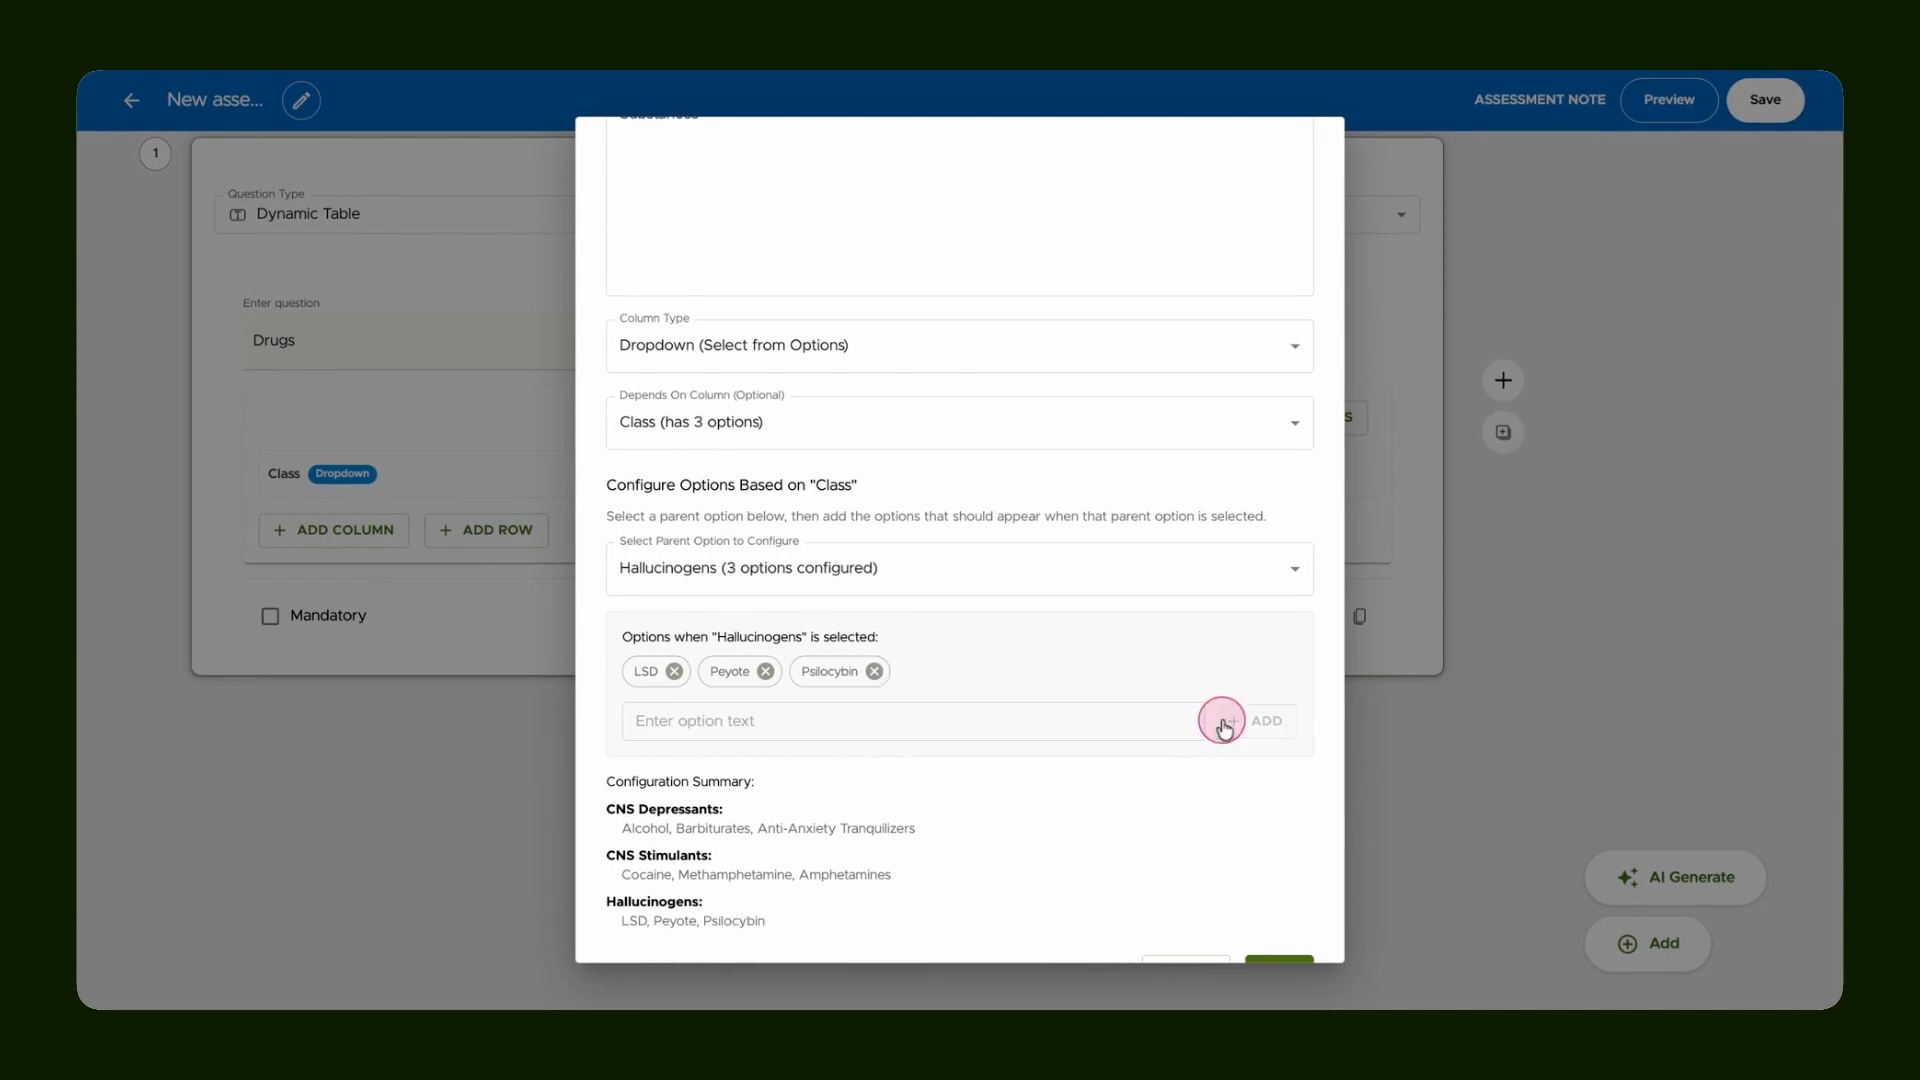
Step 11: Map Second Column Options to First Column Values
For each value in the first column, link corresponding options in the second column by picking a parent (like a drug class) and adding its relevant substances.
Step 12: Repeat Mapping for All First Column Values
Keep assigning matching options for each item in the first column so dependencies work across all choices.
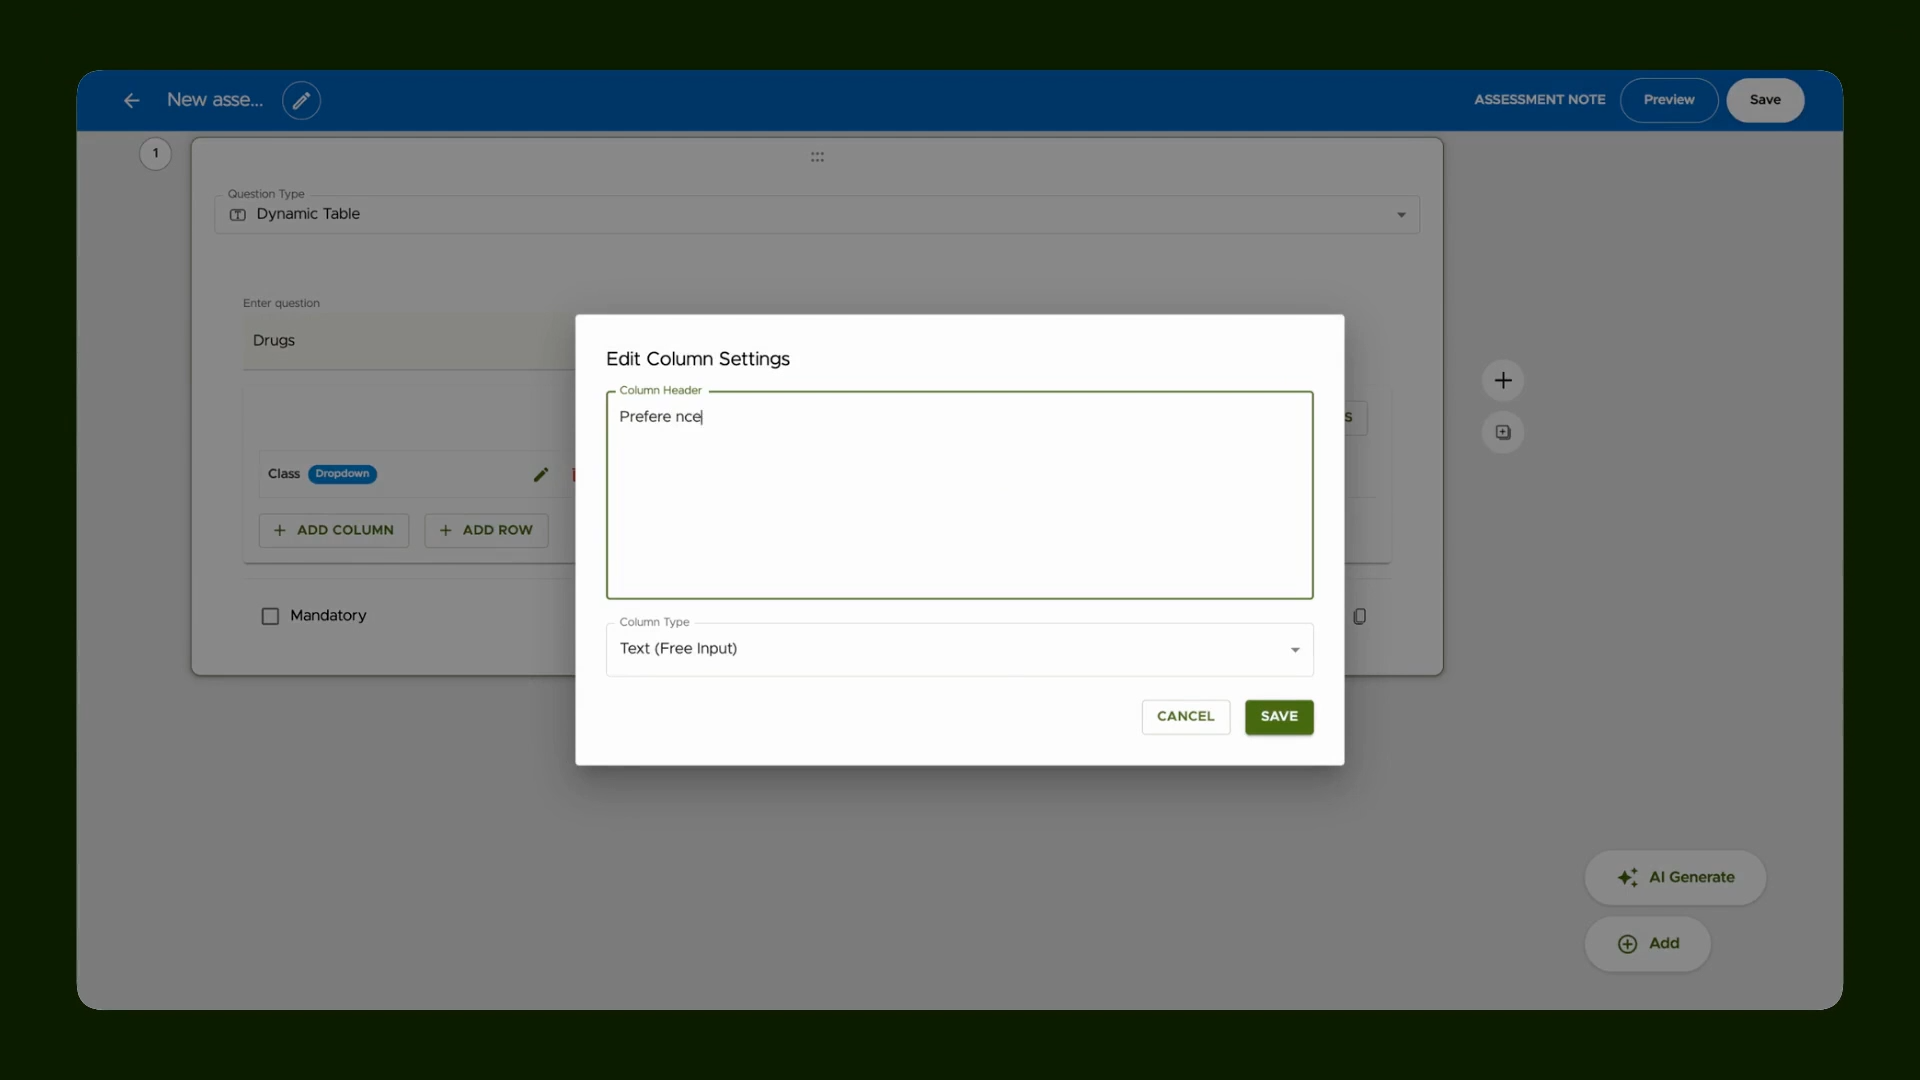
Step 13: Add More Columns and Specify Field Types
Include additional columns—like Reference—and choose their field types (such as Text for free entry).
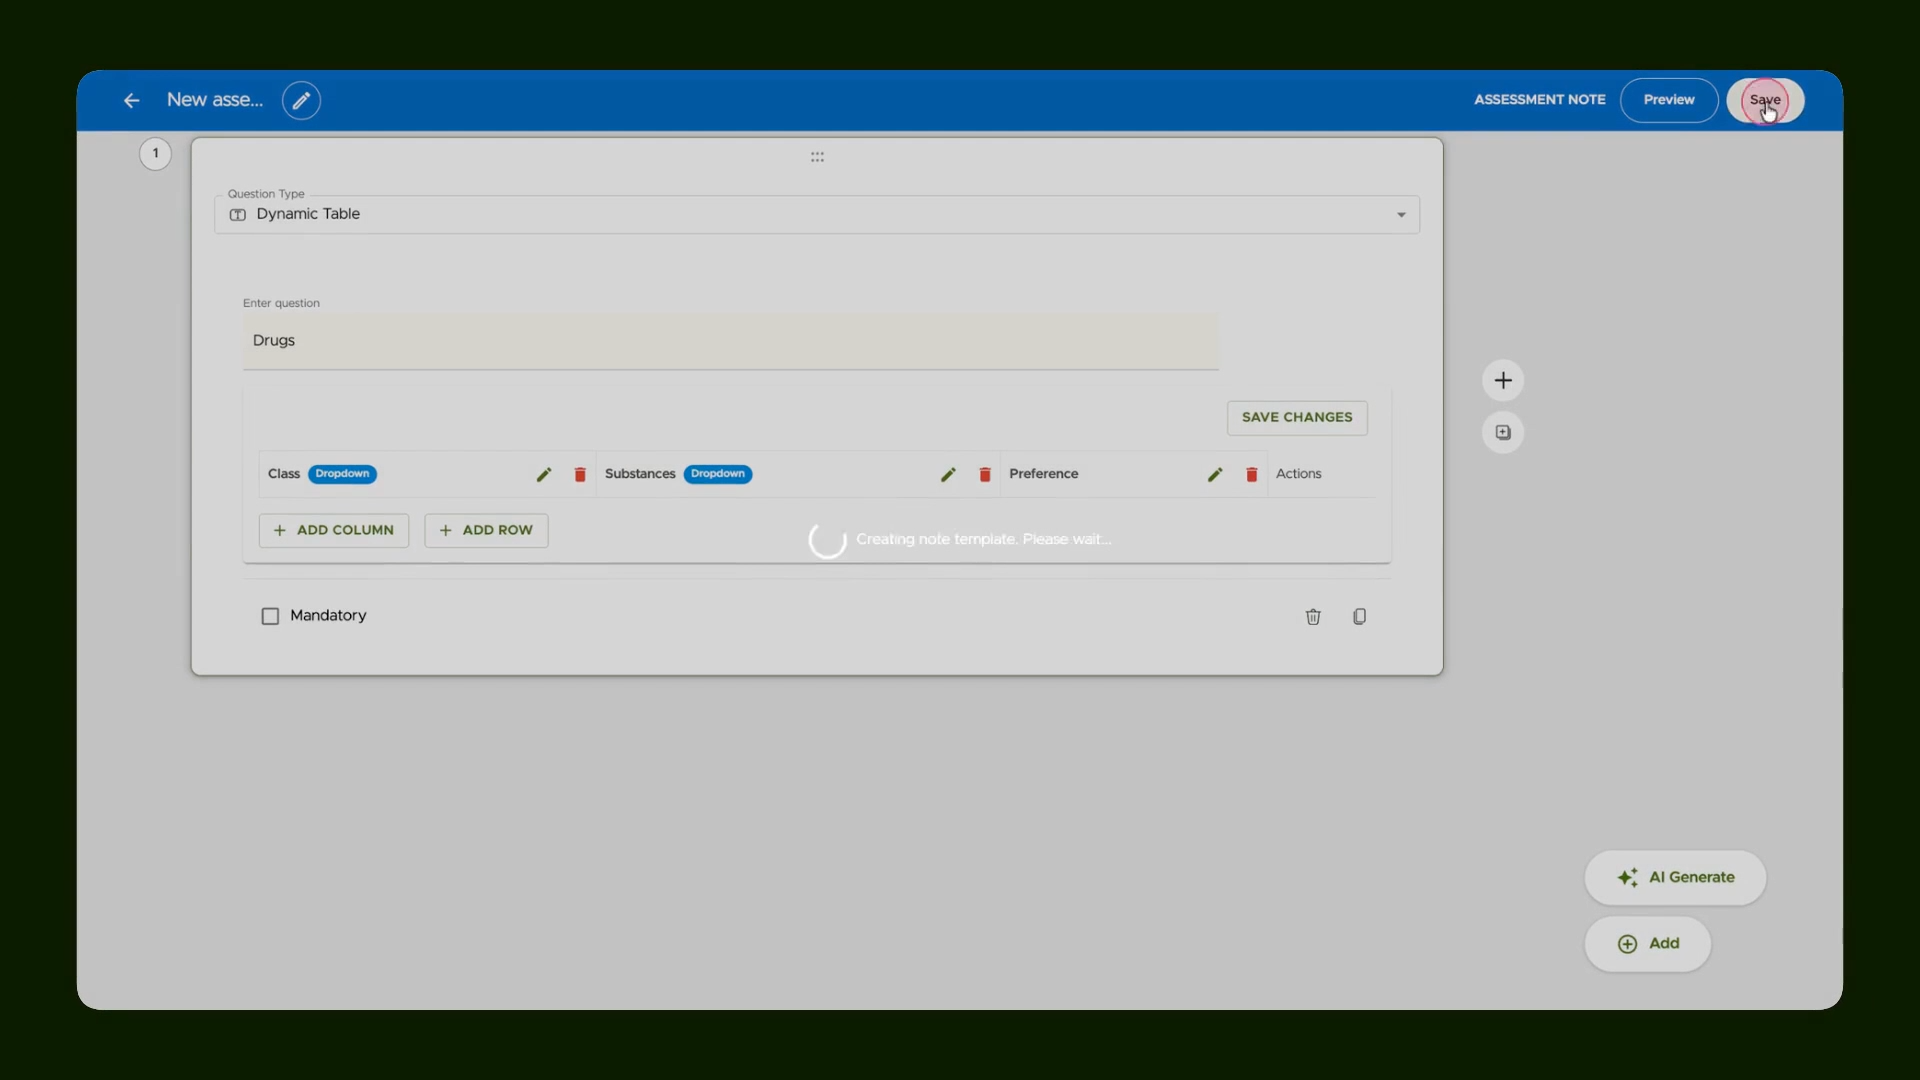
Step 14: Save the Completed Template
After finishing your table, save the template.
Step 15: Share Template with Your Team
If you want others to use it, move your template to the Team Library.
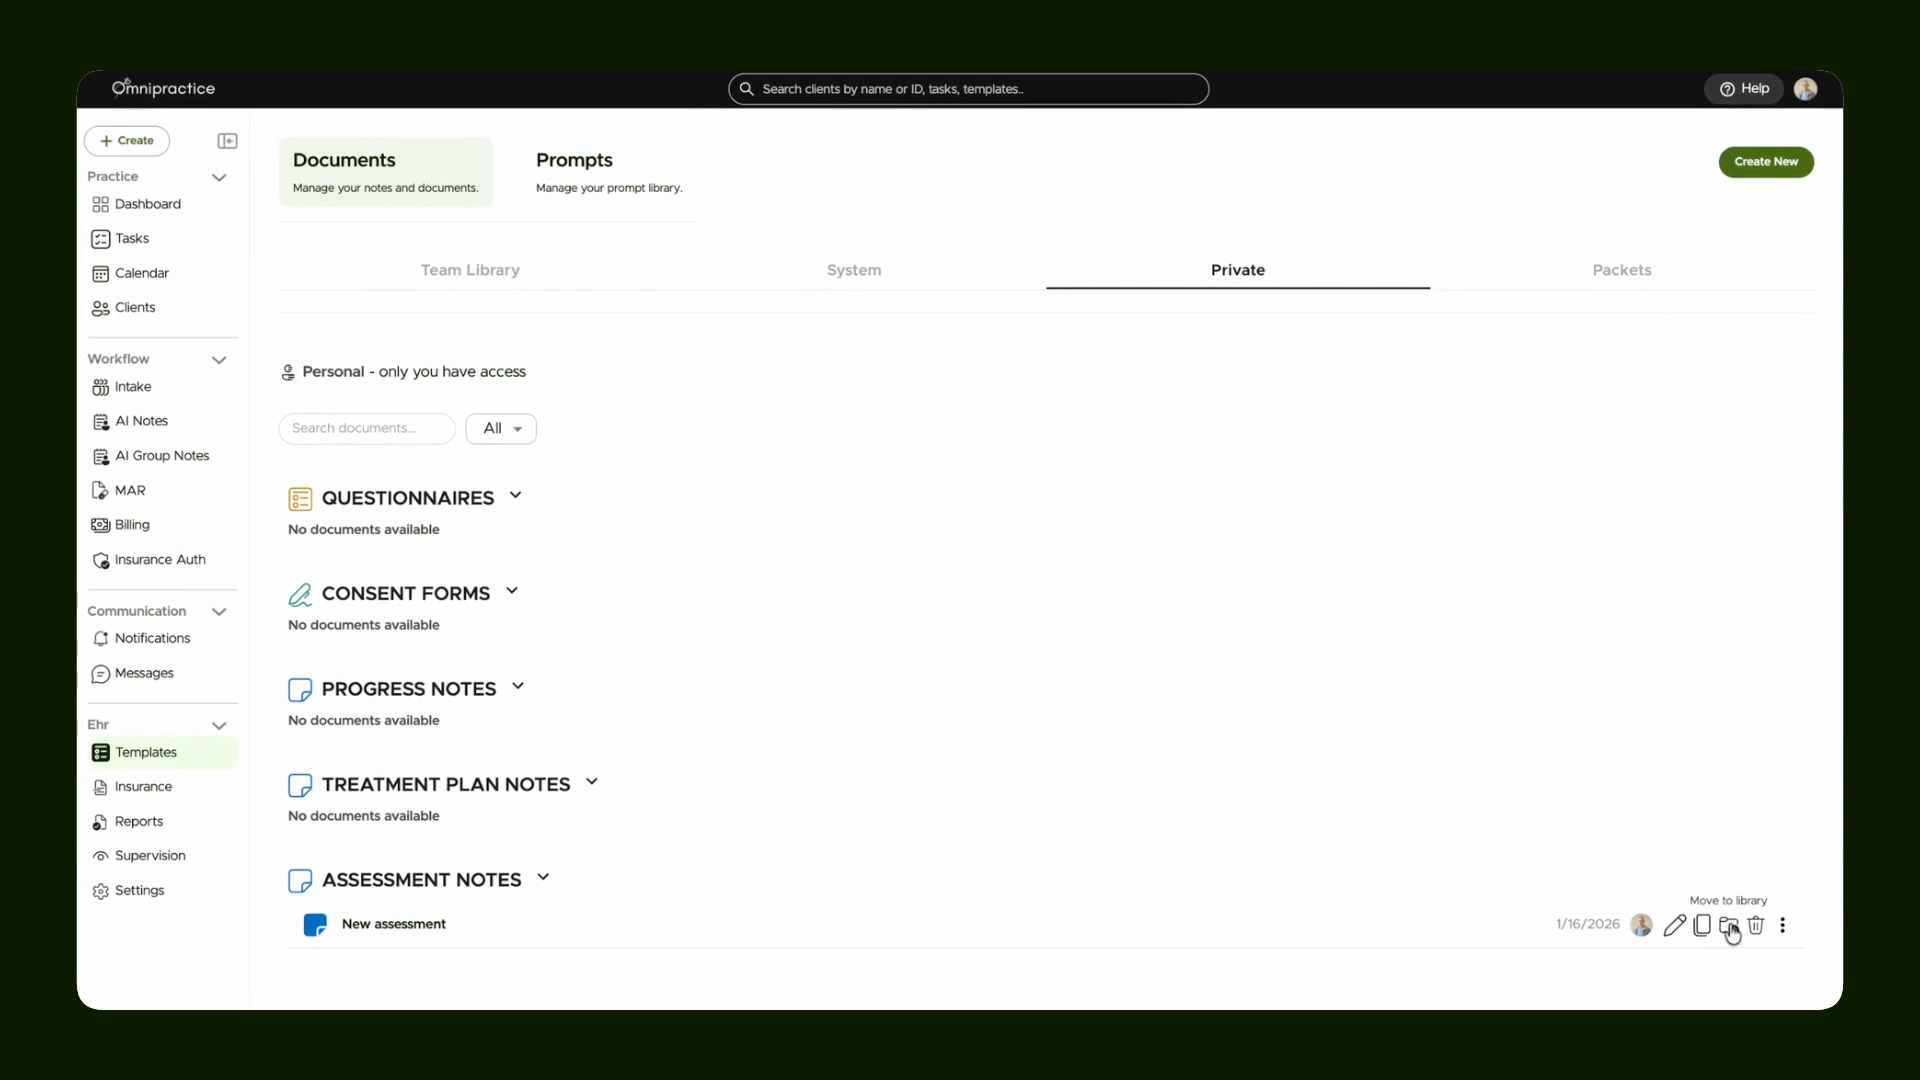
Step 16: Access Dynamic Table from Client Record
Open a client record and click Notes.

Step 17: Start a New Assessment with Your Template
Select New Assessment and pick the template you created.
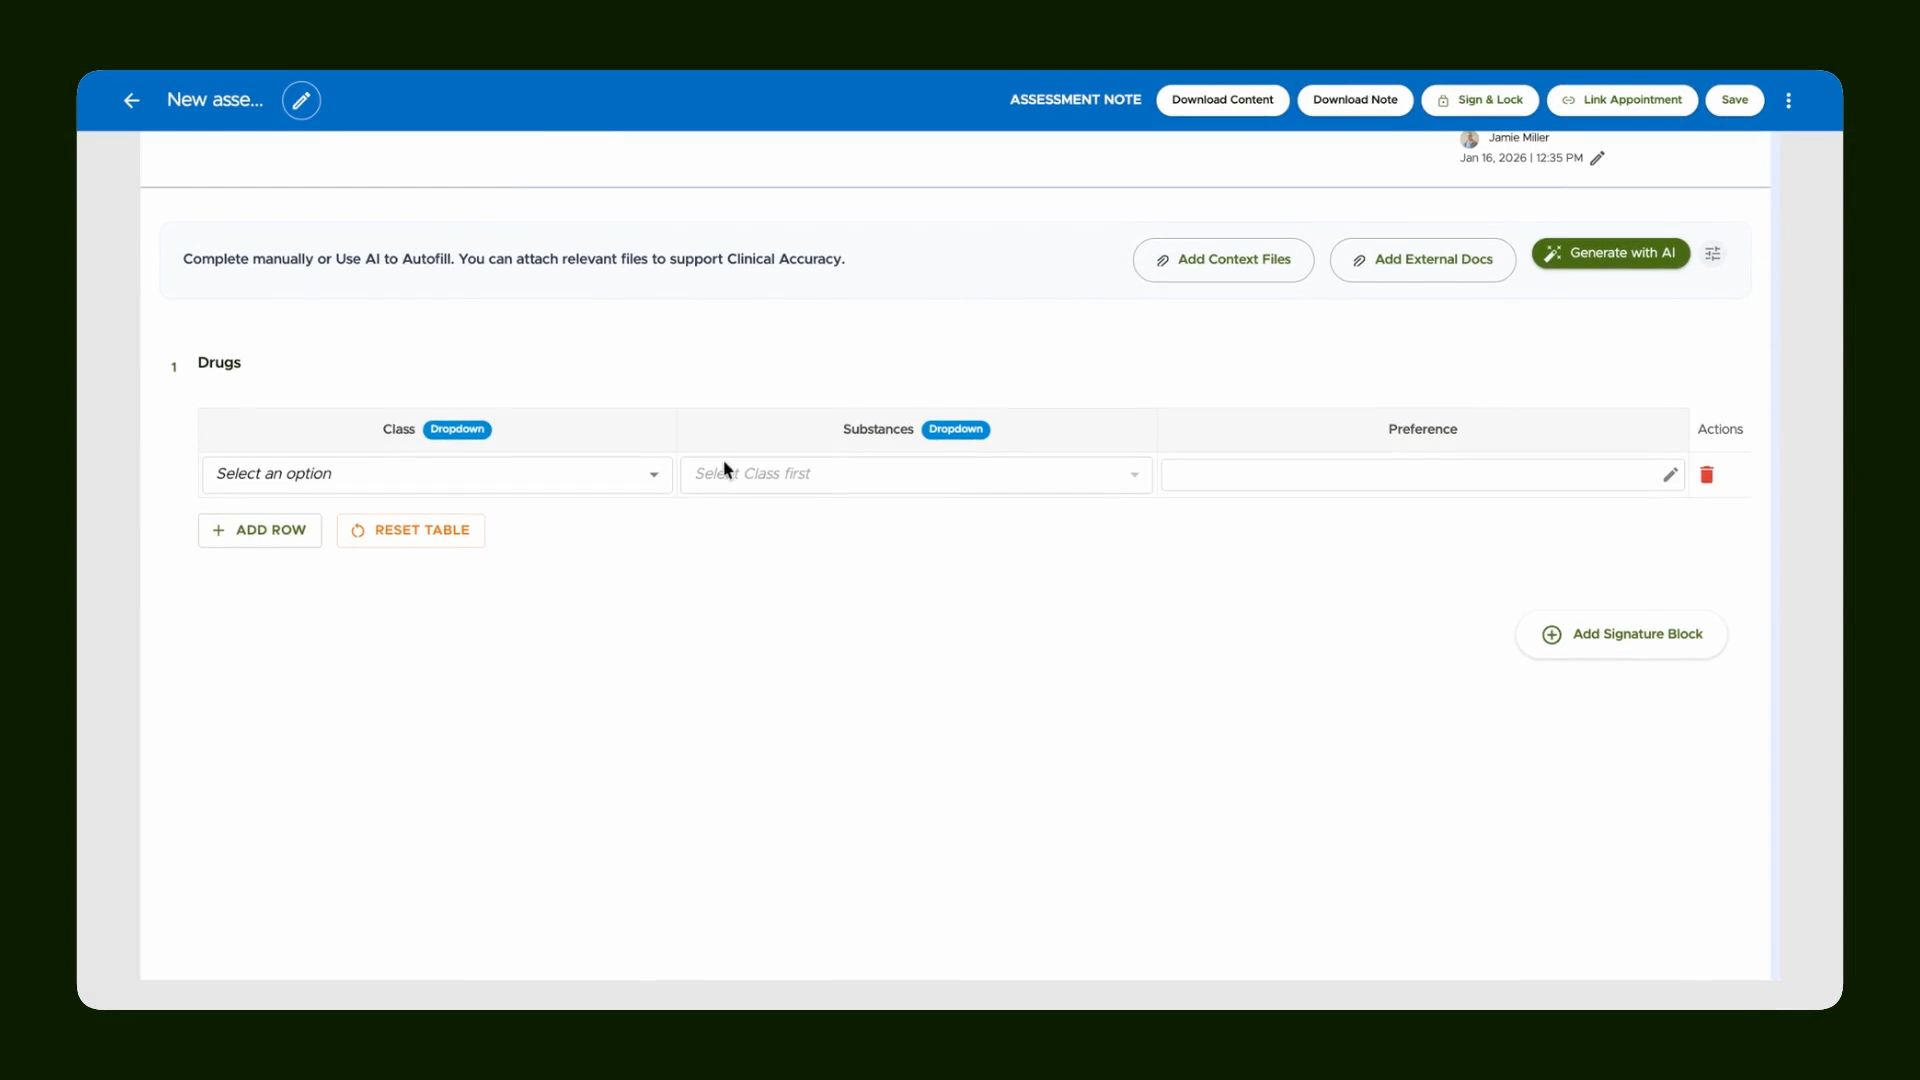
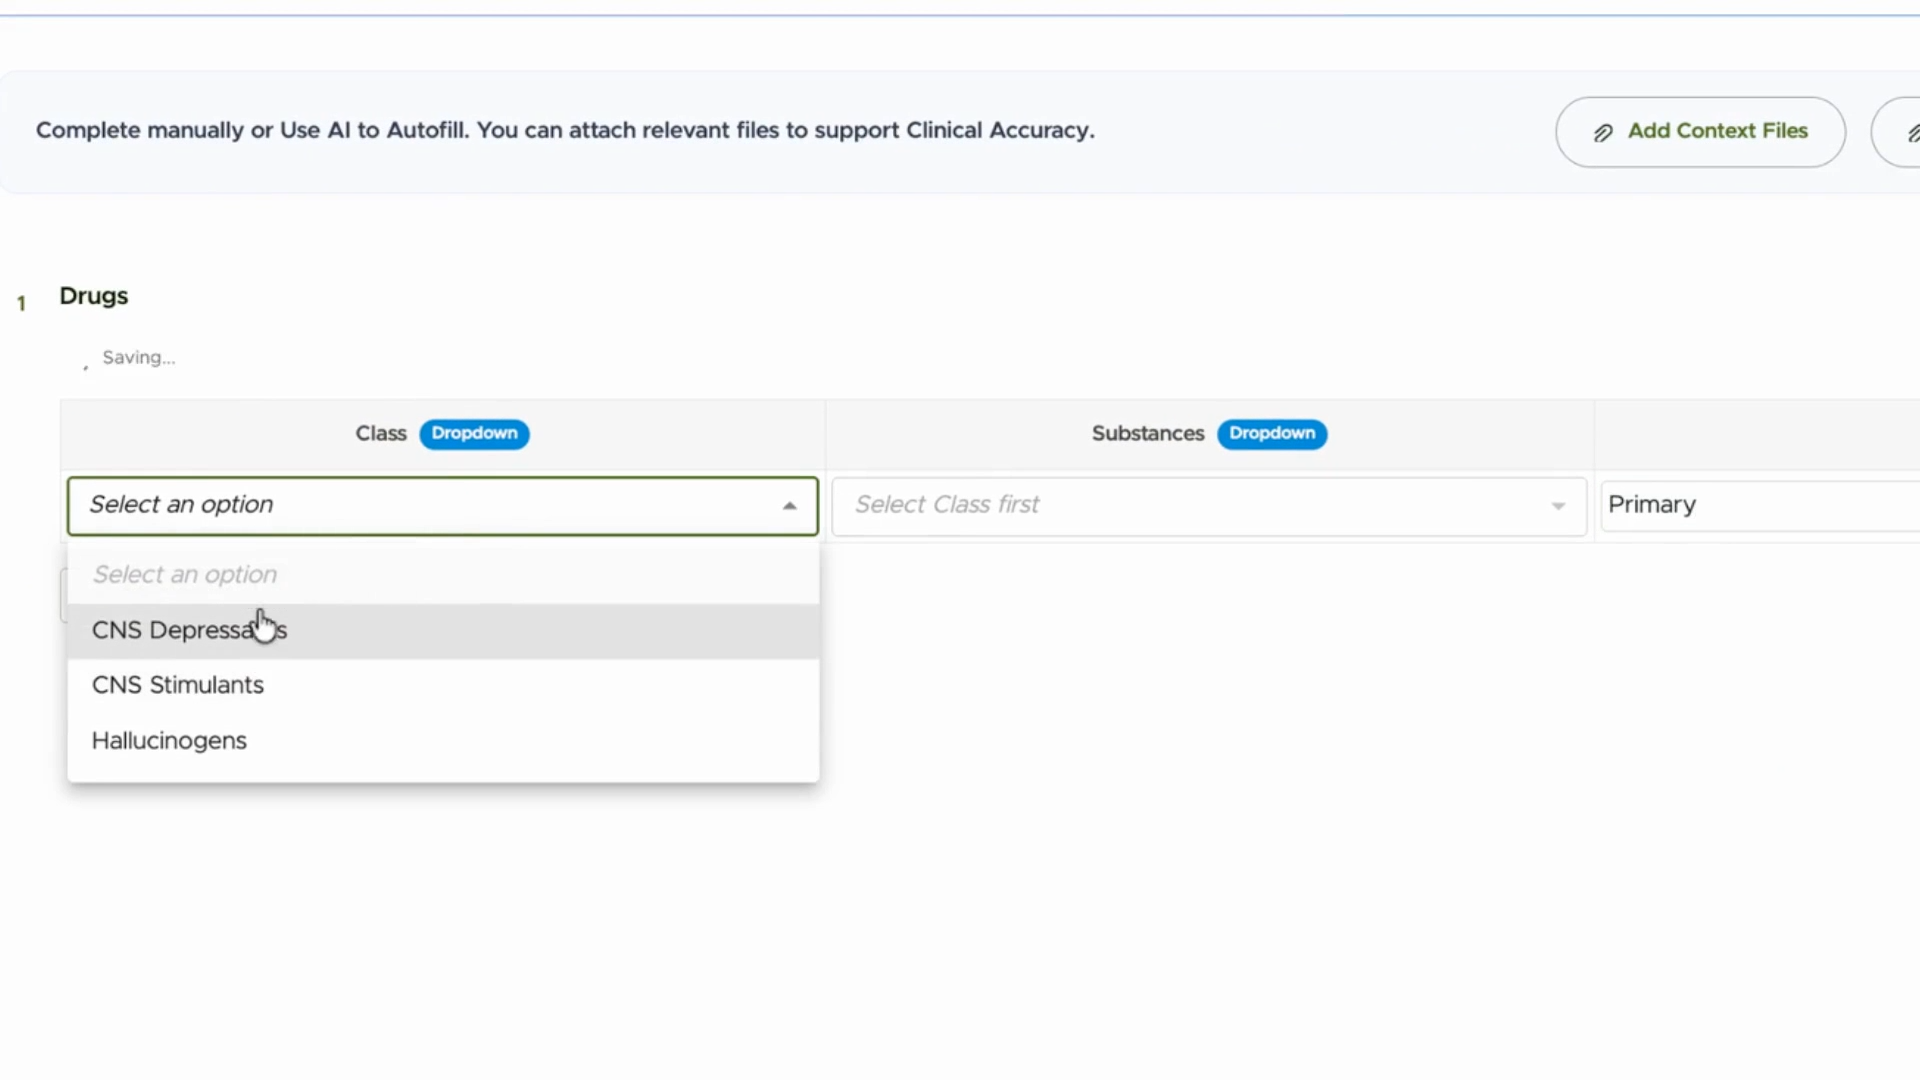
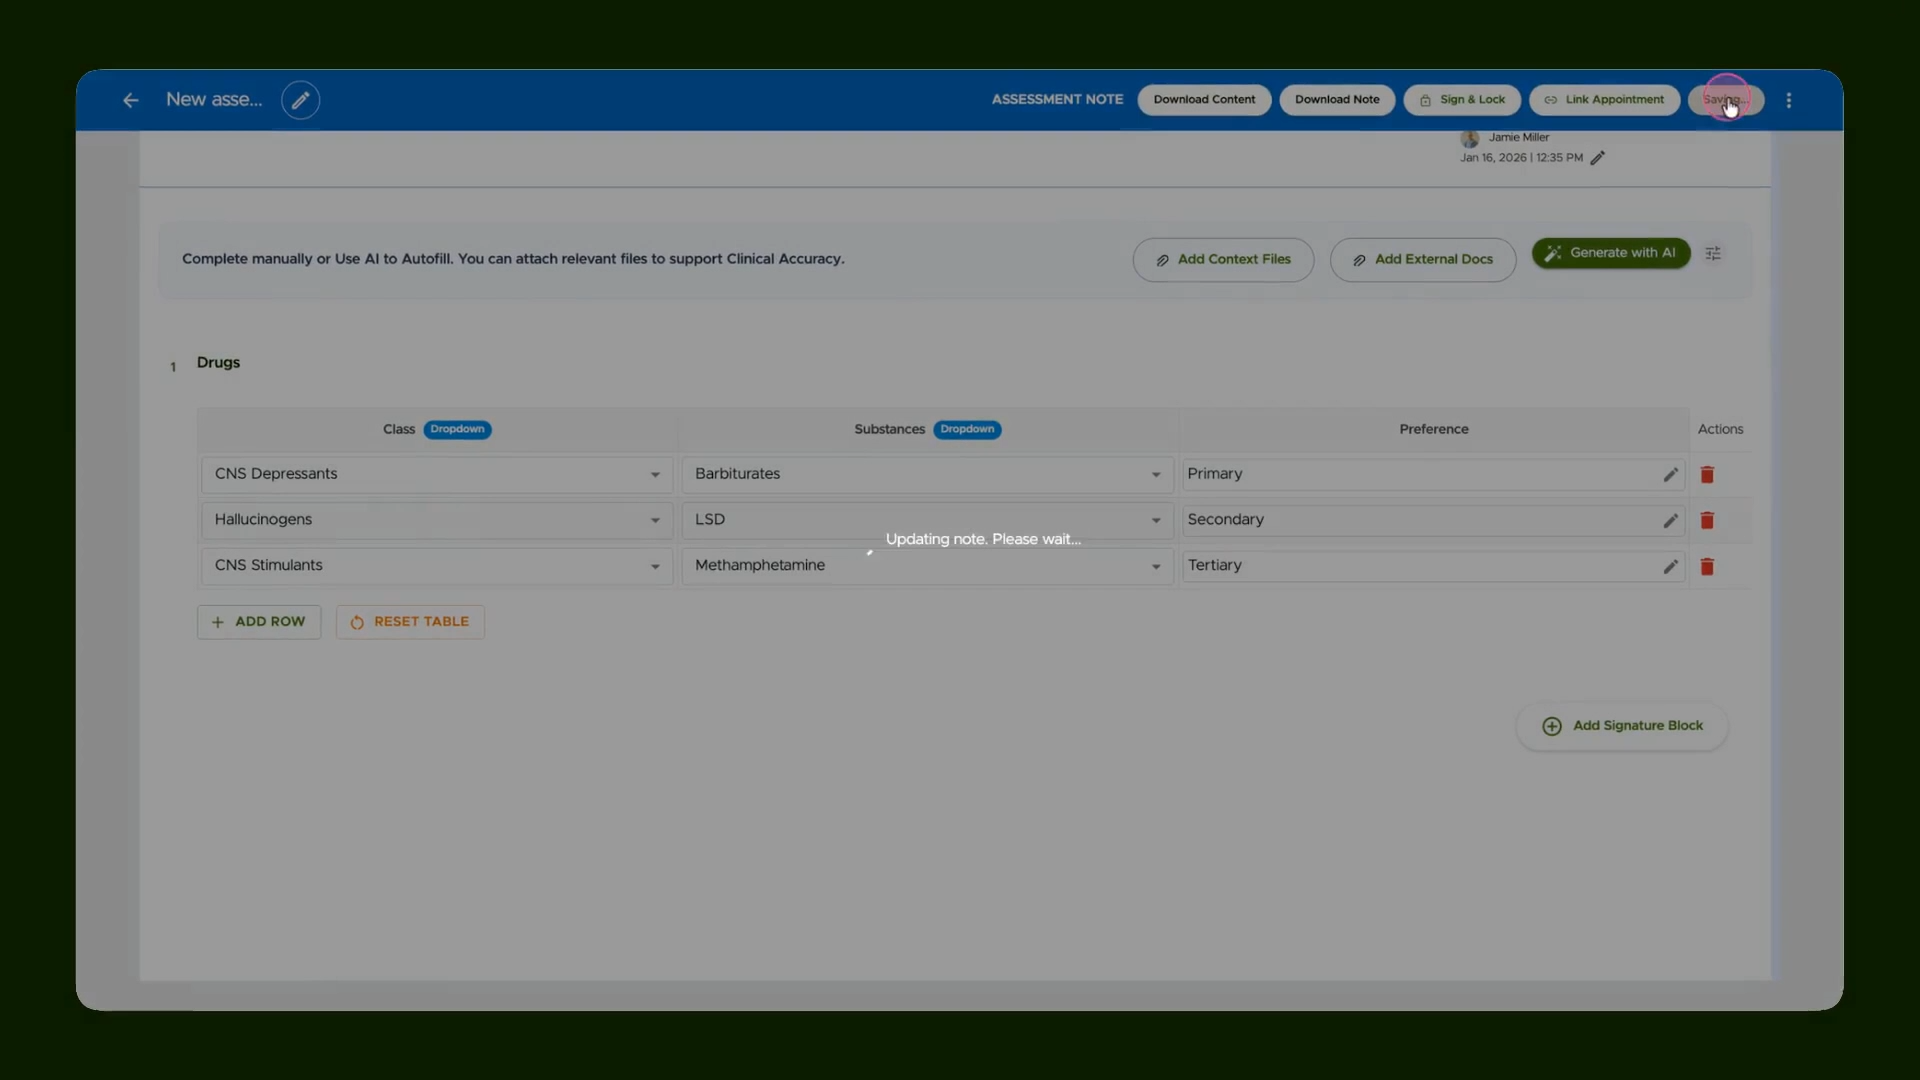
Step 18: Enter Data Using Dependent Drop Downs
Fill out the table by selecting options. The second column updates automatically based on your earlier choices.
Step 19: Add More Rows if Needed
Keep adding rows—drop down choices stay context-sensitive, matching your previous selections.
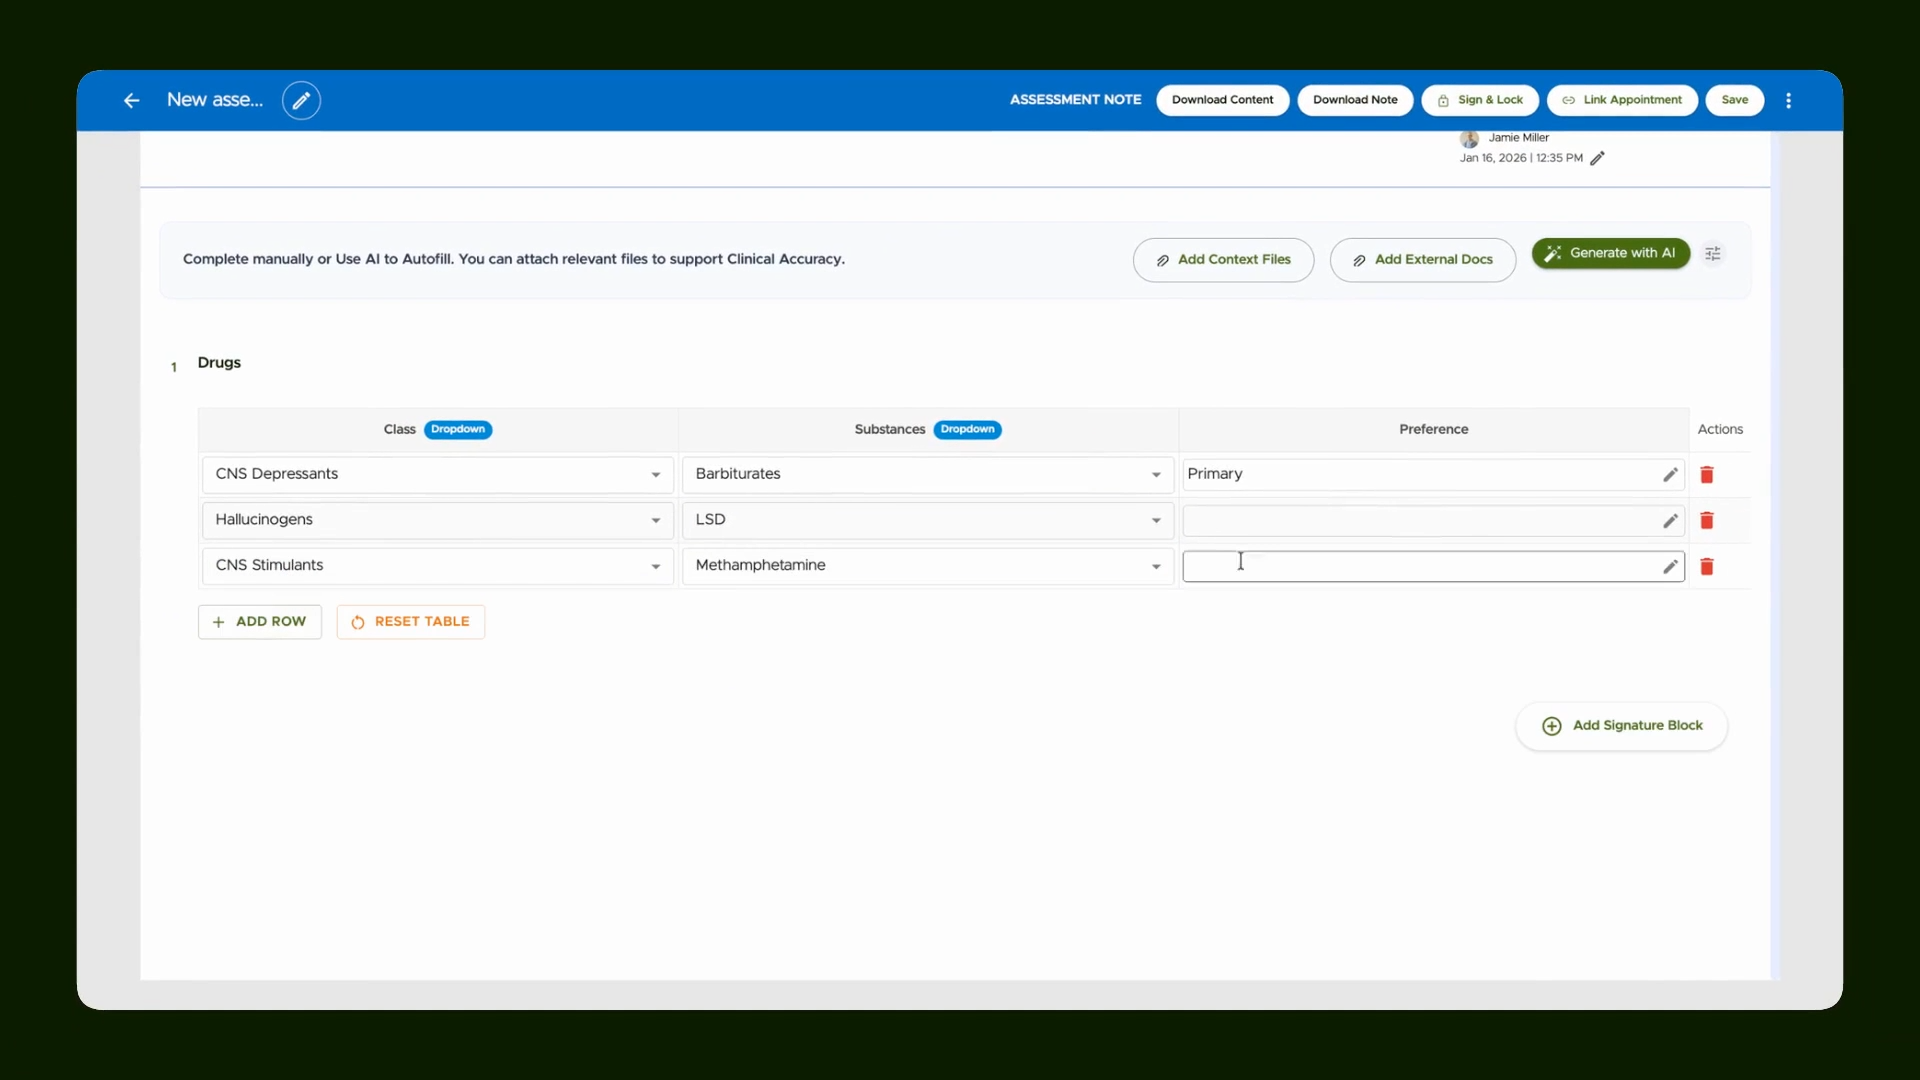
Step 20: Save and (Optional) Download Your Data
When done, save your entries. Download the data if you need an offline record.
Dynamic tables with drop down dependencies and conditional logic help you collect accurate, context-aware data every time. Use them to keep forms simple, relevant, and user friendly.