Managing Client's Documentation - Notes, Forms, & Assessments
Managing client documentation is vital for organized, efficient client care. By following this step-by-step guide, you'll navigate client files, add notes, send forms, and work with scored measures—all while understanding the purpose behind each step.
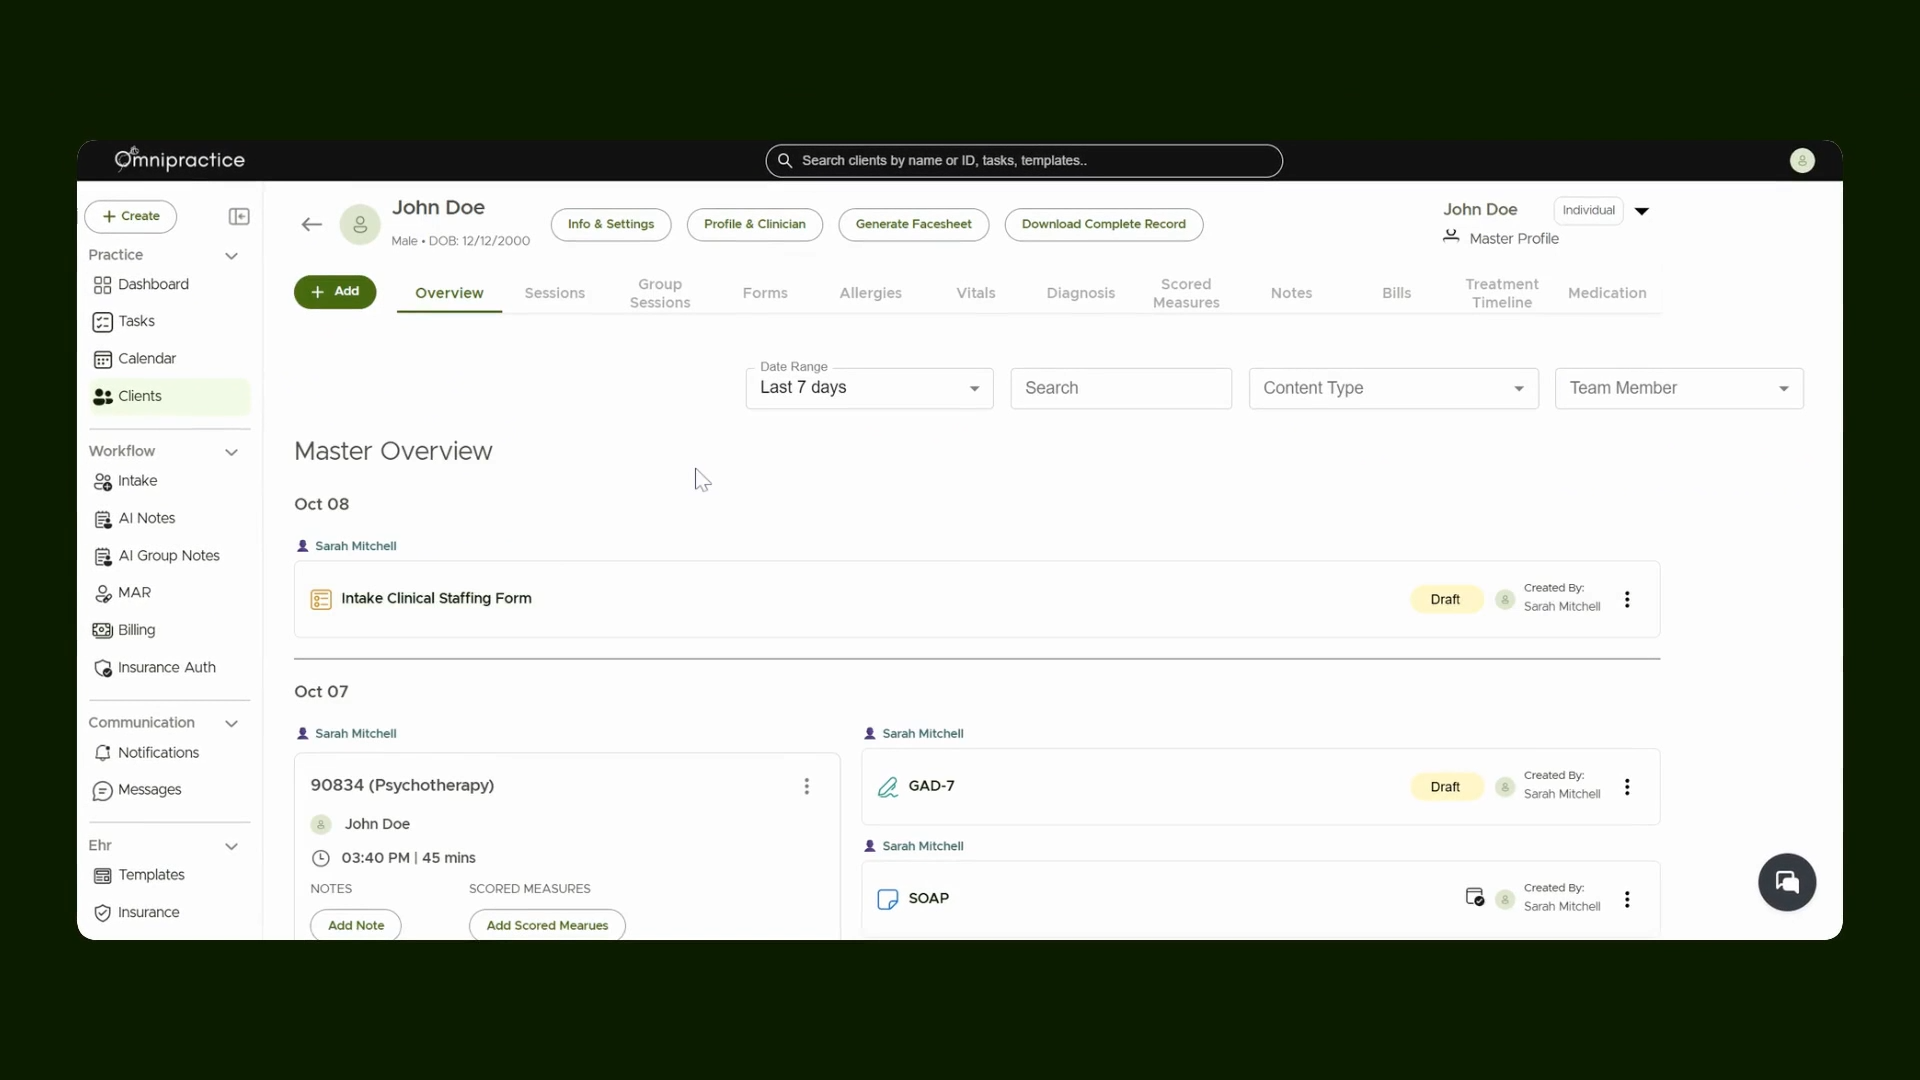
Step 1: Access the Client File
Begin by navigating to the client file. For this example, let’s use John Doe’s file. This gives you access to all documentation related to the client.
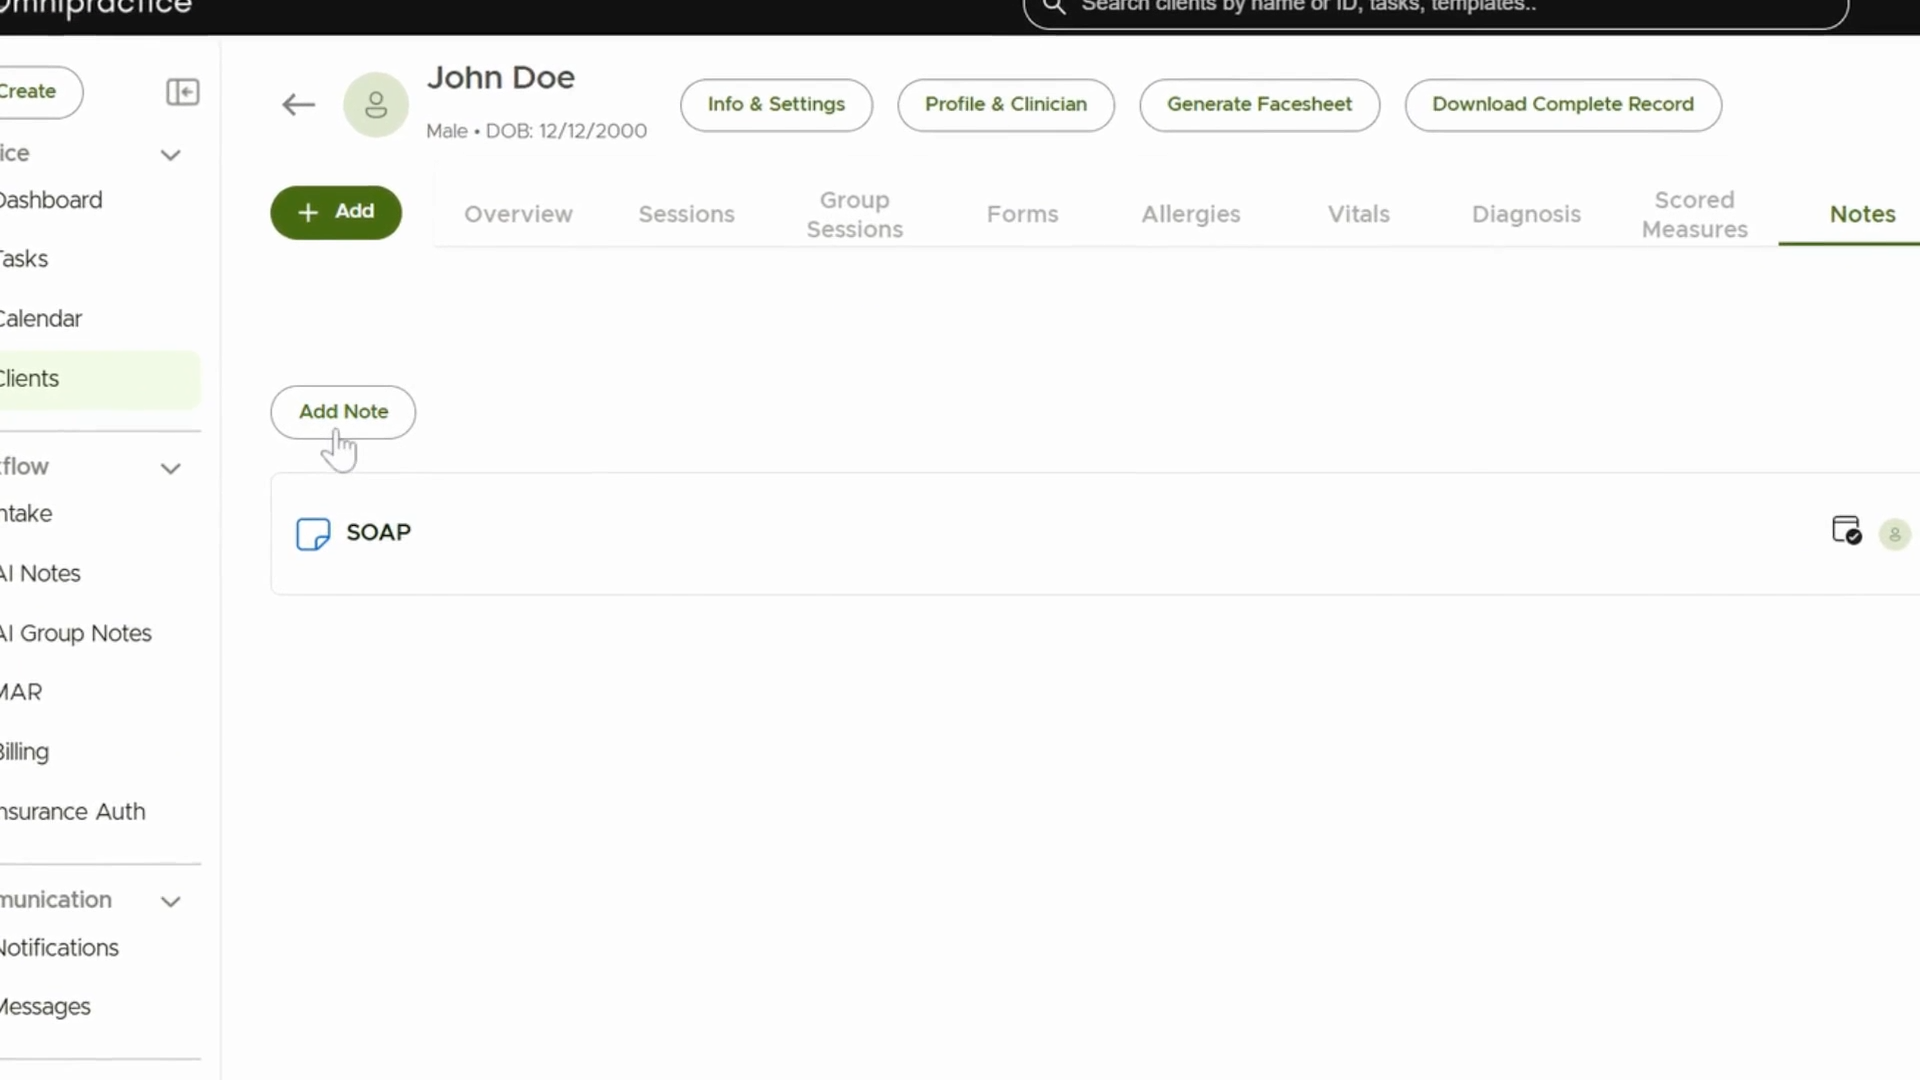
Step 2: Open the Clinical Notes Tab
Select the clinical notes tab to review all notes tied to the client. Reviewing existing notes keeps your client records consistent and up to date.

Step 3: Add a New Note
Click Add Note to start a new entry in the client file. Adding fresh notes ensures progress and details are thoroughly documented.
Step 4: Choose Note Templates
Select templates such as Progress Notes or Assessment Notes based on what you need to record. Using templates standardizes information and streamlines note-taking.
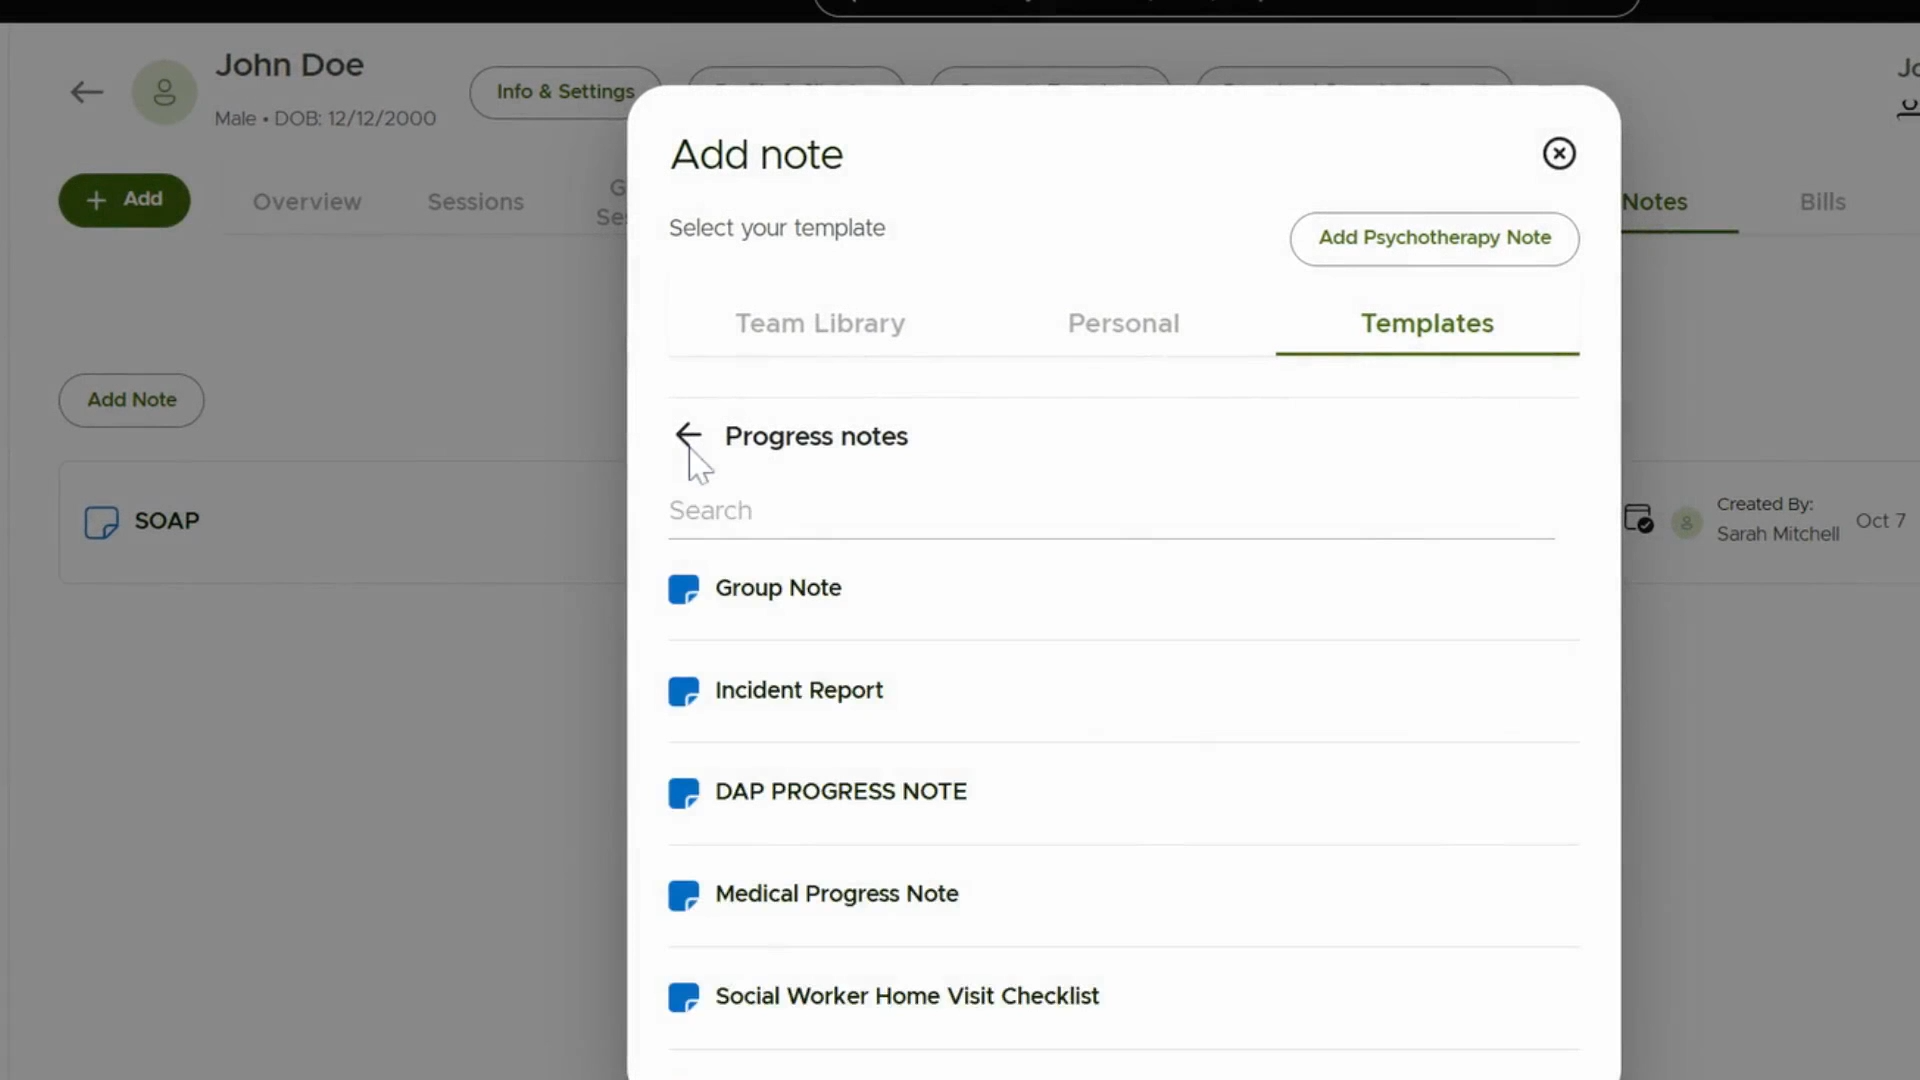
Step 5: Use Team Library Notes
If you’ve saved note templates to the Team Library, they’ll show under the Team Library section. Select a template from here to maintain consistency across your team.

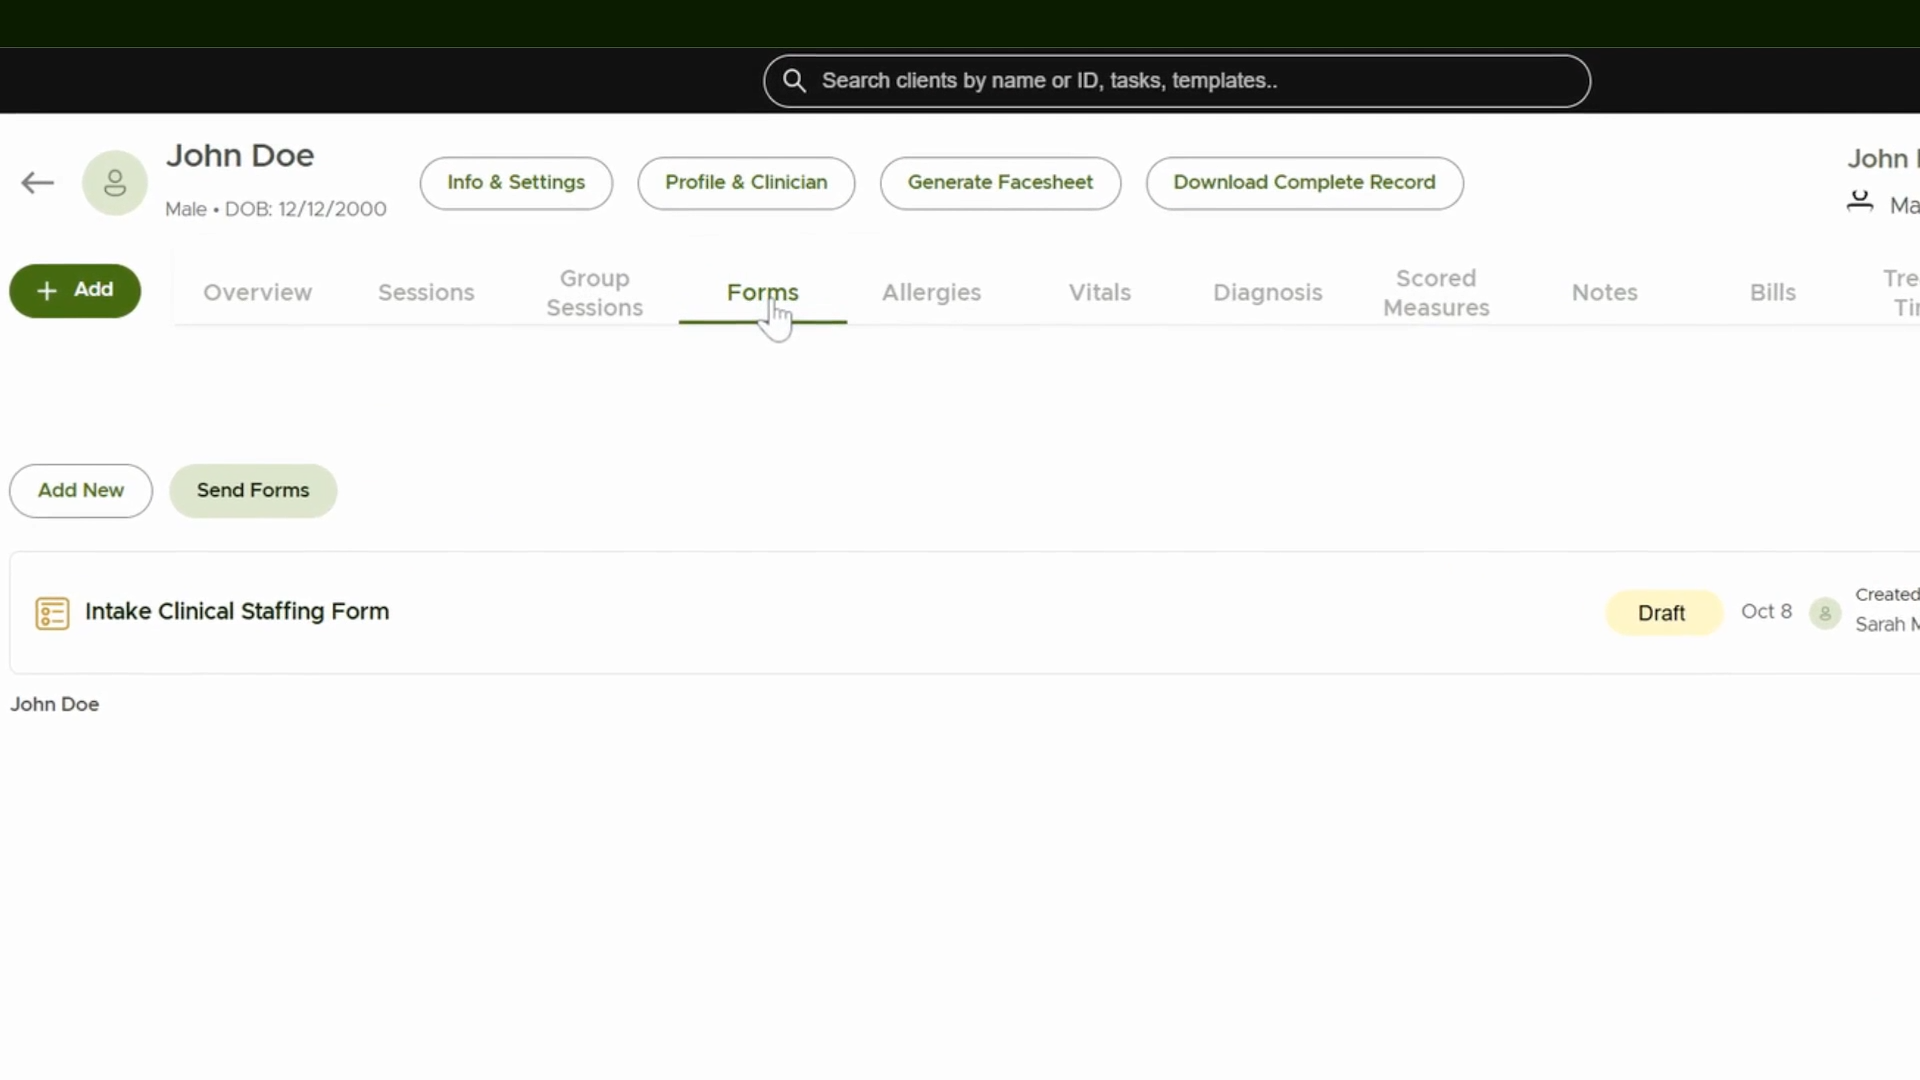
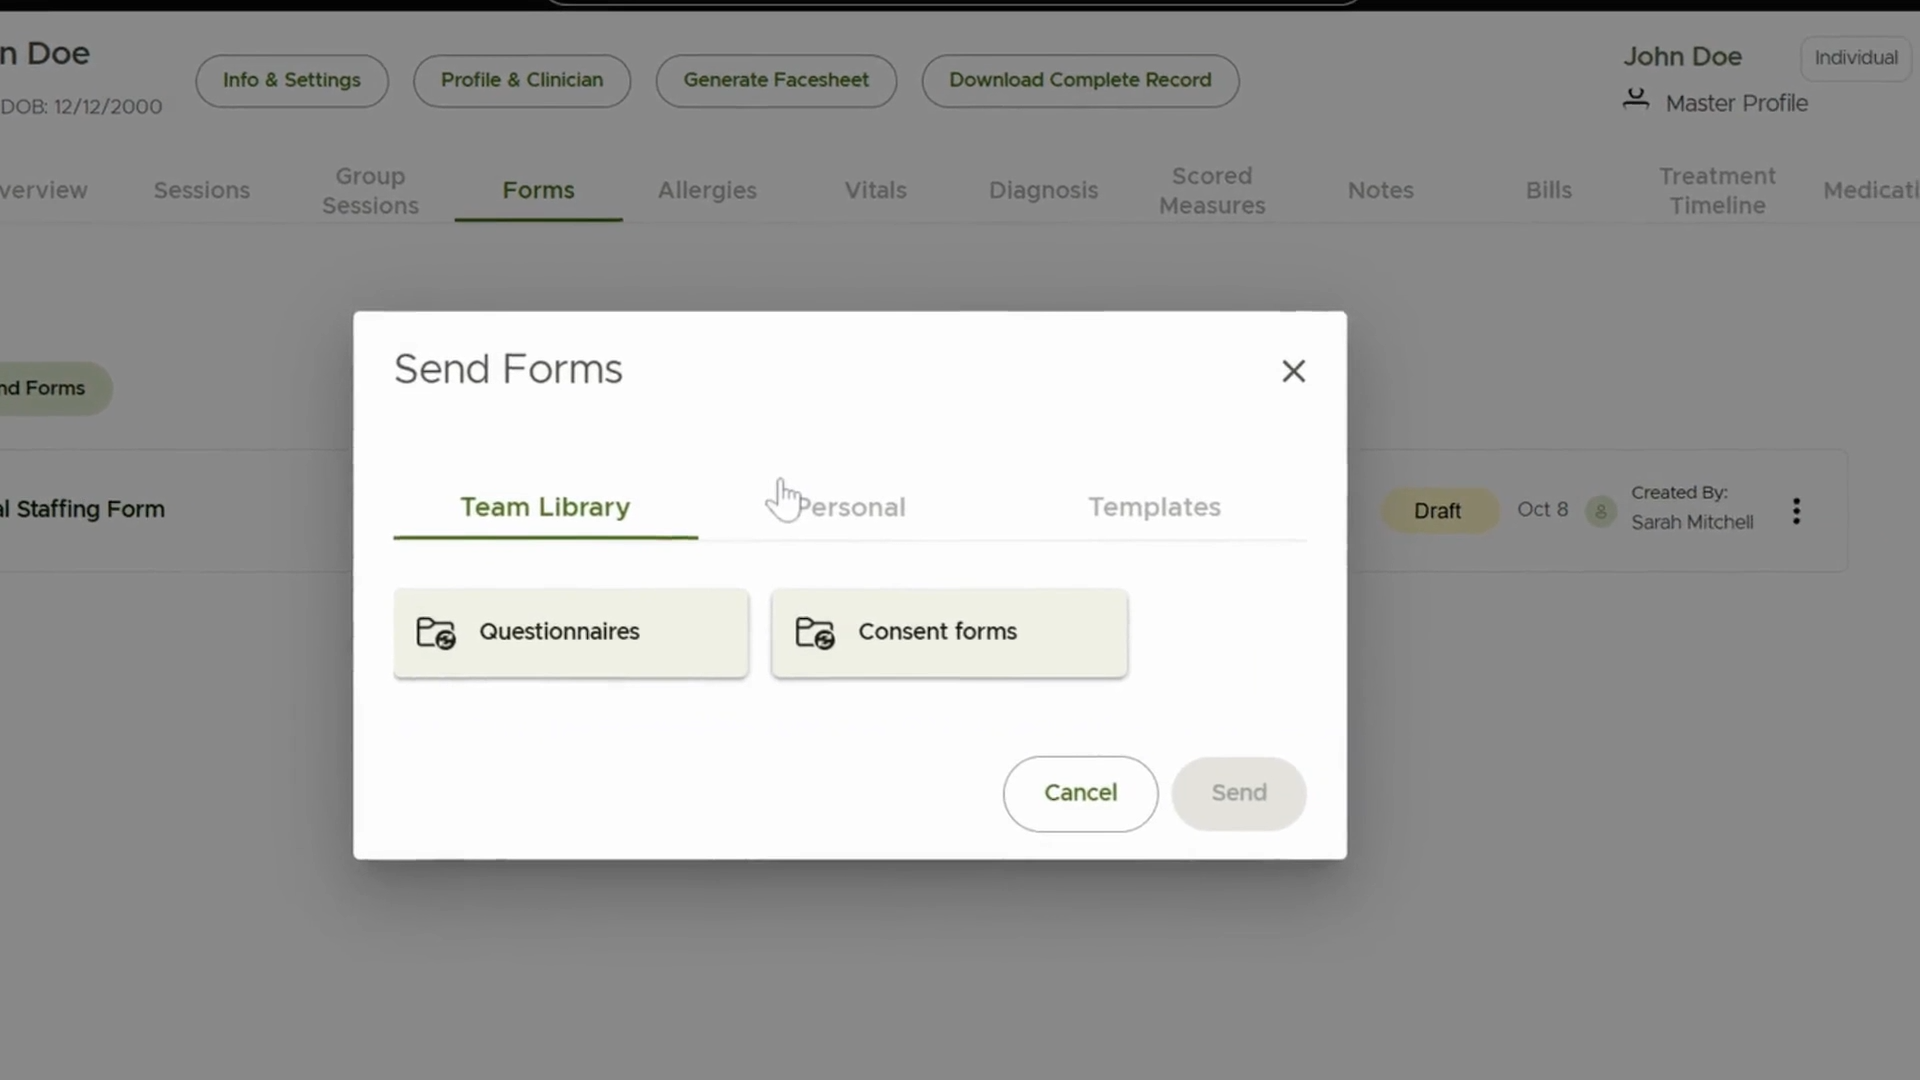
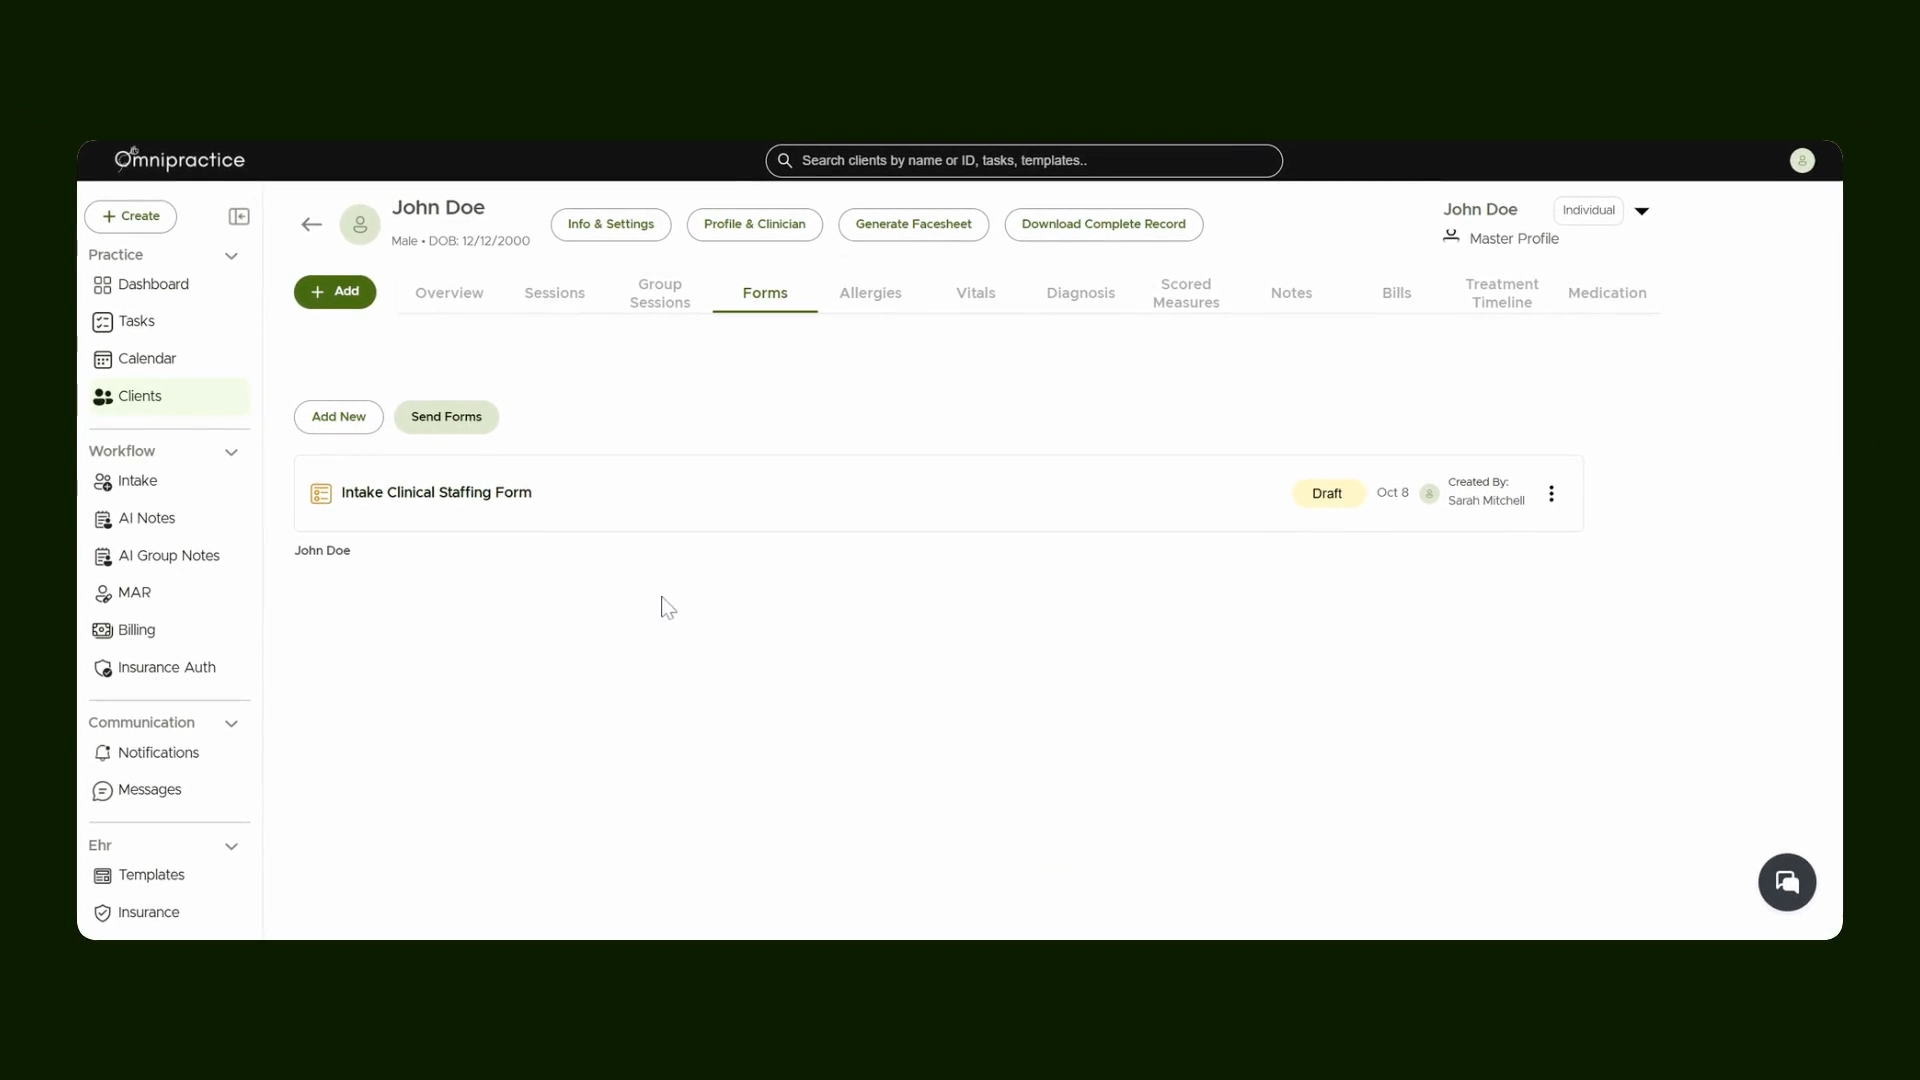
Step 6: Access the Forms
Navigate to the forms section of the client file. This is where you can add, send, and review forms for each client.
Step 7: Send Forms to Clients
If your client has an email address, select the desired form and send it directly. Sending forms digitally allows clients to complete them remotely from client portal and streamlines your workflow.
Step 8: Track Completed Forms
Completed forms from clients appear in both their client portal and under the forms section. Monitoring form completion lets you quickly identify outstanding documentation.
Step 9: Add a New Form
Click Add New in the forms section to include additional forms. Head to the template section, search for the needed form, and add it to the client file.

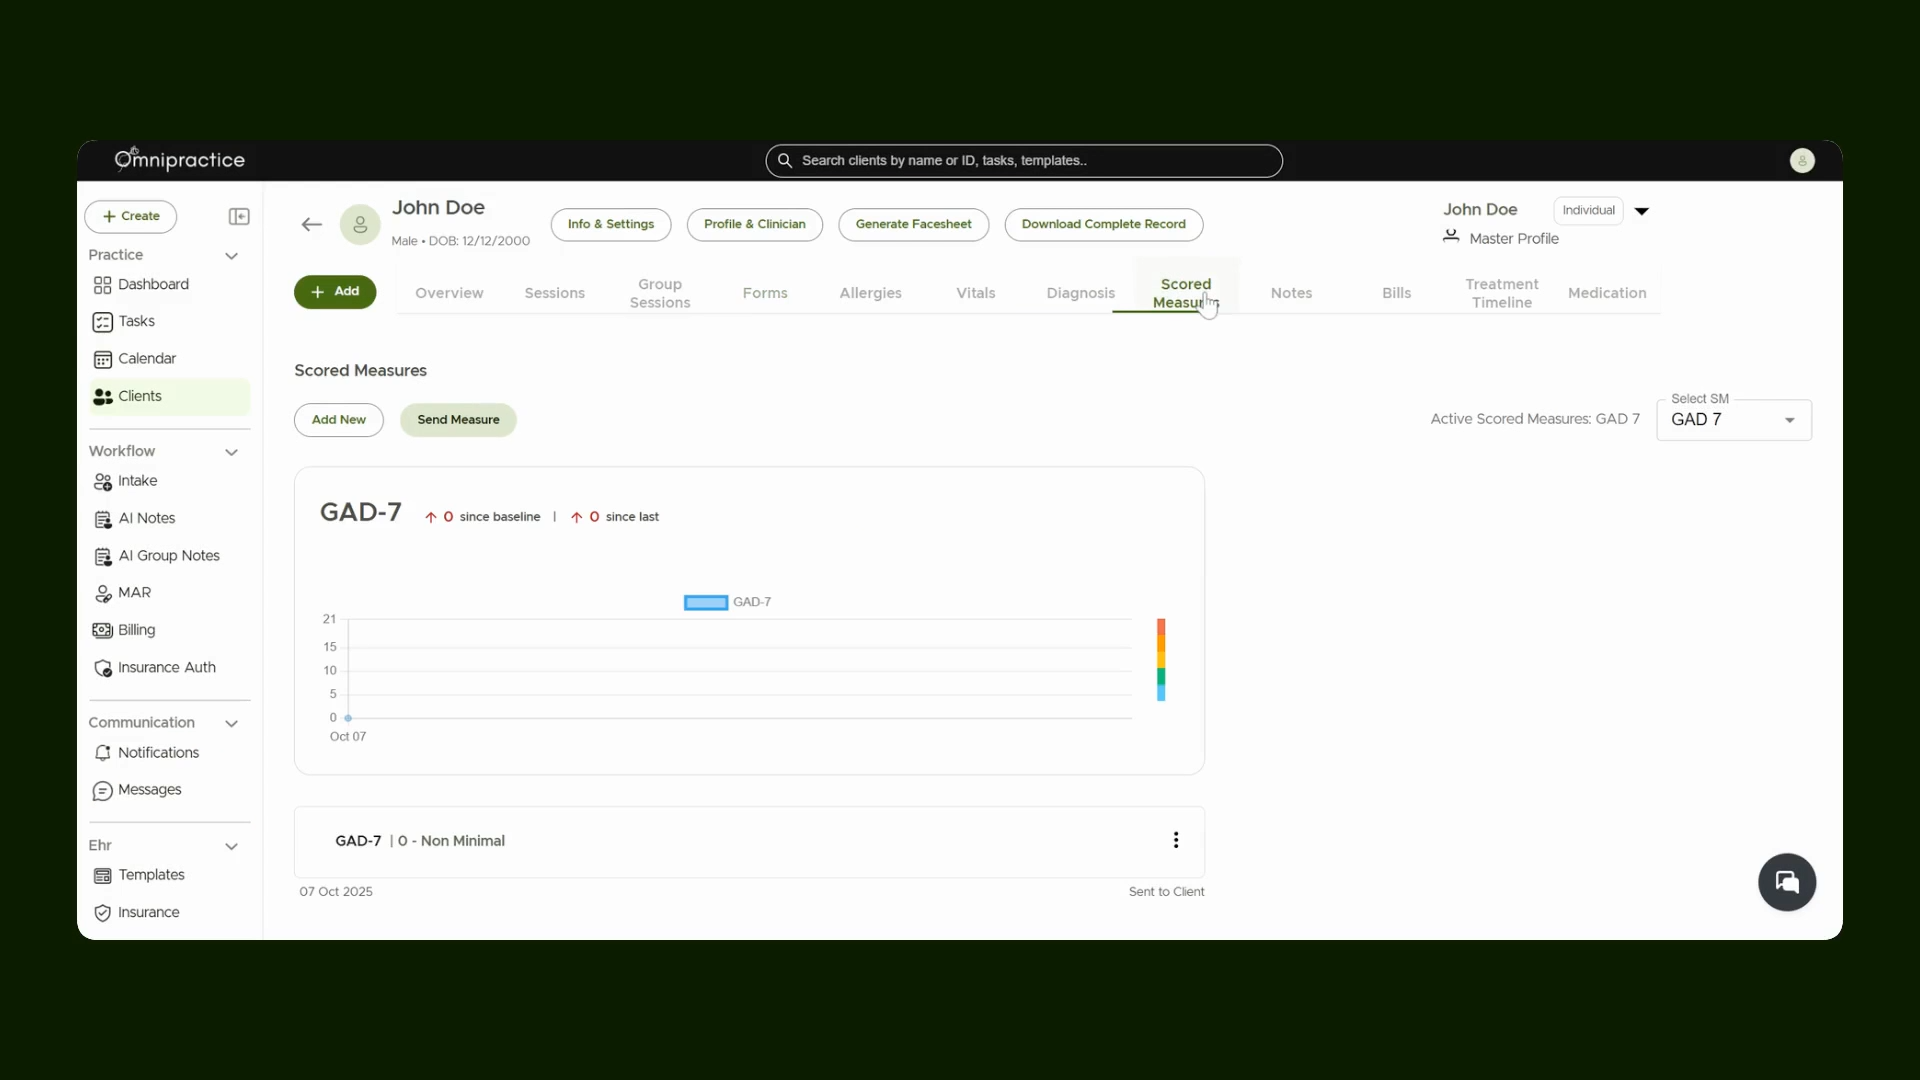
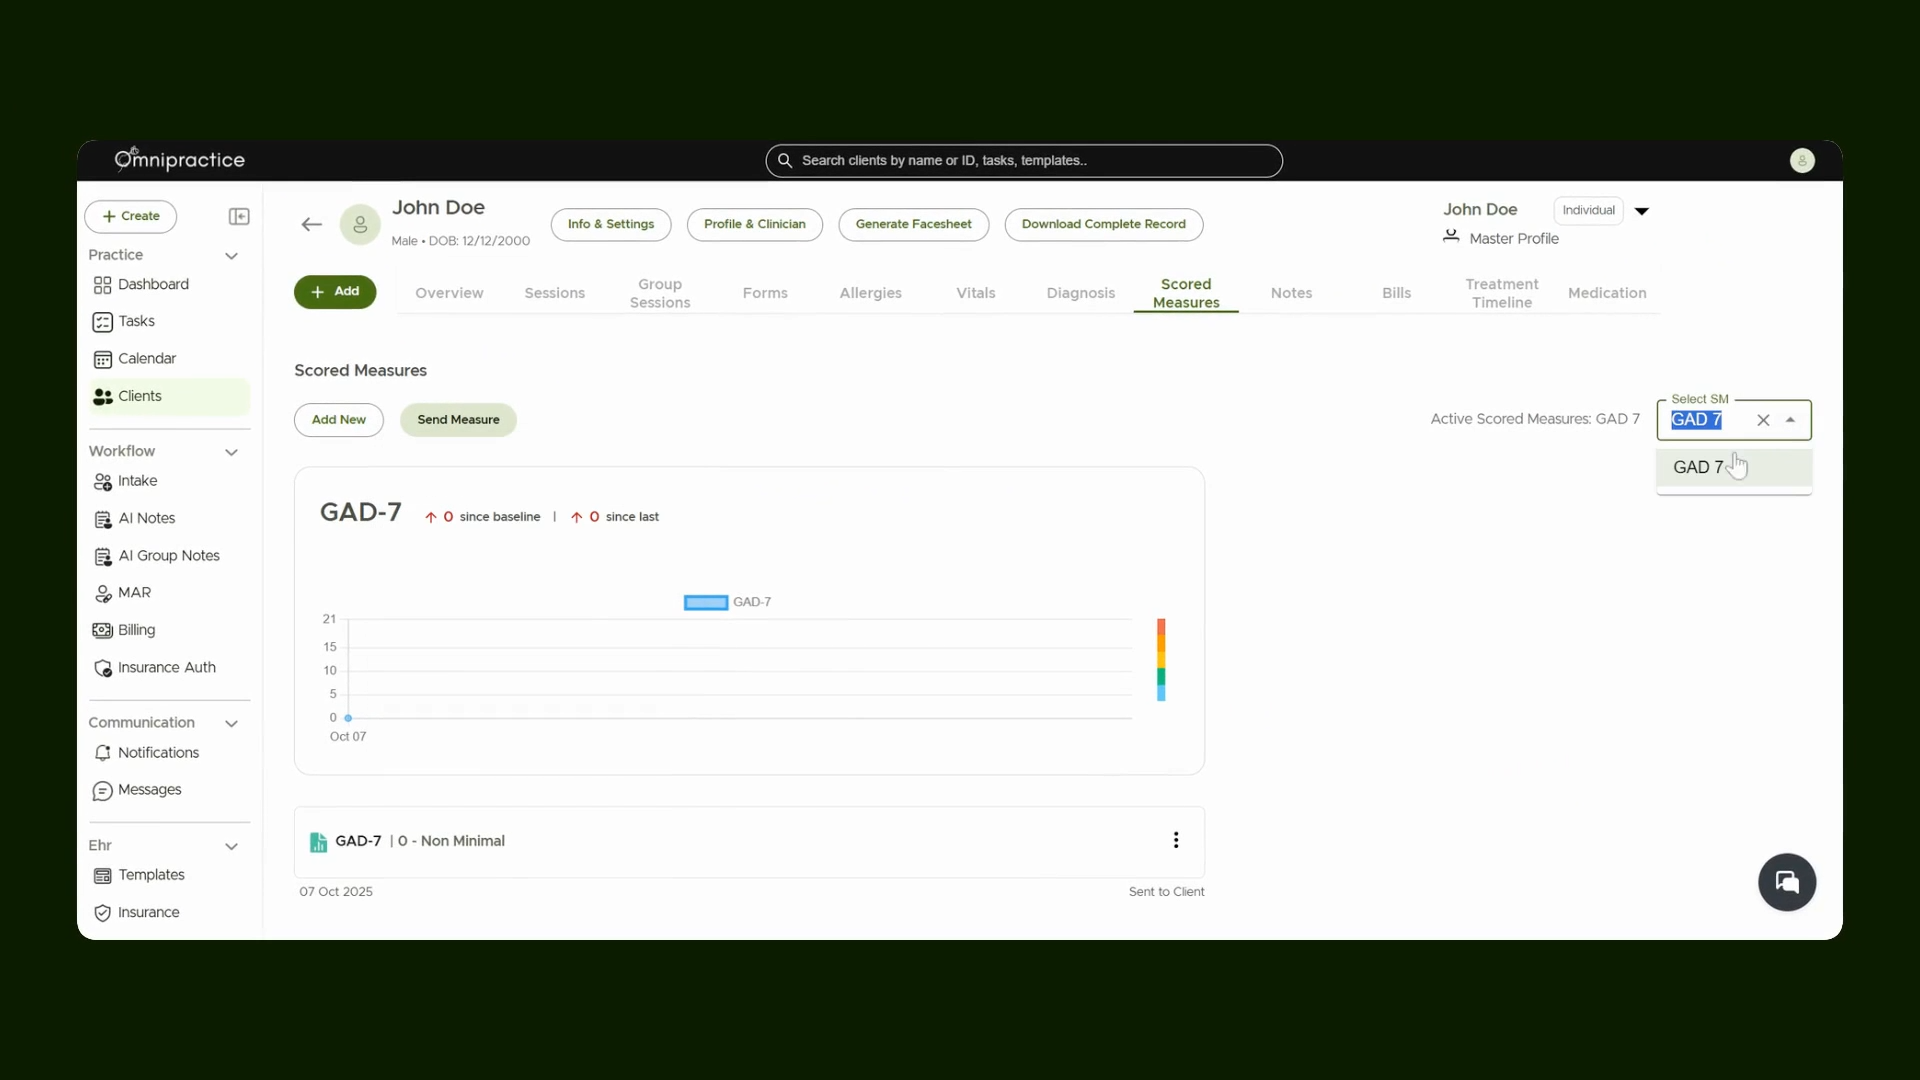
Step 10: Work with Scored Measures
Visit the Scored Measures section to manage client assessments that include scored data. This section provides a structured way to track client progress over time.
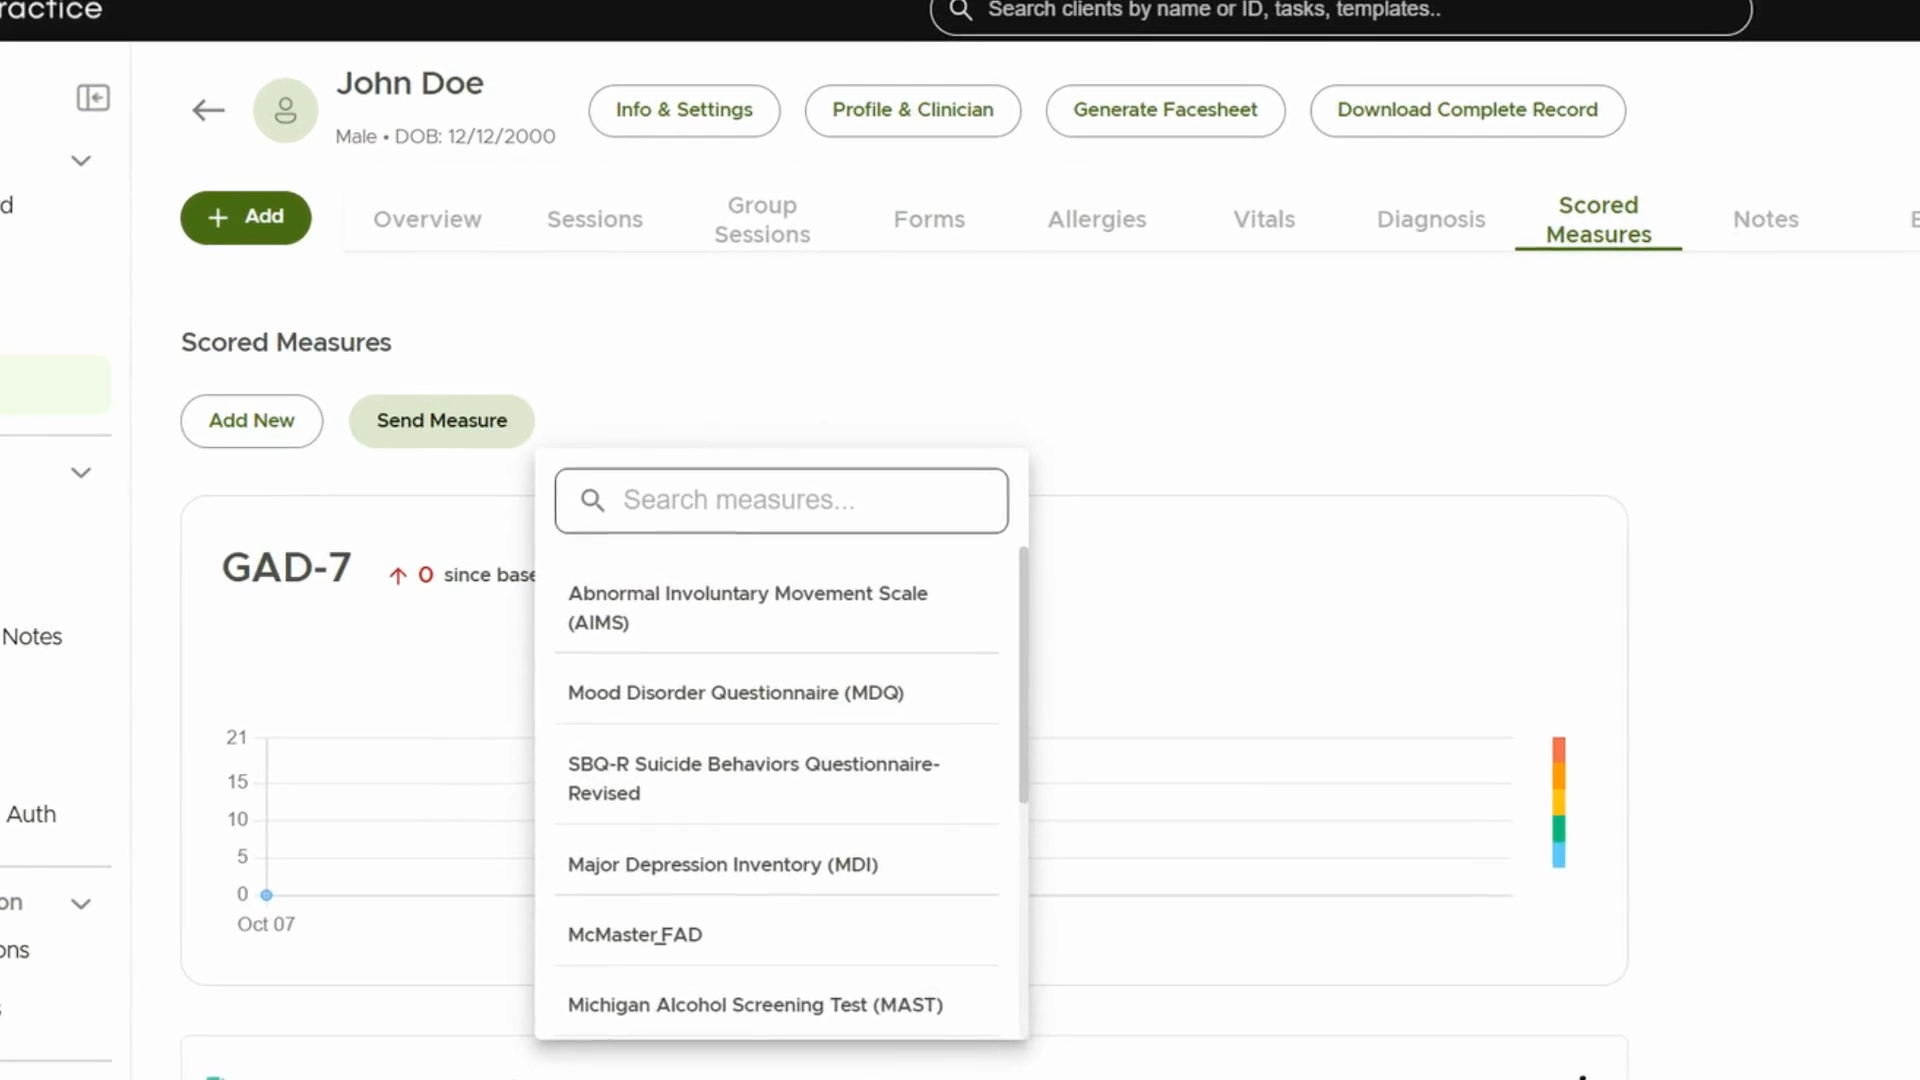
Step 11: Send or Add New Scored Measures
Choose from existing scored measures or click Add New to include fresh assessments for the client.
Step 12: View and Manage All Scored Measures
Use the dropdown menu to view all scored measures. The ability to see all measures in one place simplifies oversight and comparisons.
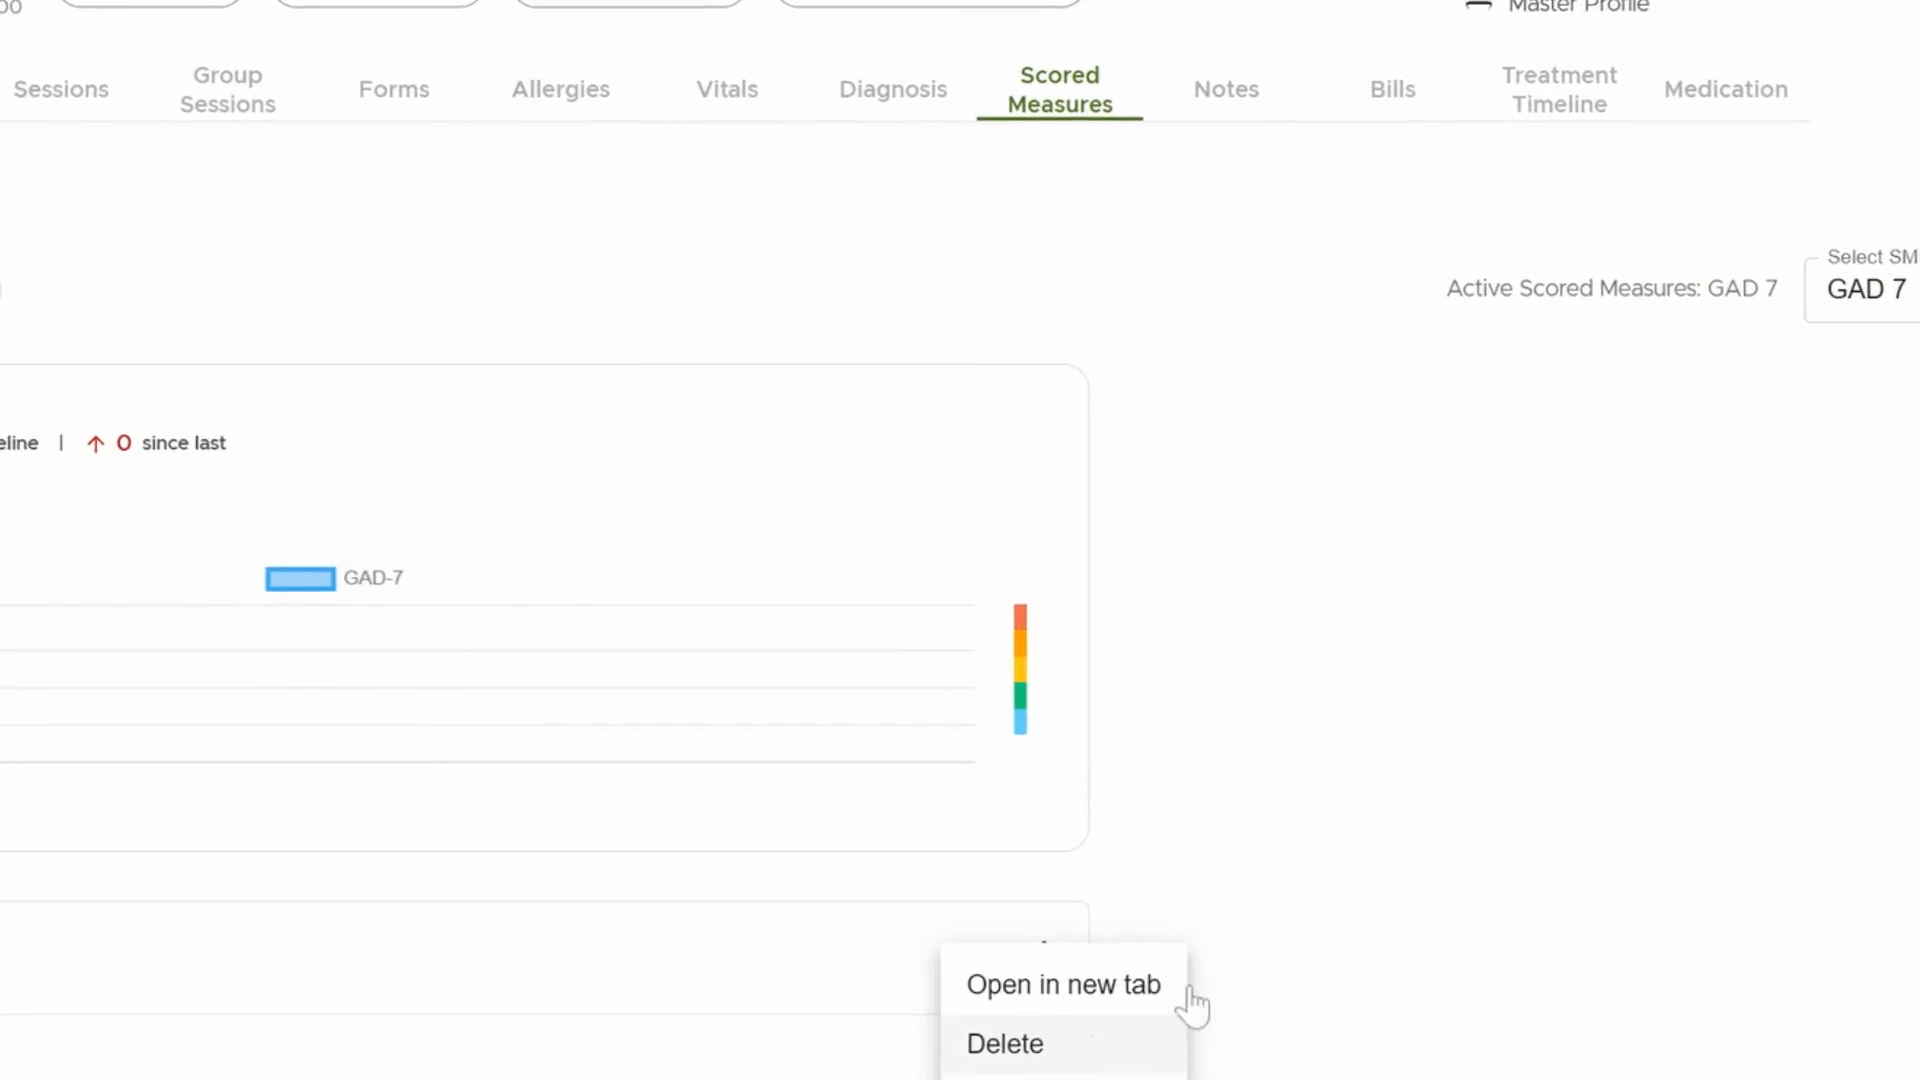
Step 13: Deleting or Opening Notes in New Tab
Click the More icon to open a note in a new tab or delete it entirely when needed. This maintains an organized record.
Managing client documentation using these steps ensures all records are current, organized, and accessible—leading to better client care and team collaboration.