Group Appointment Session Mapping Tutorial
Mapping your group session types and connecting them with relevant note and prompt templates ensures your team uses accurate documentation and streamlined AI workflows for every group appointment. Let’s walk through how to set up and use group session types, select note and prompt templates, and document group sessions efficiently.
Set Up Group Session Mapping
Step 1: Go to Settings.
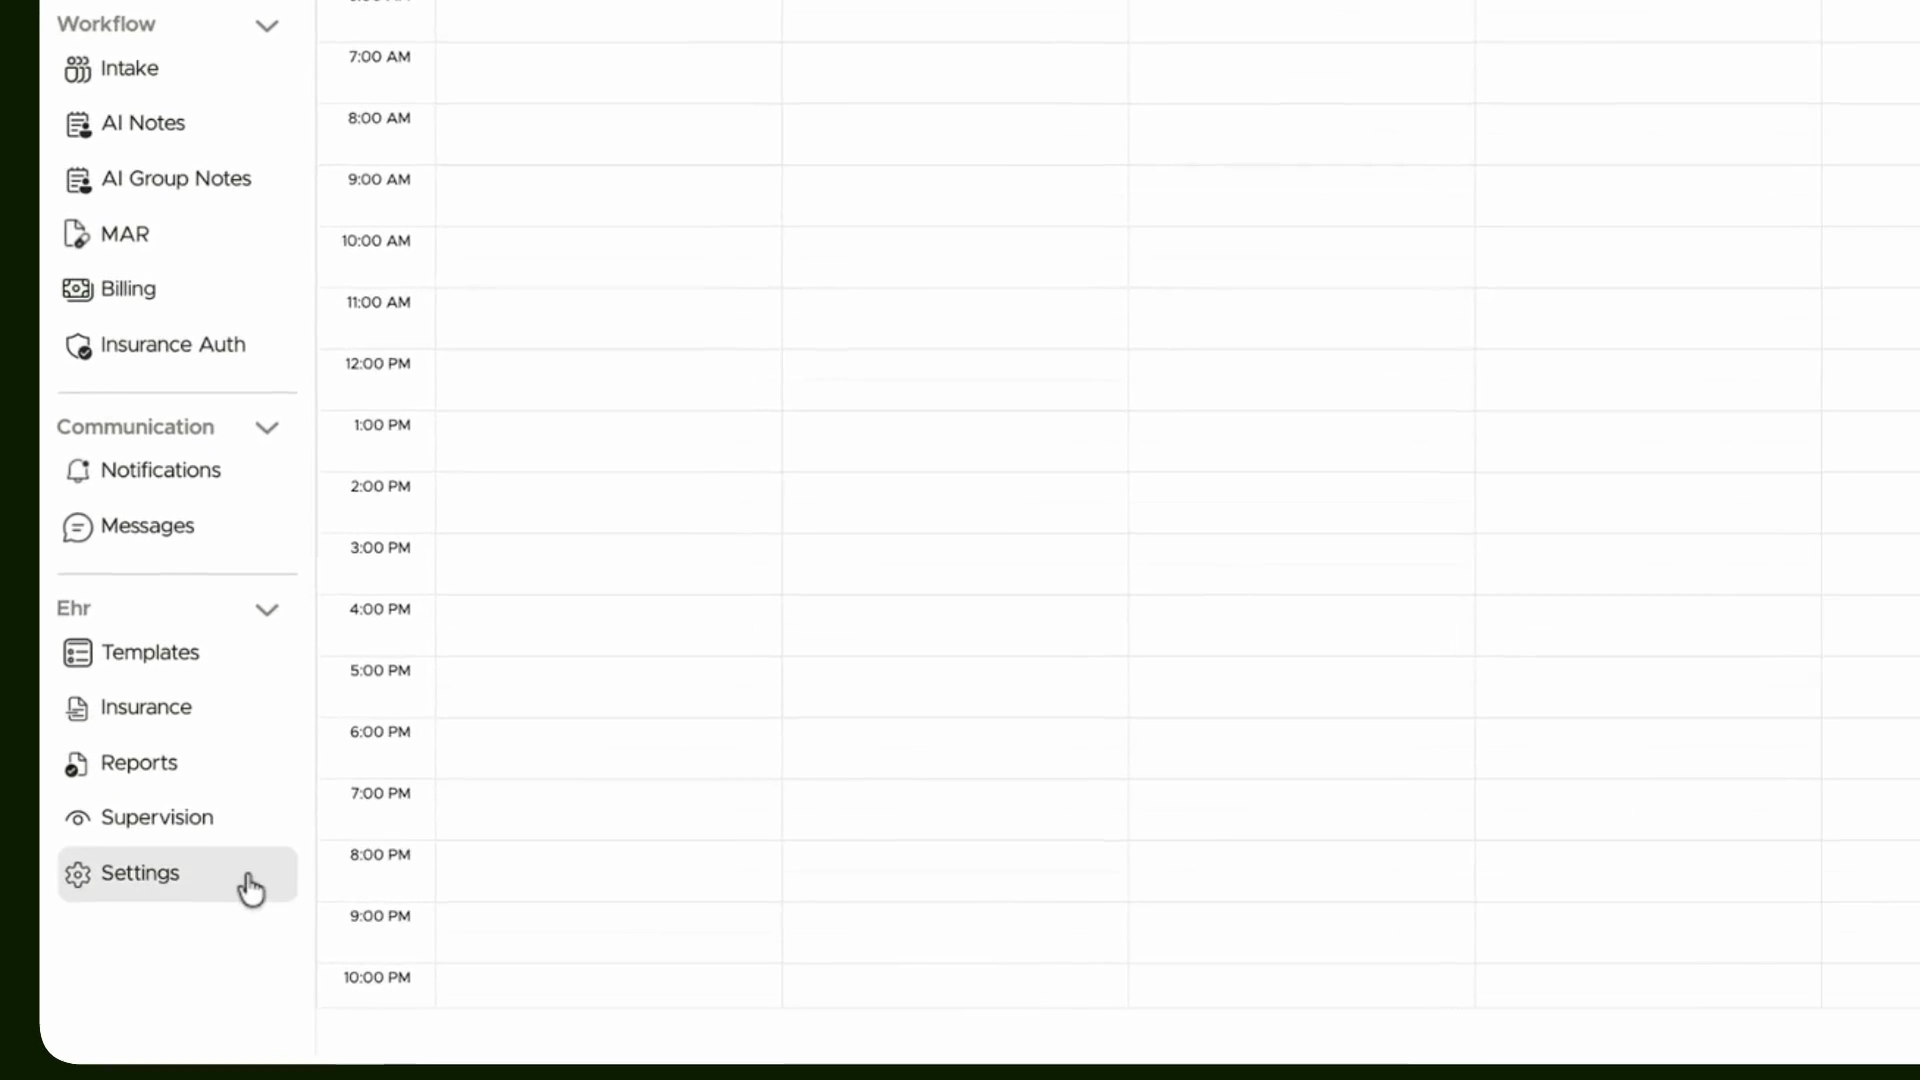
Step 2: Click on Practice Setting.
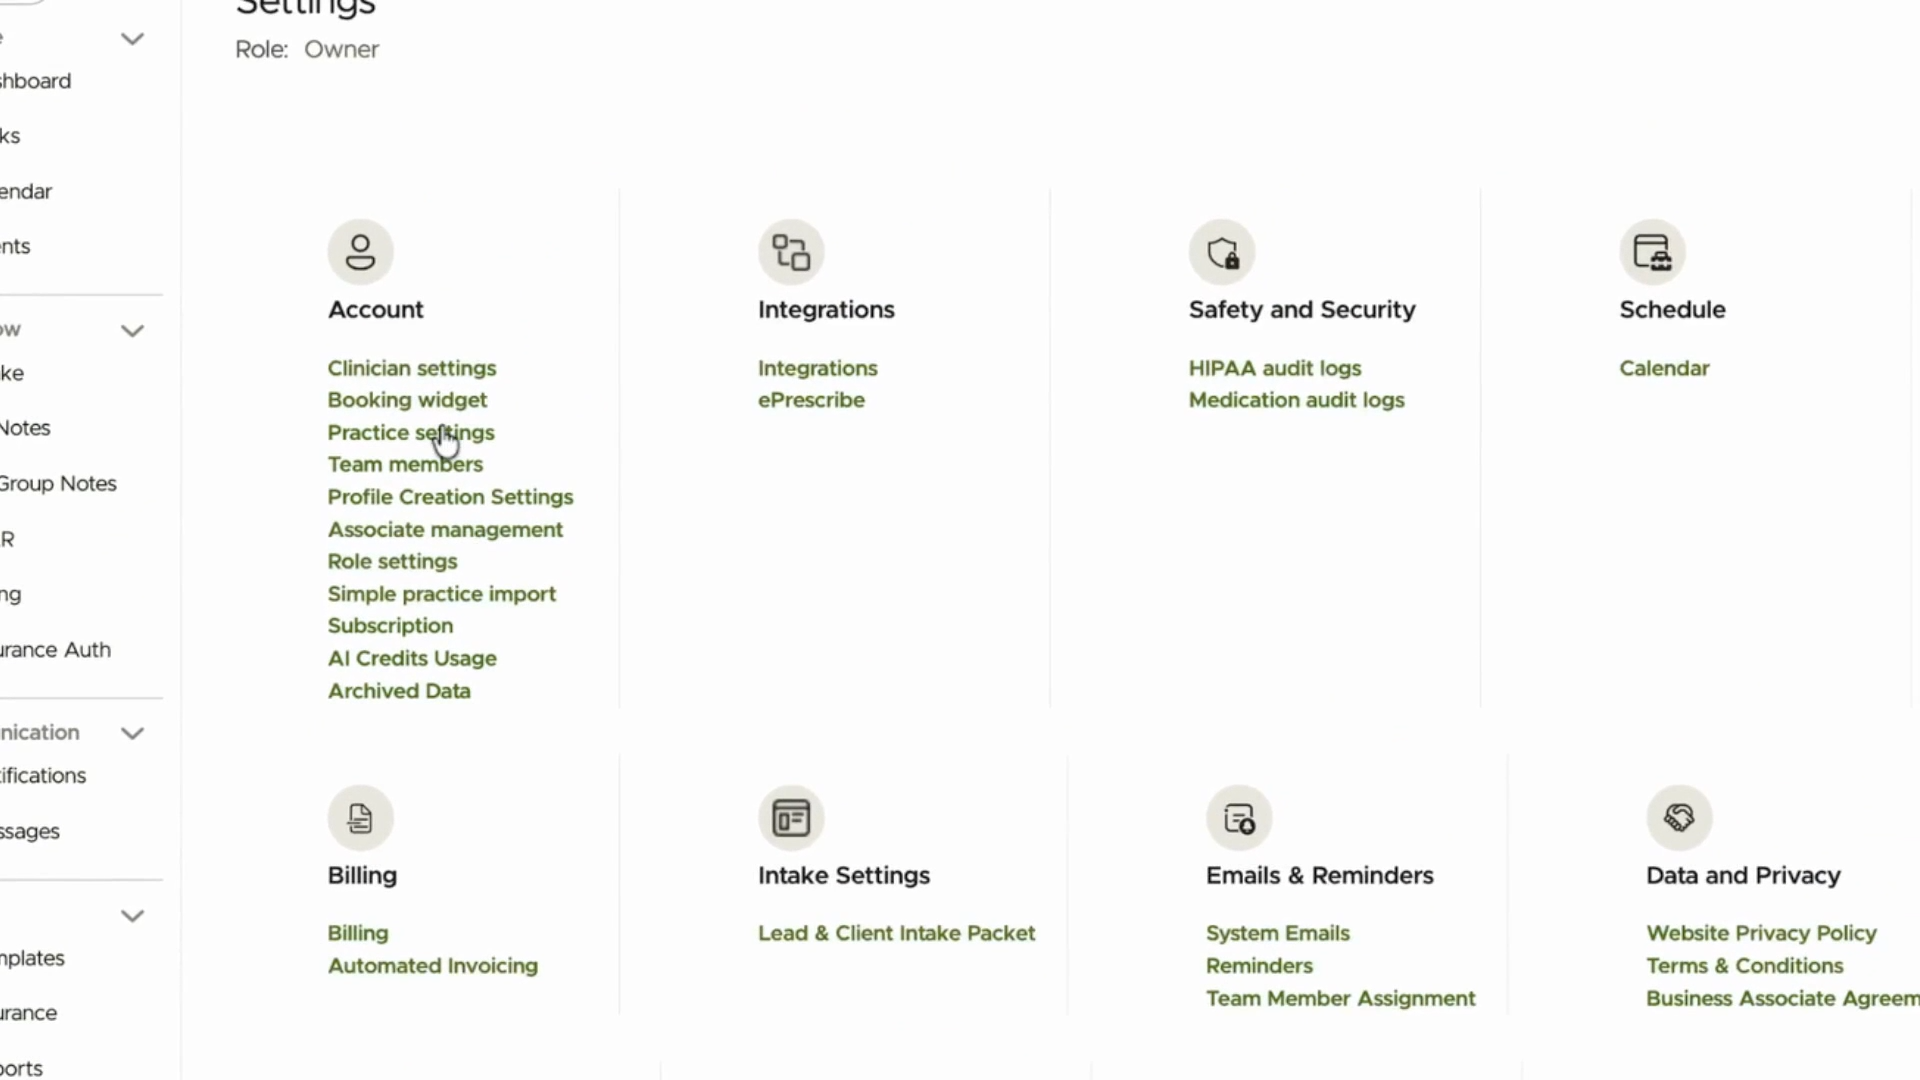
Step 3: Select Services from the menu.
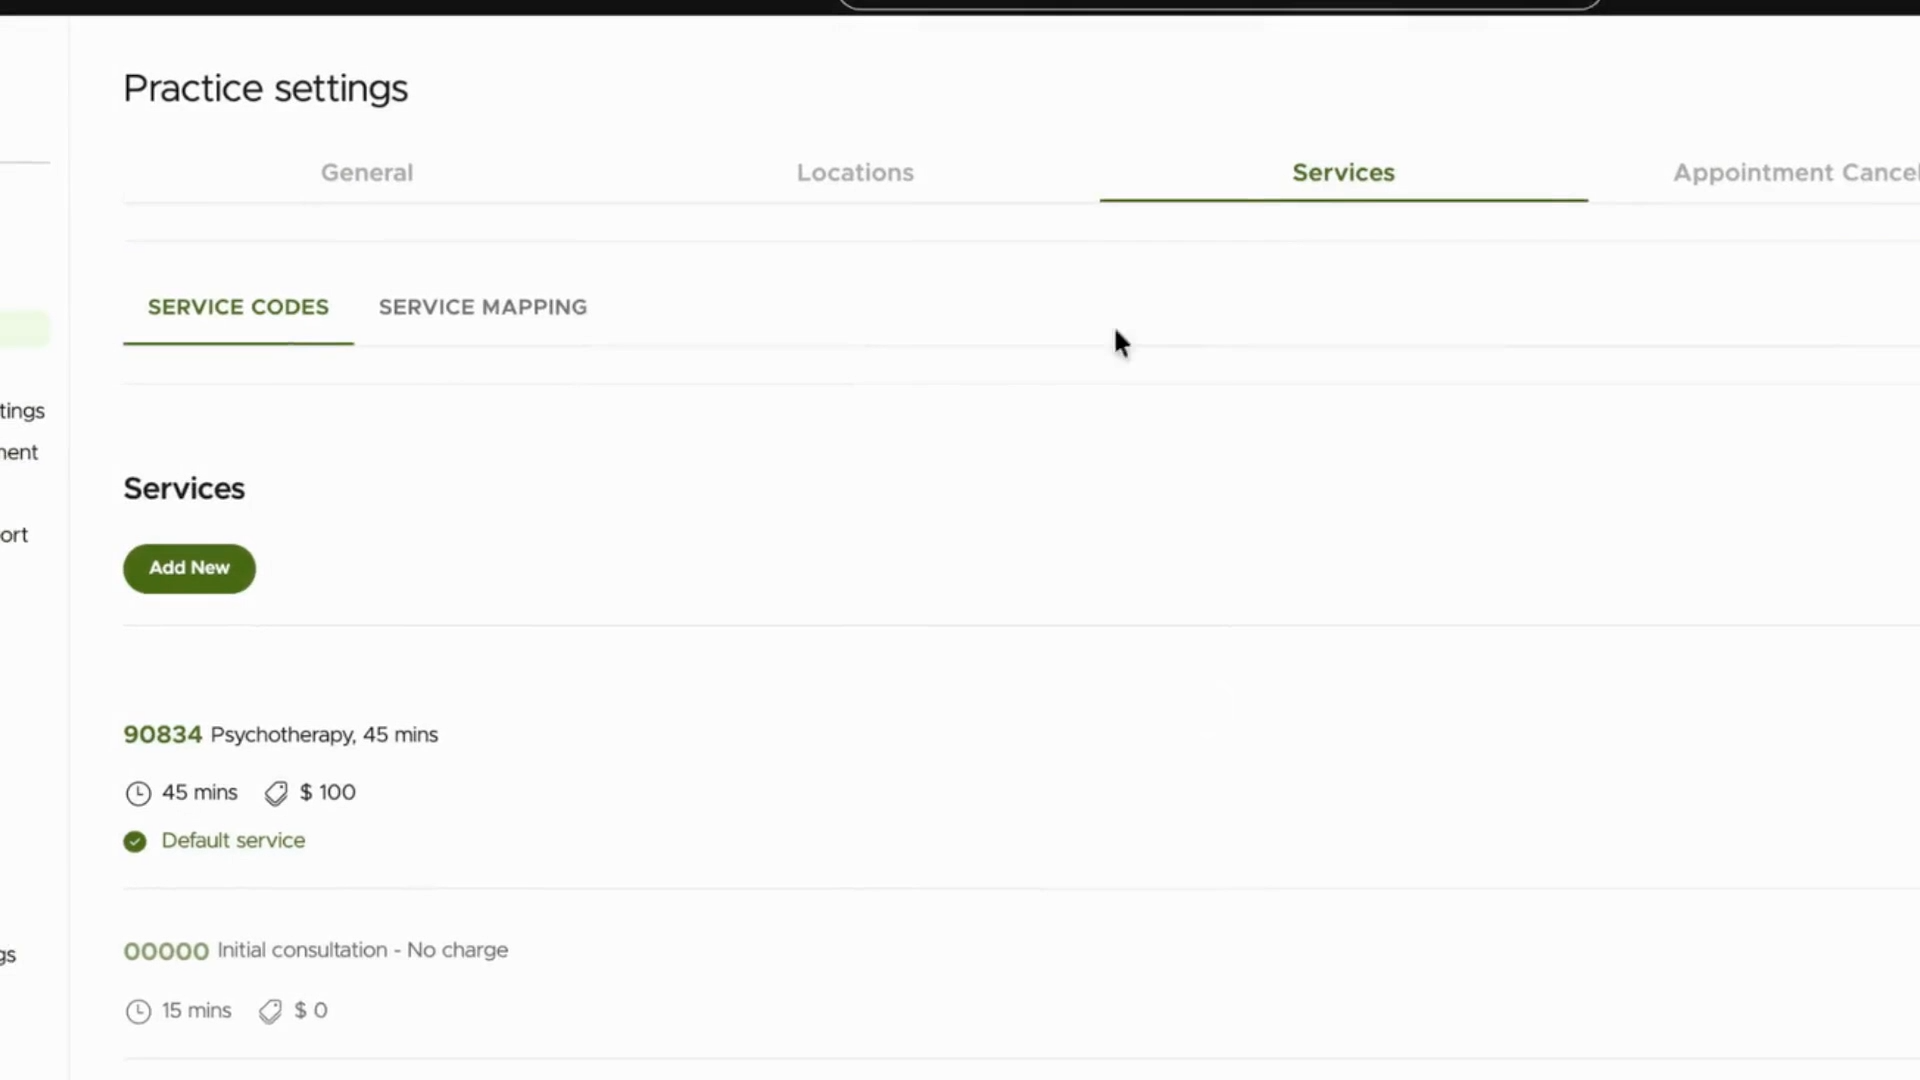
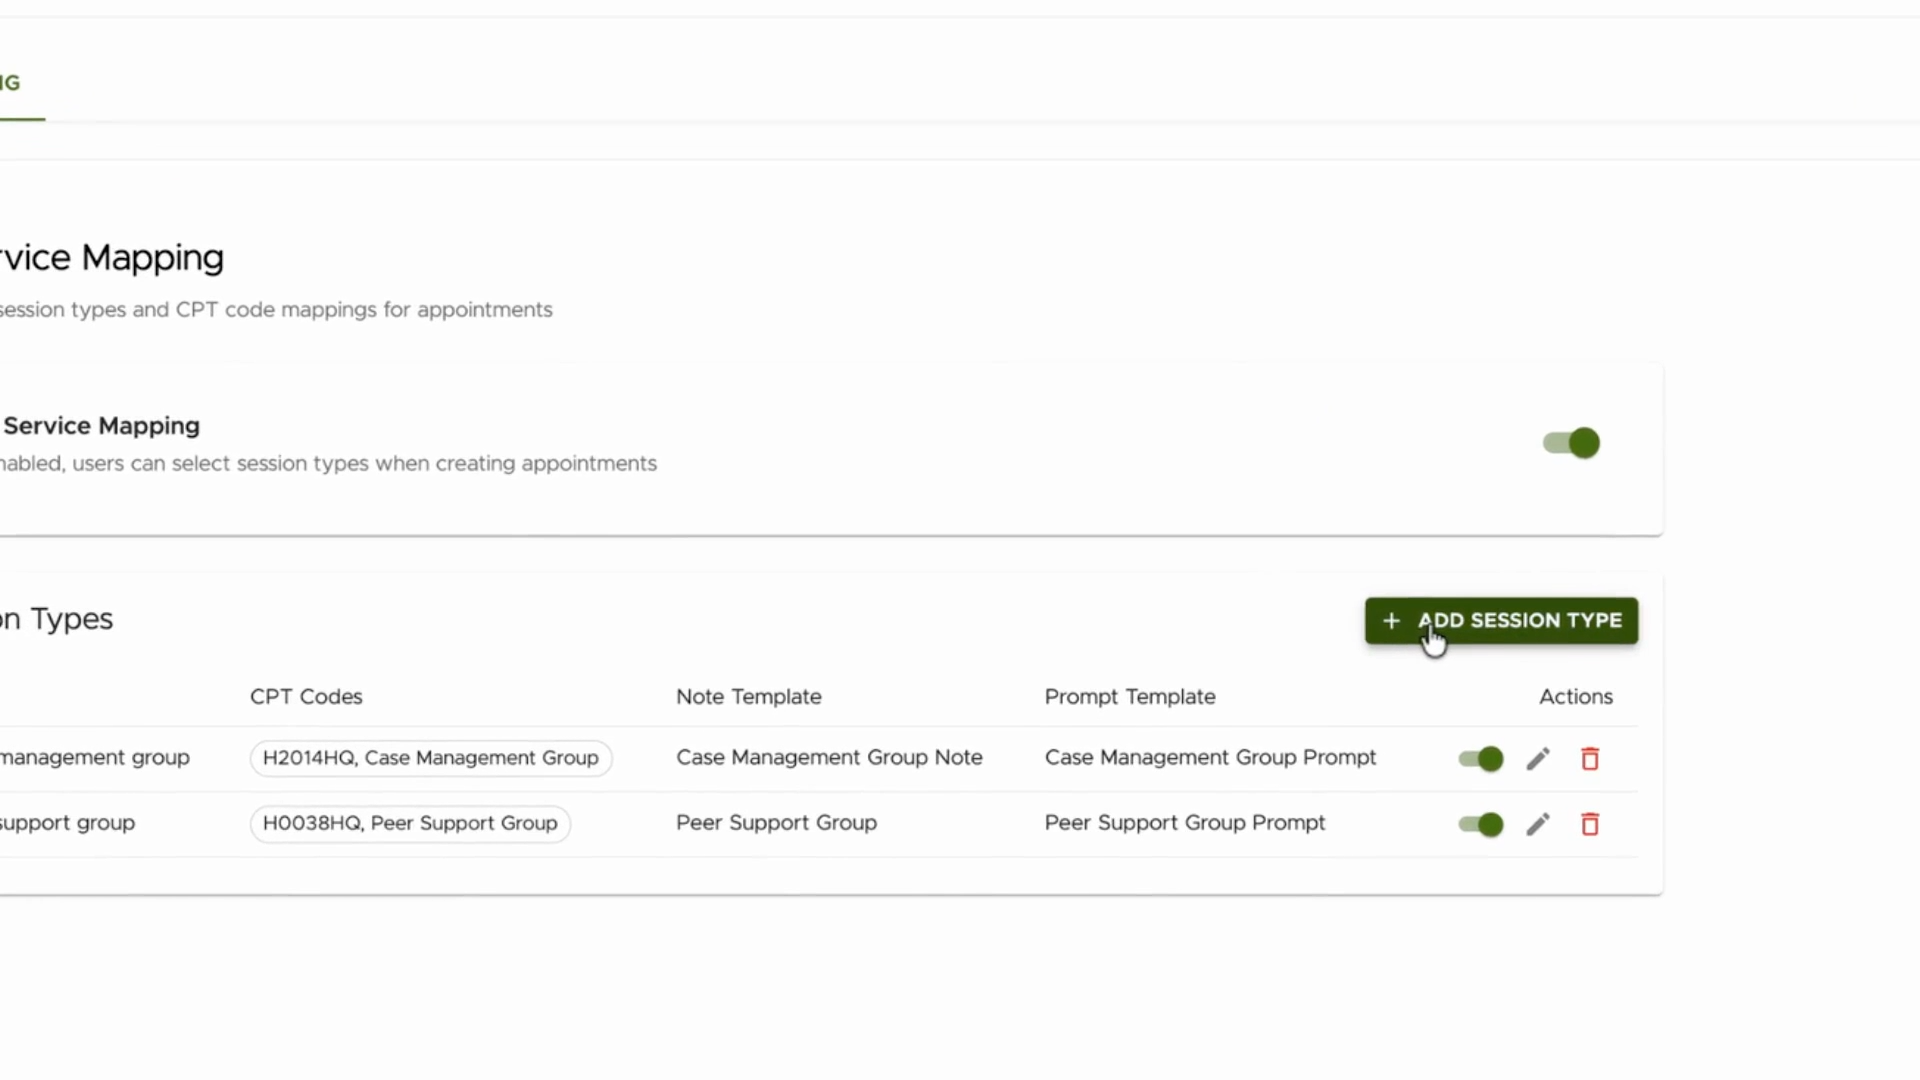
Step 4: Click Service Mapping to view and manage group session mappings.
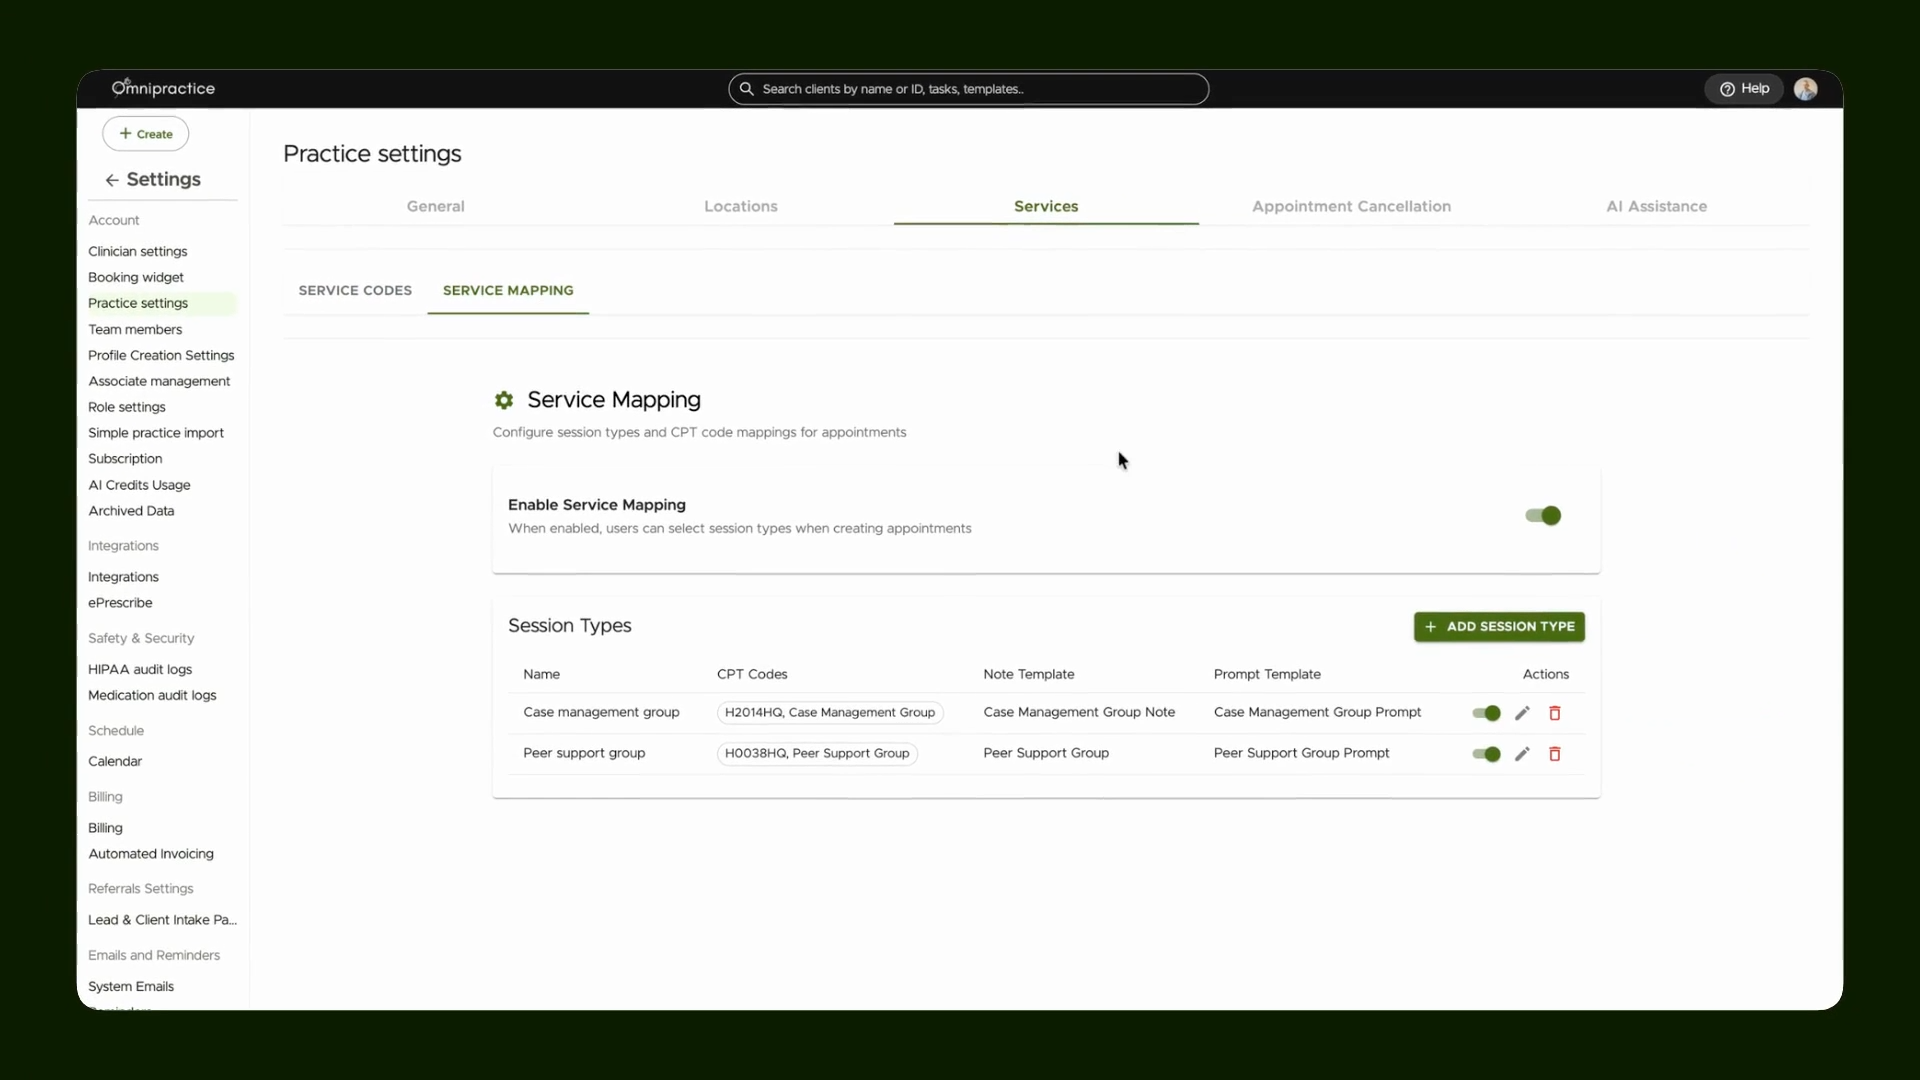
Step 5: To add a new session type, click Create to start a new session mapping.
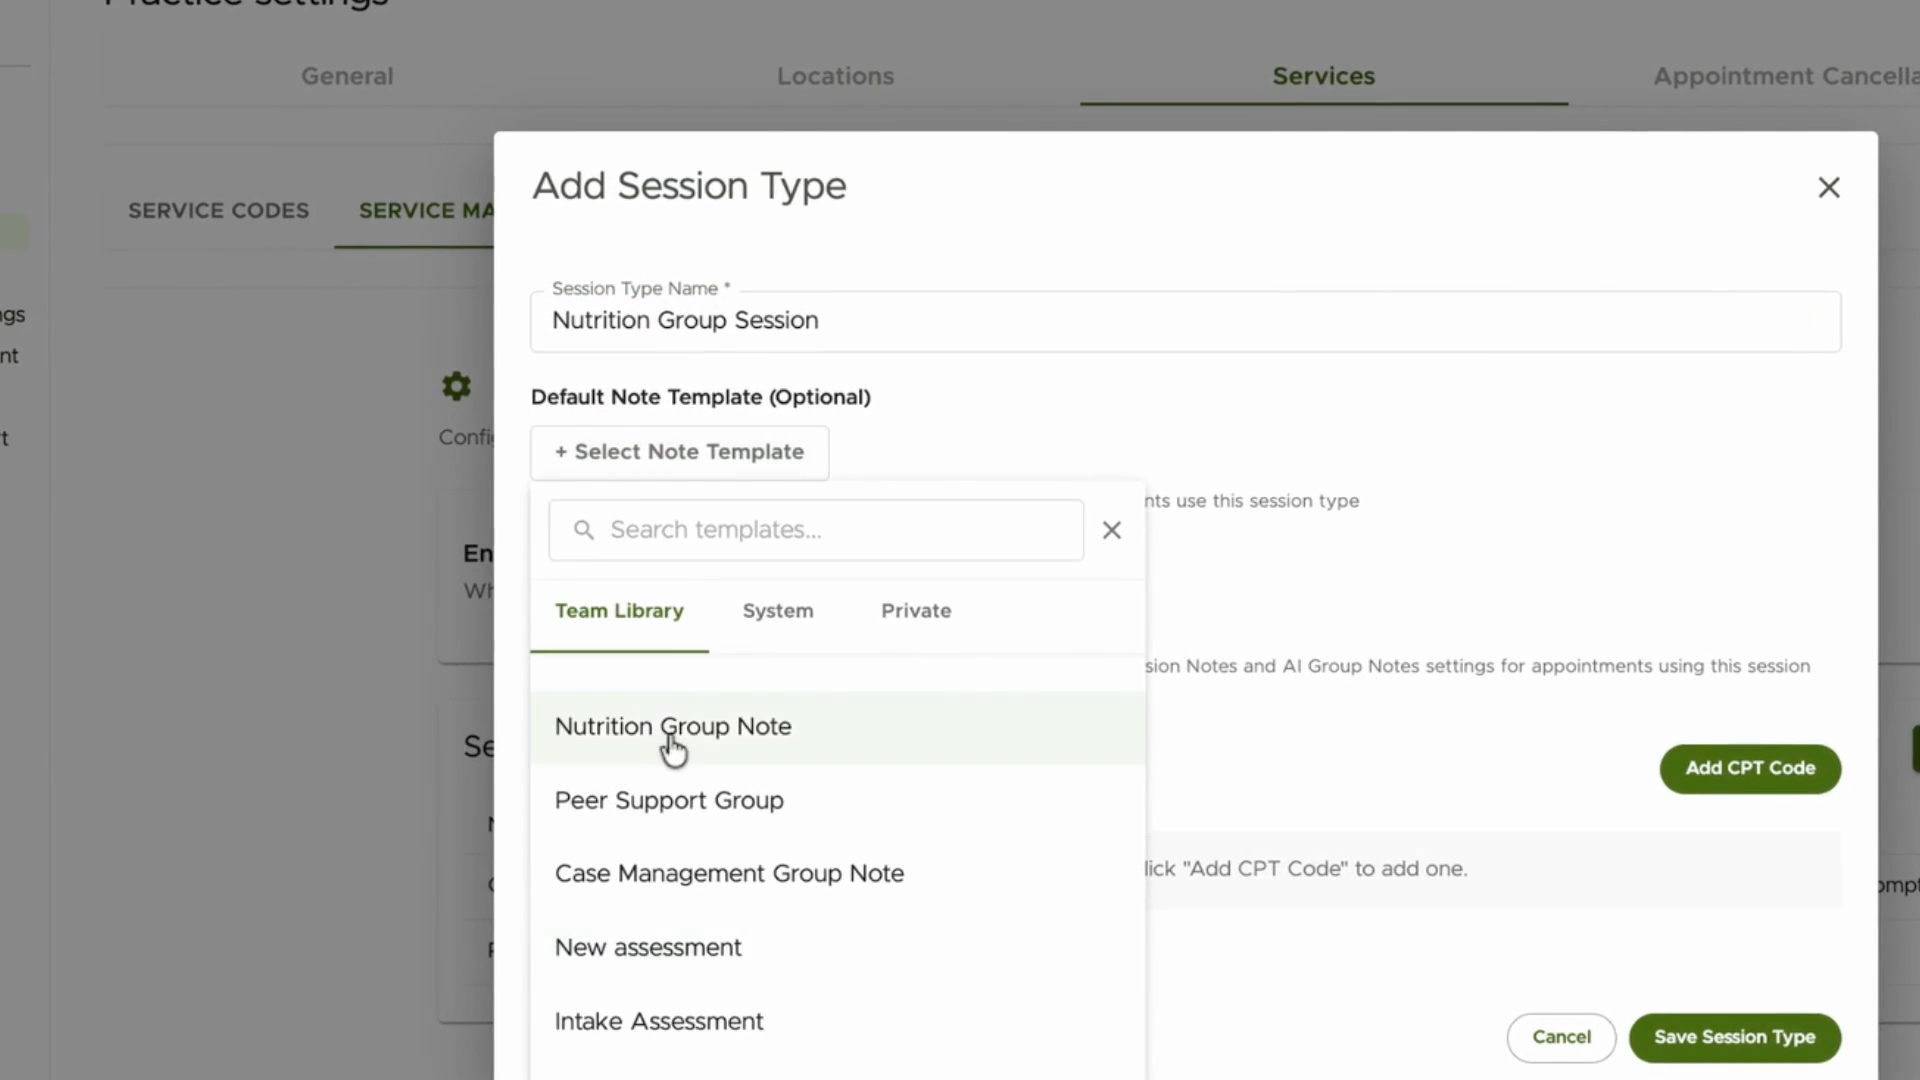
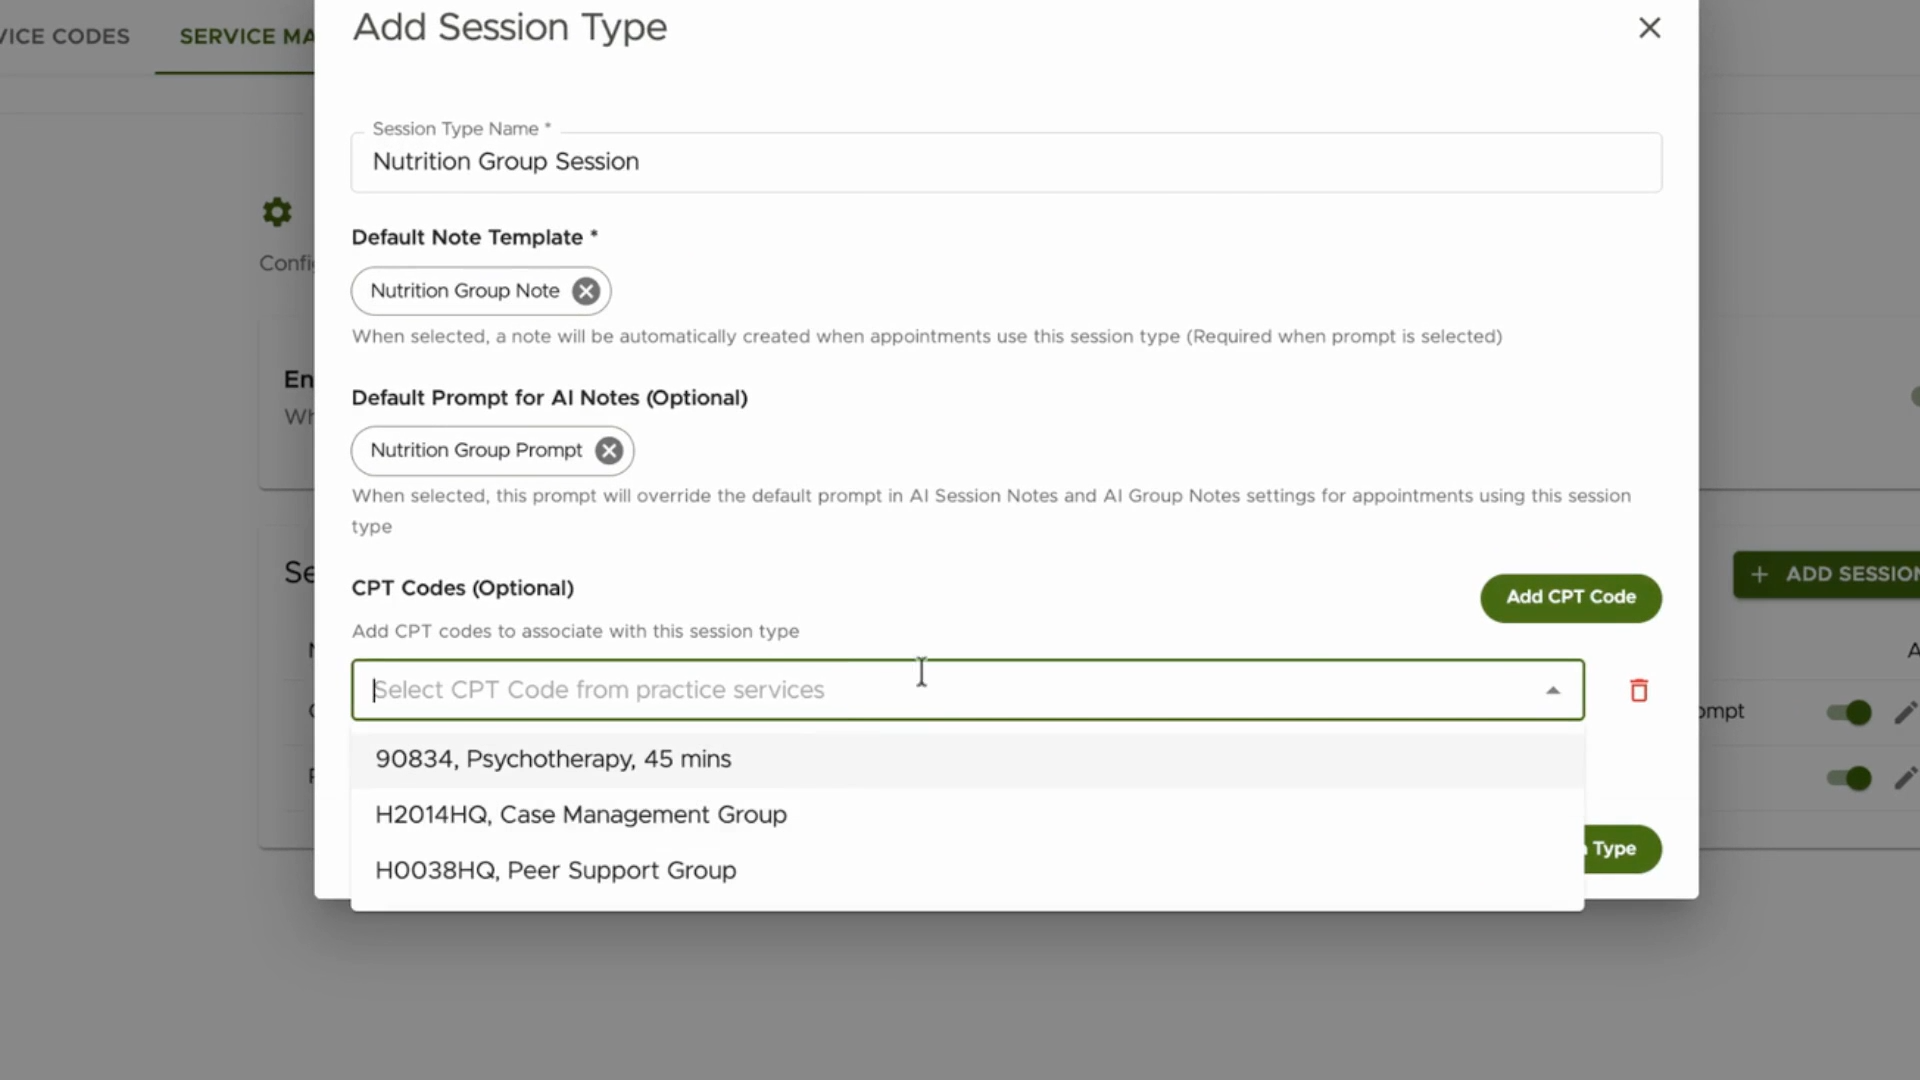
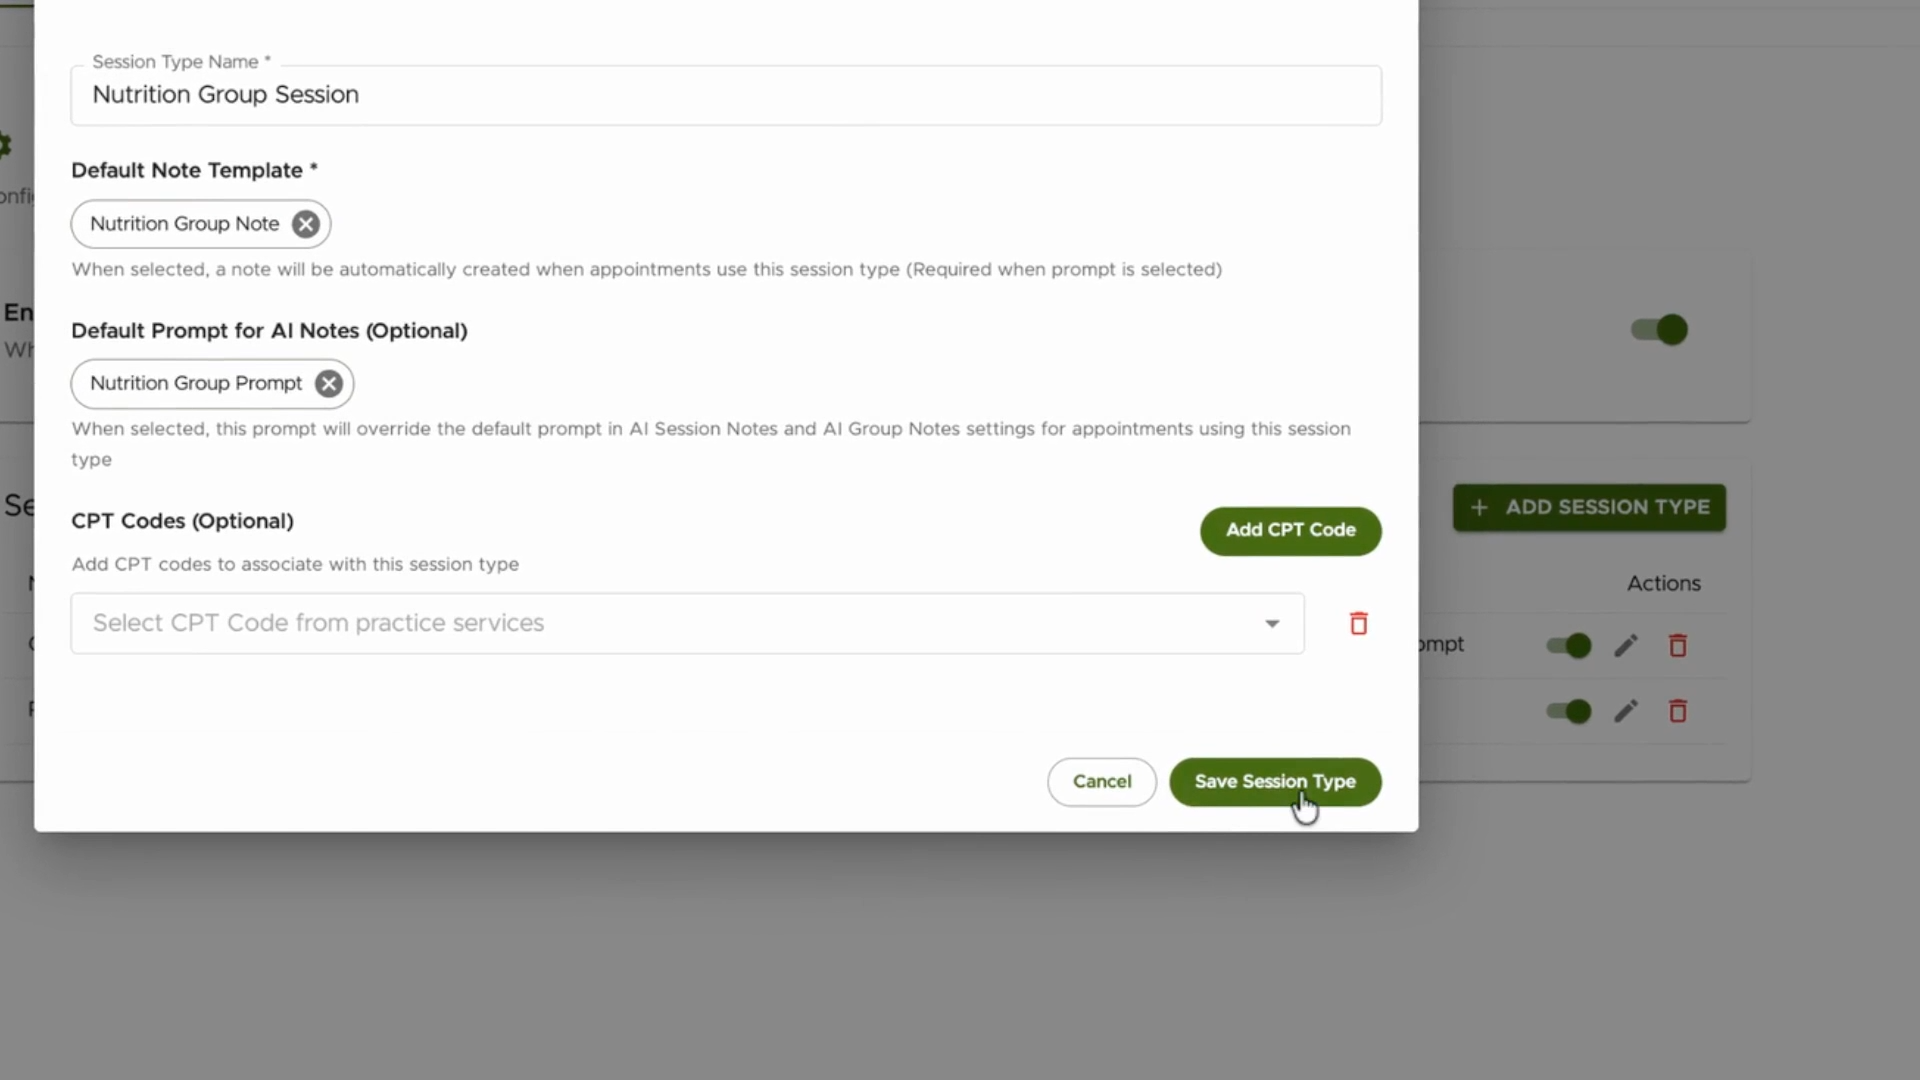
Step 6: Name the session type—for example, Nutrition Group Session.
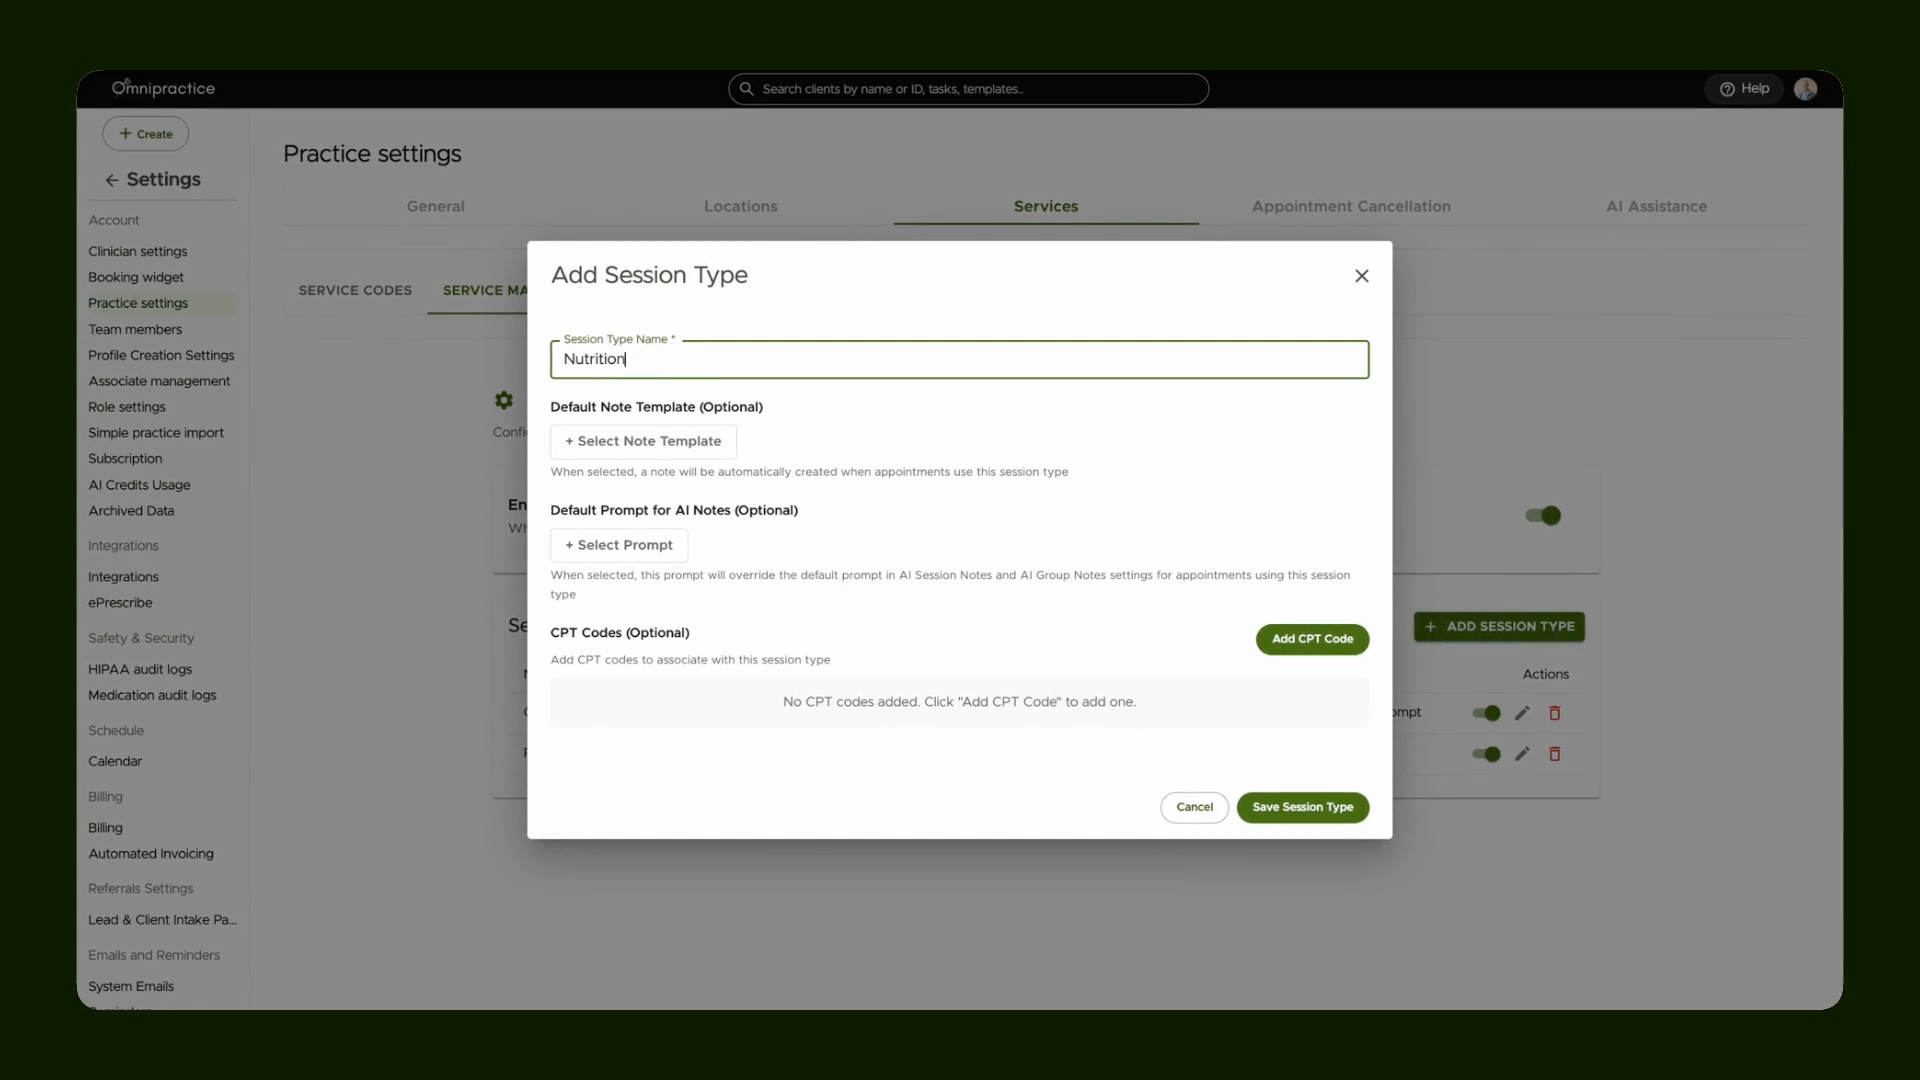
Step 7: Attach the appropriate note template, such as Nutrition Group Note.
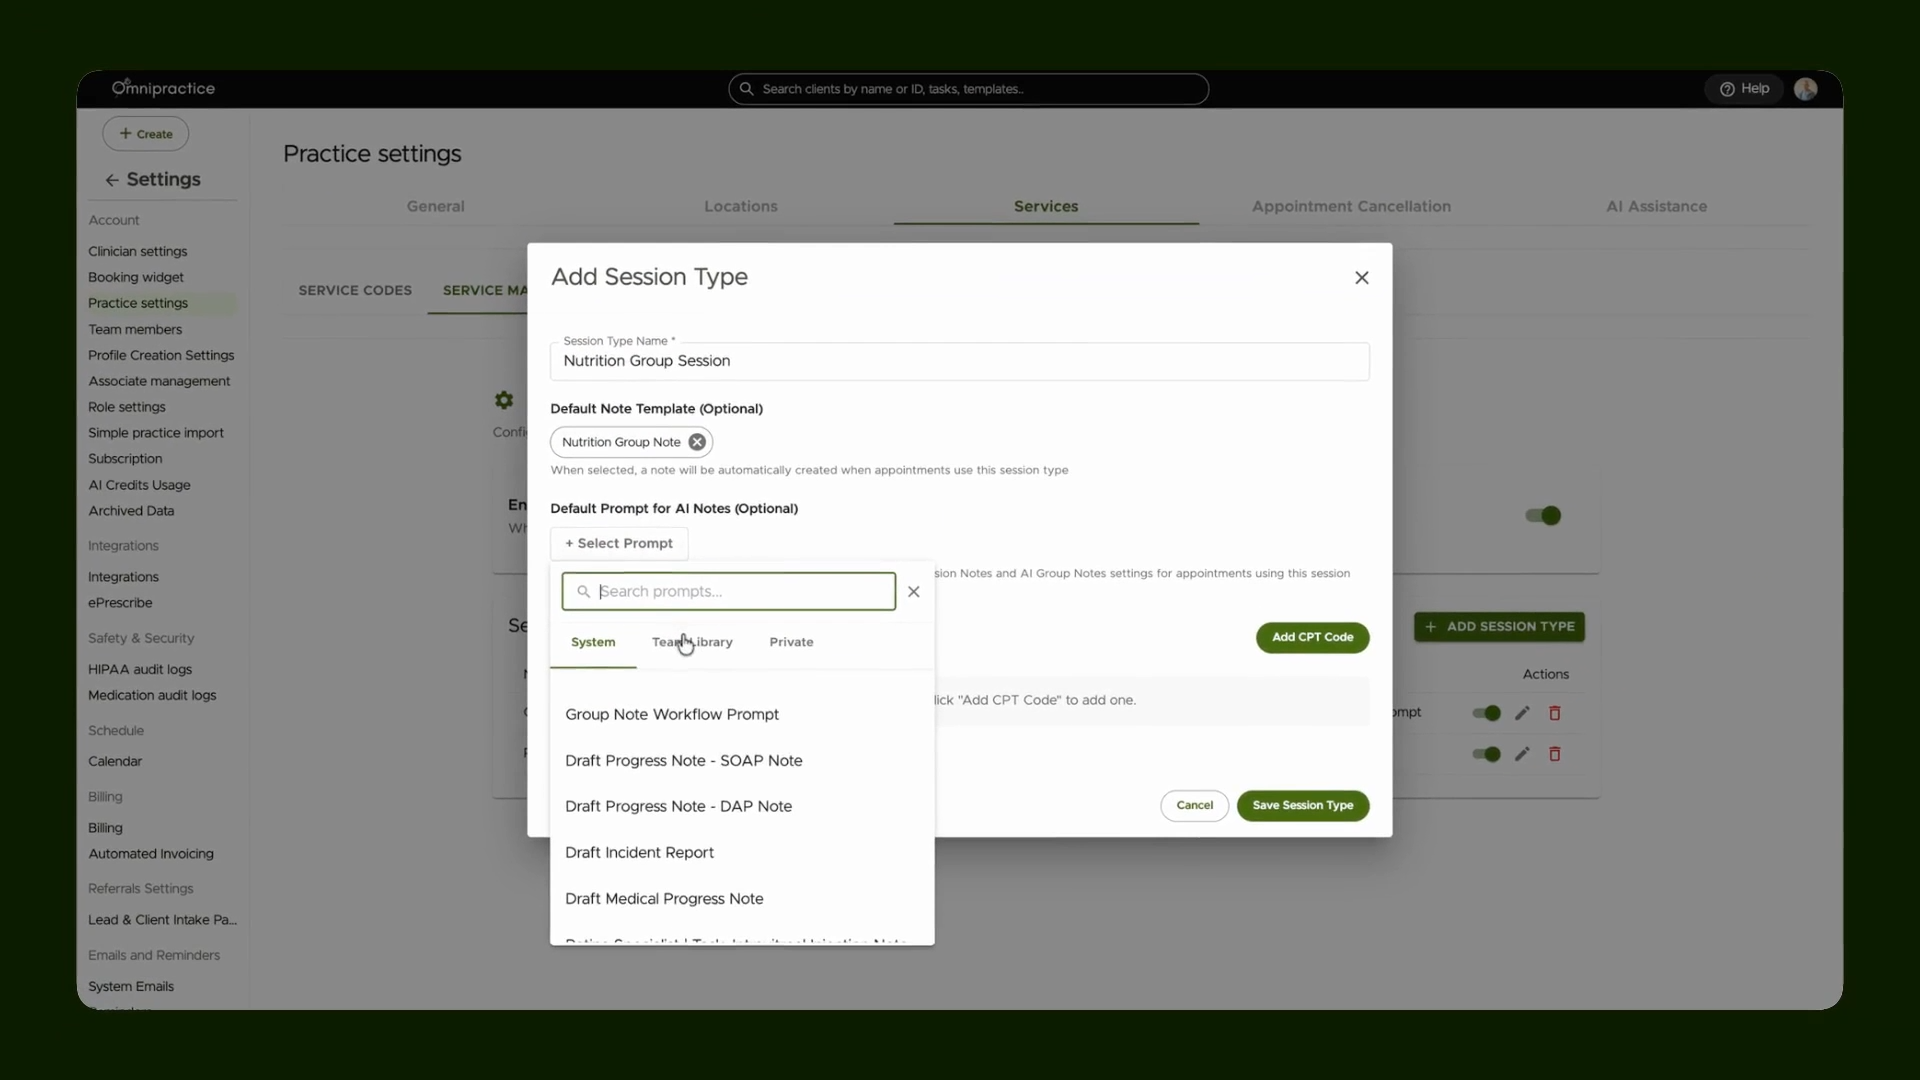
Step 8: Select the relevant group prompt from your team library, e.g., Nutrition Group Prompt.
Step 9: Add a CPT code if billing is needed, otherwise leave this section blank.
Step 10: Click Save to store your session type mapping.
Your new session type appears in the list. The note template and group prompt are now attached. You can edit, deactivate, or delete this session type any time.
Create a Group Appointment
Step 1: Click Create New Group Appointment.
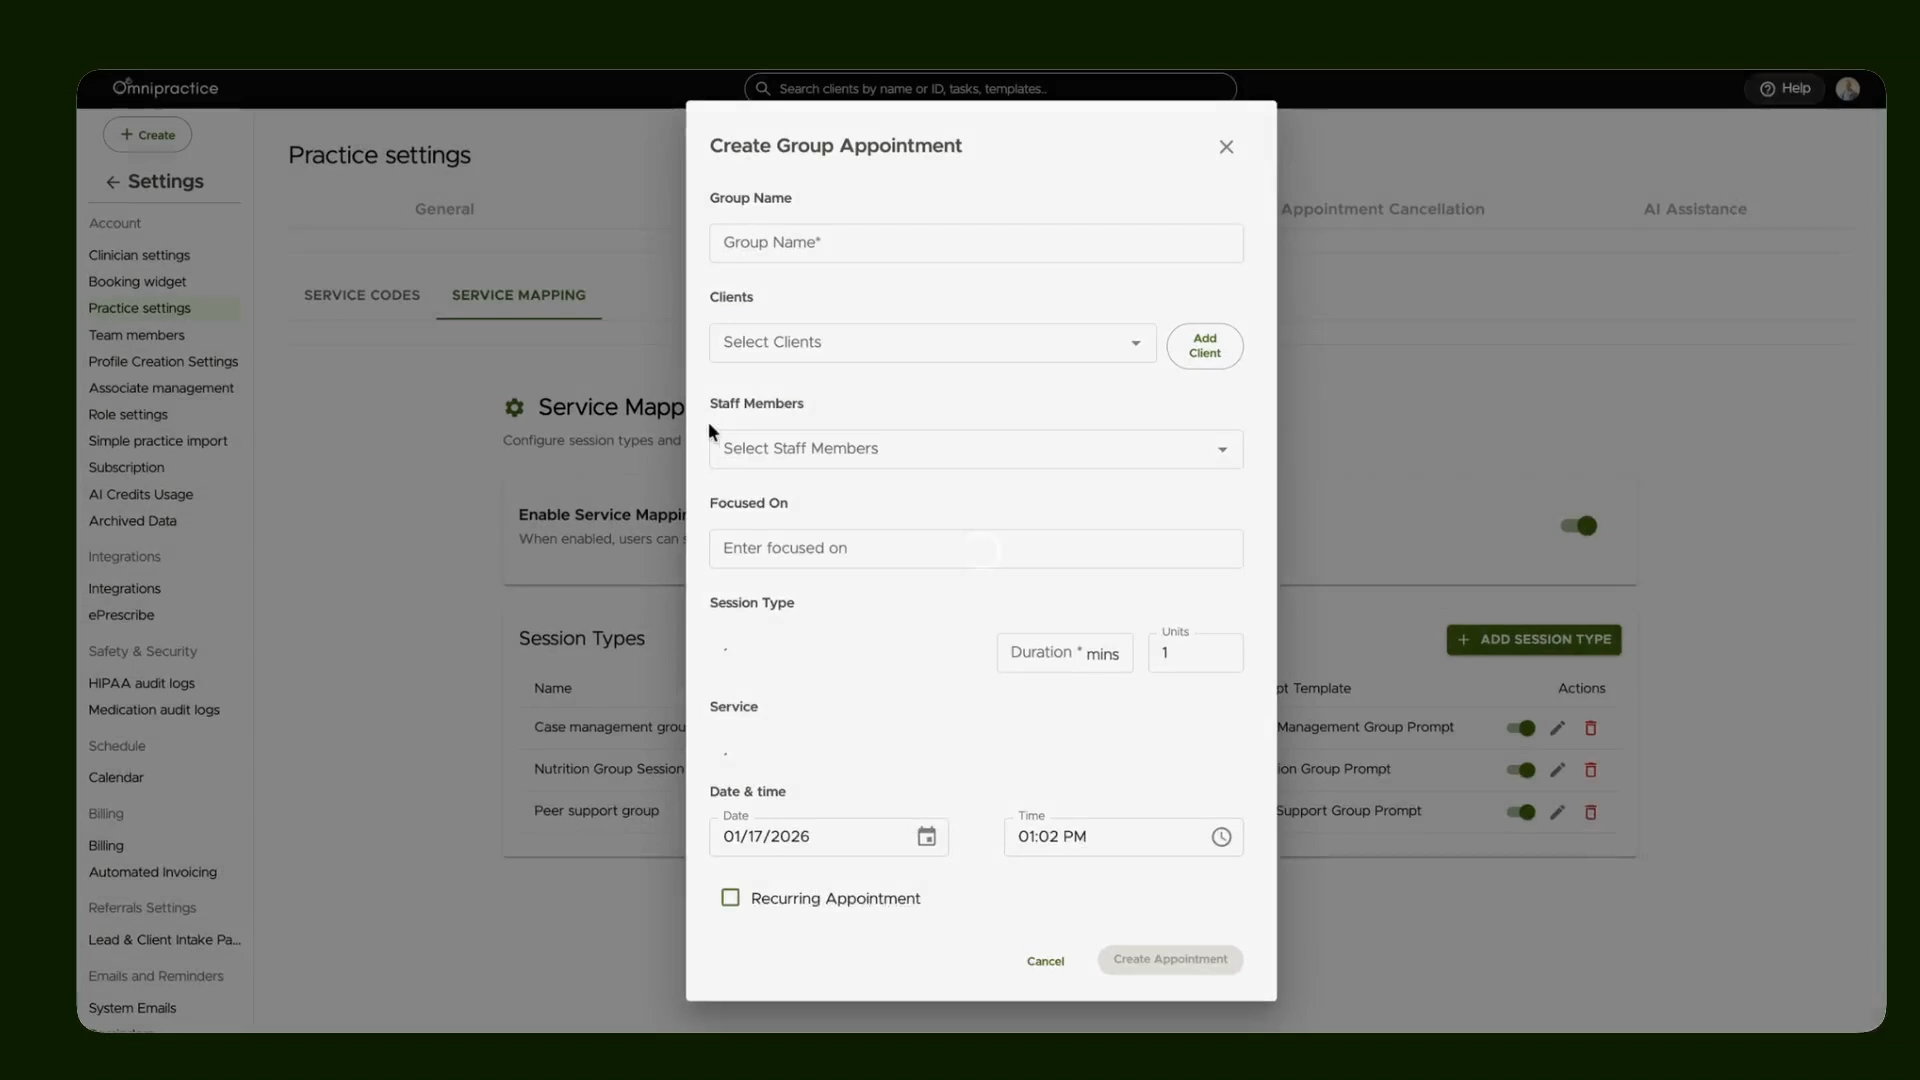
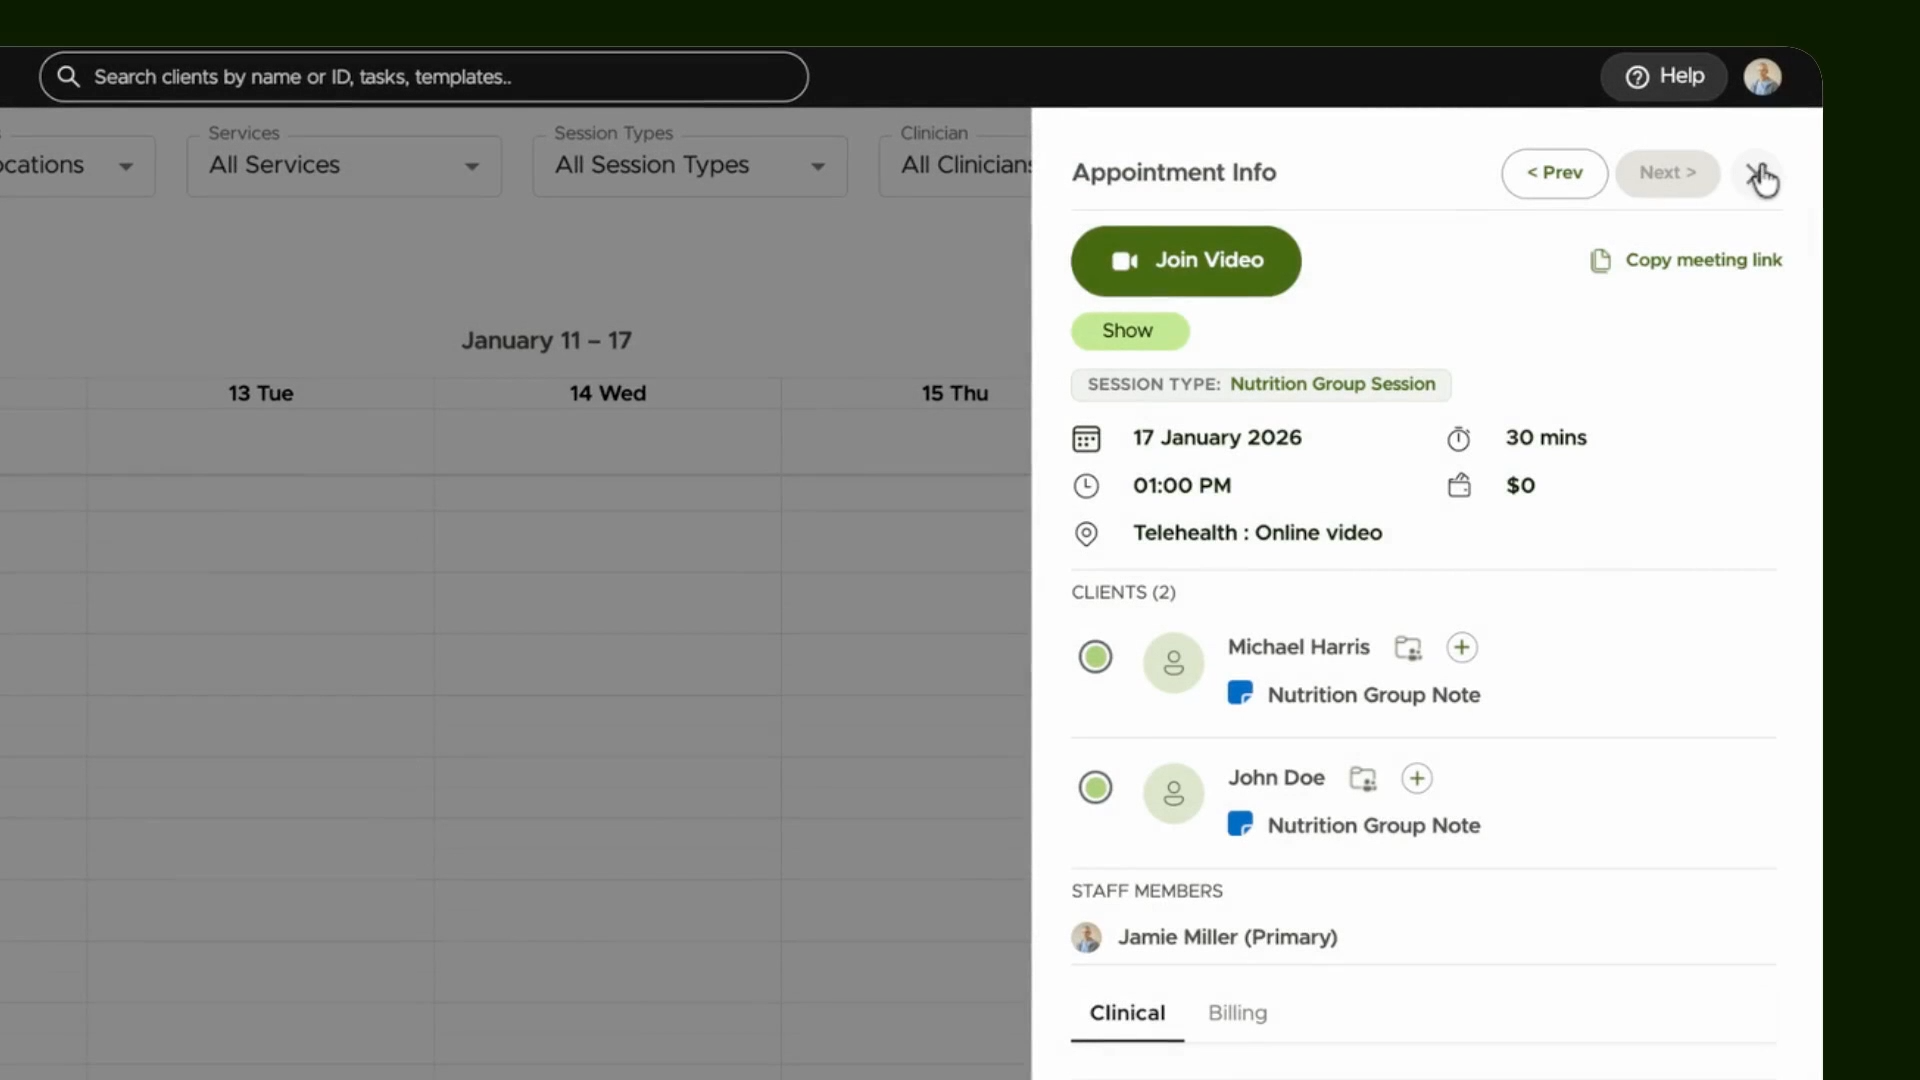
Step 2: Enter the appointment name, such as "Nutrition Group Appointment".
Step 3: Select one or more clients for the appointment.
Step 4: Assign a staff member for the group.
Step 5: Choose the session type you just created (e.g., Nutrition Group Session).

Step 6: Set the duration (for example, 30 minutes).
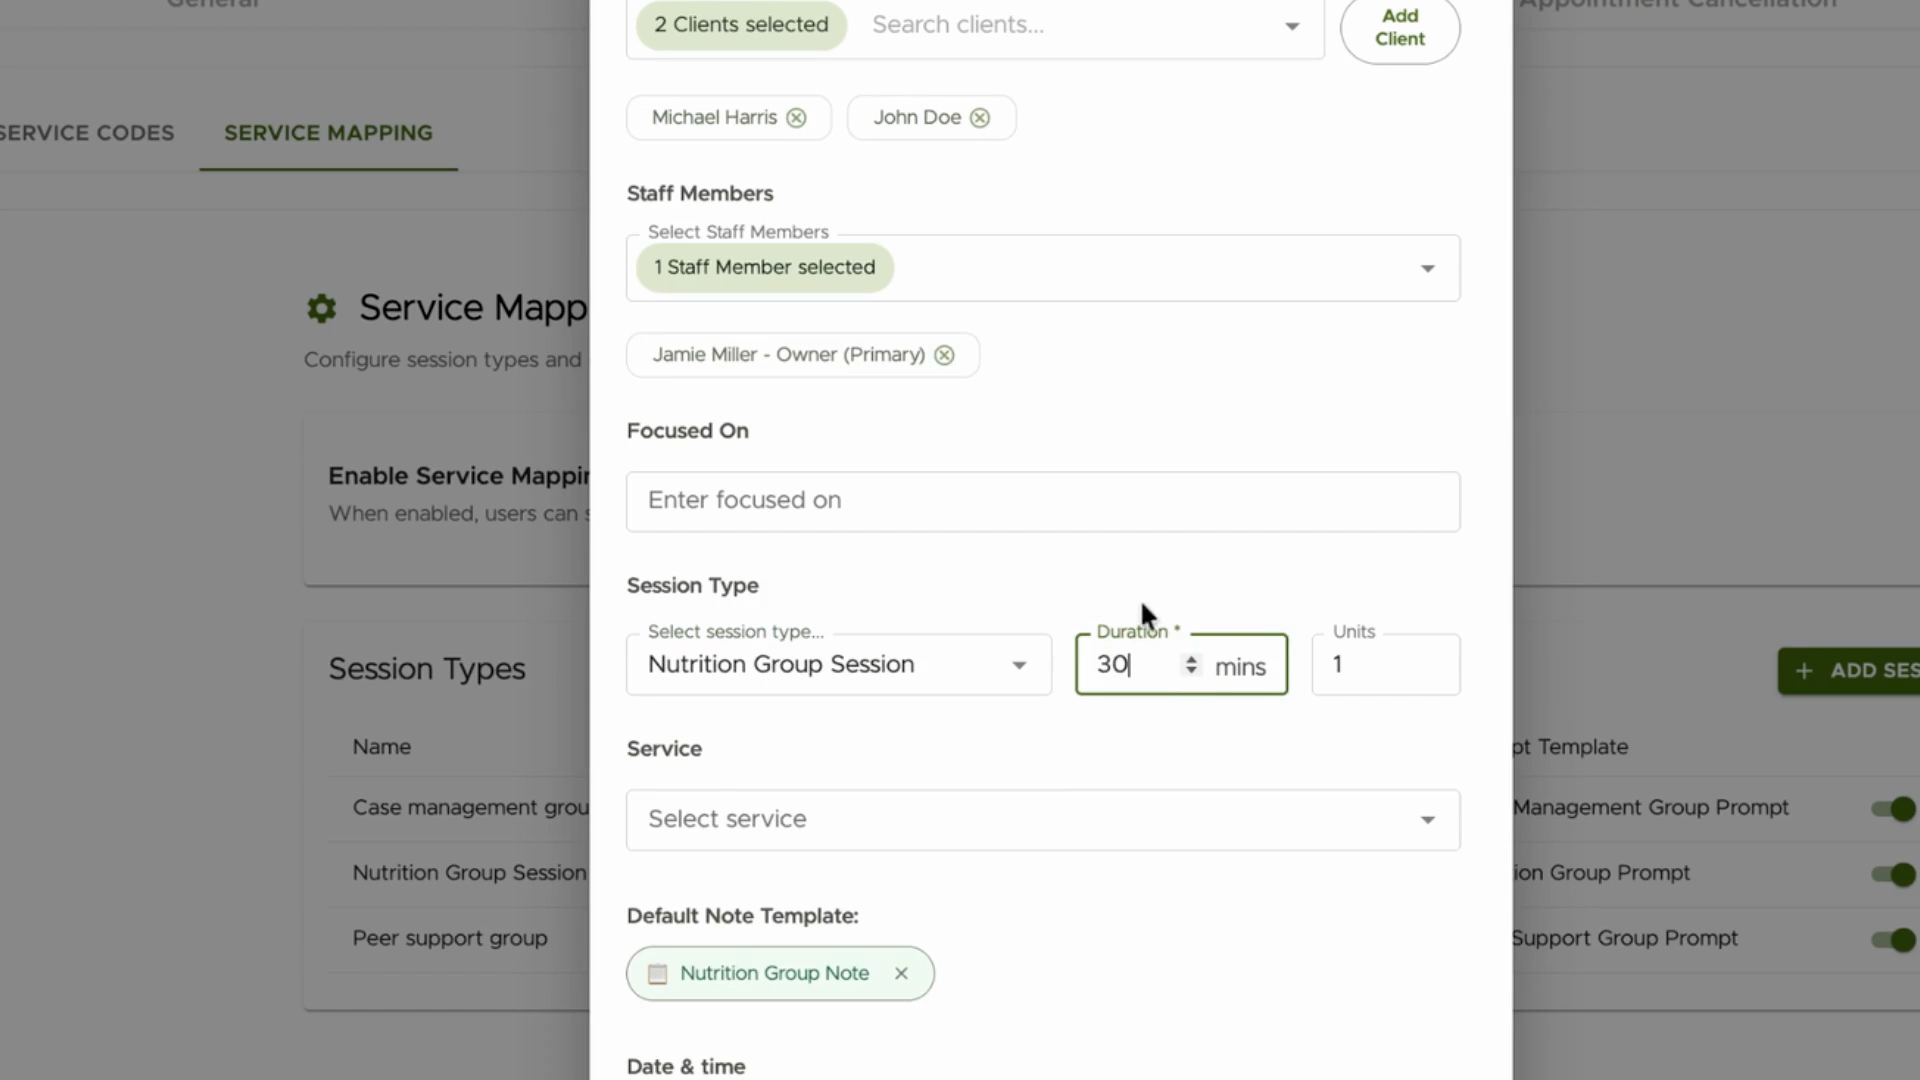
Step 7: If desired, add services—otherwise, leave blank and proceed.
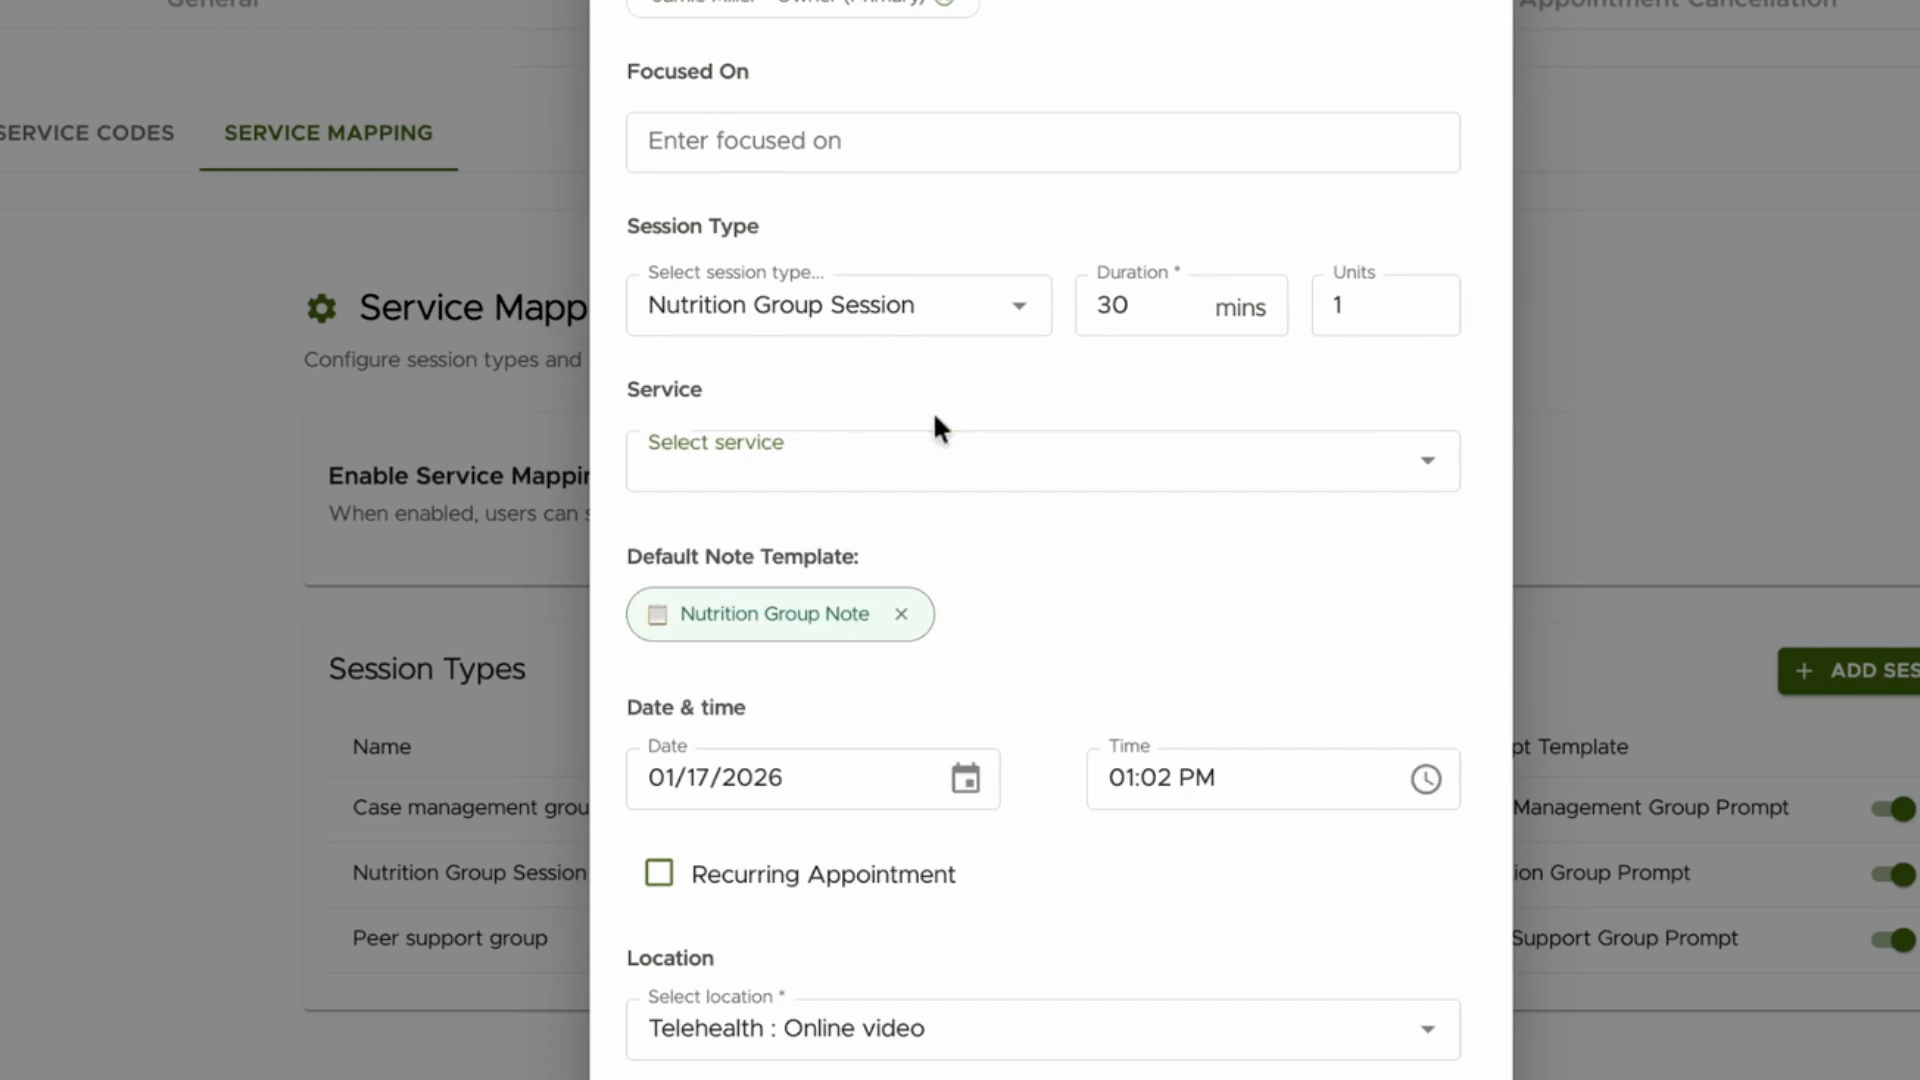
Step 8: Set the appointment time and create the appointment.
Document with AI Group Notes
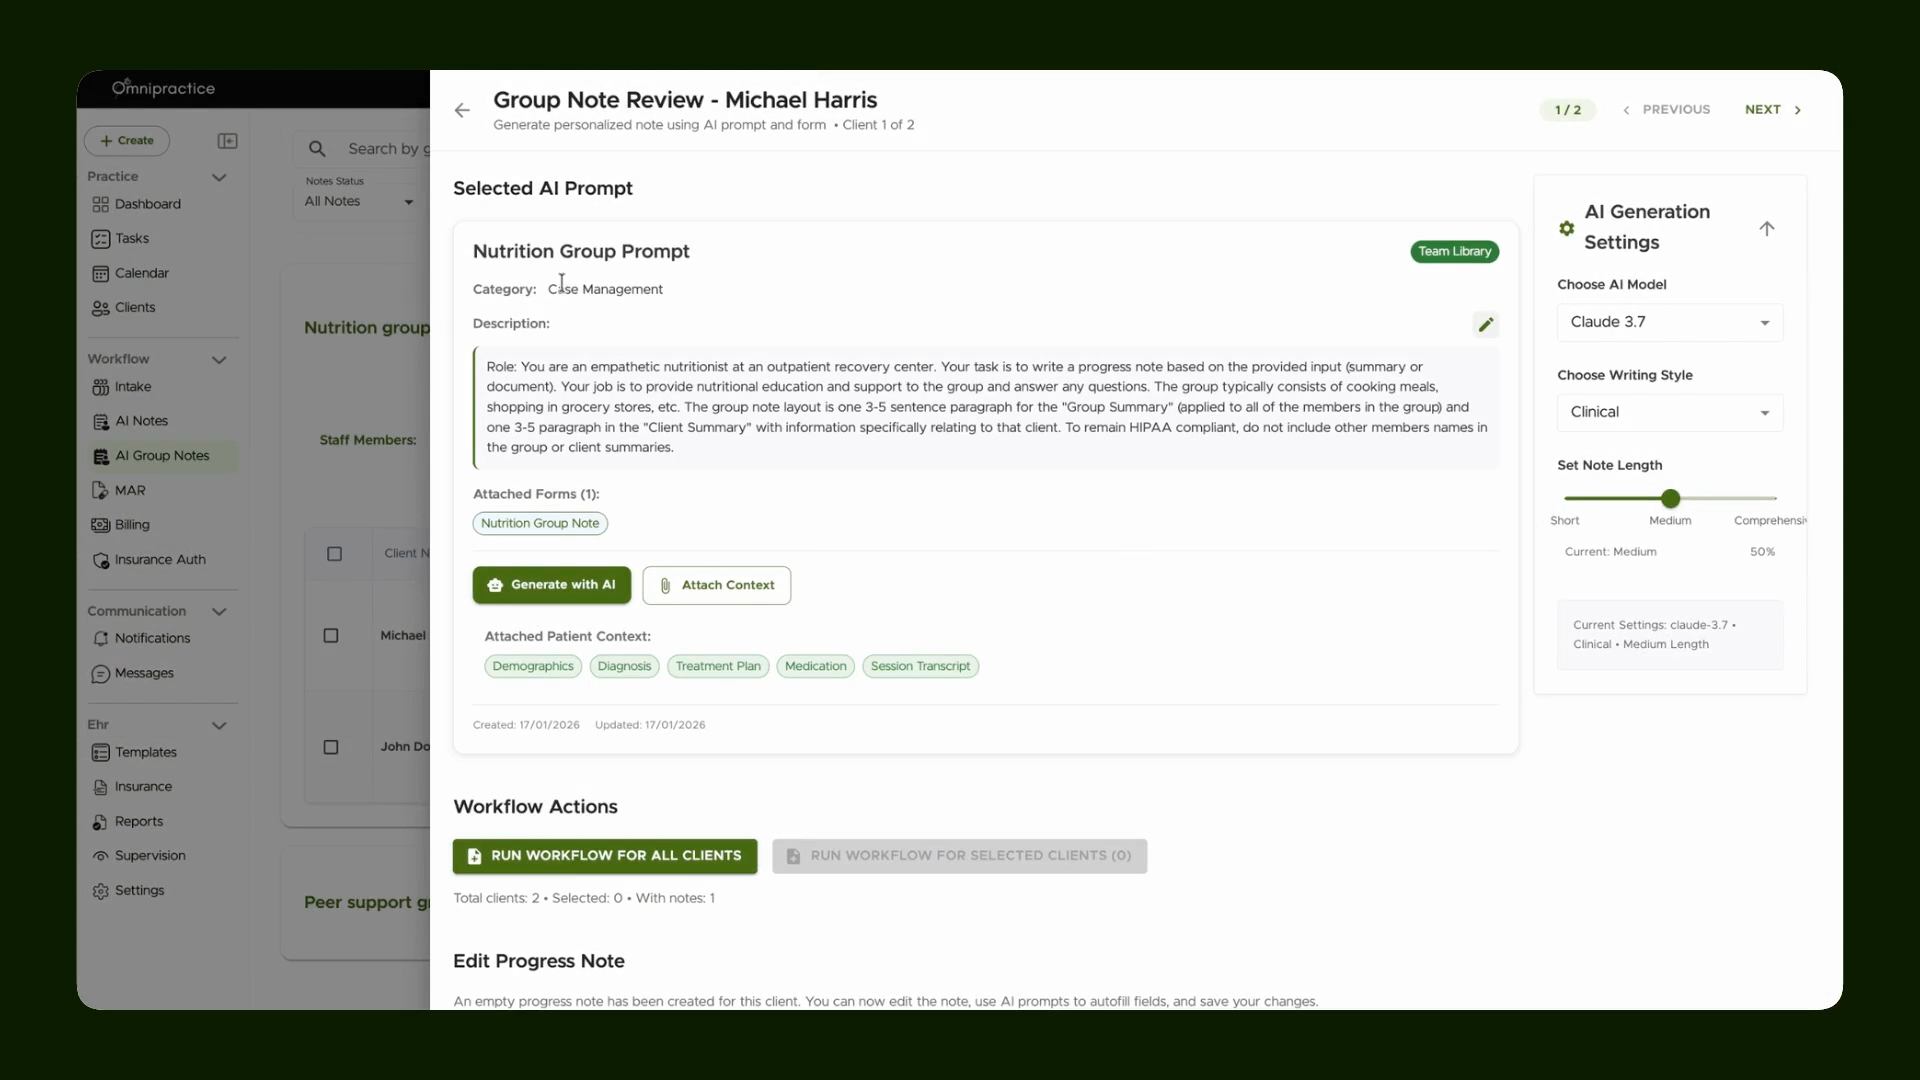
Step 1: Go to AI Group Notes for the chosen appointment.
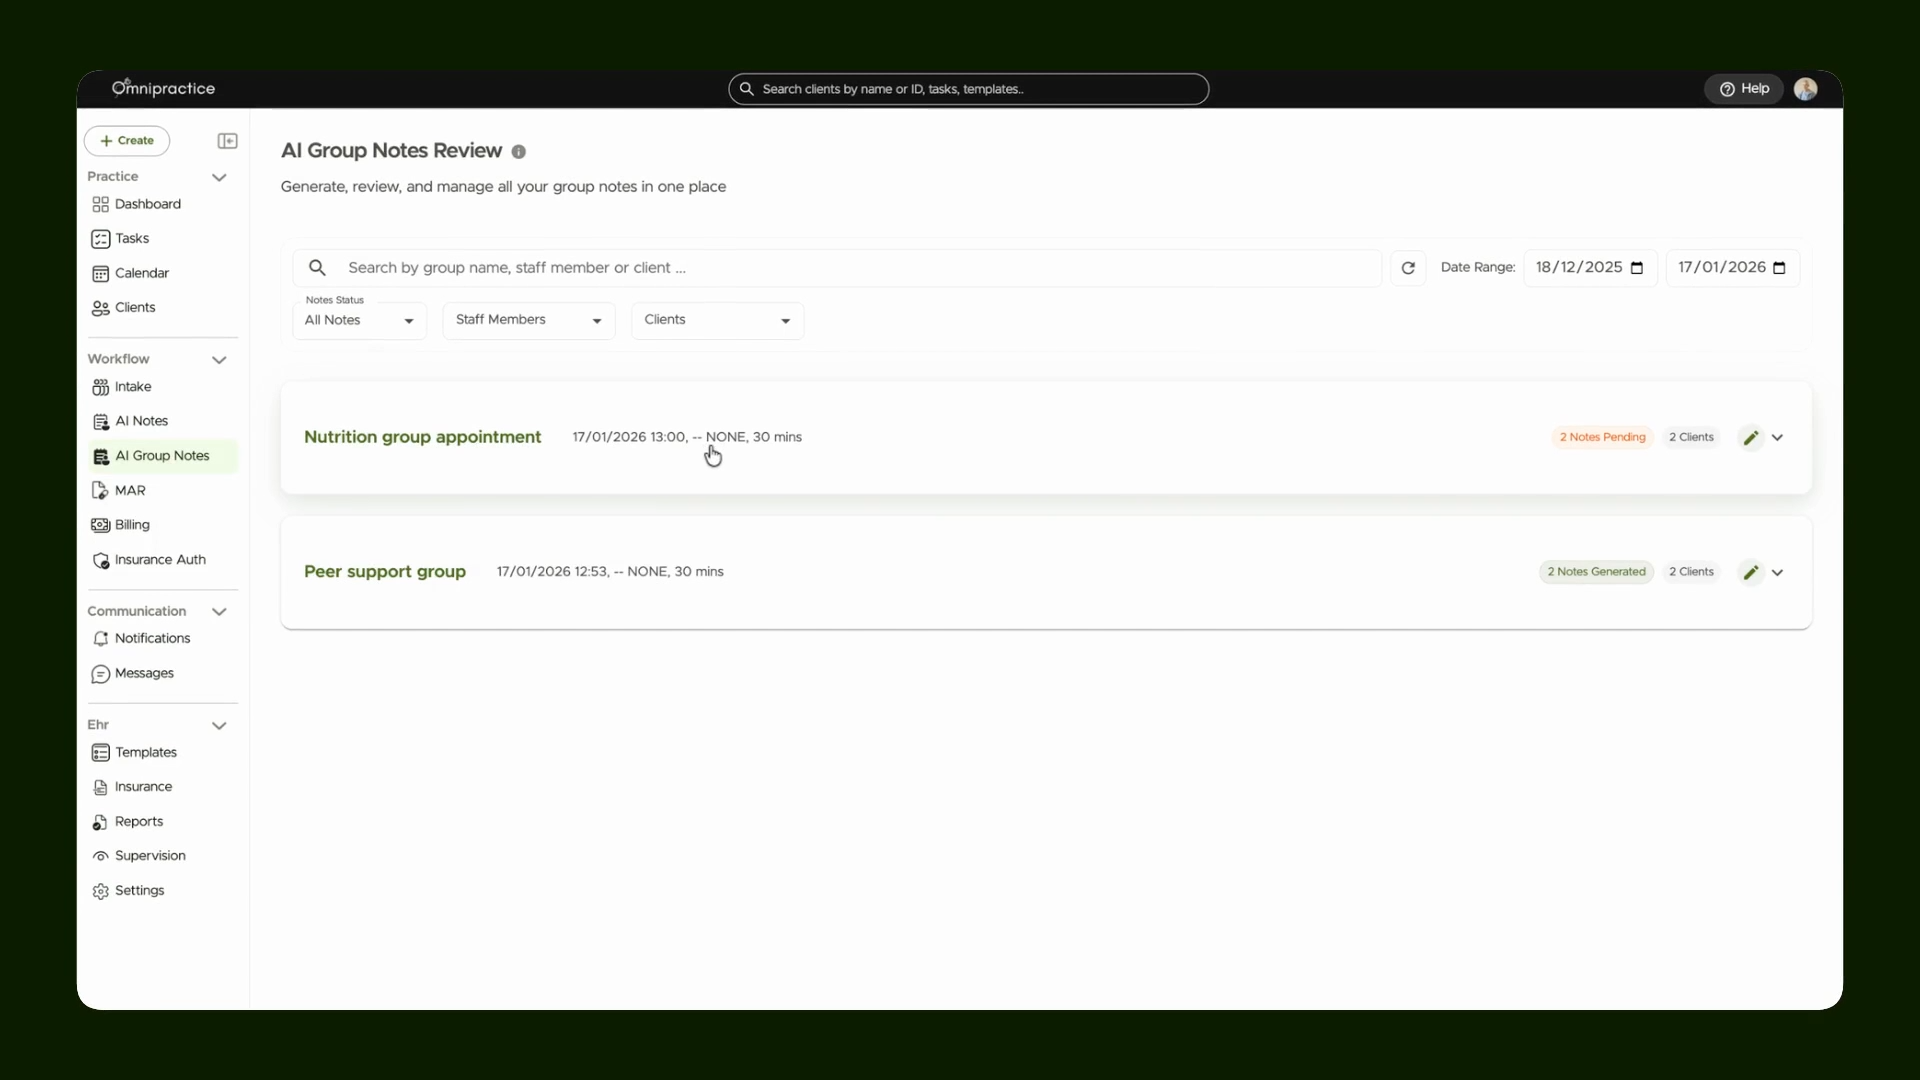
Here, the newly created session is visible with its associated prompt. You’ll also see there’s no billing code if none was attached.
Step 2: Check the pre-selected prompt—such as the Nutrition Group Prompt—for this group session.
Tip: Each group type displays its unique prompt, so notes and workflows always match the session’s requirements. For instance, Peer Support Group sessions show their associated peer support prompt.
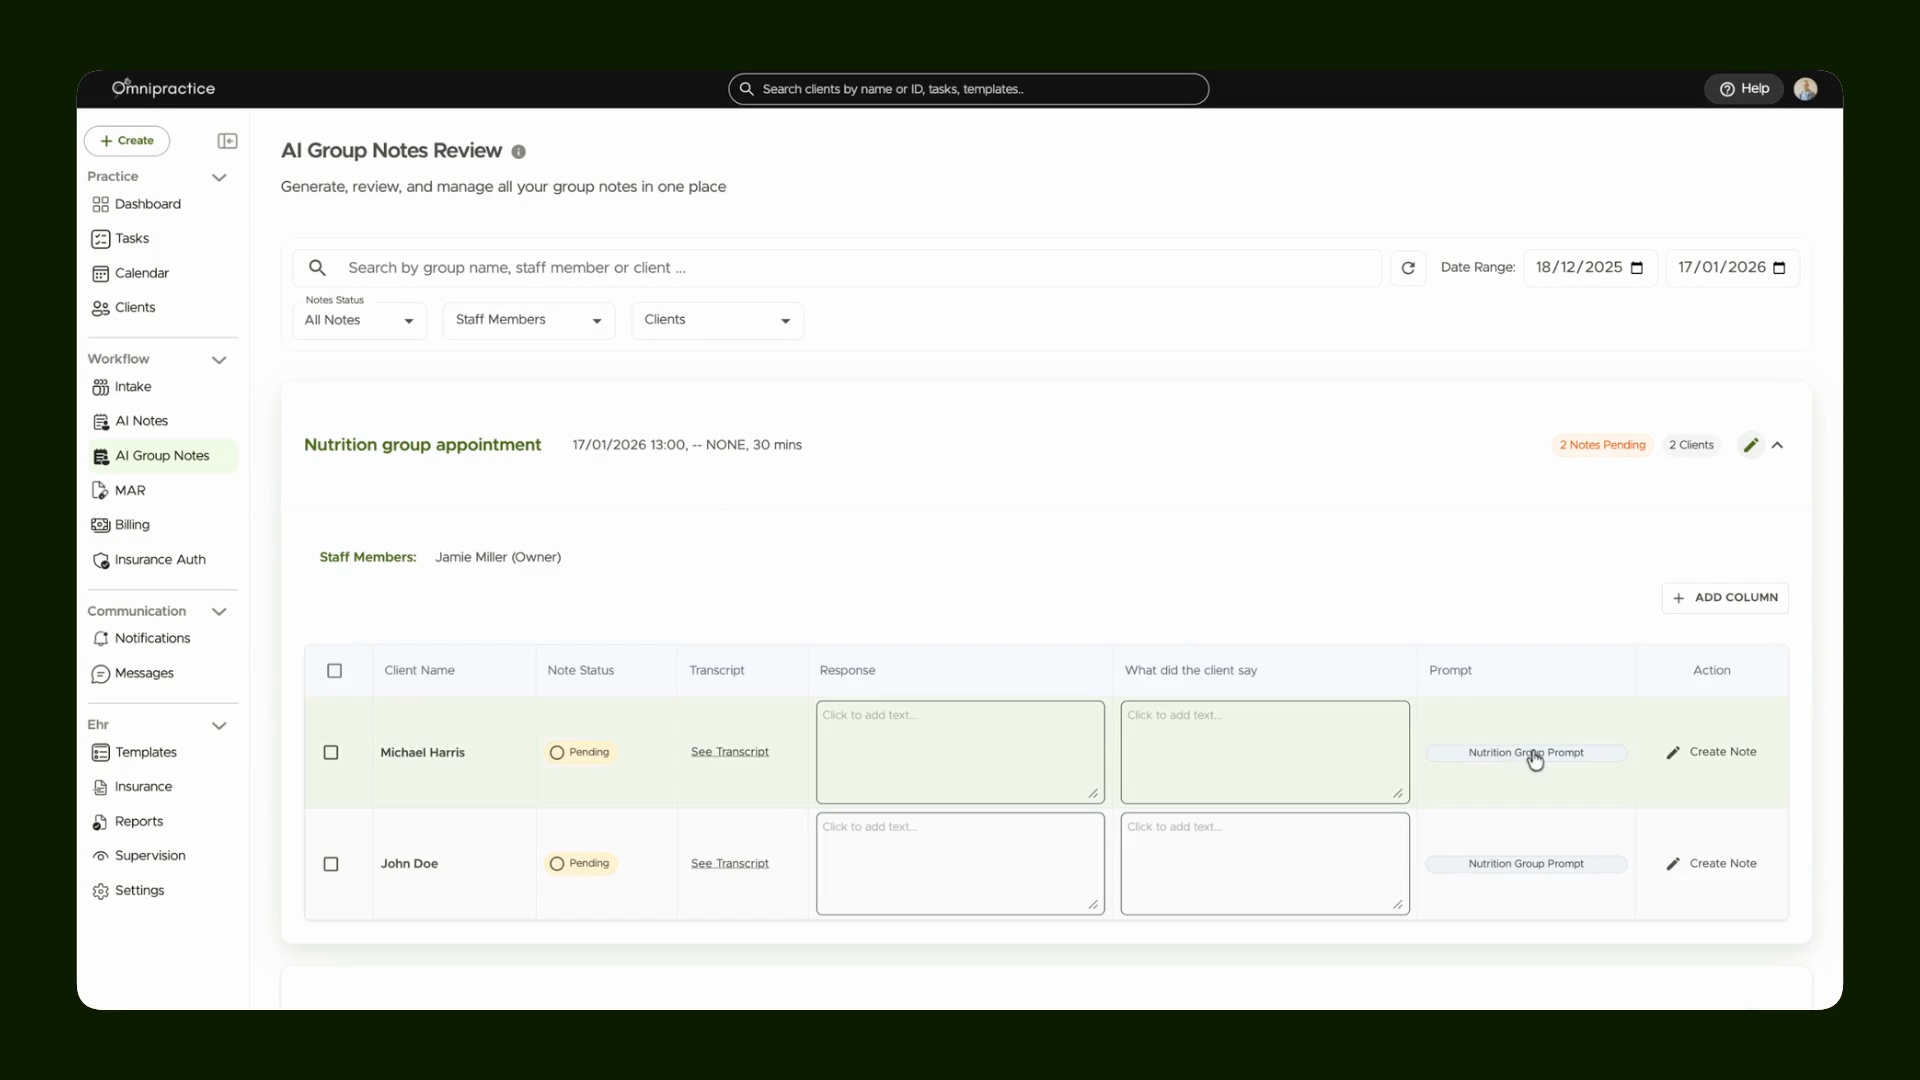
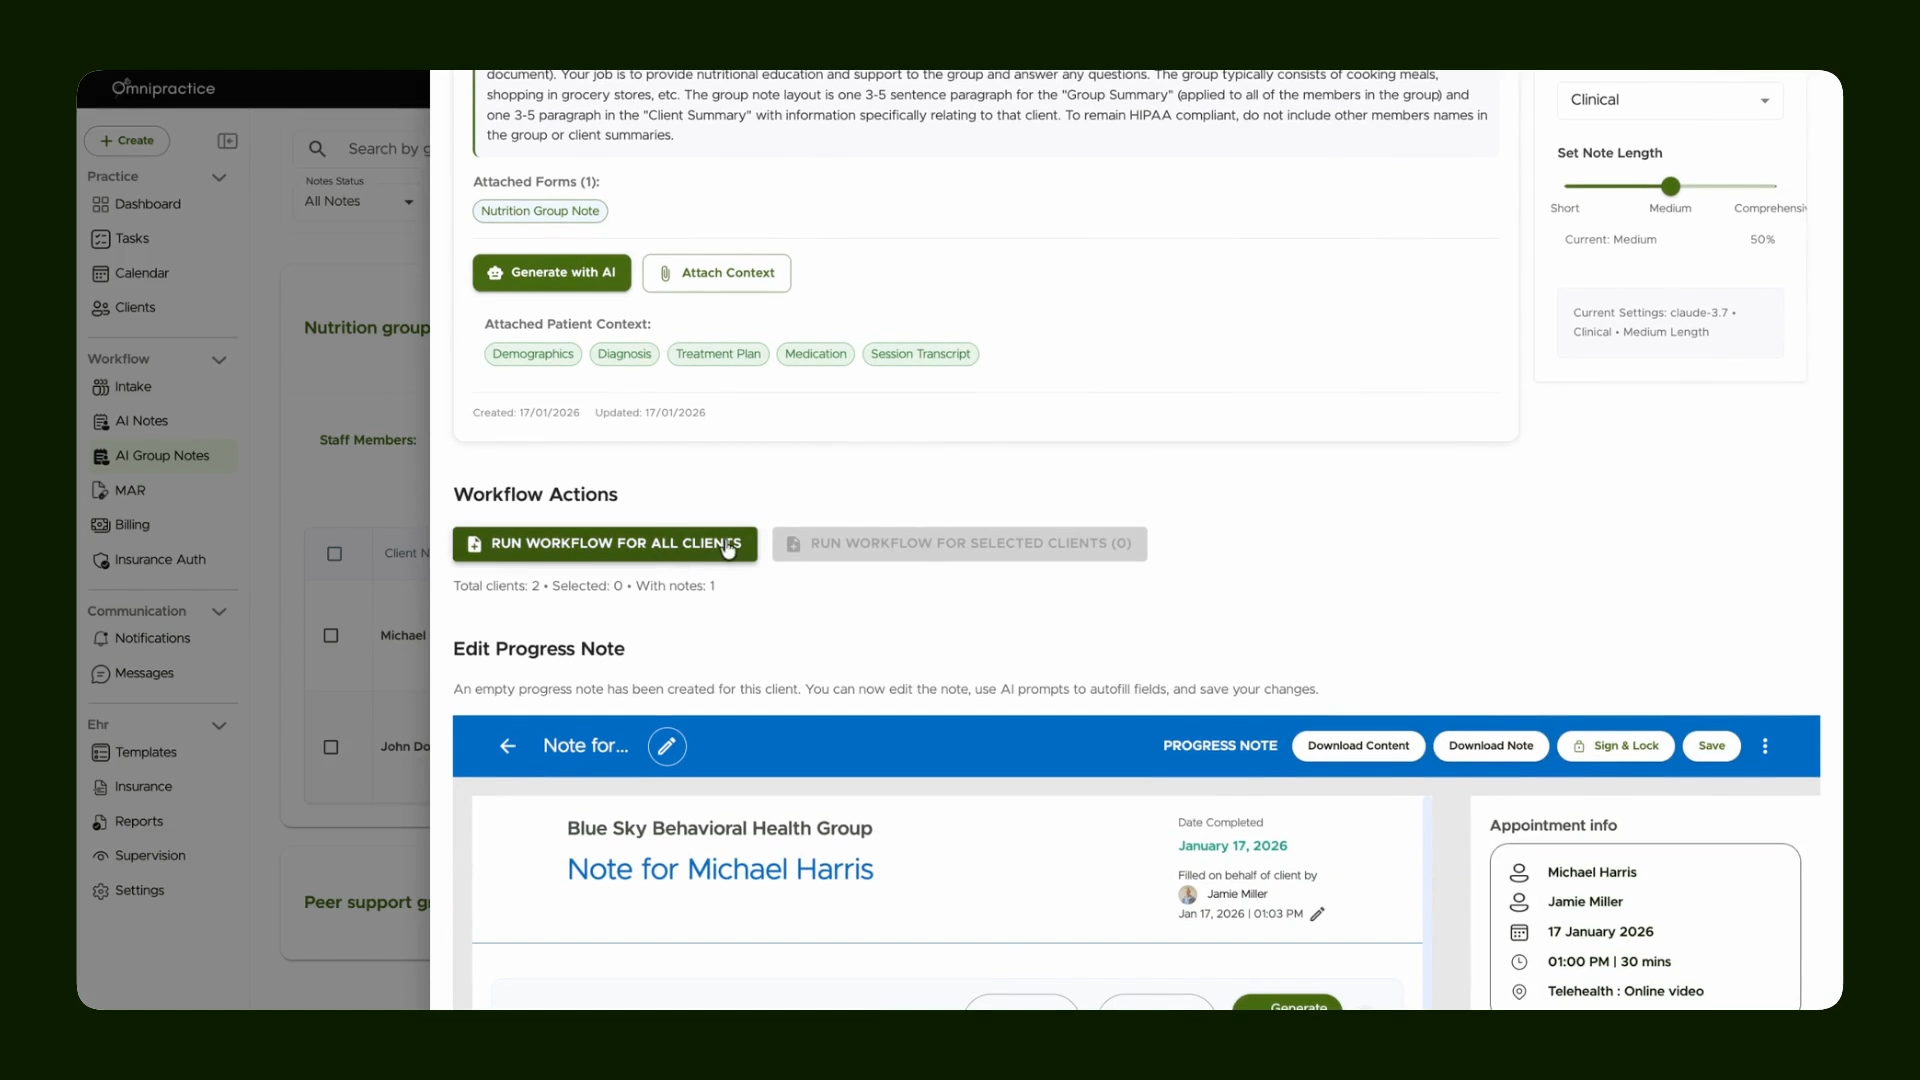
Step 3: Click to create a note.
The system loads an empty note template with the designated prompt already in place. Adjust the prompt and note settings if needed.
Step 4: Use the AI workflow to generate notes for all clients in the group. Review each note individually, tweak as necessary, and save each result.
Move to the next client using the navigation buttons.
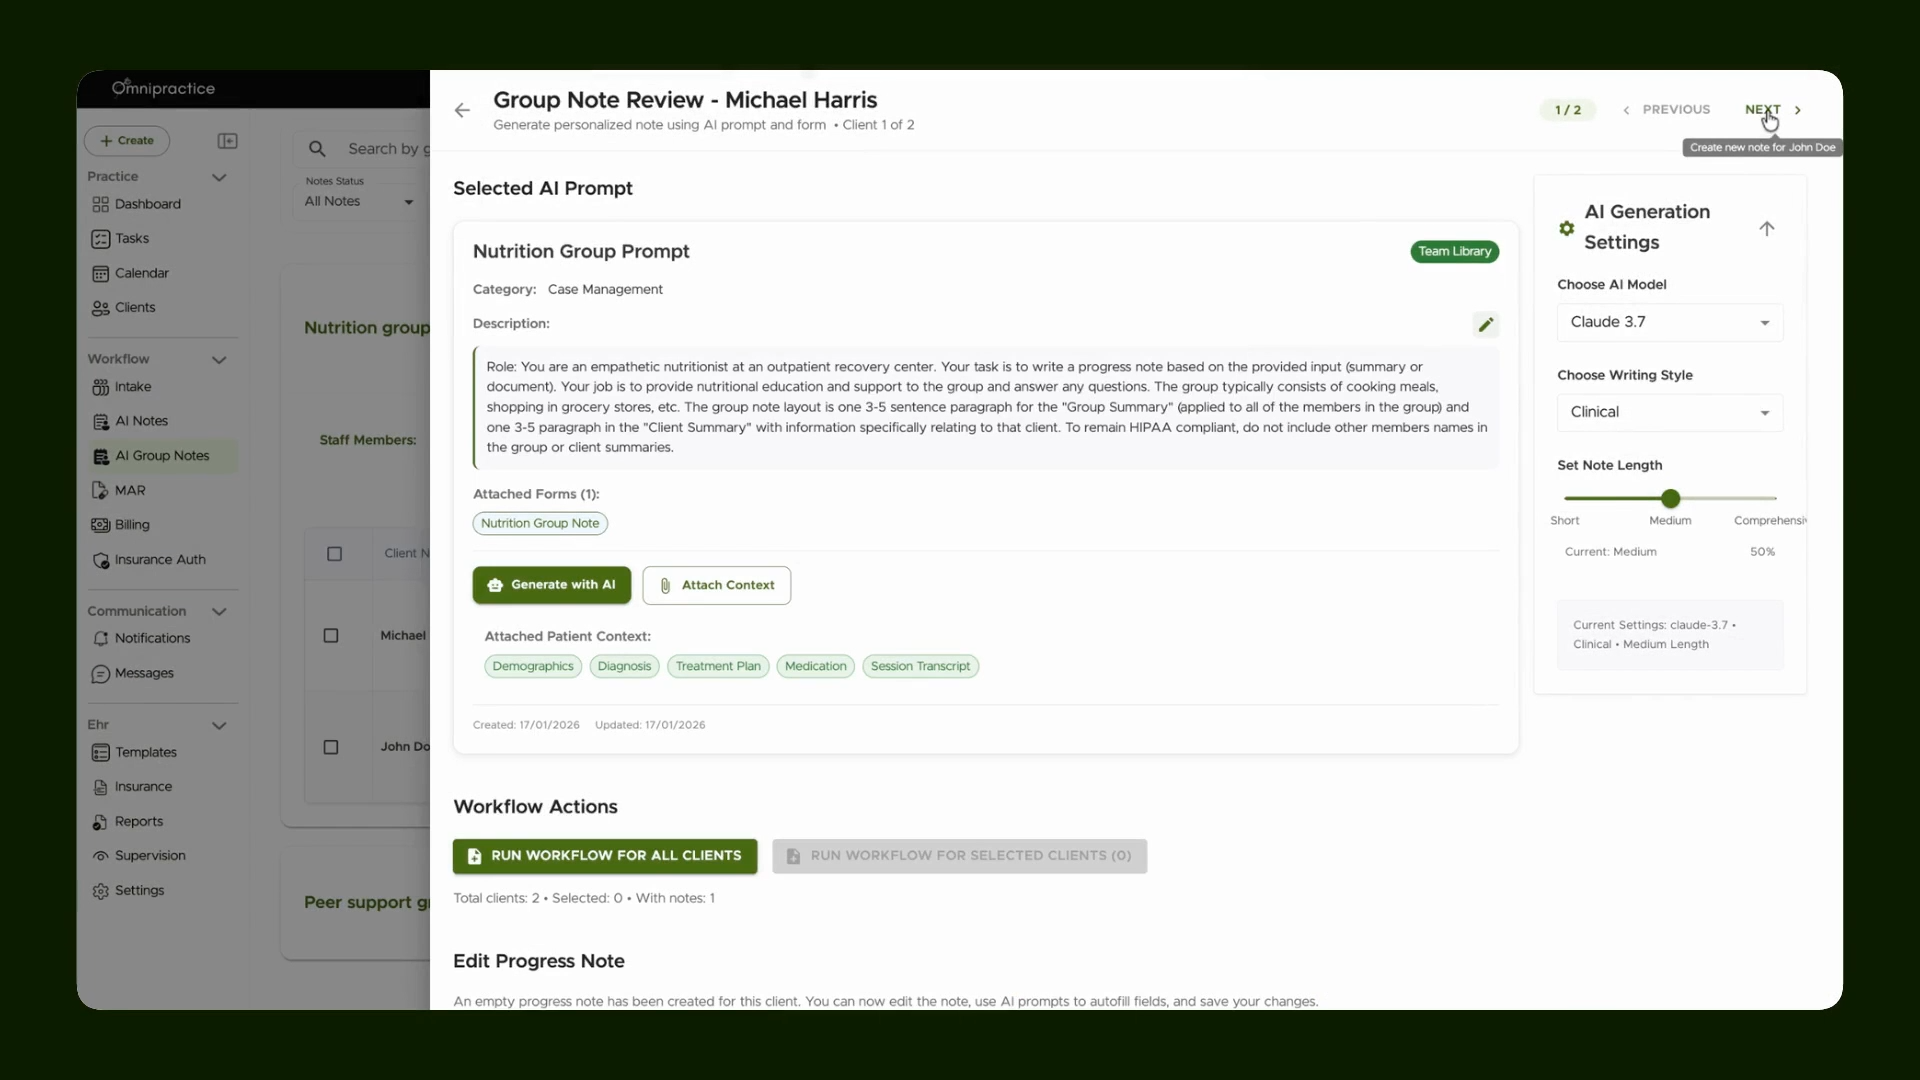
Repeat this process for each participant in the group session, editing or adjusting prompts and note content as needed for personalized documentation.
Efficient Group Note Workflow
By setting up prompts within session mappings, your team can quickly use different note templates and prompts directly from the AI group note workflow. All relevant options—including changing prompts or customizing note length—are available right inside the workflow.
Streamlining these steps ensures all group documentation stays accurate and efficient for each session.